DIY: Painted headlights
 03-28-2013, 04:42 PM
#1

Painted headlights
Here's a DIY for painting headlights. I cannot take credit for creating it, only for bringing it to you. I found it somewhere on the internet.  I'm simply posting it here on our forum for everyone's benefit that wants to use it. I can't answer ANY of your questions. I don't paint headlights and probably can't answer your questions knowledgeably.
As with any DIY on the internet, use this guide at your own risk. YOU can screw up your lights and thye are expensive to replace. Be careful and good luck.
You will need:
1/4" Drive Ratchet
1/4" Drive 6" Extension
1/4" Drive 10mm Socket
Phillips and Flathead Screwdrivers
Heat Resistant Paint
Silicone/RTV/Sealant
Oven
Let's begin.
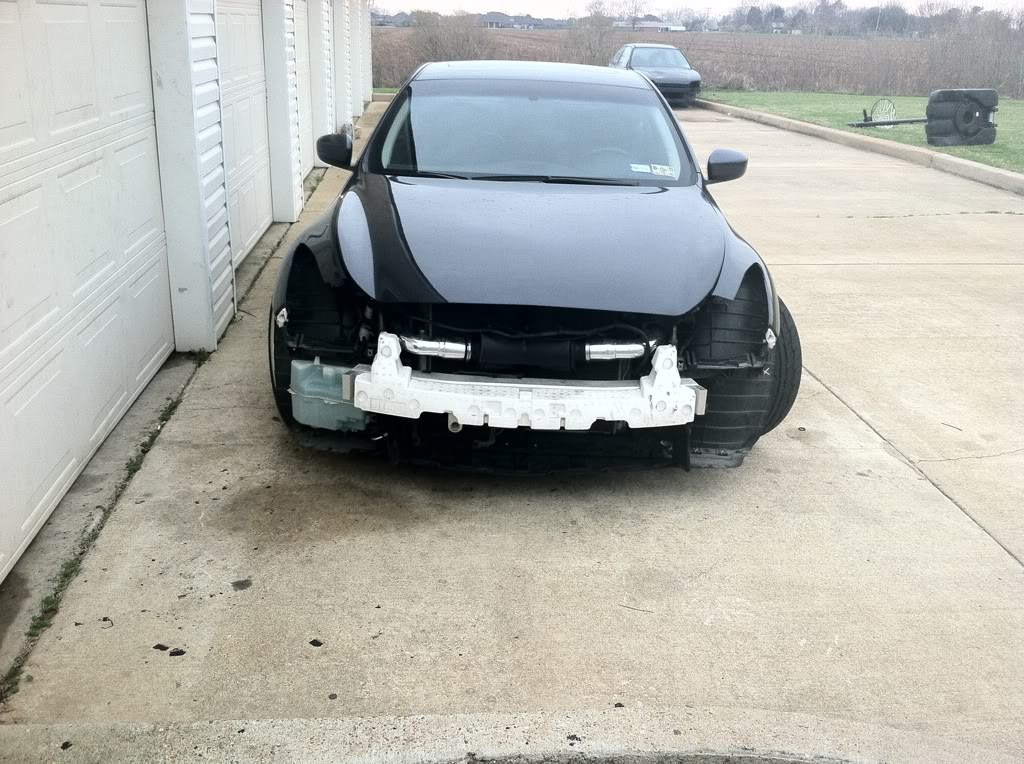
First step is to follow any DIY here on the forum, for removing the bumper. You can then access the four bolts holding the headlights in. Be careful not to scratch your paint when doing any of this.
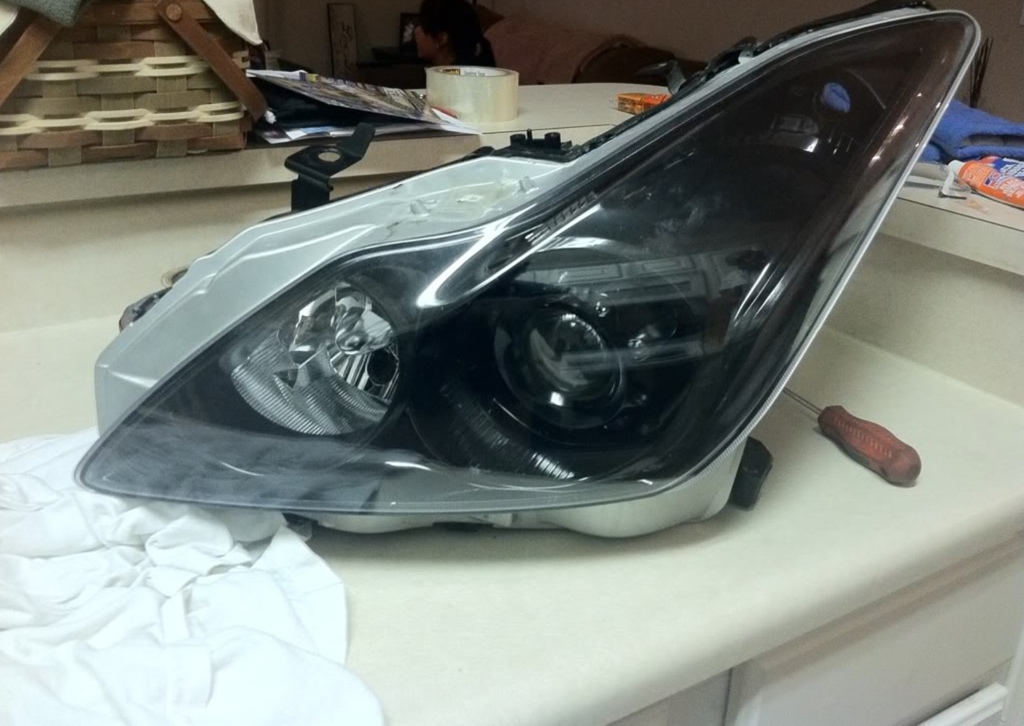
Remove the headlight assemblies.
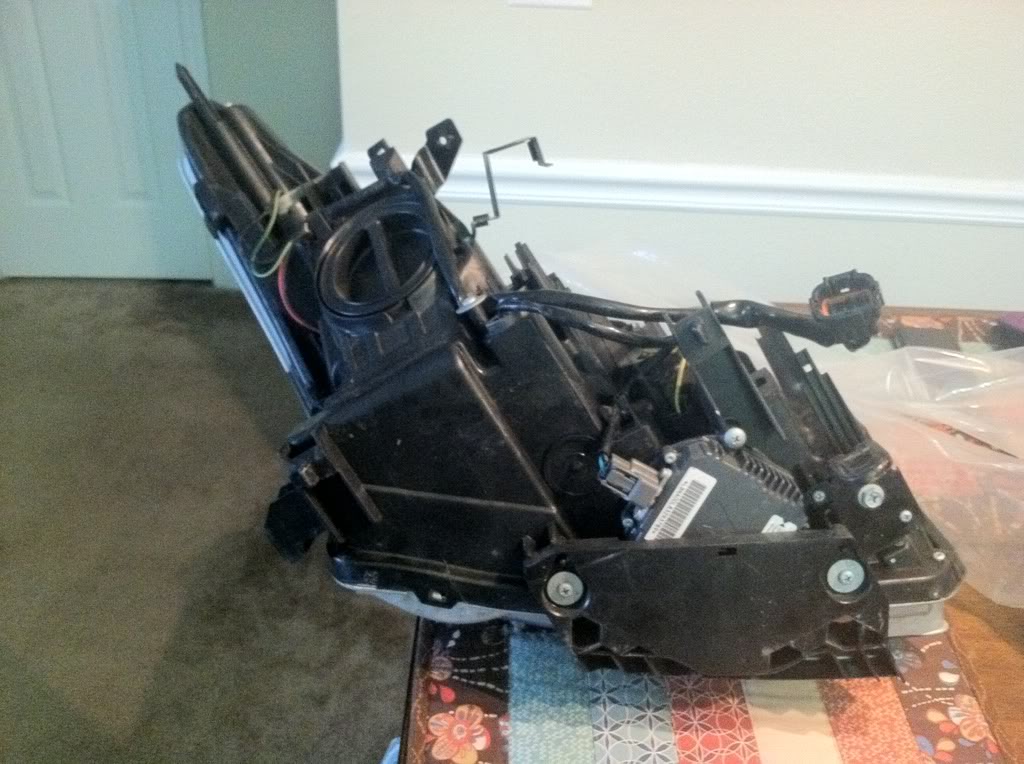
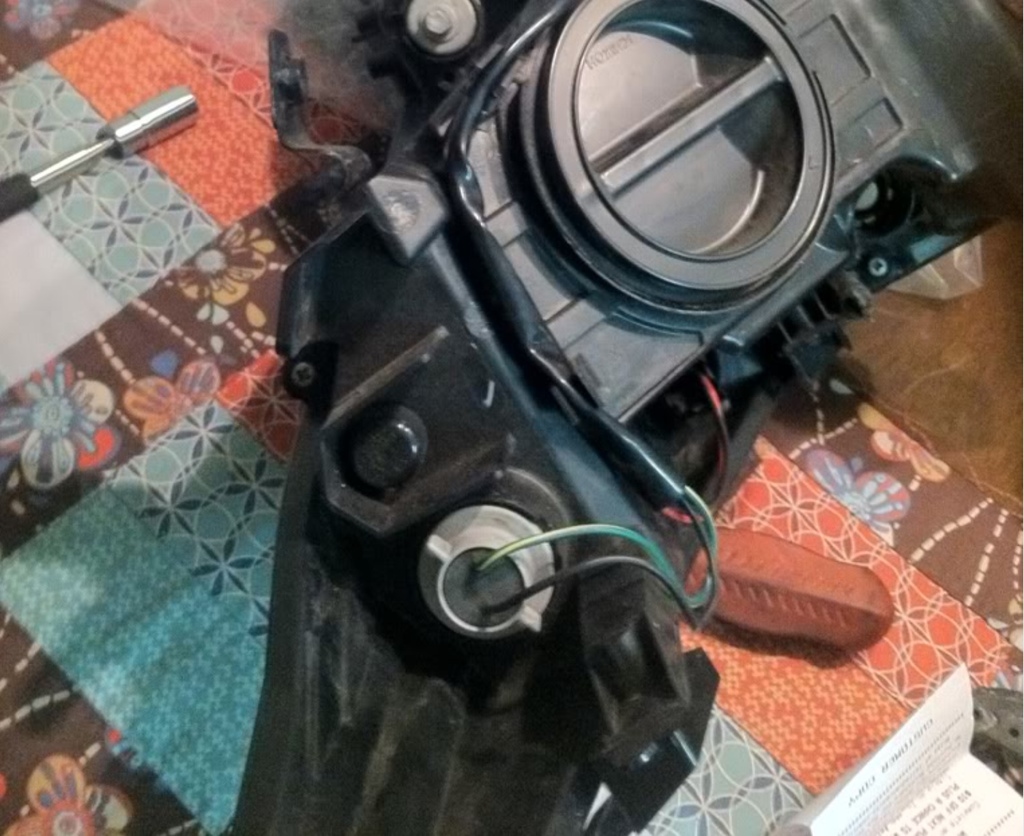
Take out the 2 screws and remove the plastic piece protecting the ballast.
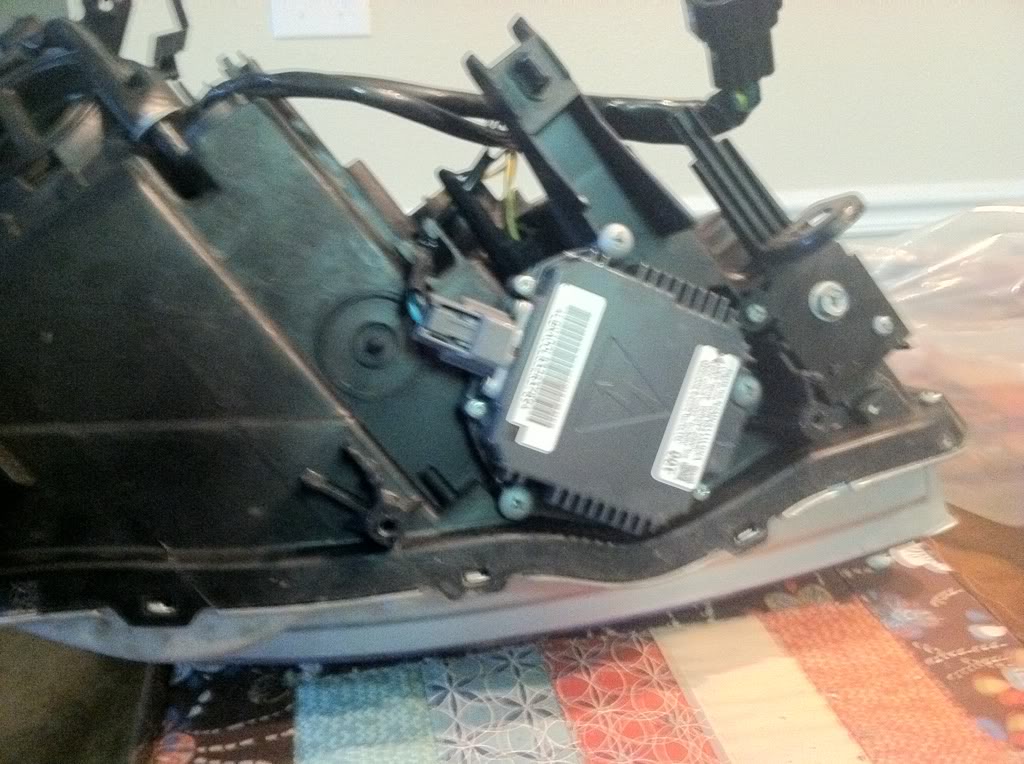
Take out the 3 screws securing the ballast and remove it.
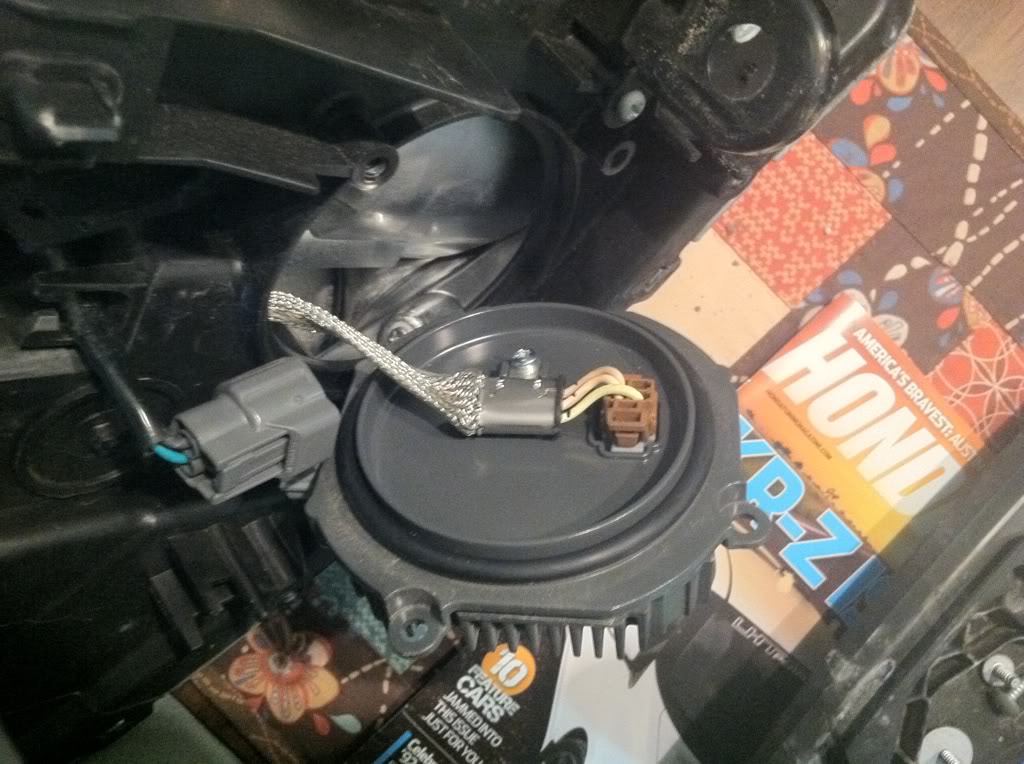
Remove the screw holding the wire in place and remove the connector.
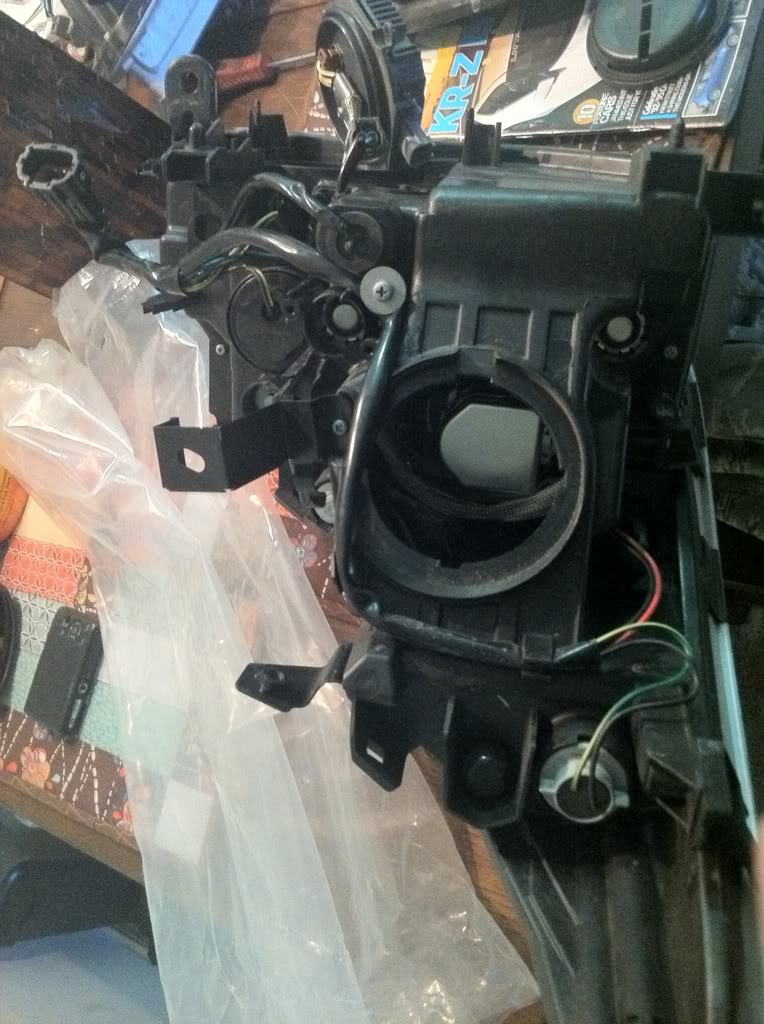
Remove the plastic covers to the light bulbs and remove each of the lights.
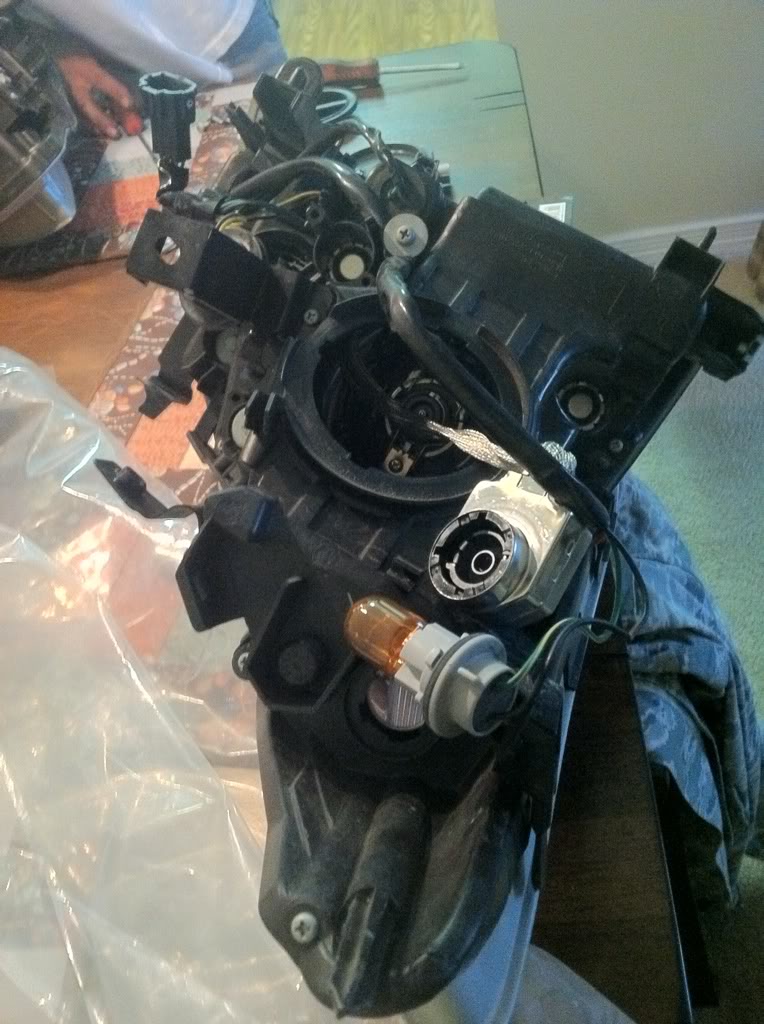
Don't forget the turn signal bulb.
I tried to keep track of all of the wiring and how it was routed. I did NOT remove the wiring holding the D2S headlight bulb, but if you feel like struggling with it you can remove it.
There are a total of five bulbs that should be removed. The headlight, fog light, turn signal, parking light, and side marker.
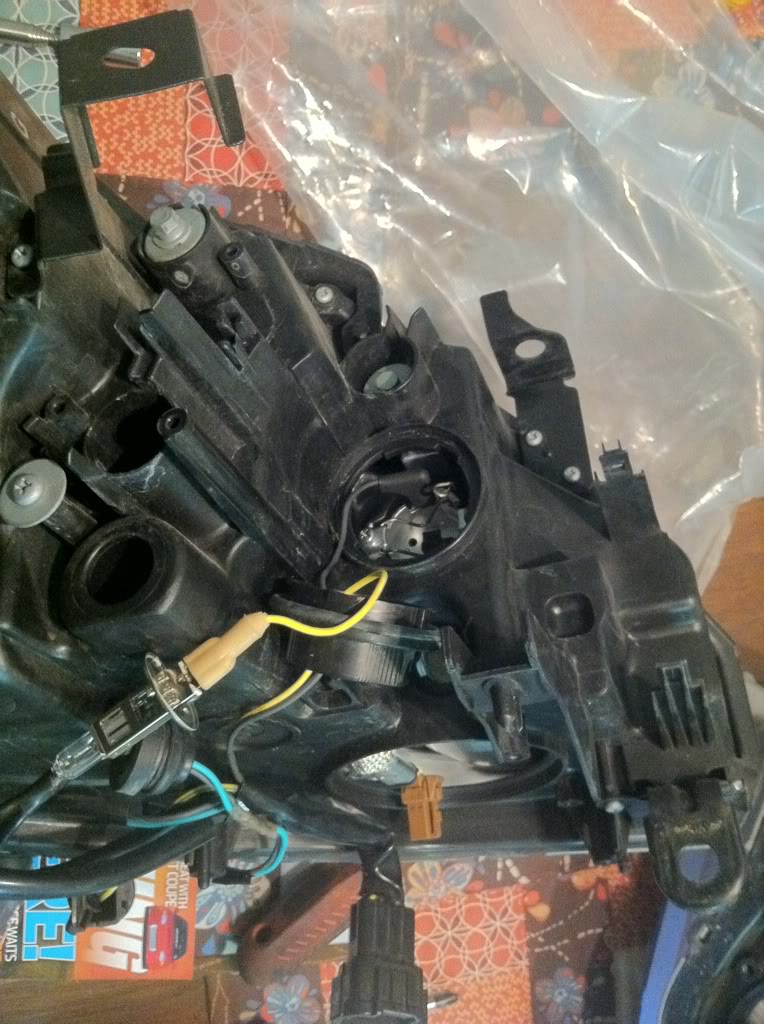
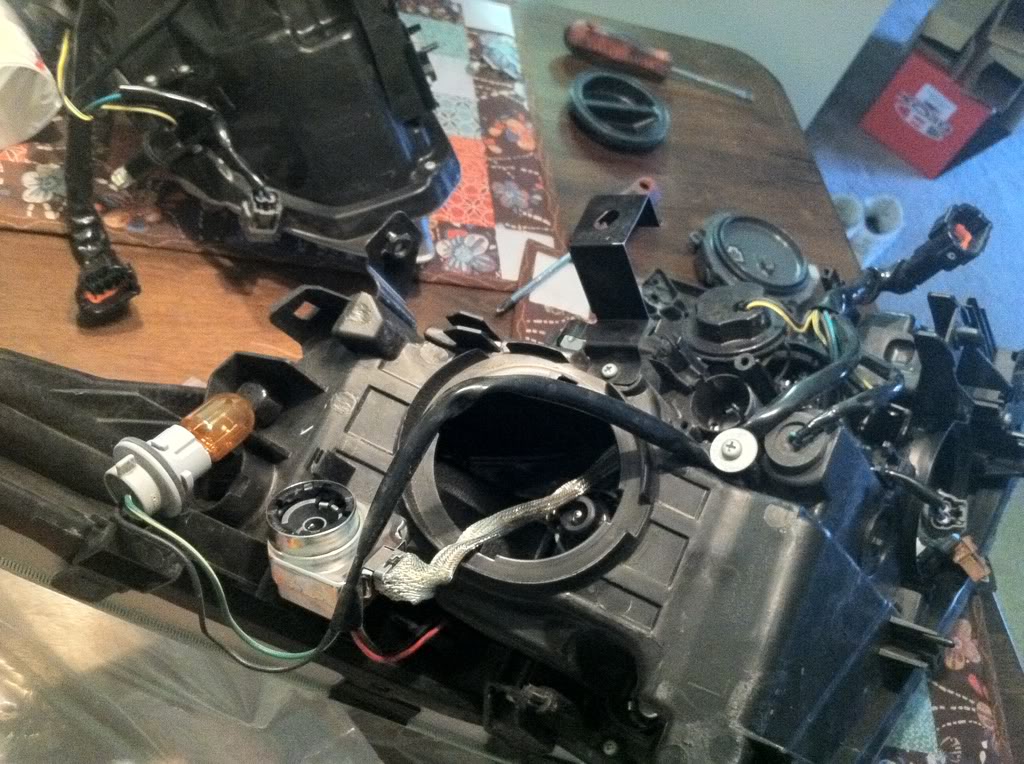
The ground wire for the fog lights can be a pain, but keep wiggling the connector and eventually it will come loose. (Be firm but careful.)
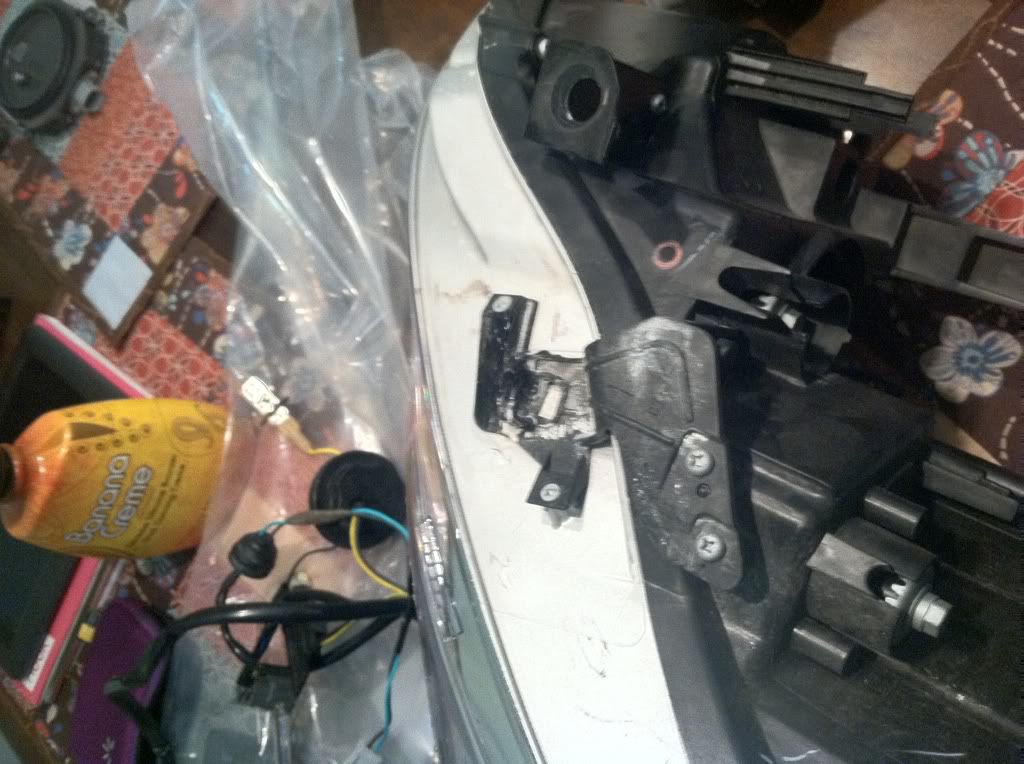
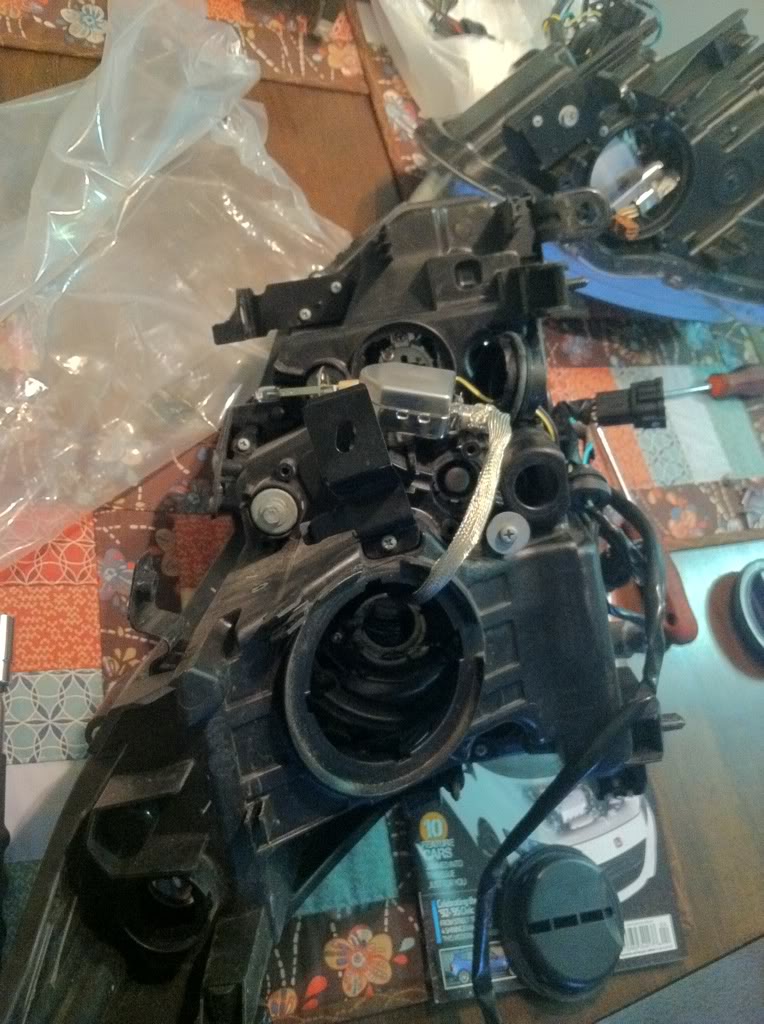
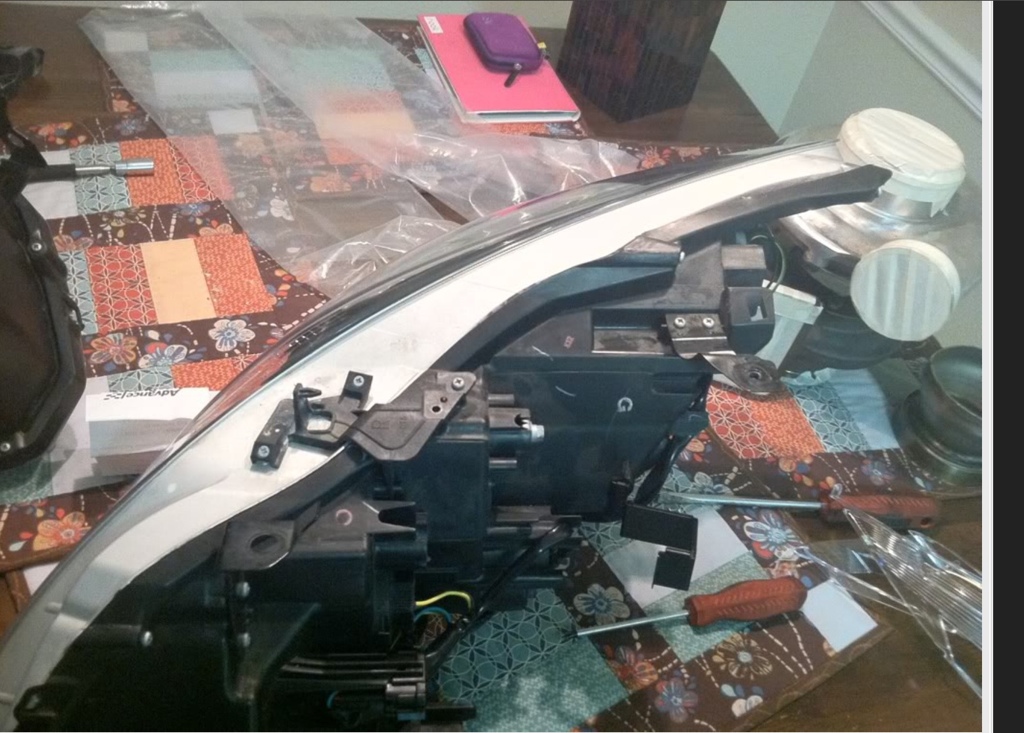
Another way to be extra safe is to remove the brackets from the top of the headlight housing.
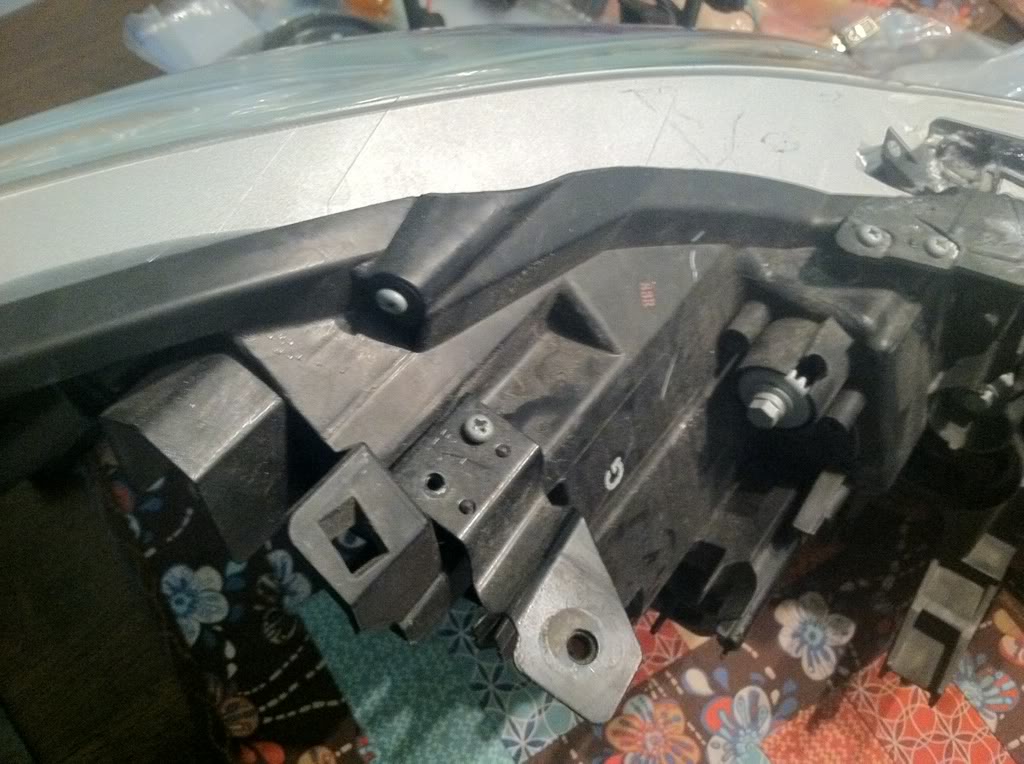
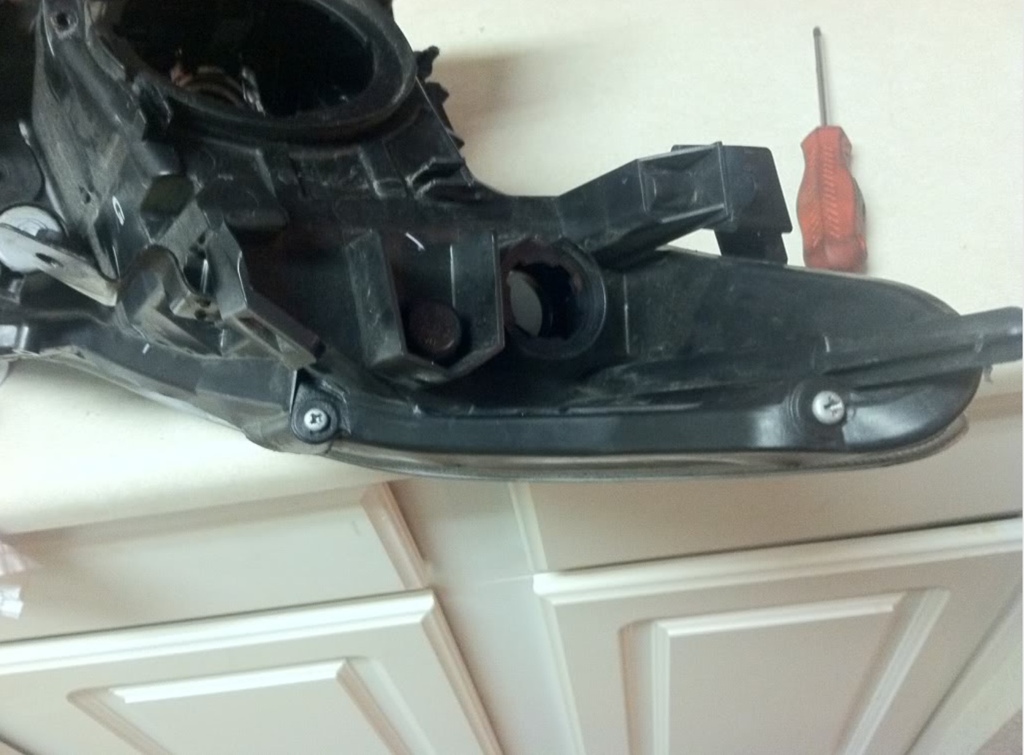
Now you can remove the screws holding the lens to the housing which are around the edge.
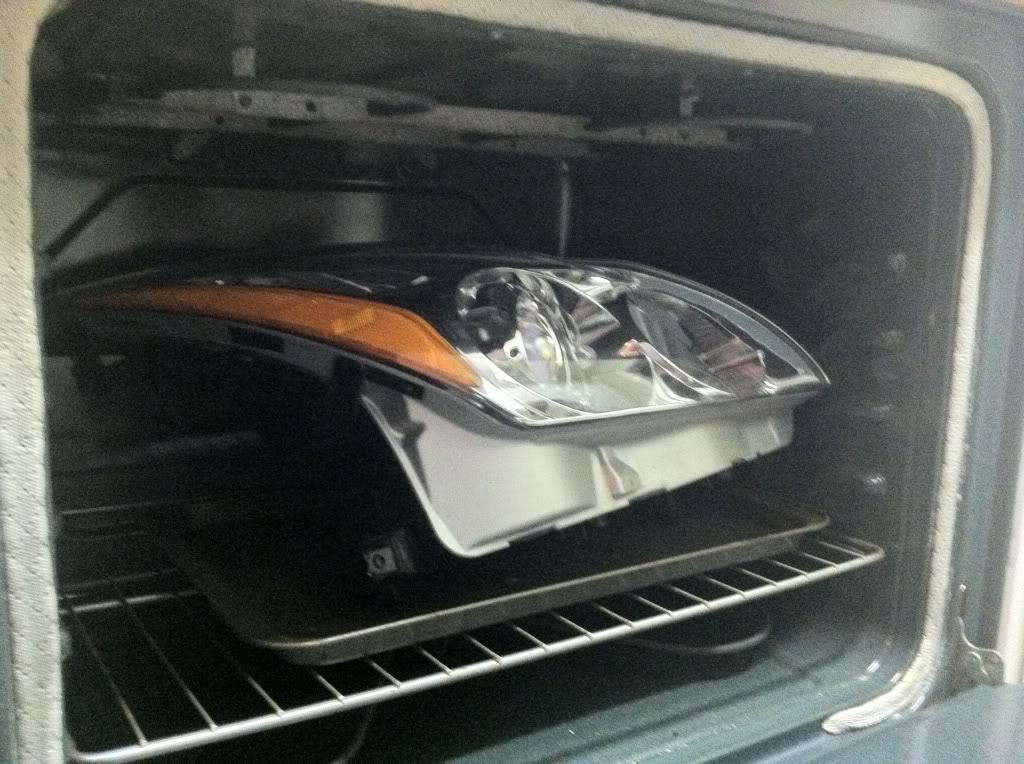
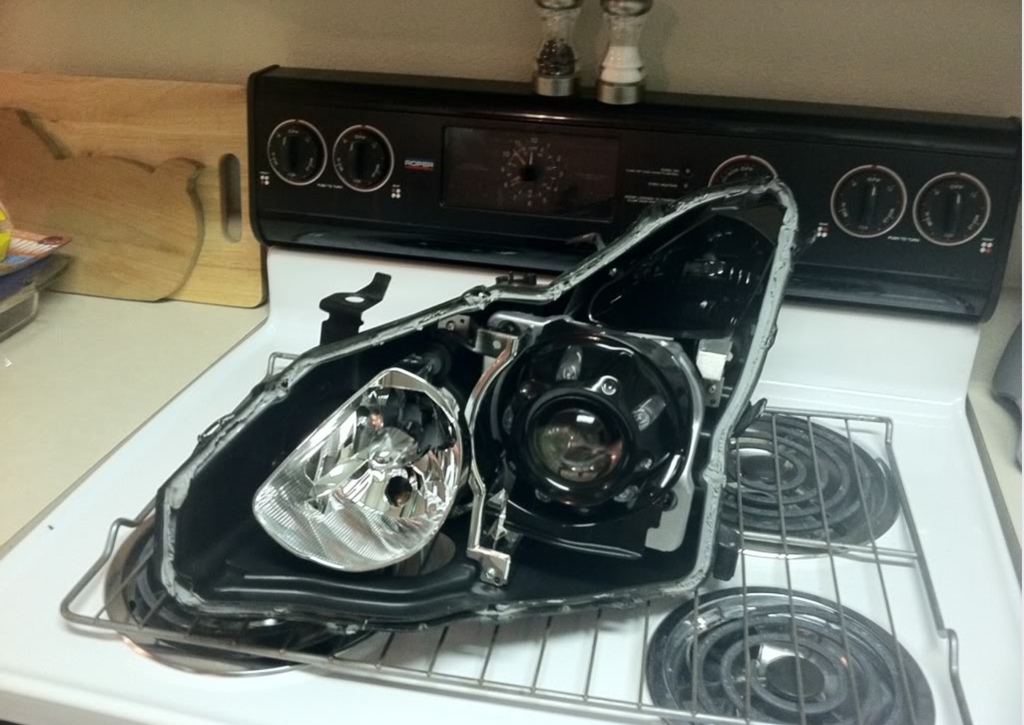
Now it's time to bake. Place the light assembly on top of a cookie sheet. Remove all racks except one and place it as low as possible. Preheat the oven to 200 degrees, then bake the headlights for 8 minutes. Don't worry if you are a little over or under. Only do one headlight at a time even if your oven is big enough. This is to allow you enough time to separate the lens without the sealant drying.

Remove the light and pry gently around the lens with a flat head screwdriver. Eventually you will create enough space to pry them apart. Be careful, but try to be fast to prevent the sealant from drying as it cools. This may be tough to pry apart, but it will come! Just be careful not to pry on any of the tabs. Try to pry up and over at least one or two of them to avoid breaking them.
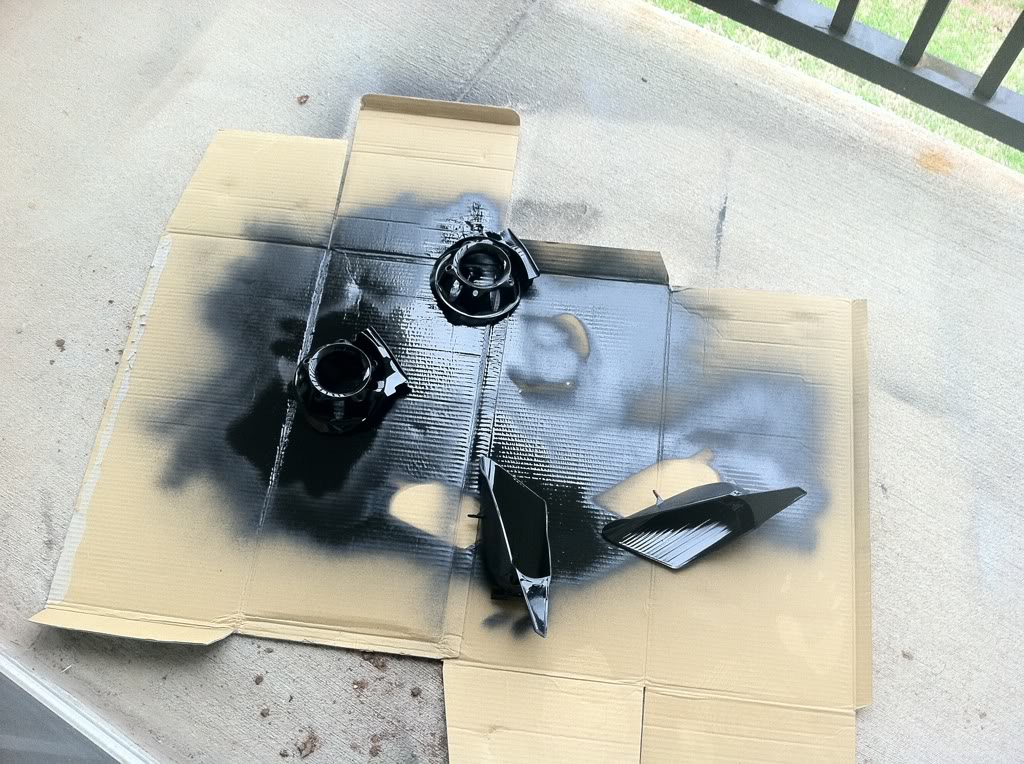
Now you can remove the bezel from the lens and begin to paint. I removed the projector shroud and the piece around the headlight from the housing, but the fog light chrome is harder to get off than it is worth. You can't really tell anyway, so my recommendations are to leave that where it is. Most people sand the bezel down here to ensure the paint sticks better. I didn't think it needed it so just painted it. No problems so far. You may paint each part different colors of the rainbow, or however you chose, but black will always have the best/cleanest results. Make sure you spray evenly, and avoid any runs.
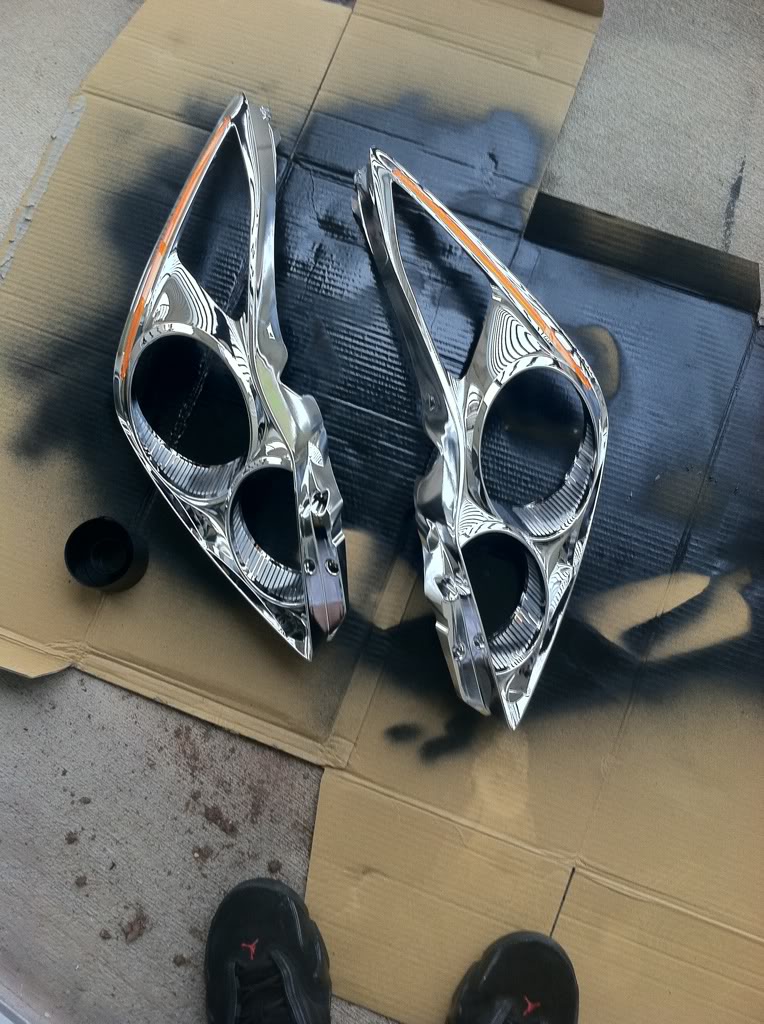
The amber turn signal lens may be removed before painting, but I taped off the area where the side marker bulb goes and just painted over it.
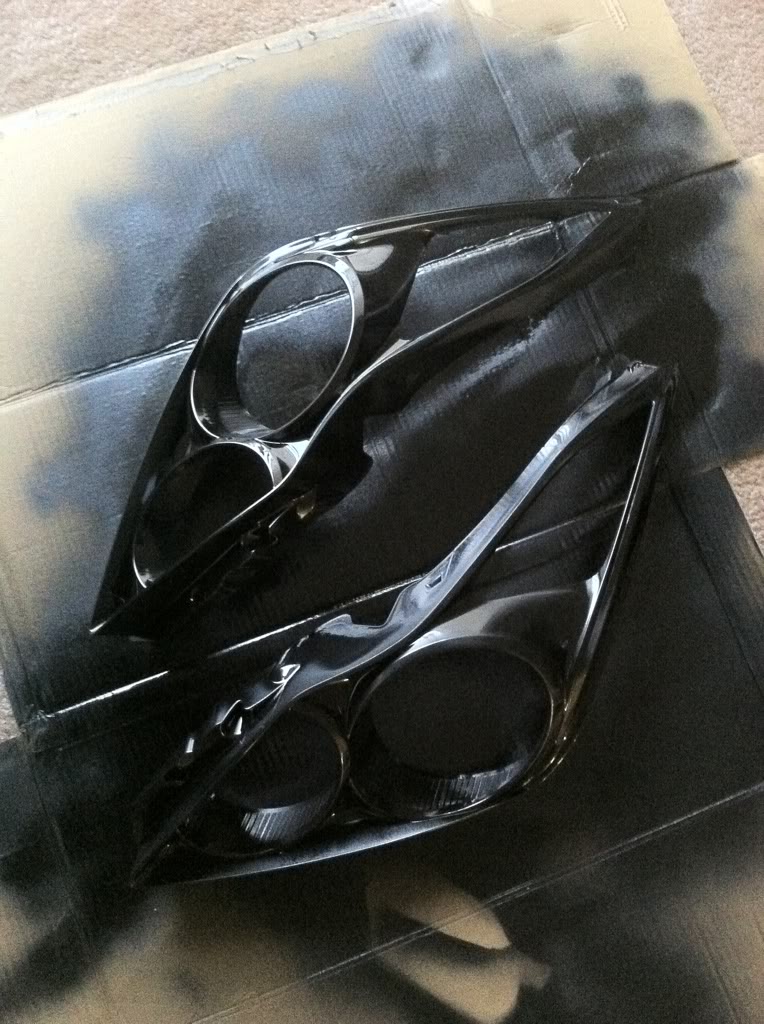
Let it dry for at least 30 minutes, and then double check you didn't miss any spots. A second or third coat even won't do any harm.
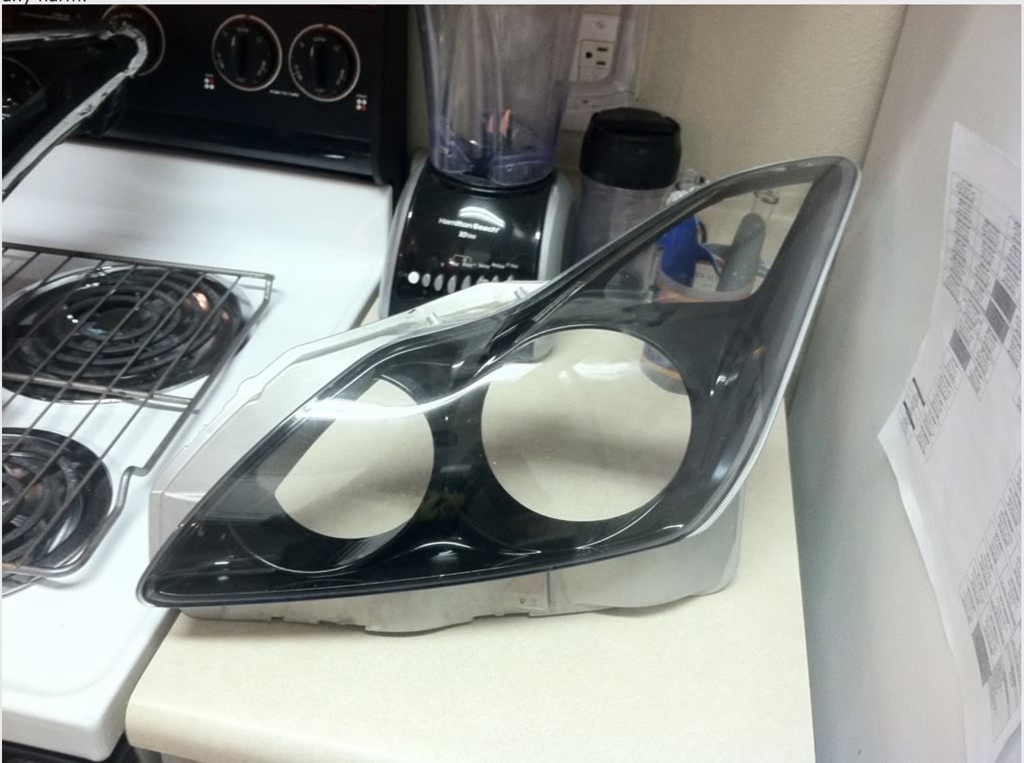
After you are finished painting and the bezel is dry, you can attach it to the lens again. Be careful not to scratch or touch the paint!
Now you can attach the other pieces you painted if you chose to do so. I chose to get rid of the clear plastic reflector as I thought it gave a cleaner appearance without it.
Preheat the oven again to 200 degrees. You may choose to add sealant around the housing here. It never hurts to have extra sealant in there. Connect the housing to the lens as best as you can. You may even be able to get them connect properly and all clips in place, but if not just try to get them as close as possible. Now insert the headlight into the oven using the same procedures as before except this time you only need to do it for 5 minutes.
Now if you hadn't already, get everything lined up. You may start inserting the screws that hold the housing and lens together. Again try to be quick about it. You can also add the sealant in this step if you like.
Insert all of the wiring and bulbs you removed earlier. Make sure all bulbs are seated properly. It would suck to put the light back on only to find you had a bulb loose.
Finally you may close everything up and finish connecting everything else you took off.
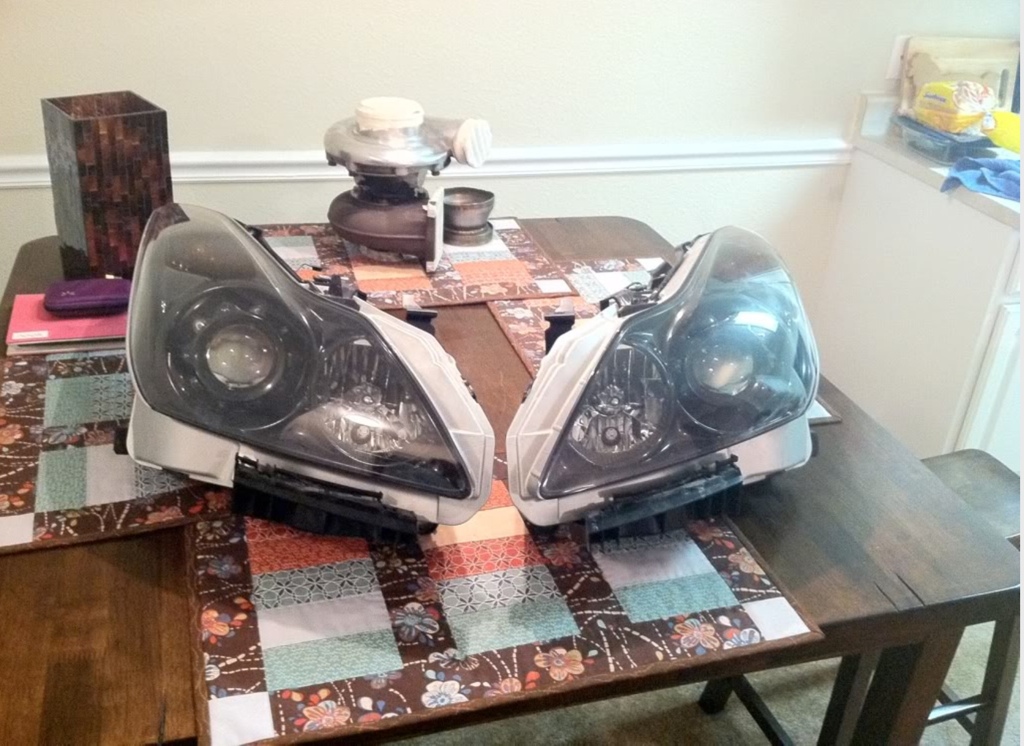
Enjoy the completed product and install them back on your car.
Please post pictures of the results if you use this DIY.
I'm simply posting it here on our forum for everyone's benefit that wants to use it. I can't answer ANY of your questions. I don't paint headlights and probably can't answer your questions knowledgeably.As with any DIY on the internet, use this guide at your own risk. YOU can screw up your lights and thye are expensive to replace. Be careful and good luck.
You will need:
1/4" Drive Ratchet
1/4" Drive 6" Extension
1/4" Drive 10mm Socket
Phillips and Flathead Screwdrivers
Heat Resistant Paint
Silicone/RTV/Sealant
Oven
Let's begin.
First step is to follow any DIY here on the forum, for removing the bumper. You can then access the four bolts holding the headlights in. Be careful not to scratch your paint when doing any of this.
Remove the headlight assemblies.
Take out the 2 screws and remove the plastic piece protecting the ballast.
Take out the 3 screws securing the ballast and remove it.
Remove the screw holding the wire in place and remove the connector.
Remove the plastic covers to the light bulbs and remove each of the lights.
Don't forget the turn signal bulb.
I tried to keep track of all of the wiring and how it was routed. I did NOT remove the wiring holding the D2S headlight bulb, but if you feel like struggling with it you can remove it.
There are a total of five bulbs that should be removed. The headlight, fog light, turn signal, parking light, and side marker.
The ground wire for the fog lights can be a pain, but keep wiggling the connector and eventually it will come loose. (Be firm but careful.)
Another way to be extra safe is to remove the brackets from the top of the headlight housing.
Now you can remove the screws holding the lens to the housing which are around the edge.
Now it's time to bake. Place the light assembly on top of a cookie sheet. Remove all racks except one and place it as low as possible. Preheat the oven to 200 degrees, then bake the headlights for 8 minutes. Don't worry if you are a little over or under. Only do one headlight at a time even if your oven is big enough. This is to allow you enough time to separate the lens without the sealant drying.
Remove the light and pry gently around the lens with a flat head screwdriver. Eventually you will create enough space to pry them apart. Be careful, but try to be fast to prevent the sealant from drying as it cools. This may be tough to pry apart, but it will come! Just be careful not to pry on any of the tabs. Try to pry up and over at least one or two of them to avoid breaking them.
Now you can remove the bezel from the lens and begin to paint. I removed the projector shroud and the piece around the headlight from the housing, but the fog light chrome is harder to get off than it is worth. You can't really tell anyway, so my recommendations are to leave that where it is. Most people sand the bezel down here to ensure the paint sticks better. I didn't think it needed it so just painted it. No problems so far. You may paint each part different colors of the rainbow, or however you chose, but black will always have the best/cleanest results. Make sure you spray evenly, and avoid any runs.
The amber turn signal lens may be removed before painting, but I taped off the area where the side marker bulb goes and just painted over it.
Let it dry for at least 30 minutes, and then double check you didn't miss any spots. A second or third coat even won't do any harm.
After you are finished painting and the bezel is dry, you can attach it to the lens again. Be careful not to scratch or touch the paint!
Now you can attach the other pieces you painted if you chose to do so. I chose to get rid of the clear plastic reflector as I thought it gave a cleaner appearance without it.
Preheat the oven again to 200 degrees. You may choose to add sealant around the housing here. It never hurts to have extra sealant in there. Connect the housing to the lens as best as you can. You may even be able to get them connect properly and all clips in place, but if not just try to get them as close as possible. Now insert the headlight into the oven using the same procedures as before except this time you only need to do it for 5 minutes.
Now if you hadn't already, get everything lined up. You may start inserting the screws that hold the housing and lens together. Again try to be quick about it. You can also add the sealant in this step if you like.
Insert all of the wiring and bulbs you removed earlier. Make sure all bulbs are seated properly. It would suck to put the light back on only to find you had a bulb loose.
Finally you may close everything up and finish connecting everything else you took off.
Enjoy the completed product and install them back on your car.
Please post pictures of the results if you use this DIY.
Last edited by Black Betty; 04-06-2013 at 02:55 PM.

The following users liked this post:
kennyz424 (03-12-2016)
 04-06-2013, 03:01 PM
#4
OK, I was able to get everything back up again so here it is. I don't foresee the thread being taken down unexpectedly or the photos being defaced again.  Keep in mind that as I said this is not my DIY, it' was something posted on the web so here it is and use it at your own peril. If you are planning to DIY for yourself, please feel free to document it step by step with good photos (better then these hopefully) and we can replace this DIY when something better comes along.
Keep in mind that as I said this is not my DIY, it' was something posted on the web so here it is and use it at your own peril. If you are planning to DIY for yourself, please feel free to document it step by step with good photos (better then these hopefully) and we can replace this DIY when something better comes along.
 04-06-2013, 10:46 PM
#6
It's a PITA, but worthwhile for sure. Would I want to do it again? Not so much
This is one DIY that is quite a commitment, the second headlight was a breeze compared to removing the cover off the first one, at least the learning curve is really steep
Thanks for resurrecting this info BB, very helpful DIY thread.
BTW, Is this the brevkaya (sp?) thread?
This is one DIY that is quite a commitment, the second headlight was a breeze compared to removing the cover off the first one, at least the learning curve is really steep
Thanks for resurrecting this info BB, very helpful DIY thread.
BTW, Is this the brevkaya (sp?) thread?
04-06-2013, 11:25 PM
#7
It's a PITA, but worthwhile for sure. Would I want to do it again? Not so much
This is one DIY that is quite a commitment, the second headlight was a breeze compared to removing the cover off the first one, at least the learning curve is really steep
Thanks for resurrecting this info BB, very helpful DIY thread.
BTW, Is this the brevkaya (sp?) thread?
This is one DIY that is quite a commitment, the second headlight was a breeze compared to removing the cover off the first one, at least the learning curve is really steep
Thanks for resurrecting this info BB, very helpful DIY thread.
BTW, Is this the brevkaya (sp?) thread?
Trending Topics
06-18-2013, 10:55 PM
#8

is there a major risk of not glueing the housing and lens completely and allowing air to seep through over time? This is the only thing that scares me about this DIY. However, this is a mod that i MUST do.
06-19-2013, 07:13 PM
#9
Get it here
OCI Butyl Rubber Glue - Accessories from The Retrofit Source Inc
And while you're at it change your fresnal lens to a crystal clear TSX-R (coupe) or STiR (sedan) lens, much crisper cutoff and a nice blue flicker, look nice in the housing too

one of the best $50 mods IMO
Here they are
(2.5") TSX-R - Clear Lenses from The Retrofit Source Inc
(3") STi-R - Clear Lenses from The Retrofit Source Inc
The following 2 users liked this post by blnewt:
therzdae (07-07-2015),
YellowJacket (06-19-2013)
06-23-2013, 10:18 PM
#10
The best advice I can give you is use the butyl sealing tape, much better than silicone.
Get it here
OCI Butyl Rubber Glue - Accessories from The Retrofit Source Inc
And while you're at it change your fresnal lens to a crystal clear TSX-R (coupe) or STiR (sedan) lens, much crisper cutoff and a nice blue flicker, look nice in the housing too
one of the best $50 mods IMO
Here they are
(2.5") TSX-R - Clear Lenses from The Retrofit Source Inc
(3") STi-R - Clear Lenses from The Retrofit Source Inc
 08-08-2013, 01:52 PM
#13

In the DIY, it says you don't have to sand the headlights prior to painting?
Does that depend on the type of spray paint being used? or does that not matter? I was told that, without sanding, the paint would peel off the headlights in time?
Does that depend on the type of spray paint being used? or does that not matter? I was told that, without sanding, the paint would peel off the headlights in time?
08-08-2013, 08:18 PM
#15
I was able to get the headlights off but that damn "main headlight power connector" was a bitch to slip off. Now it's time to put them in the oven!
Last edited by TruLux; 08-08-2013 at 09:37 PM.