When you click on links to various merchants on this site and make a purchase, this can result in this site earning a commission. Affiliate programs and affiliations include, but are not limited to, the eBay Partner Network.
I removed my grill today and replaced it with the OEM midnight grill. I have literally never done a single thing to a car ever, and I was able to do this in about an hour without cracking the radiator cover. It is actually very simple to do if you take your time. If you crack your cover that is just because you were impatient and trying to get this done way too quickly.
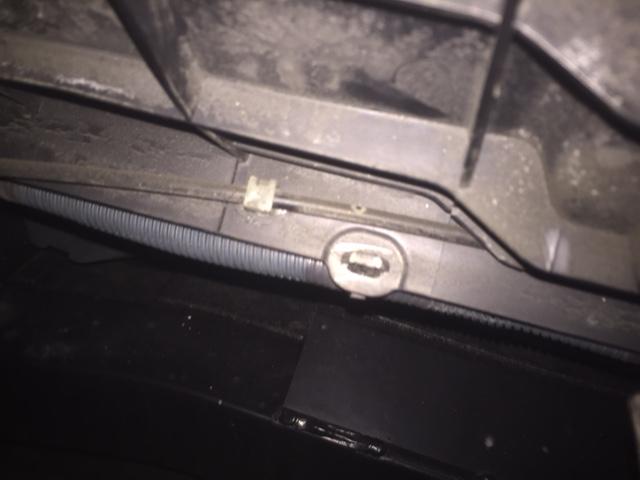
Just installed my midnight grill thanks to this DIY!! No cracked cover for me Took me about 30 minutes. One thing that I noticed that I didnt see on here or maybe I just missed it. When I got the cover mostly off I noticed a large tube of wires clipped in with about 6 or 7 of the gray clips you see. I know someone mentioned a wire but I dont know if it was the big one you see in the pics. Anyways, you just squeeze them from the sides and the pop out. The white one with the thin wire I didnt even worry about I left it as is.
Yep. +1 for small crack on my radiator right between the rear bolts by the reservoir.
I loosened the cover but could not and would not loosen cables in there...too scared
Will try again tonight
You are going to have to disconnect that large tube of cables. It is the only way youre going to get the cover off. Just take needle nose pliers and squeeze the ends together. It will pop out. Then just clip them back in when your putting it back together.
I would like to add to this as i just did a swap last night. If you remove the 2 bolts on the over flow tank and push it back, it makes it easier to pull the cover off of the 2 back pins. I think this may be where some are cracking their covers
Excellent DIY... I read through the whole thread before starting about 45 minutes ago. Used the additional tip from 8SLATE below to keep from cracking the cover and everything went off without a hitch.It looks great!
Originally Posted by 8SLATE
I would like to add to this as i just did a swap last night. If you remove the 2 bolts on the over flow tank and push it back, it makes it easier to pull the cover off of the 2 back pins. I think this may be where some are cracking their covers
I have a 2012 so I'm not sure if this write up applies to other years.
I've seen how so many have cracked their radiator cover so I wanted to try finding a solution while I was removing mine.
First I tried removing following the OP's instructions. By the way, thank you OP for this DIY. Well, I got to the point where I was pulling the bumper and was getting worried about the flex in it and my cover. I decided to stop and analyze.
I found there are 2 prongs next to radiator fluid reservoir that keep you from lifting the cover from the back making you remove from the front. If you remove from the front you'll need to pull the bumper out so you can pull out about 2 inches of the cover which is under a piece of the bumper. This bending and pulling is most likely when breaks occur.
I decided to try removing it form the back part of the cover from where the 2 prongs are located. I'm pretty sure the purpose for these prongs are to keep the cover in place in the event the bolts come loose. They're just long enough and the plastic of the radiator cover is hard enough that you can't pull the cover away from these prongs. I thought I'd try cutting them down a bit to see if it made it easier for the removal.
I cut the tips of the prongs near the reservoir with a sharp razor clipper (or you could file them down, use wire cutters or some sort of industrial scissor) approximately a 16th of an inch which turned out to be simple step. Just make sure you keep your hand under the prongs while cutting or filing so you don't leave pieces in the engine bay. I was then able to pull the cover away from these prongs and remove the cover from the back side. This allowed me to remove without pulling the bumper out or bending or tweaking the cover. I then maneuvered the cover up and out then removed the clips holding the wires that are attached to the cover.
Hope this helps.
I found on my 2013 XS that the prongs are there but if you push them in slightly with one hand while pulling the cover up and away they will slip inside the holes and allow you to free the cover from the box.
From there I only had to pull out on the upper bumper and work the tabs of the cover out from under the lip of the upper bumper shell.
Once that was done I reached under the far corner of the driver's side and released the clips that hold the thick wire bundle, and worked my way across releasing the rest of the bundle clips.
Unhooking the white fluid container is an important step in having enough room to work the cover free.
All in all this wasn't as difficult as I thought it might be but only because I read through this thread and thought carefully about what you all warned to look out for.
It probably took 30 mins to pull the grill and next time it'll only take half as long.
I'm spraying it with plasti-dip now. First time I've used the stuff. So far it looks pretty good!
There are really good instructions from the OP and others in this thread.
My comments are supplemental.
Many thanks to all the people who contributed as reading this thread really made this job a "snap".
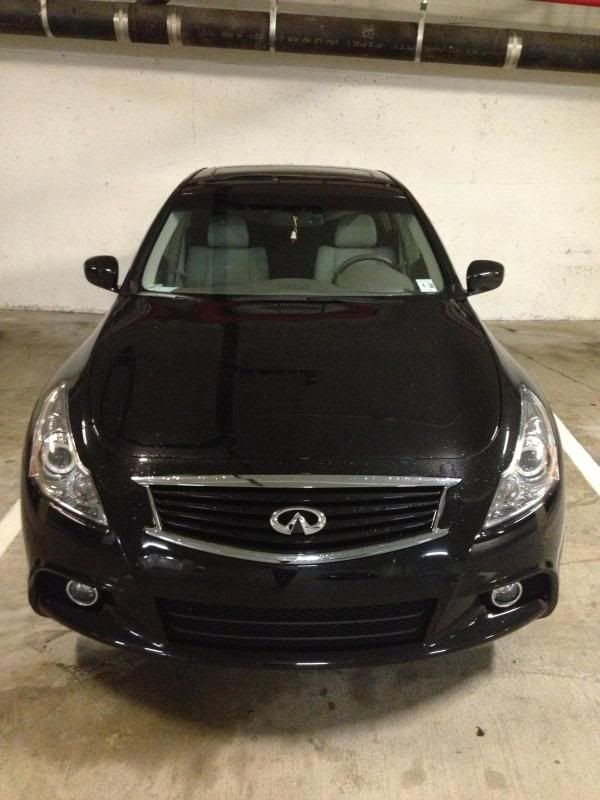
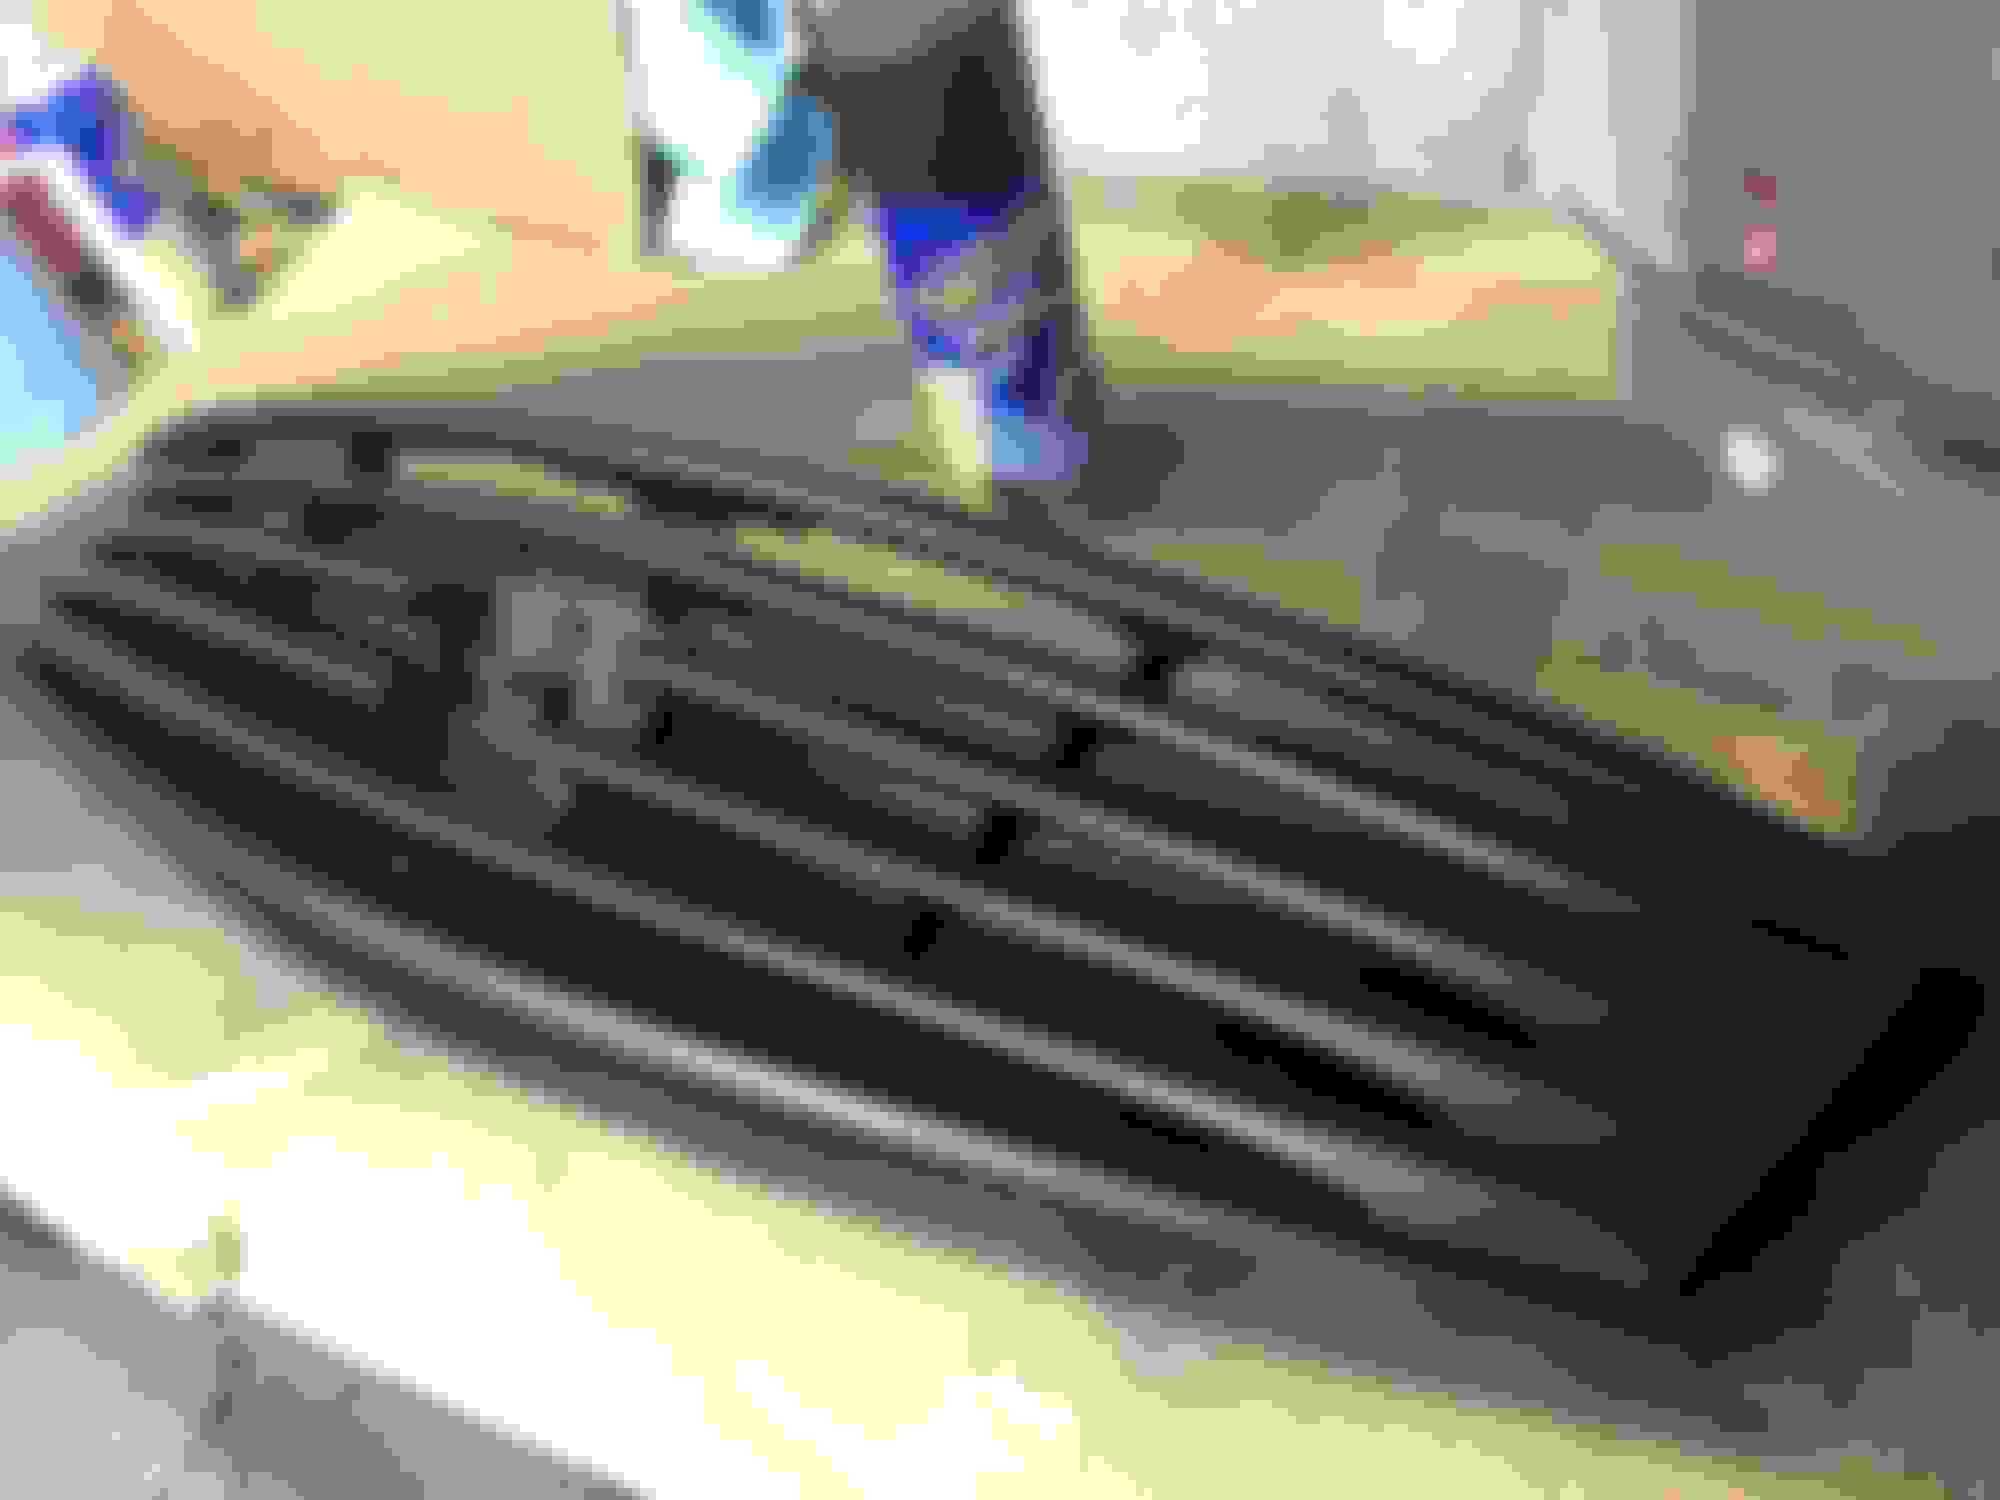
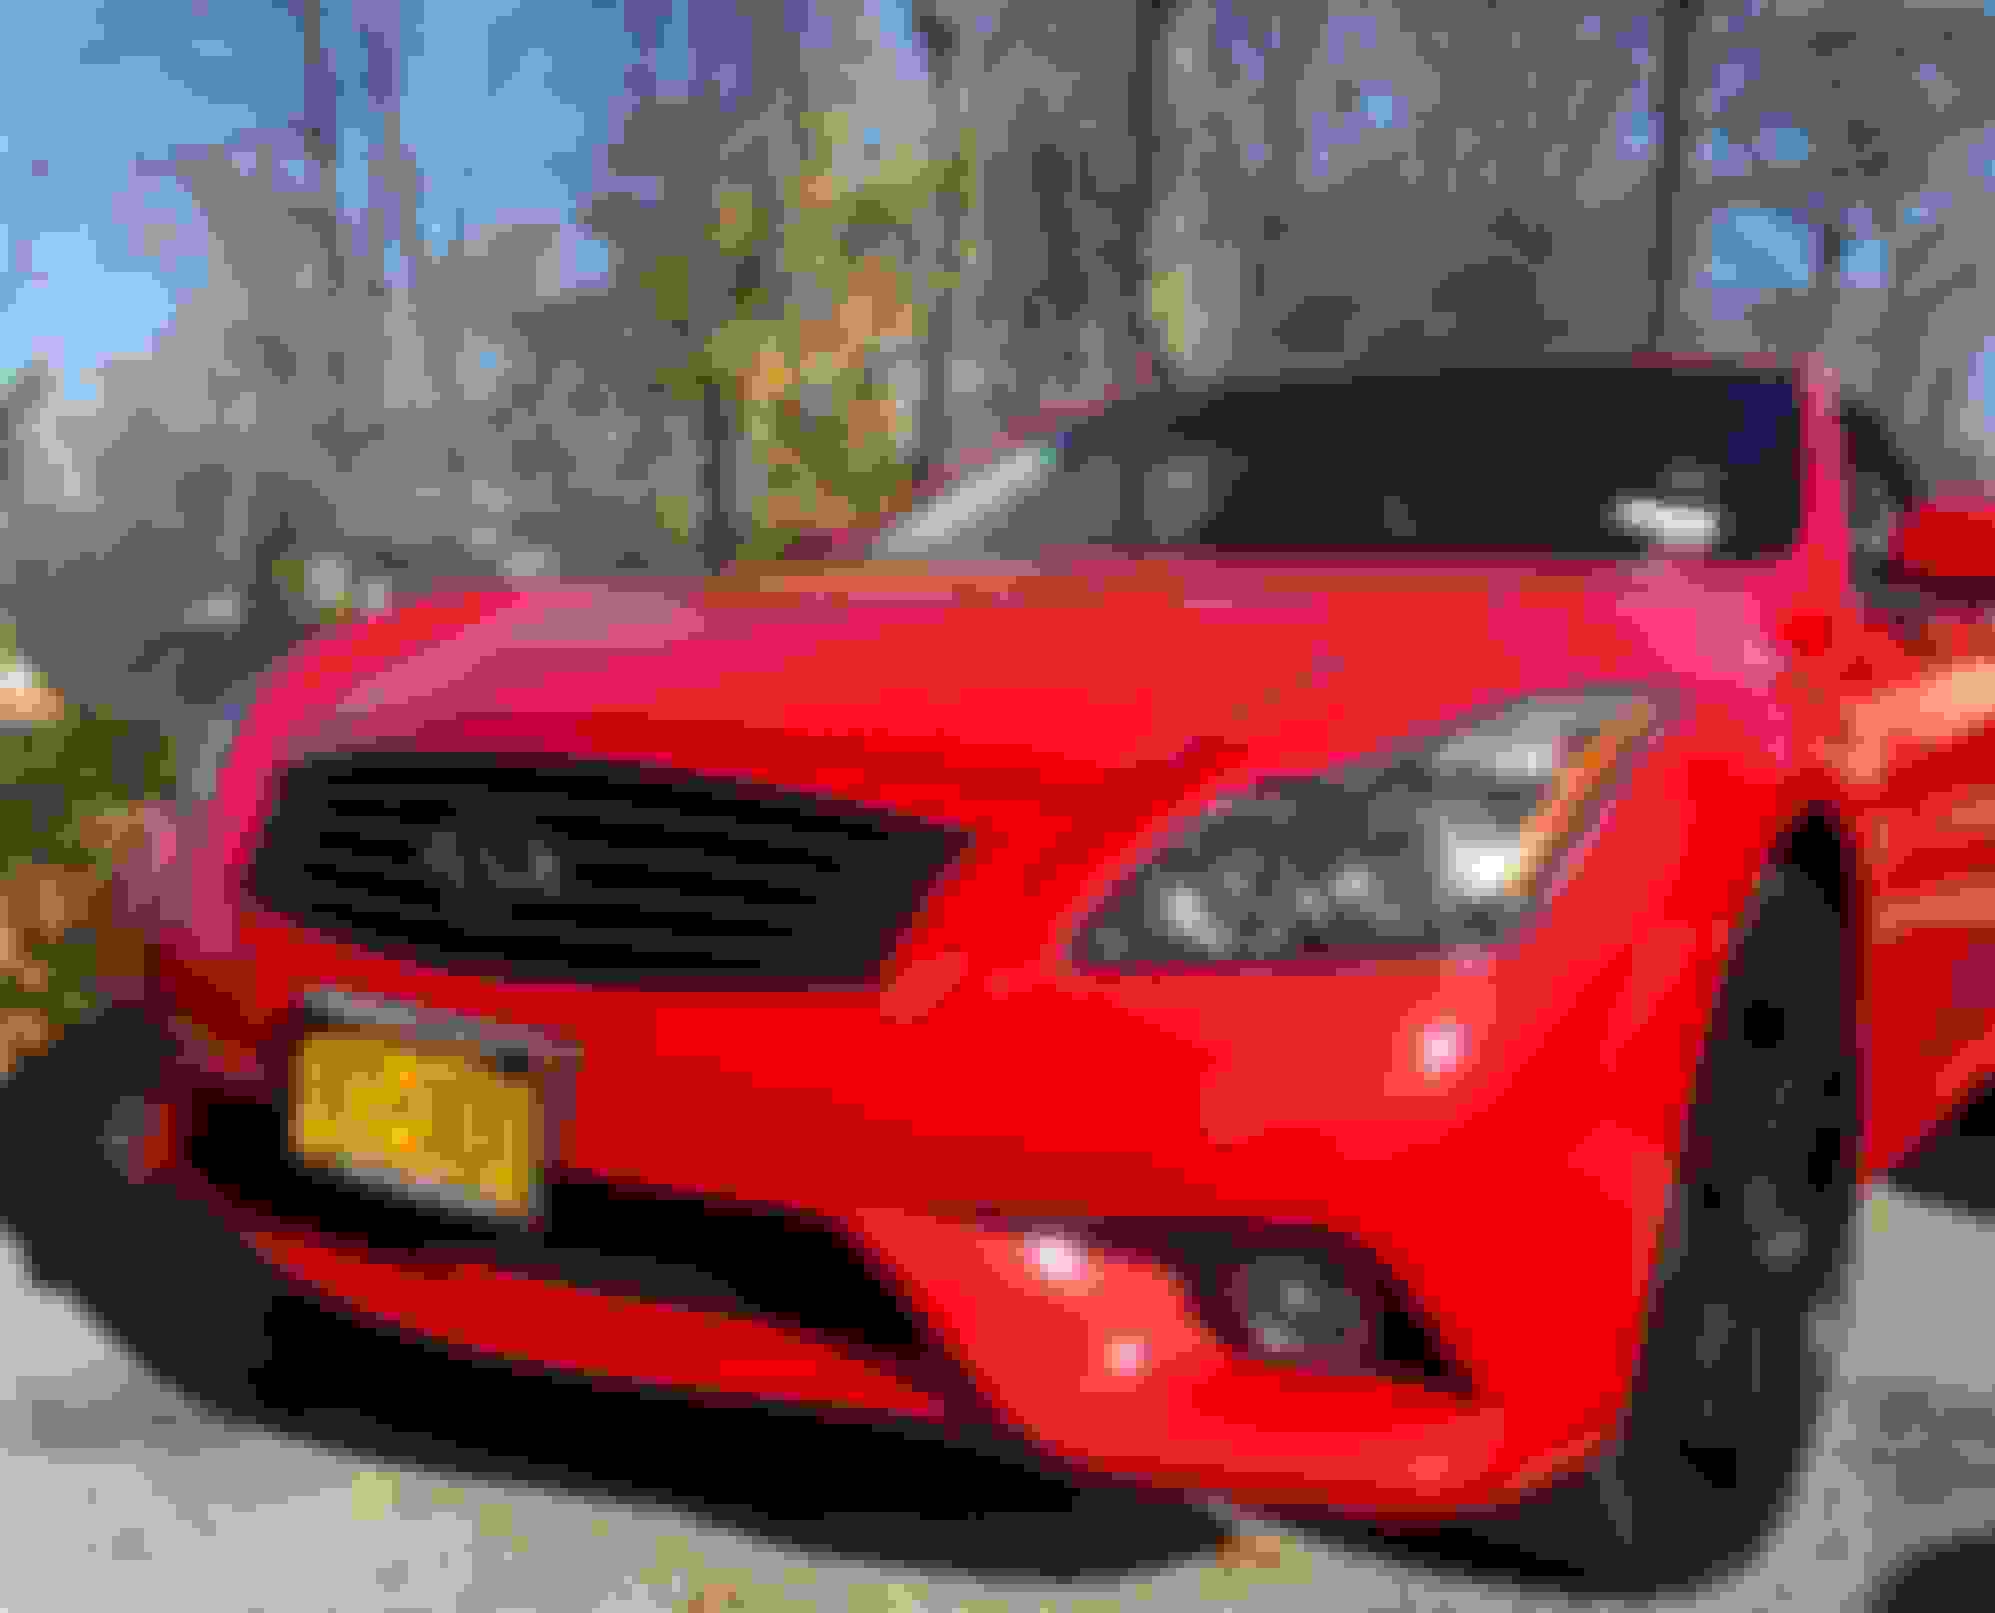
Grill Removed. Nothing to see here, move along.
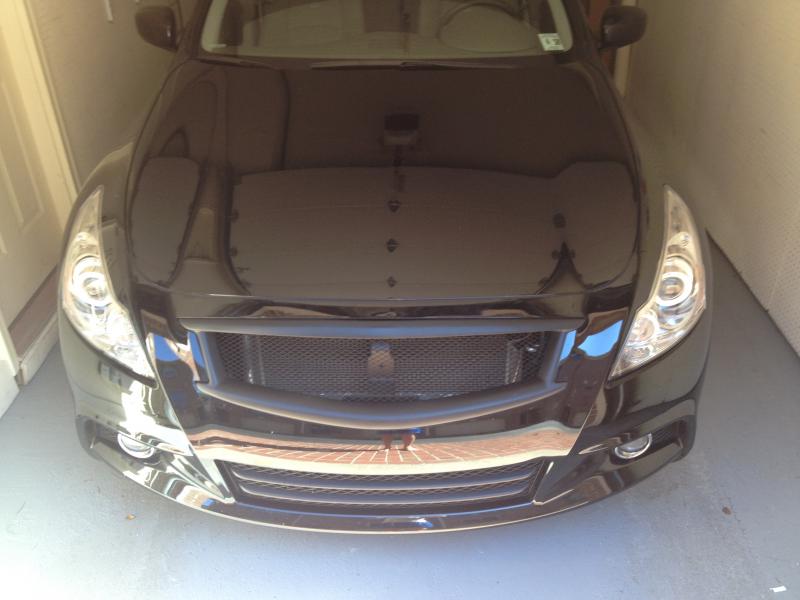
Plasti-Dip. Easy enough. I wiped the grill clean with a shop-towel sprayed with brake cleaner. 4 or 5 Successive coats with a space heater blowing on it between sprayings to accelerate drying. With PD, it's helpful to be patient. It really looks like poo the first couple of coats. Just take your time and allow the paint to spread and cover on its own. Don't try to get it all evenly all at once. It basically spreads out over time like latex paint does.
The KEY to getting the radiator cover off without cracking:
1) Once the retainer bolts and plastic clips are removed, Unbolt the white overflow tank and move it back towards the engine.
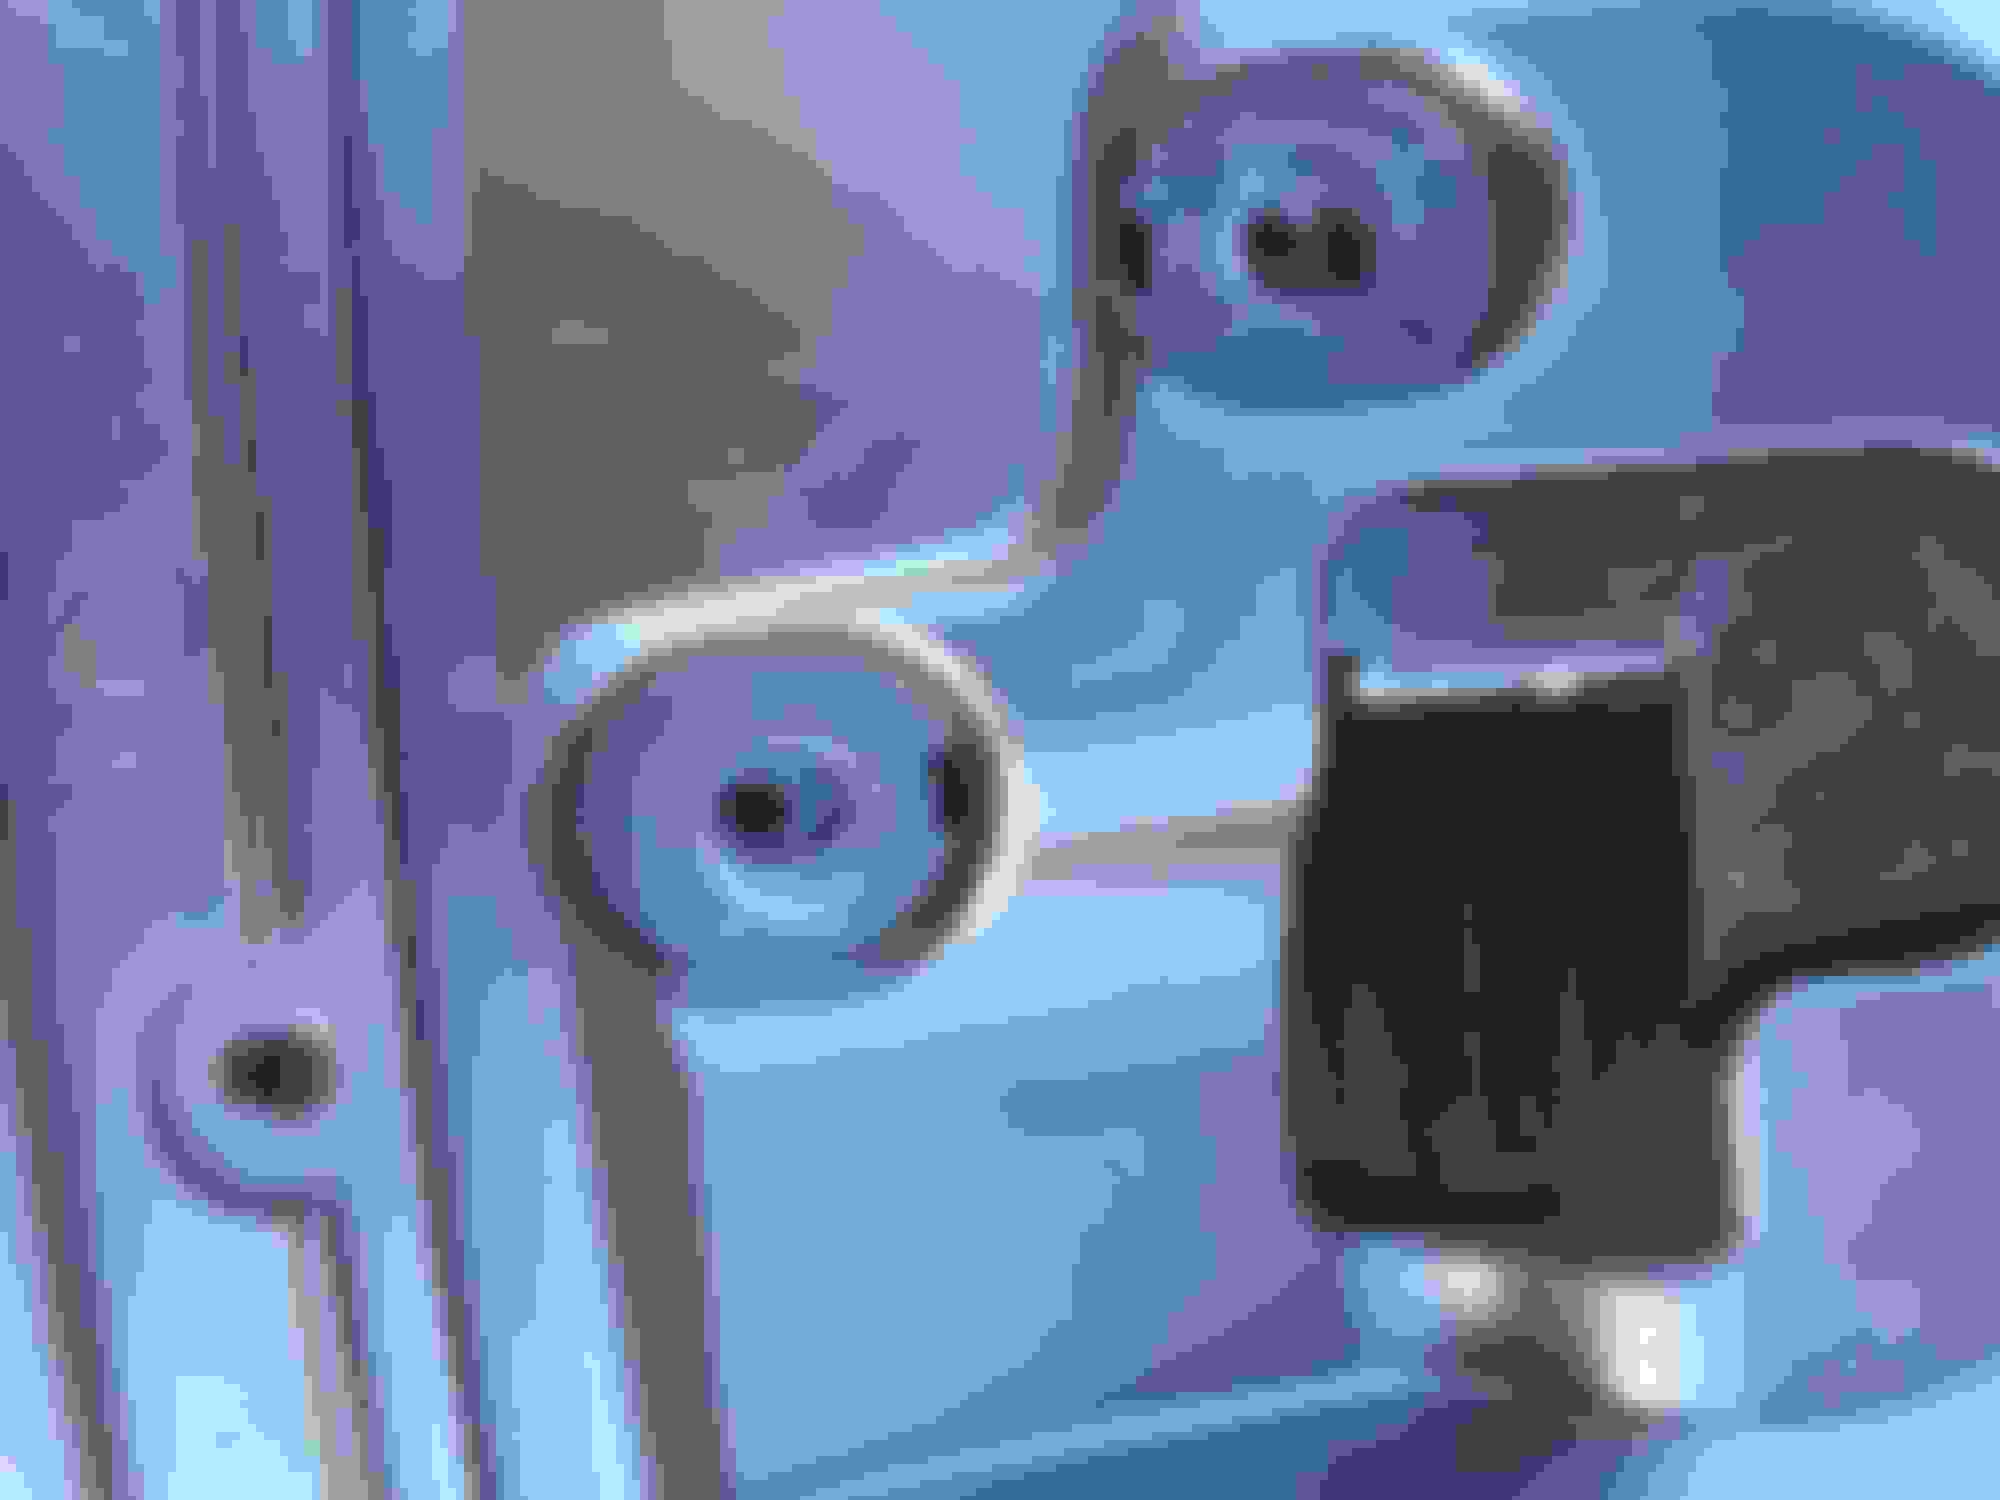
2) Pull the top, center edge of the cover backwards towards the engine and push on this center box until the two plastic pins slip inside the two holes, then lift the back end up so the pins are free of the retainer. Hard to explain but you'll understand when you're looking at it. There are additional pictures further down.
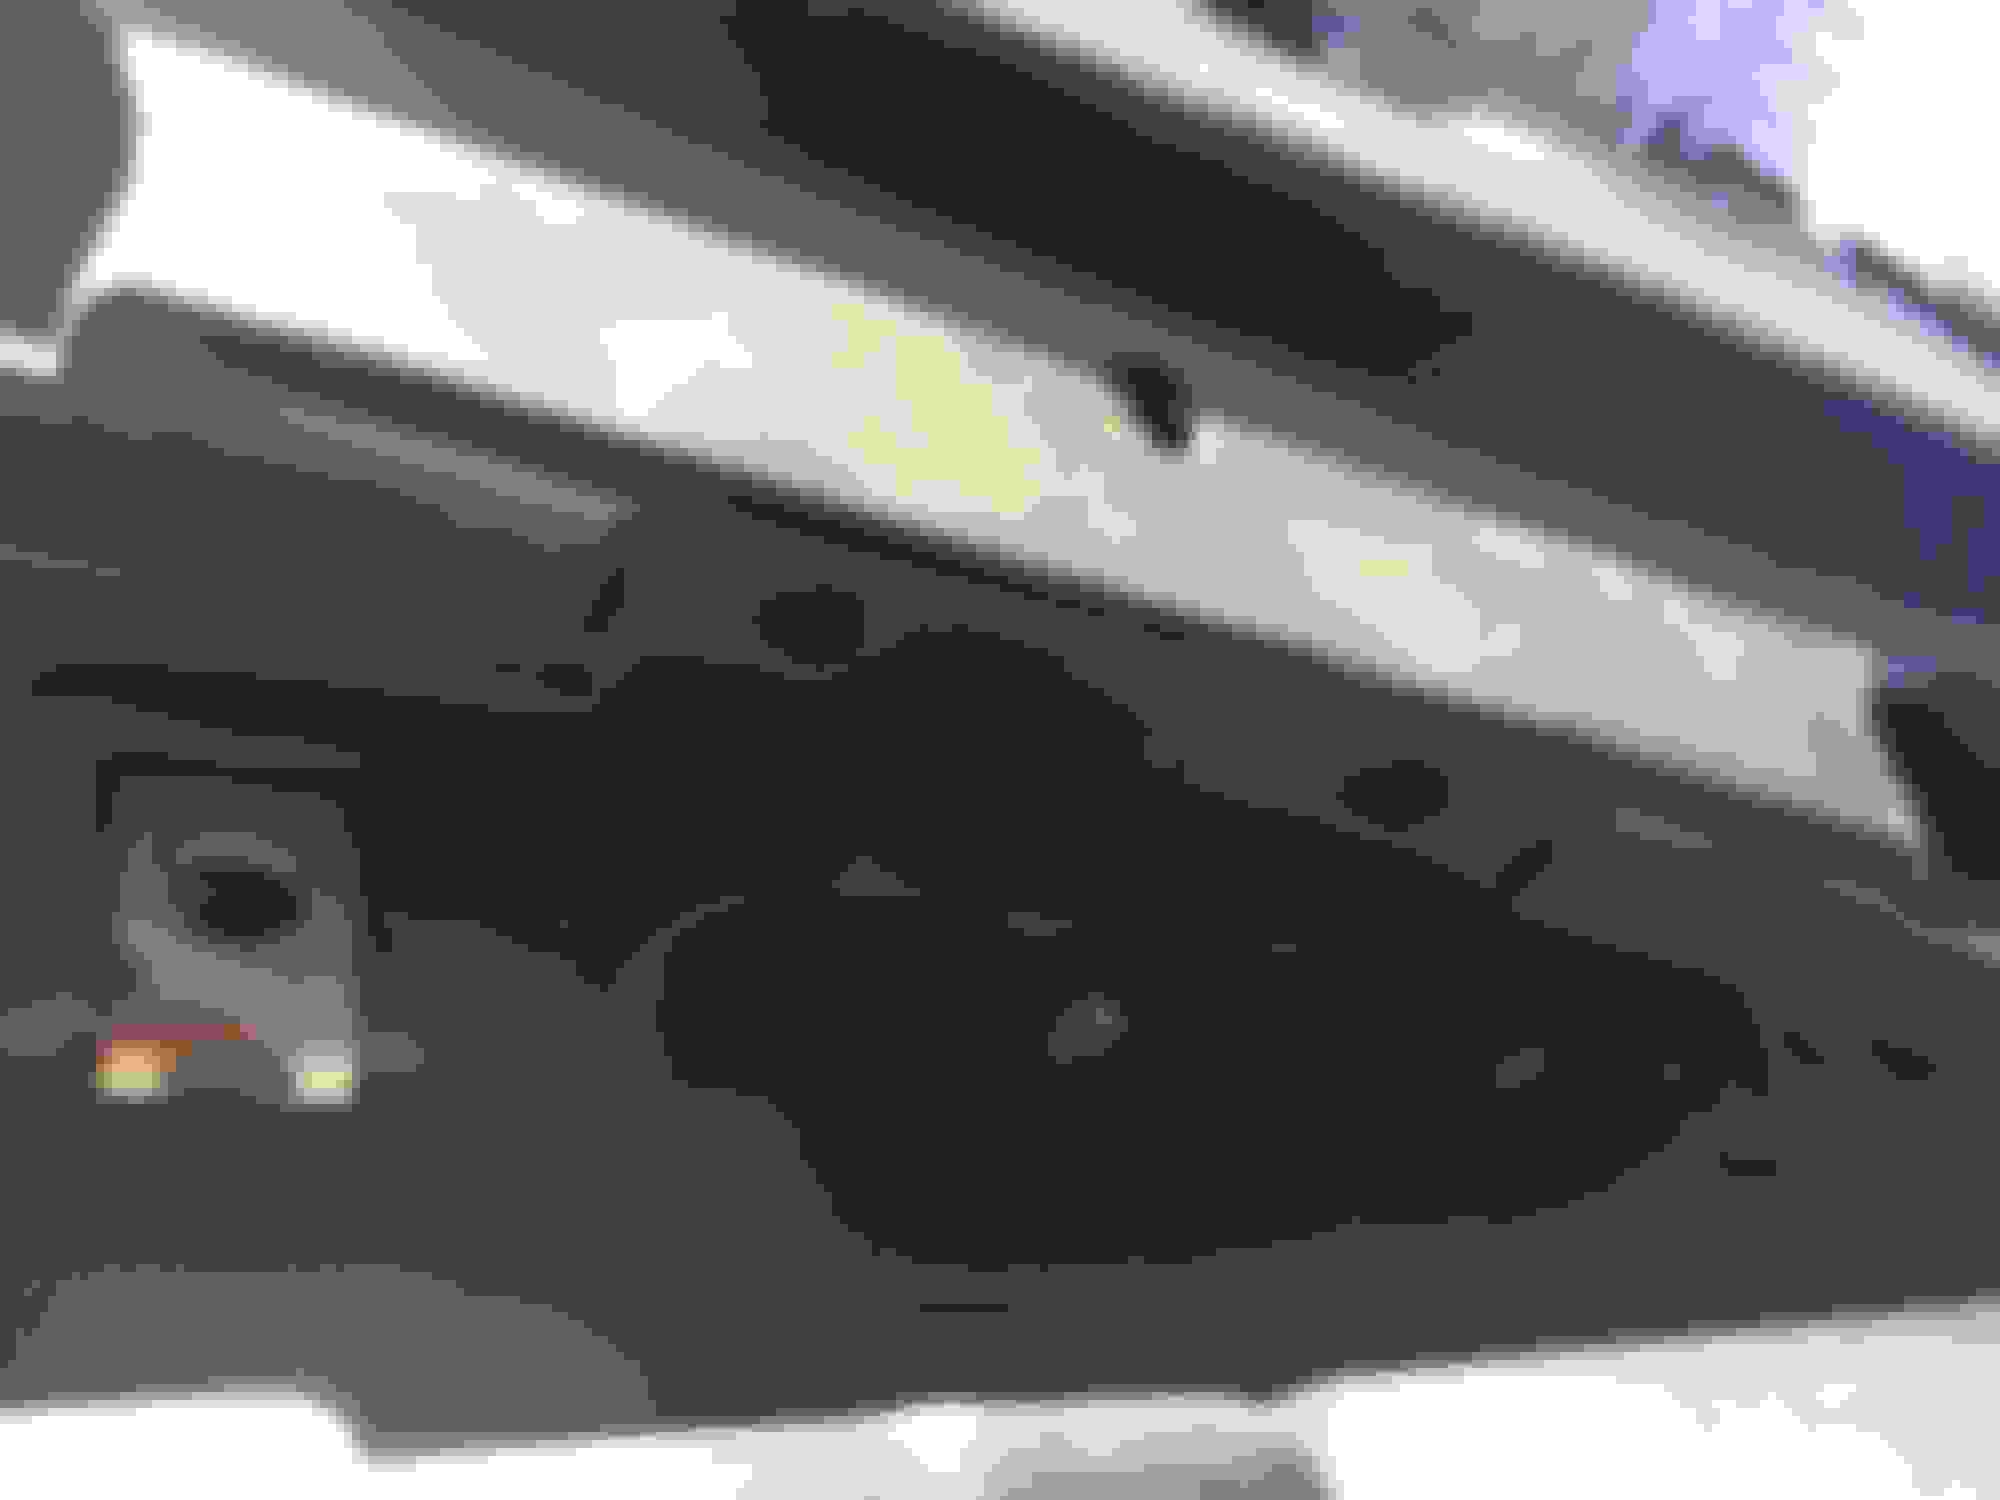
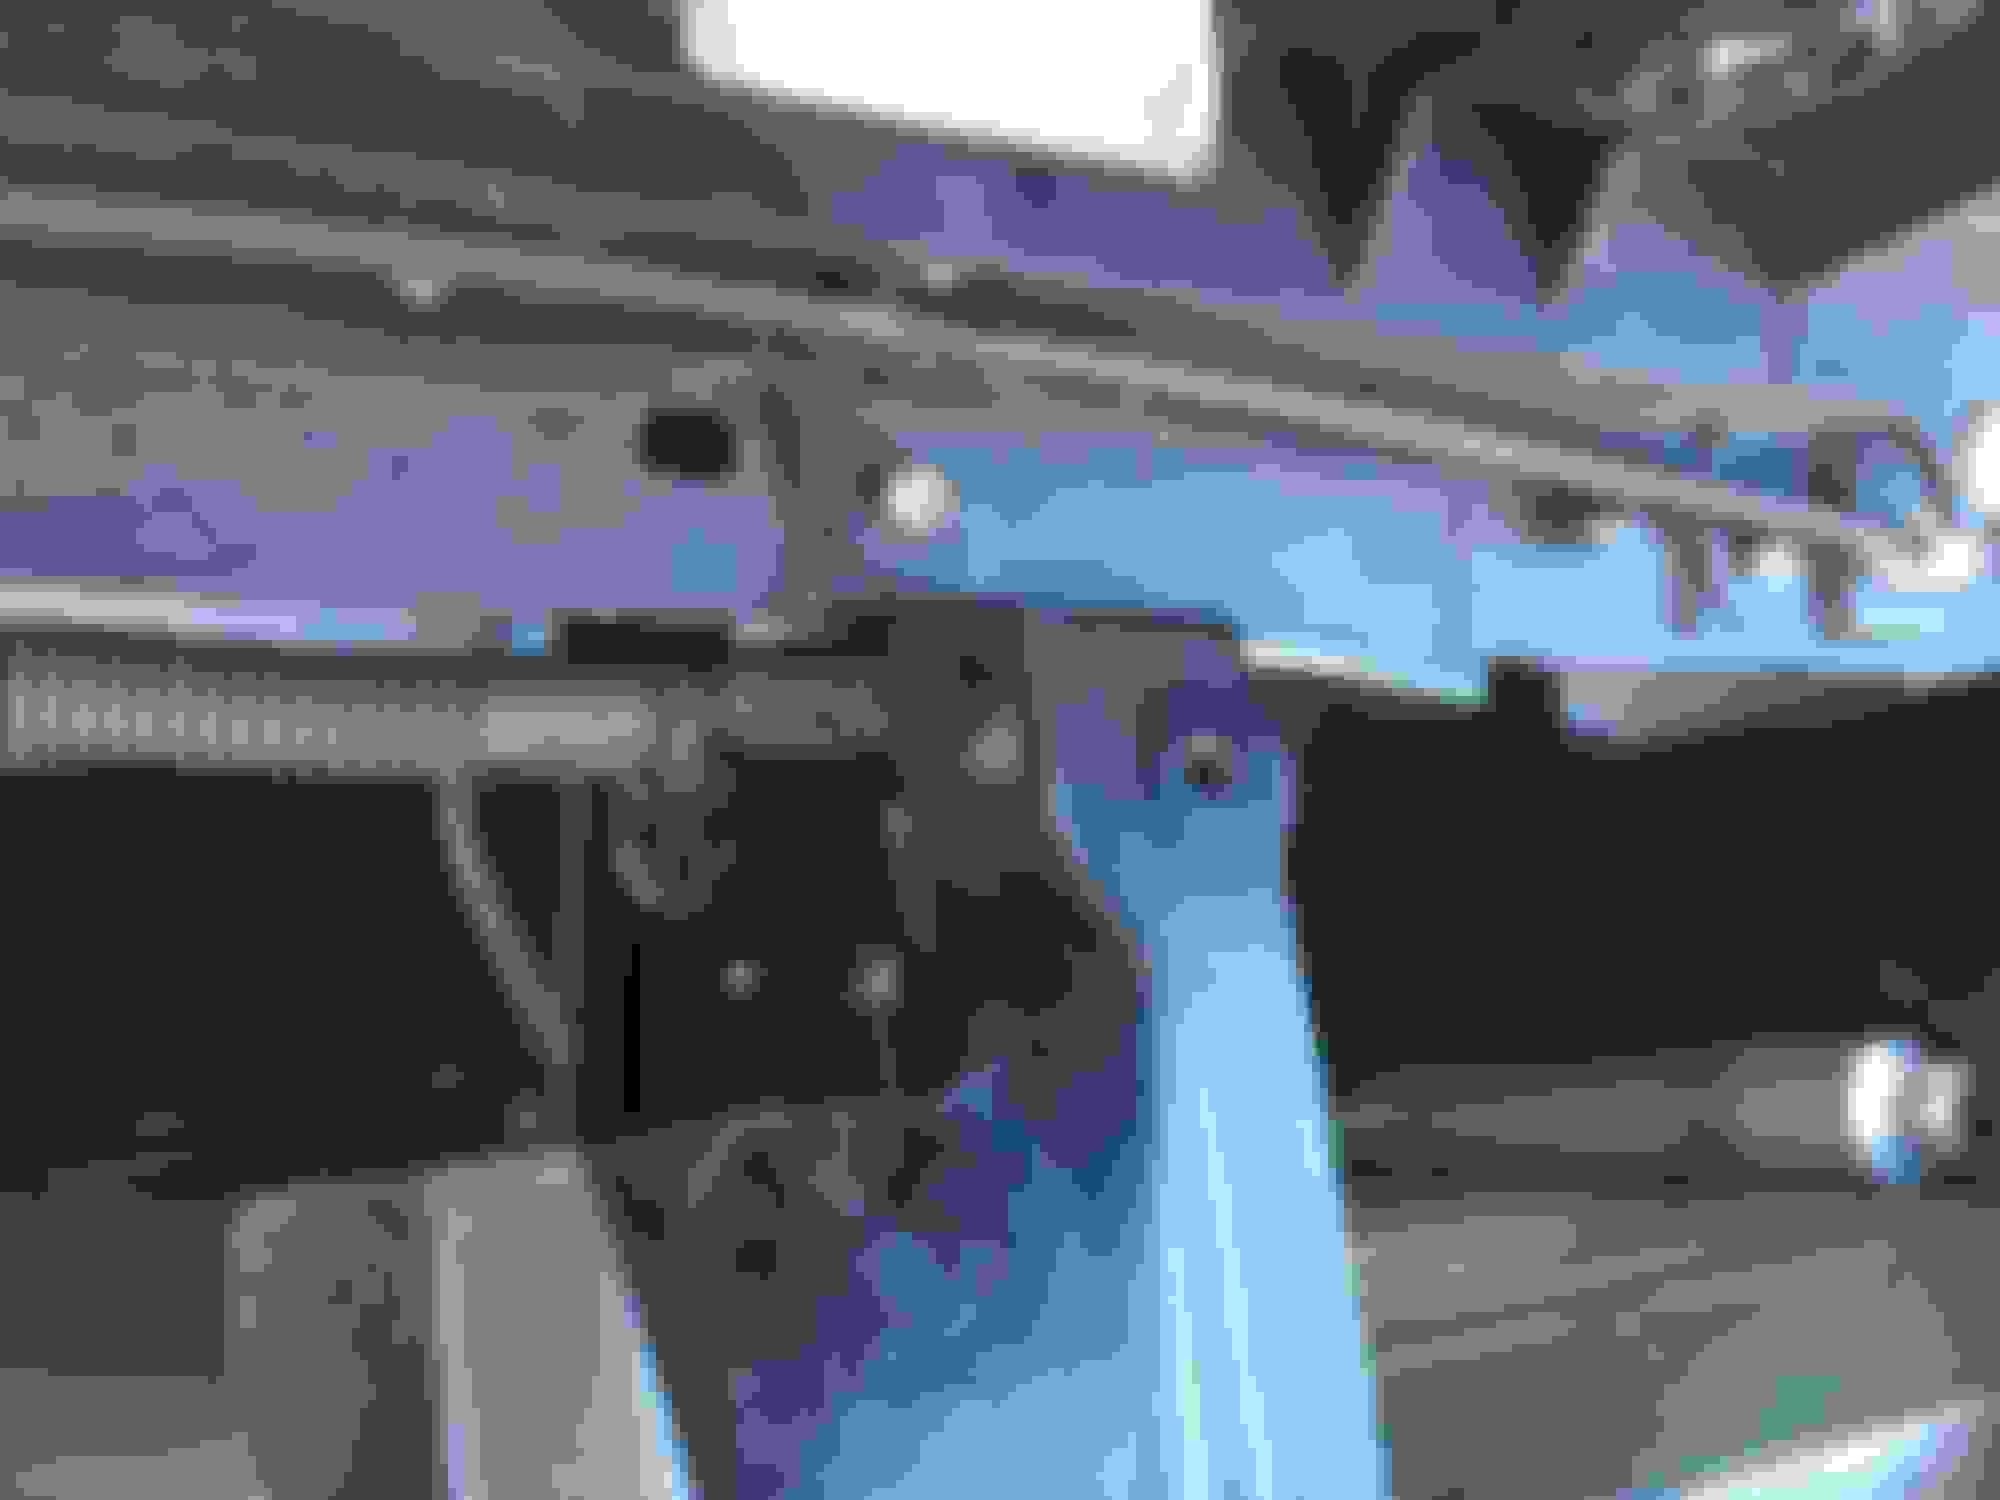
Another angle at the center retainer box, which is directly in front of the white overflow tank.
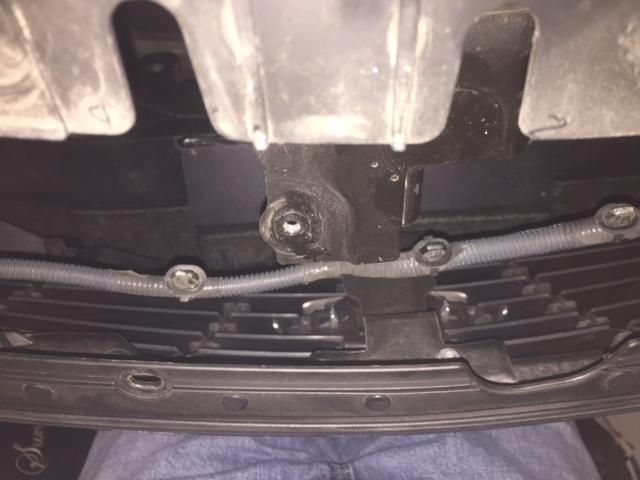
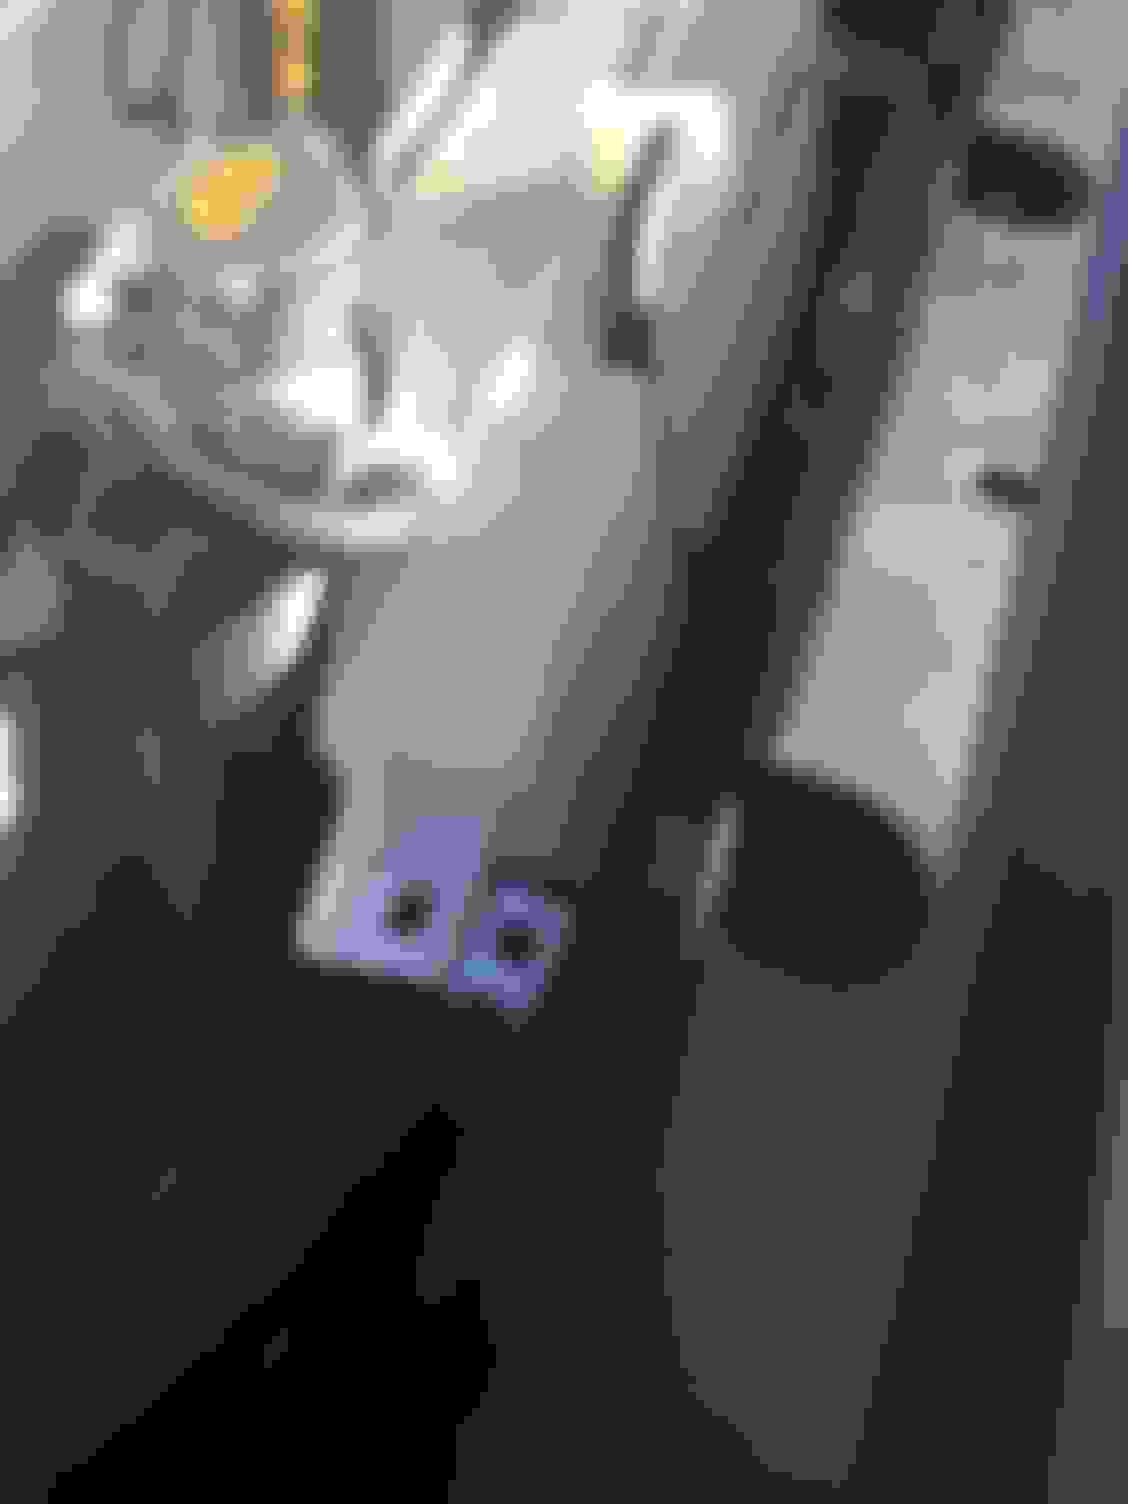
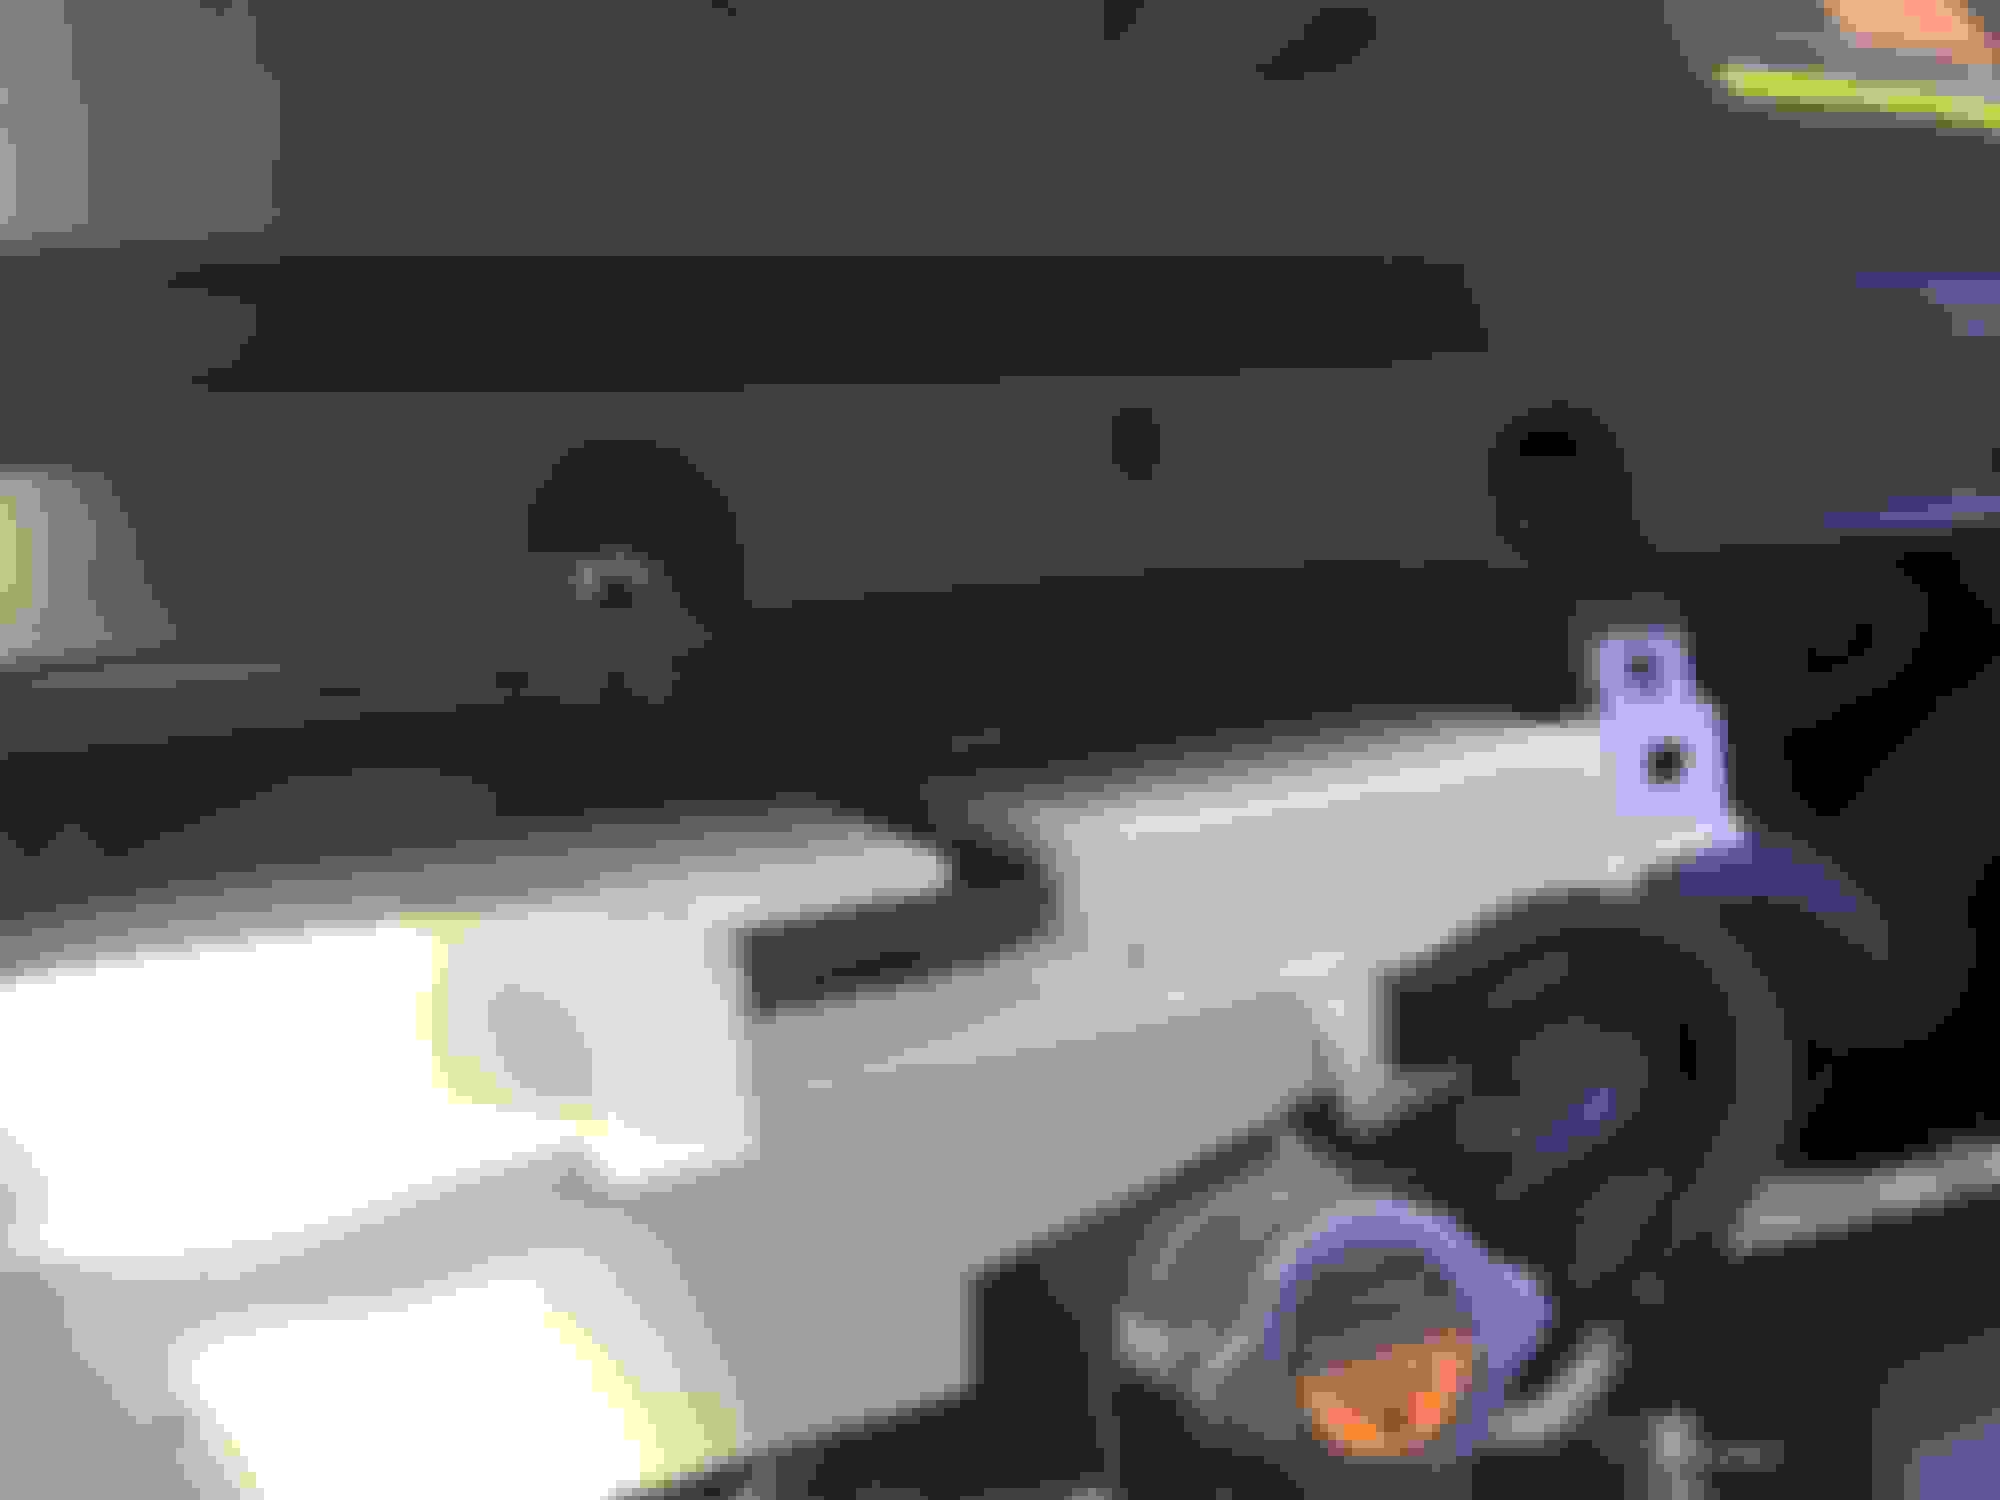
This is the white overflow tank. Two bolts to remove and just push it back out of the way.
Once you remove the 7 plastic clip pins and the 10mm bolts, remember that the cover has flanges that extend almost two inches under the upper bumper ridge. Take your time, unhook the central dual retainer pins in the back by the overflow tank first, then you will have leeway to bull the cover back towards the engine and work your way across from the passenger side first. (I found that easier) Pull the flanges out and over the bumper ridge. *You won't be able to lift the cover yet as there is a large cable bundle clipped to it.
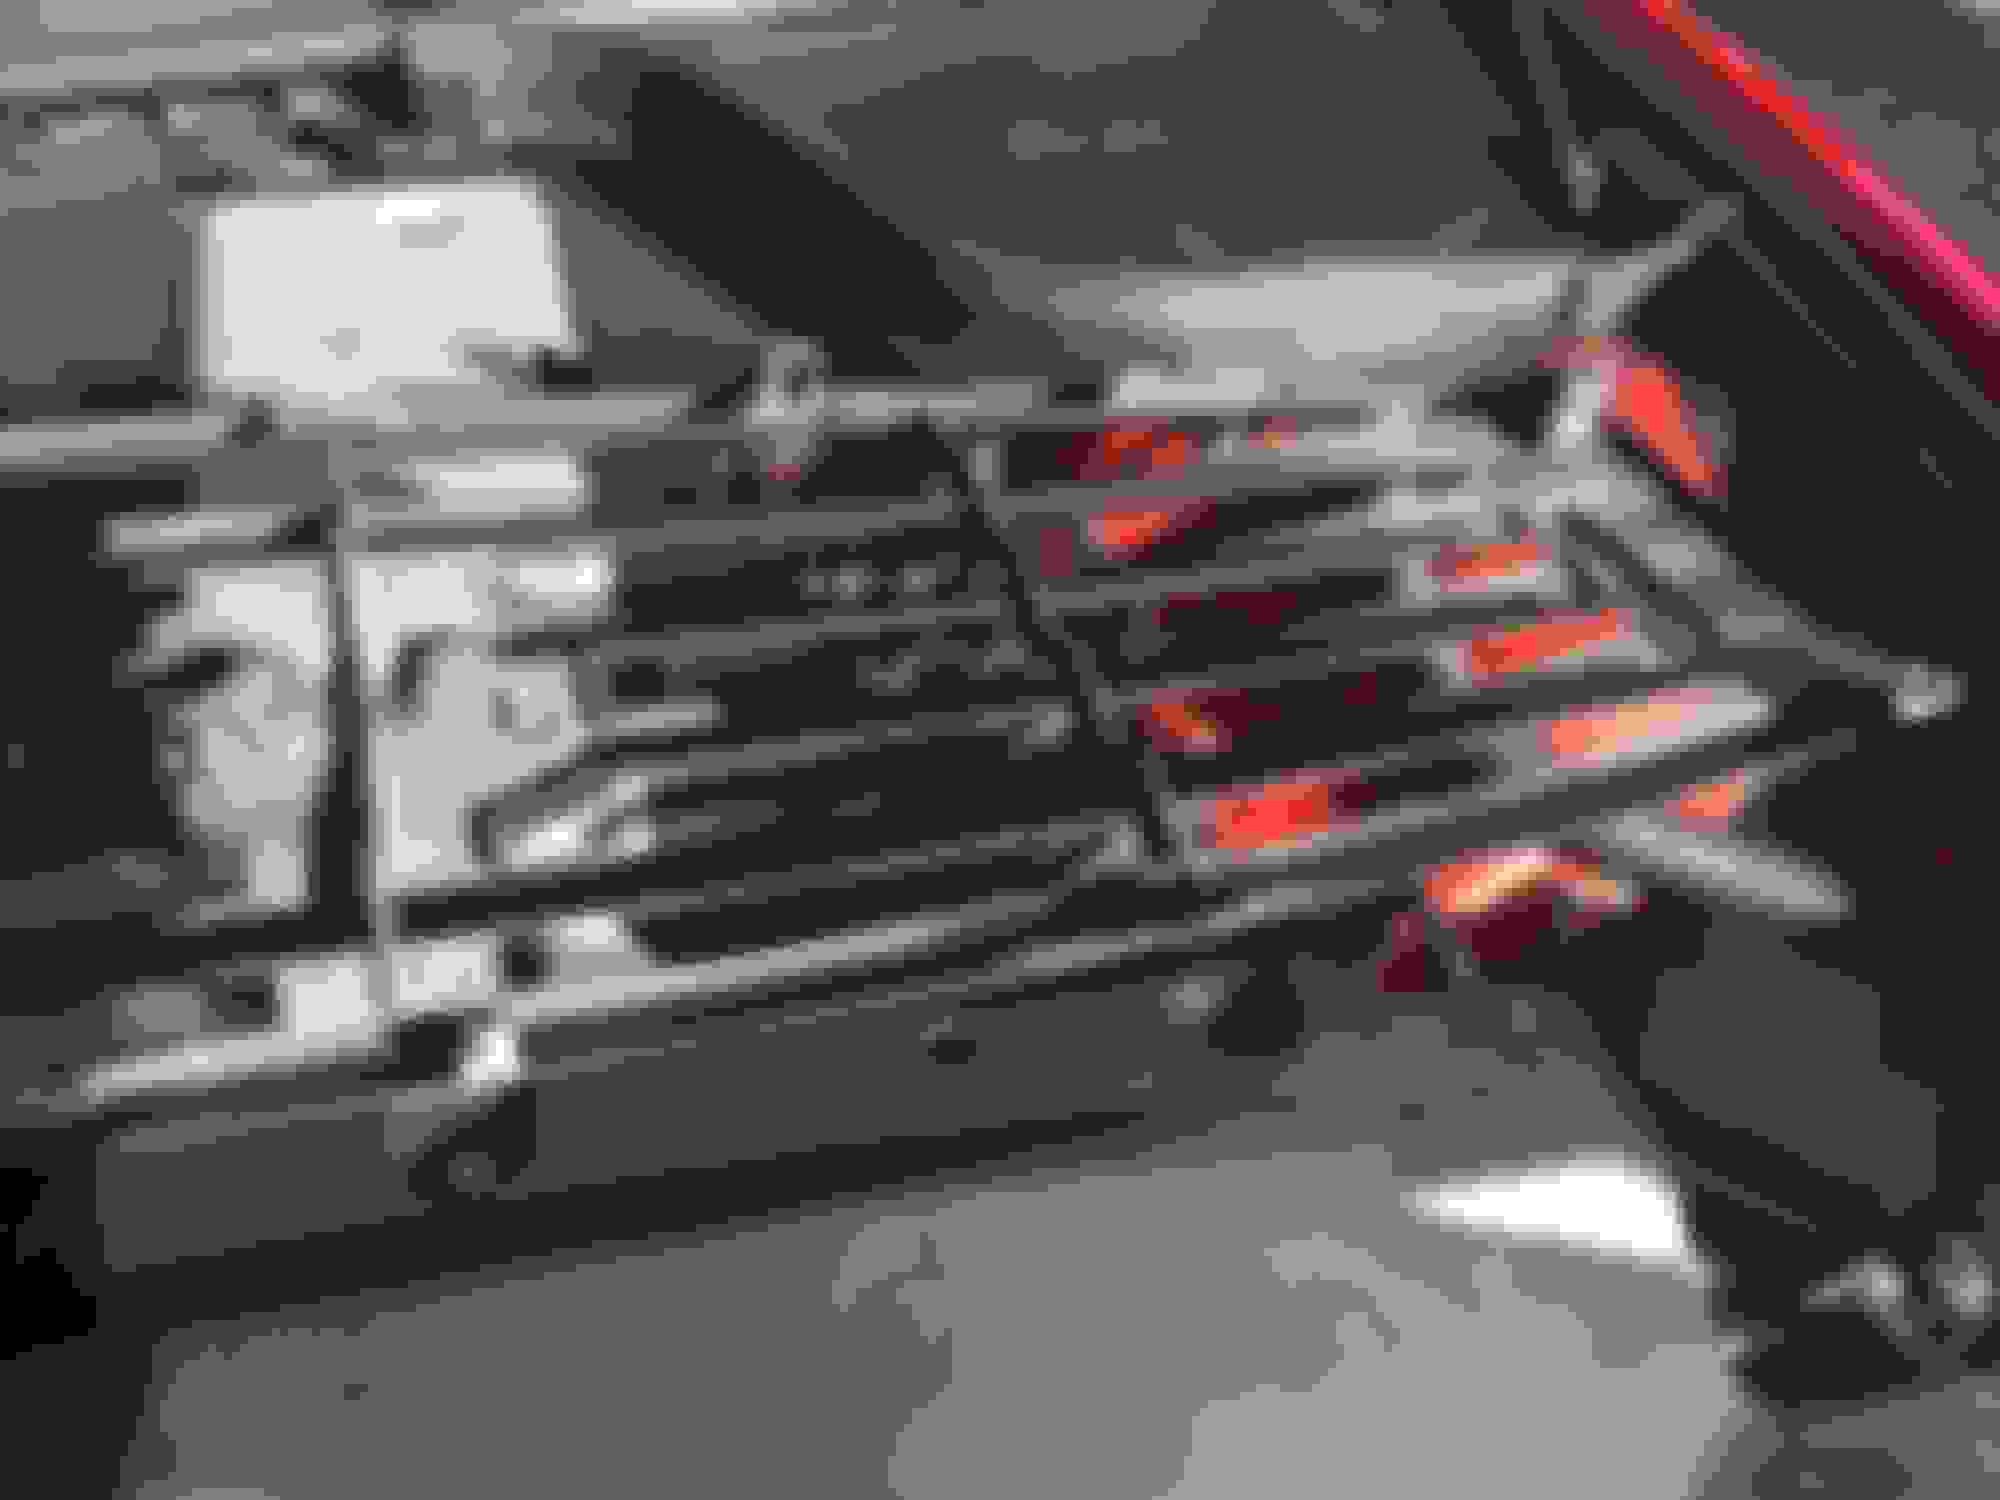
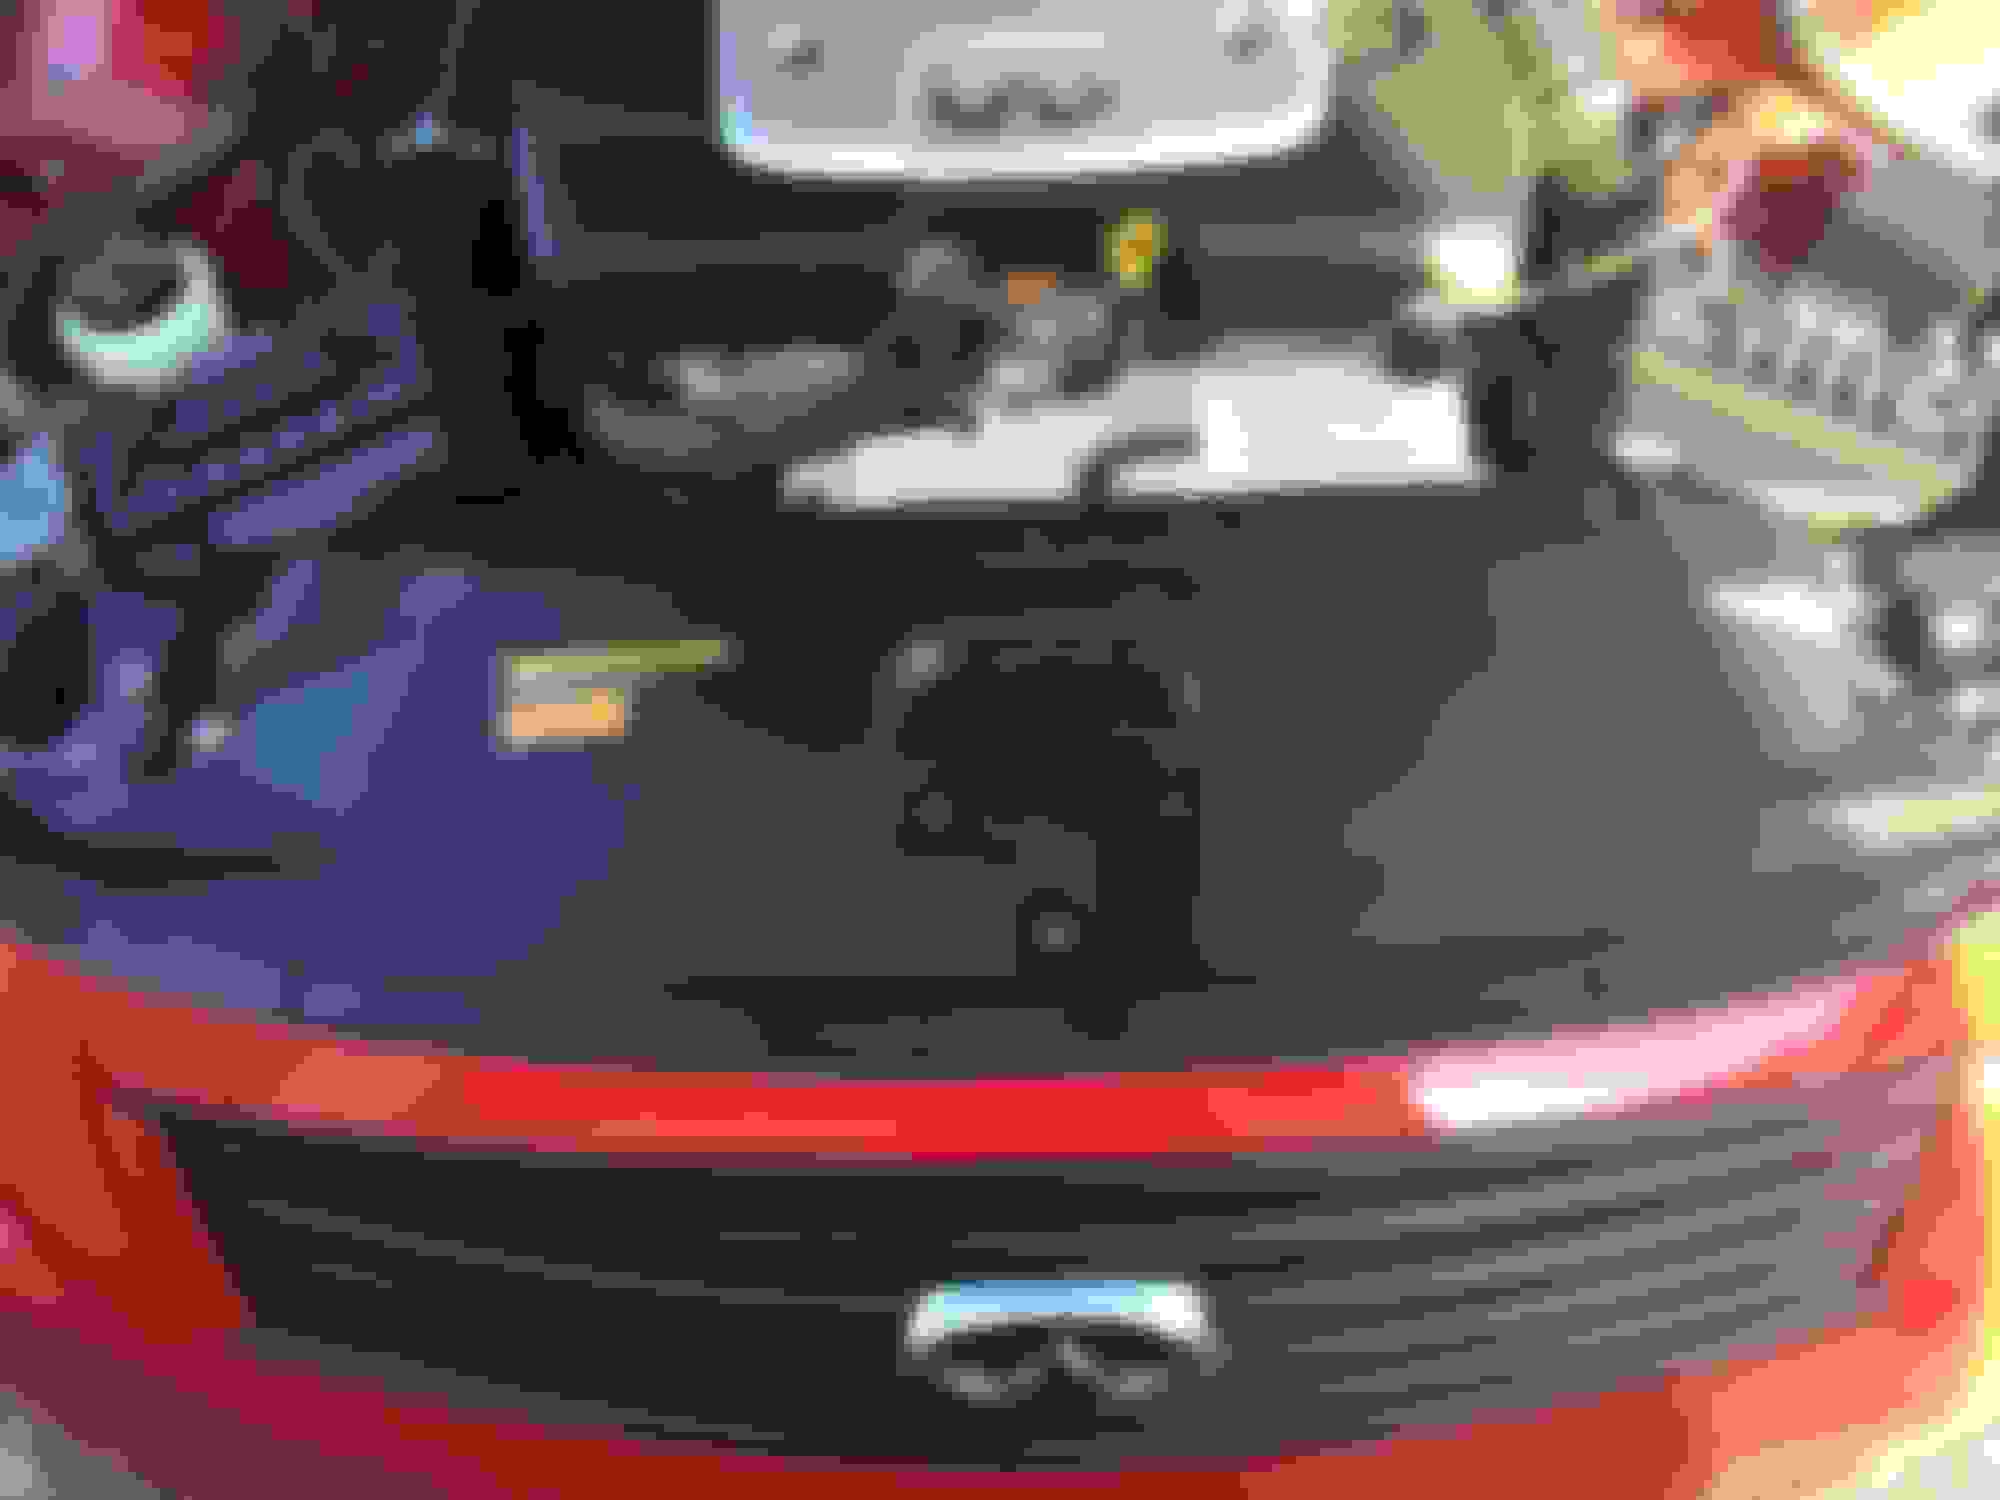
Apologies for the lack of order but this is what the grill looks like, note the clips and screws. The bolts on the screws are very low torque. Don't get hamfisted removing or replacing.
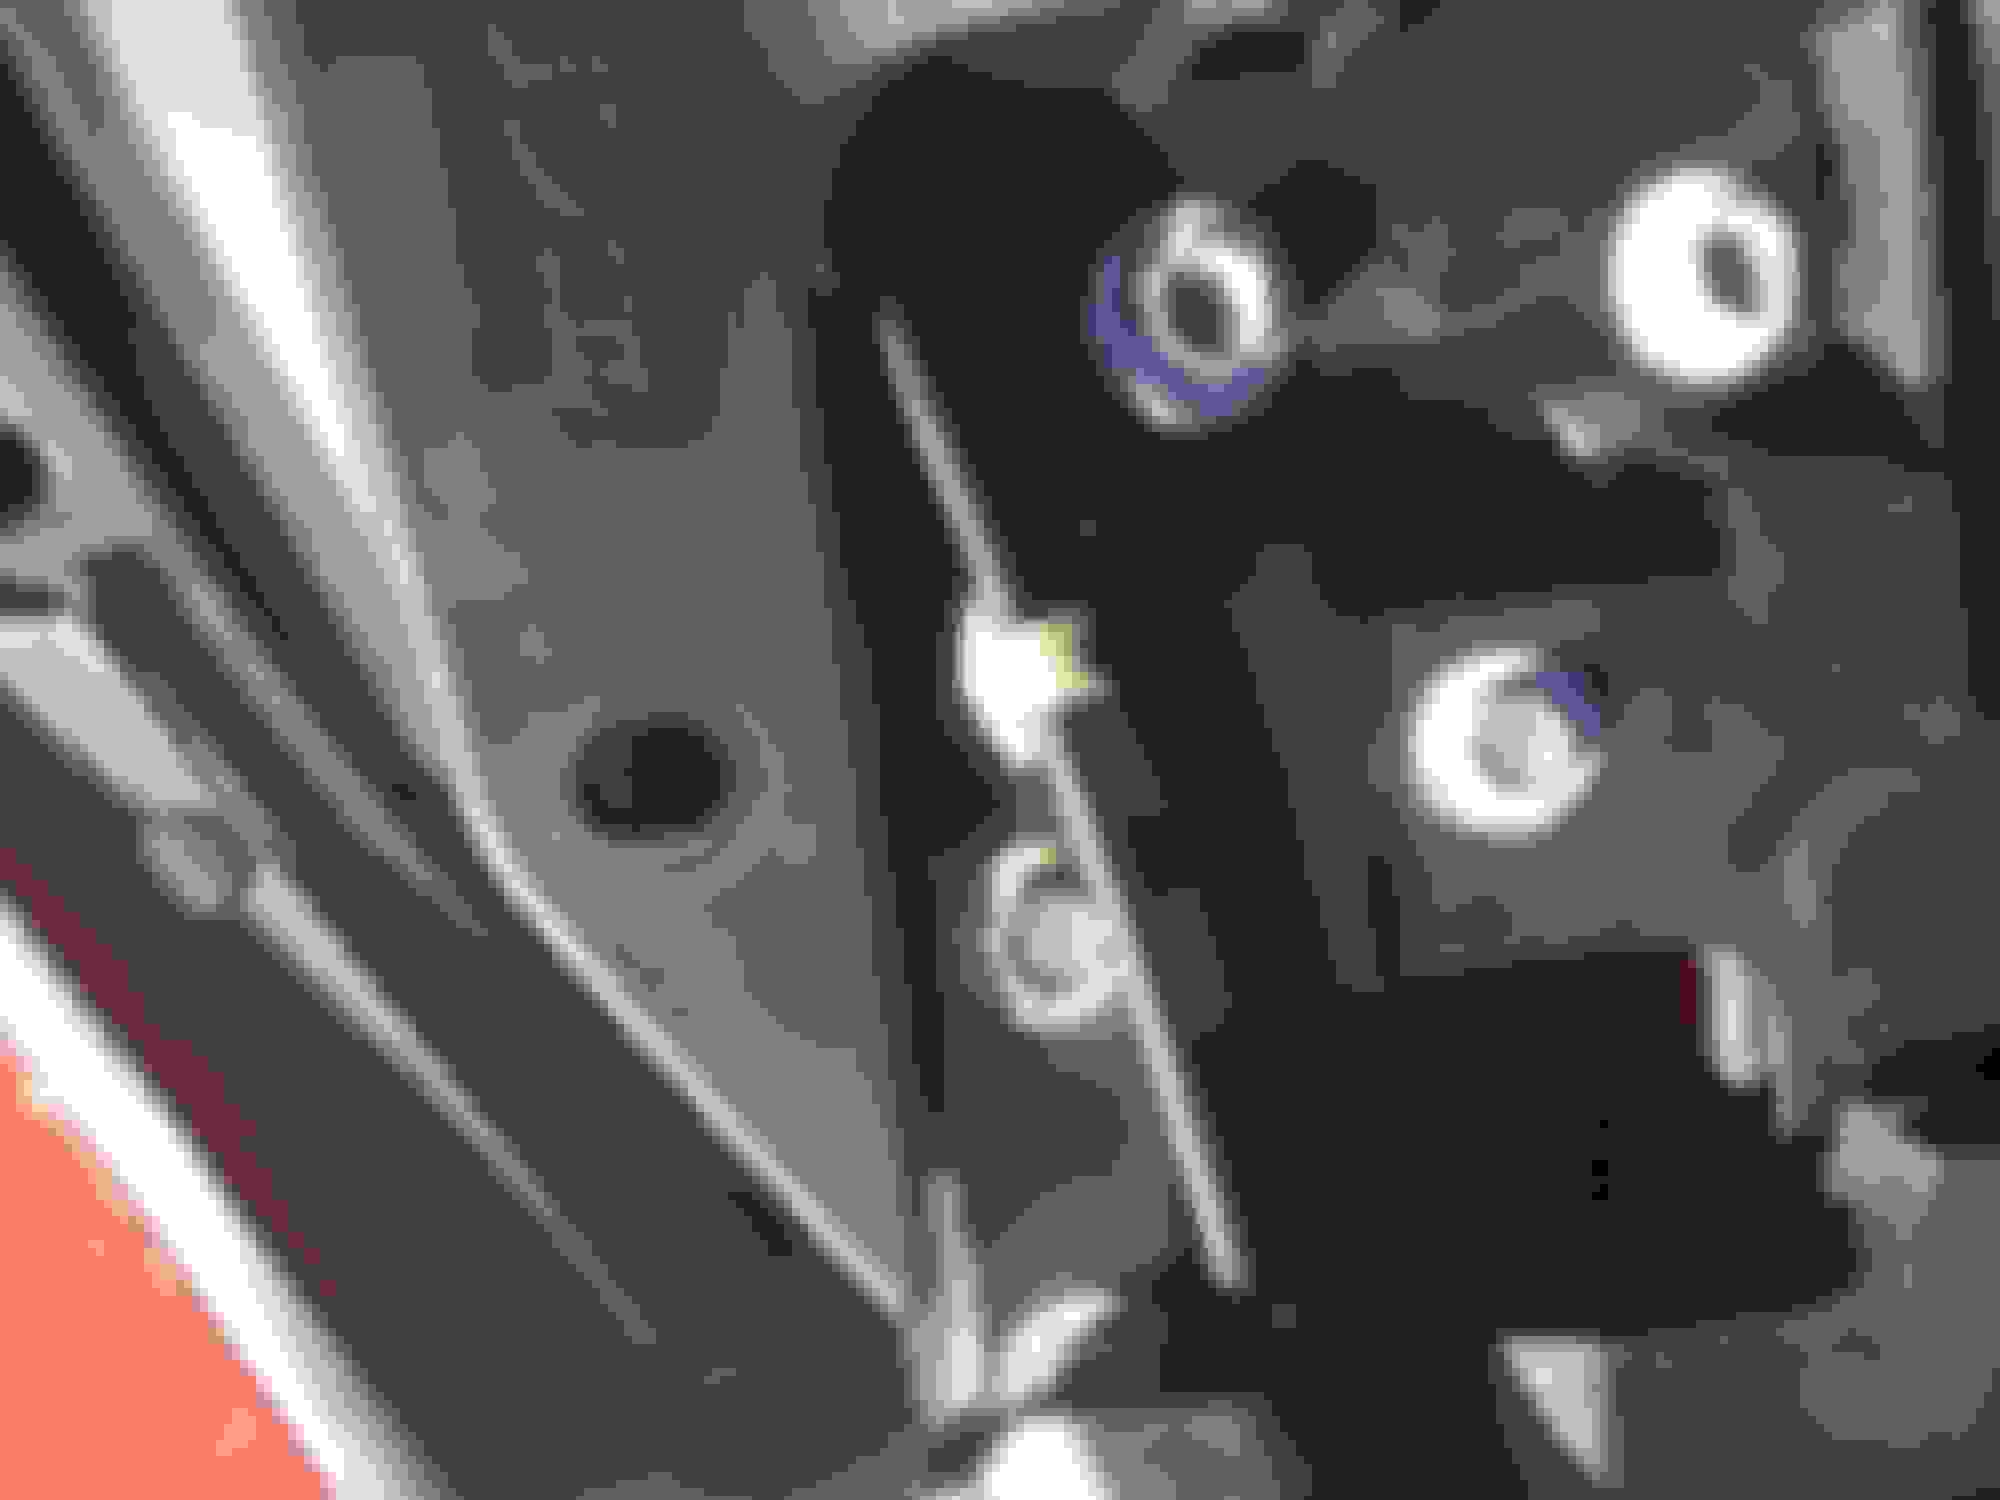
The next two shots show the cable bundle and retainer clips that hold it to the radiator cover. You cannot lift the cover while they are clipped in. Use needle-nose pliers, squeeze the long ends of the clips and push them out.
It seems to make the most sense to start on the driver side and work across as that end is the tightest. Be mindful of the thin wires for the horn.
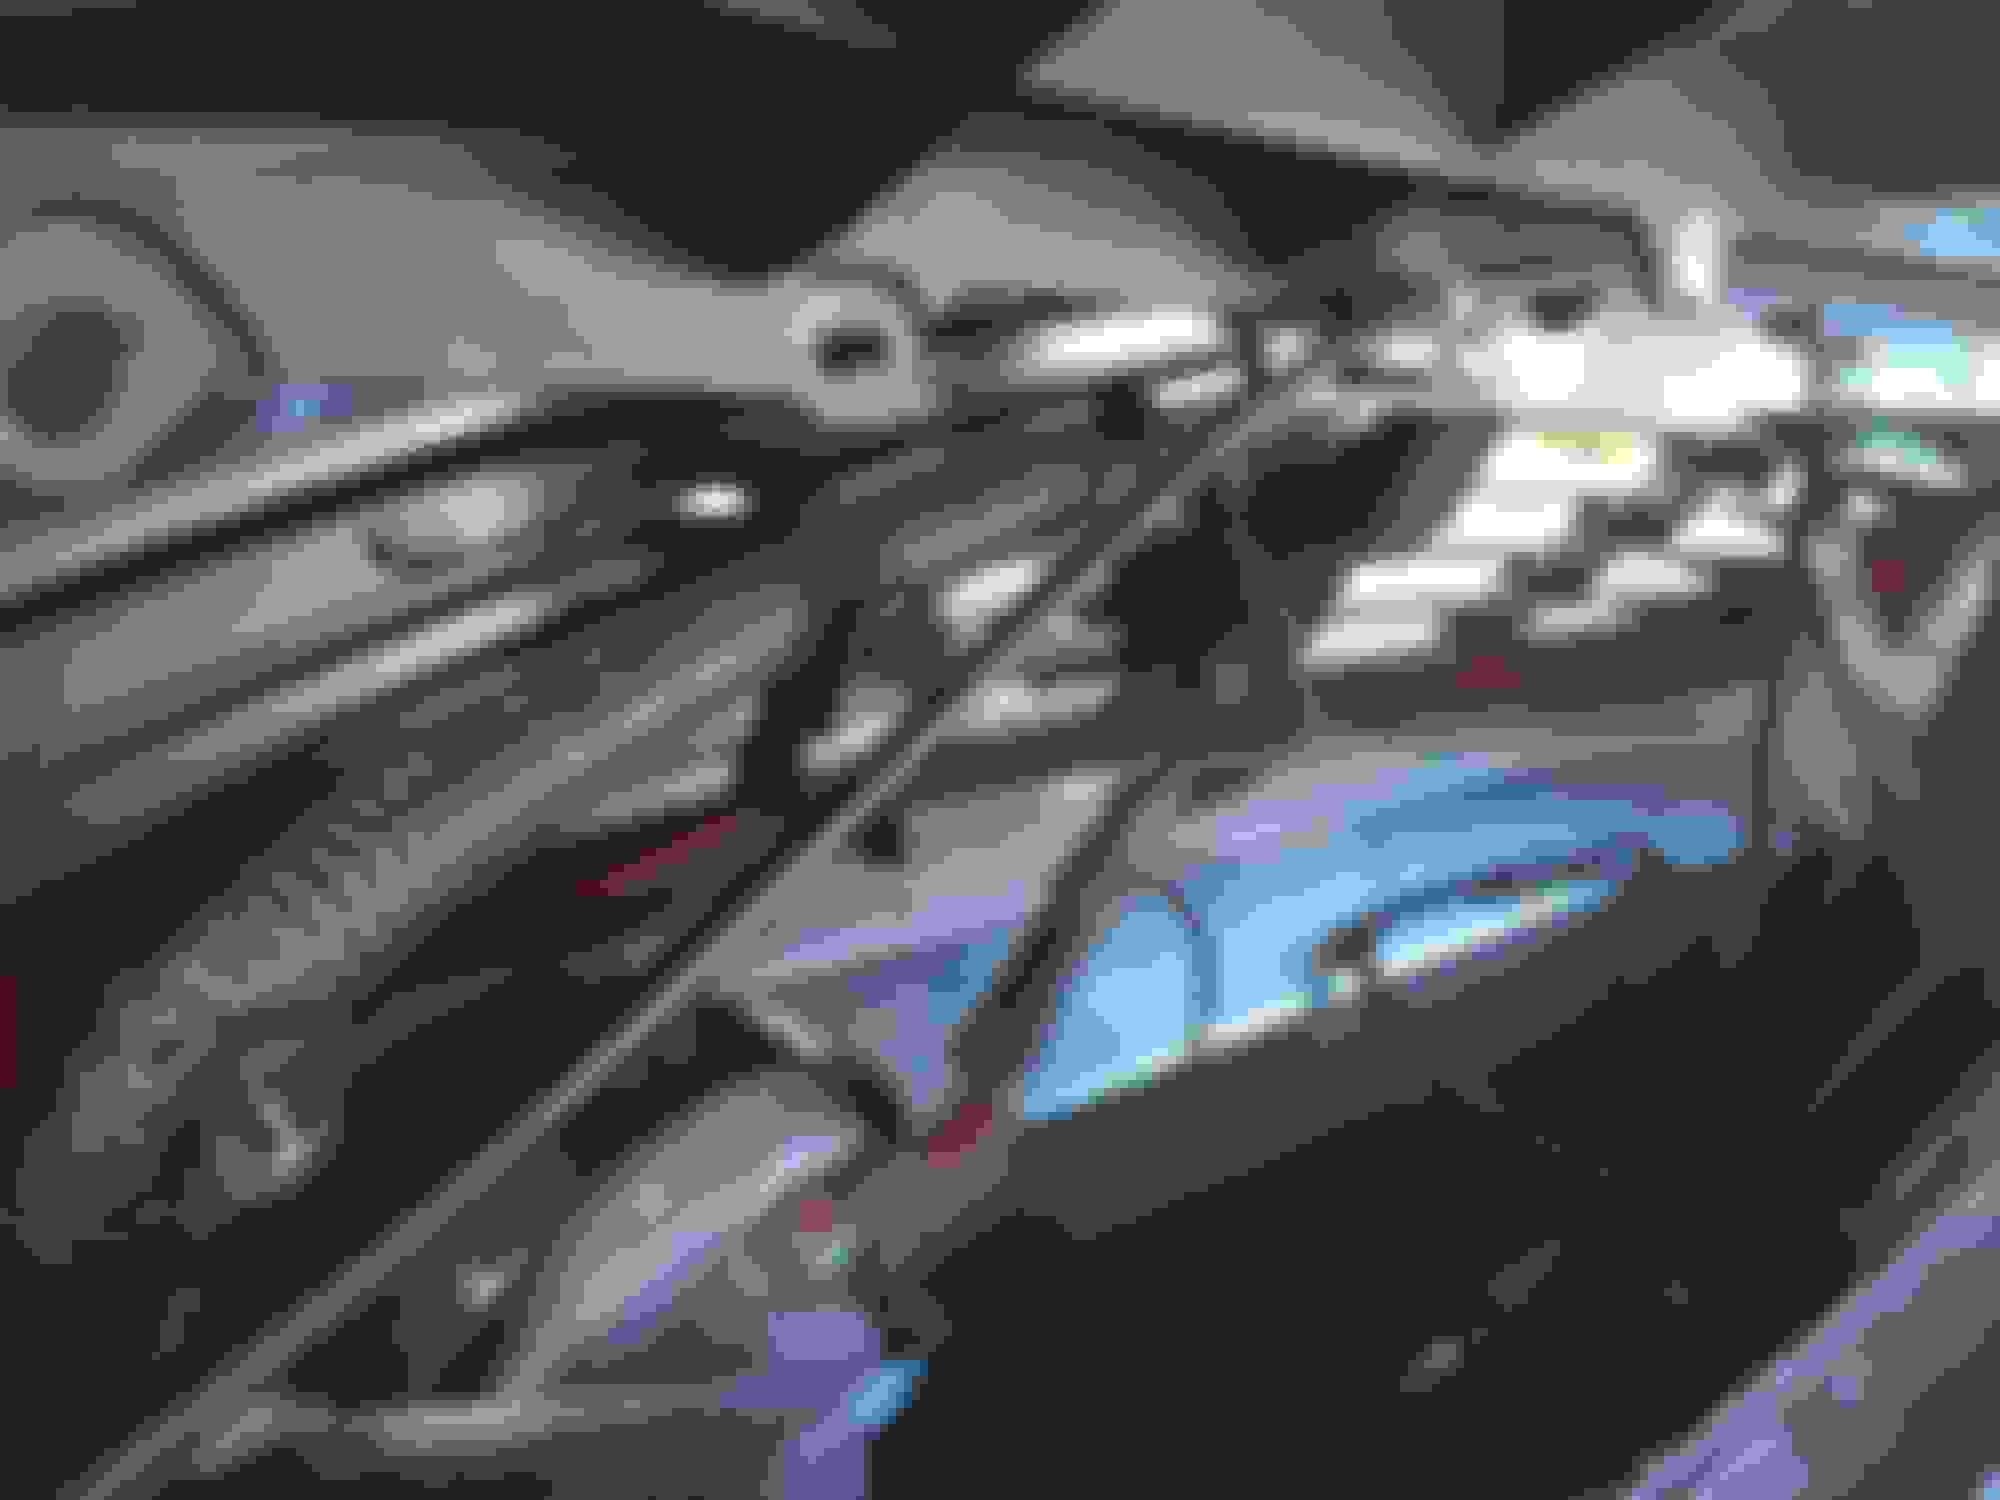
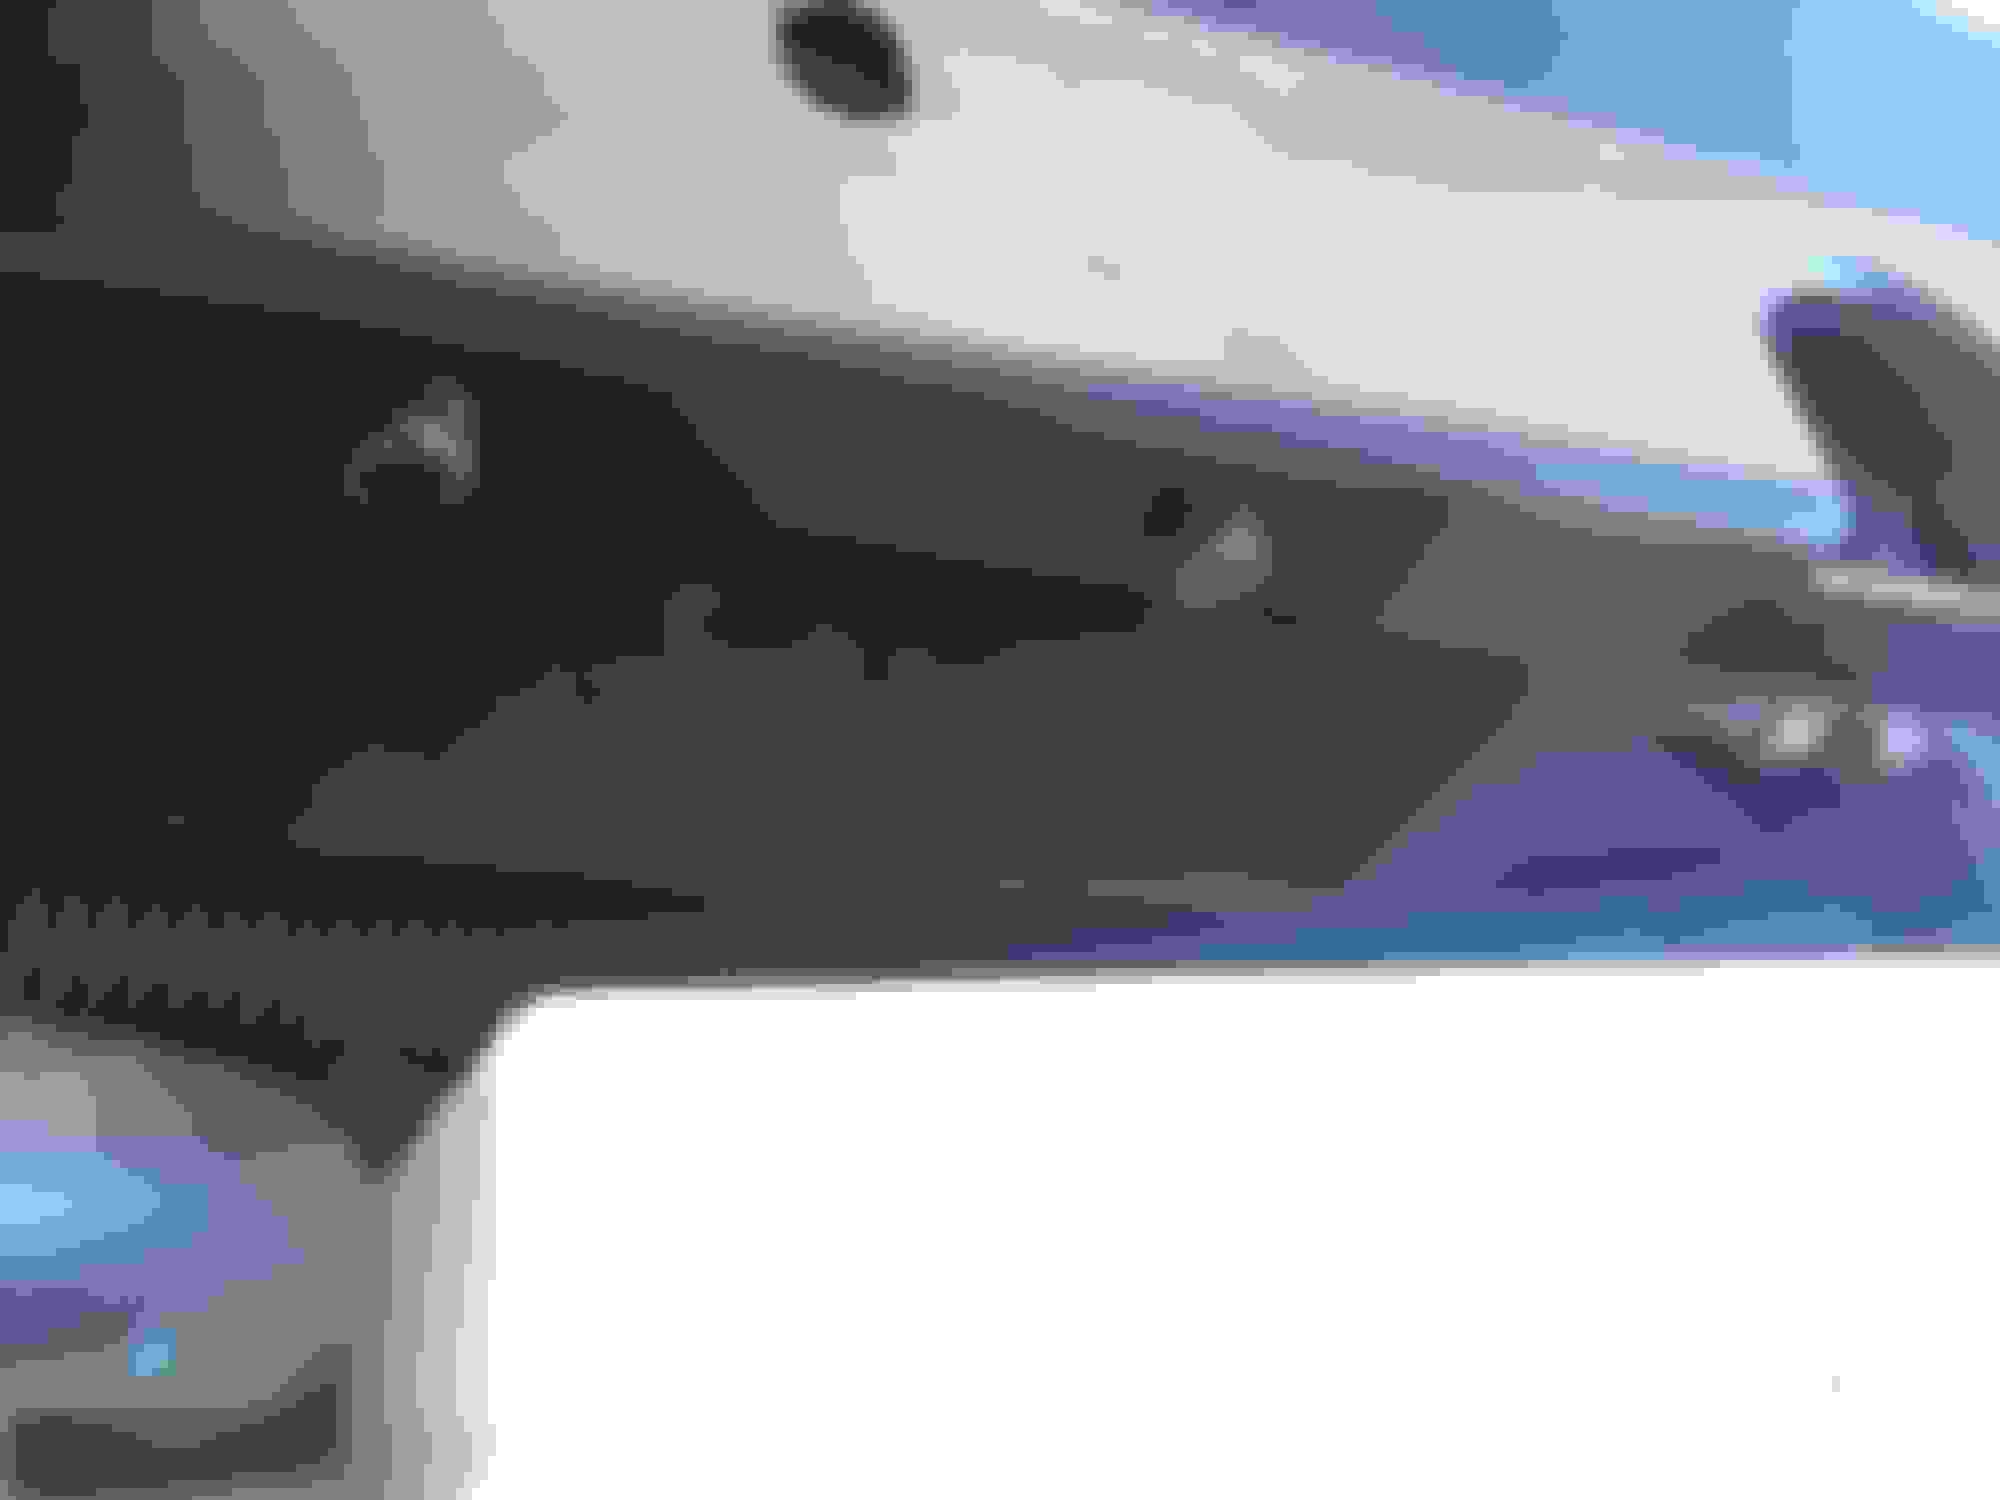
This is the central striker/catch for the hood lock. When reassembling, make sure the narrow release cable housing does not get snagged/trapped over the center mounting bracket. I noticed it running under the bolt hole that is directly in front of the latch well.
I pushed it forward to slip it off the bracket as it does not belong there. I think someone above mentioned to look out for this as well. It can foul up the hood release otherwise.
Release cable housing on the driver's side. This is where it belongs and this part won't move during this project.
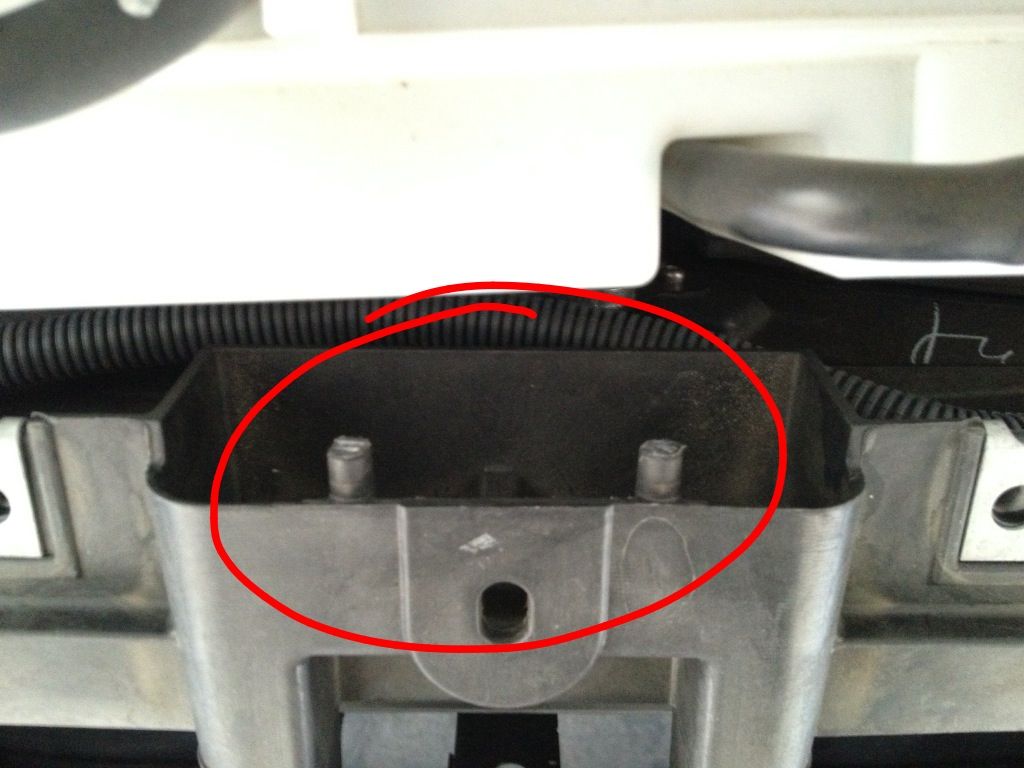
When reassembling(Or removing) this is what the central retainer box looks like. This is directly in front of the white overflow tank. Someone mentioned you can nip the ends off these plastic pins to ease removal. I did not find that necessary HOWEVER his notes about how important they are cannot be overstated. His tips saved me a spit-ton of trouble and time. This is literally the lynch-pin to the whole removal.
Props for pointing it out.
Overflow tank, notice the central retainer pins directly in front of it.
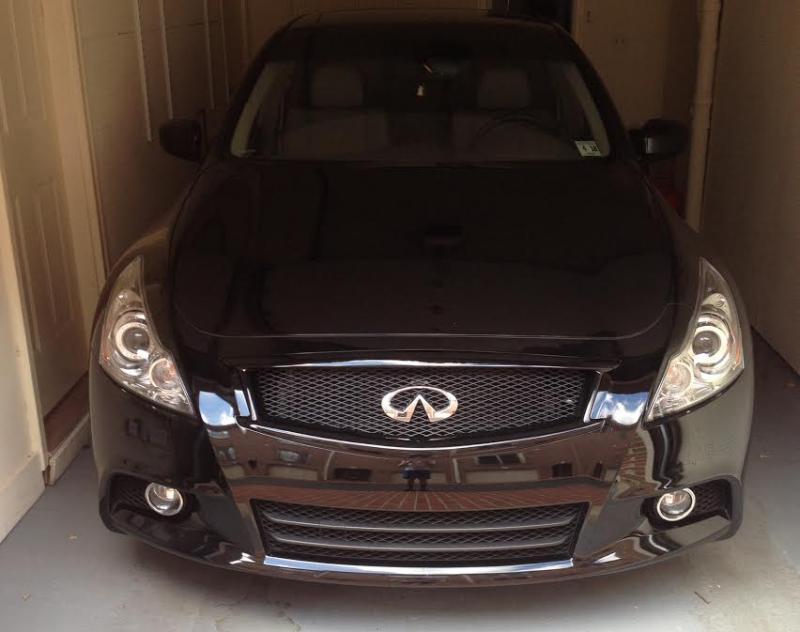
Nice and neat, reassembly 15 minutes, SWEET!
I initially wanted a gloss finish but after looking at the matte, decided to stay with it. I tested using the Krylon "glossifyer" on a sample piece of plastic painted with black Plasti-dip. Either the two products are not compatible (as the label warns) or its not really very good. It ended up with a tacky, semi-gloss finish, as oppose to satin-ish, egg-shell finish here. I can't see much use in having a sticky grille. If I really want a gloss finish then I'll just peel the PD off and start over with real paint and clear coating. Meanwhile I get to see if I really prefer a black grill...and I do.
On to my next project...well maybe a little drive first!
 09-08-2014, 09:56 PM


 Took me about 30 minutes. One thing that I noticed that I didnt see on here or maybe I just missed it. When I got the cover mostly off I noticed a large tube of wires clipped in with about 6 or 7 of the gray clips you see. I know someone mentioned a wire but I dont know if it was the big one you see in the pics. Anyways, you just squeeze them from the sides and the pop out. The white one with the thin wire I didnt even worry about I left it as is.