When you click on links to various merchants on this site and make a purchase, this can result in this site earning a commission. Affiliate programs and affiliations include, but are not limited to, the eBay Partner Network.
I forgot to mention how it was necessary for me to drain the radiator to escape coolant from the driver side area piping above the header/ manifold and then remove those pipes, there was just no way for me to work there without doing so. Maybe somewhere around a gallon came out, but the way the radiator drain plug is designed is a joy to me, compared to other cars' jumbo yet fragile & sloppy plastic half turn plugs that are hard to reach and can get chewed up by a tool too easily.
This robo-grip is rarely used, but is perfect width for this, I just flatten the sides with another pliers. They are longer and can shorten them later.
It just says it has water and non hazardous ingredients so the active ingredient is unclear. I was worried, then I saw a few you tubers using vinegar and citric acid in cats. It could be phosphate, acetate or citrate, I tasted a dab, no real taste or smell. I assume it is not going to attack the precious metals of the core, they may be impervious to a lot of chemicals, but still am gambling because I don't know for sure. I just choose this vs. other known acids. The WD-40 video just shows a guy picking up tools right out of the solution with his bare hands. It's probably one of those proprietary things, and was produced to be under the legal necessity to not have to disclose what's in it.
The only clue in the entire document is this block at the top of page 3:
Conditions to Avoid: Avoid freezing and extreme temperatures. Incompatible Materials: Strong acids. Hazardous Decomposition Products: Thermal decomposition will release oxides of carbon, and oxides of phosphorous
CLR lists on the label that is contains Lactic Acid & Lauramine Oxide. They list as OSHA hazards. An older MSDS also had Gluconic Acid, also an OSHA hazard.
I soaked these zinc plated nuts for days (in the wd40 product) and it does not strip that, and zinc is a long way down the food chain from platinum and paladium.
Last edited by Justin Bailey; 08-05-2018 at 06:07 PM.
I am using high temp paints, but if I was starting all over, I think I would have gotten kbs zinc high temp primer, at least to hit the flanges, that may have proved beneficial to prevent rust better, but I was so adamant about totally removing the rust so well that I just felt satisfied at the time with just the paint, so I will have to see. They claim only 1200 degree for the primer and 1500 for the paint, this led me to say why not just use the paint alone, but how hot will things really get. 6-700 at wot doing doing 0-100 mph pulling? IDK.
Besides all that, the parts most vulnerable to rust are already pitted and after cleaning they have the best surface for adhesion, so that will help the paint stick to those areas maybe better than anywhere else, but I guess the zinc being down first would be good for abrasion from gravel that could scratch through the paint and stop the spread of possible bubbling rust under the paint.
Last edited by Justin Bailey; 08-03-2018 at 11:10 AM.
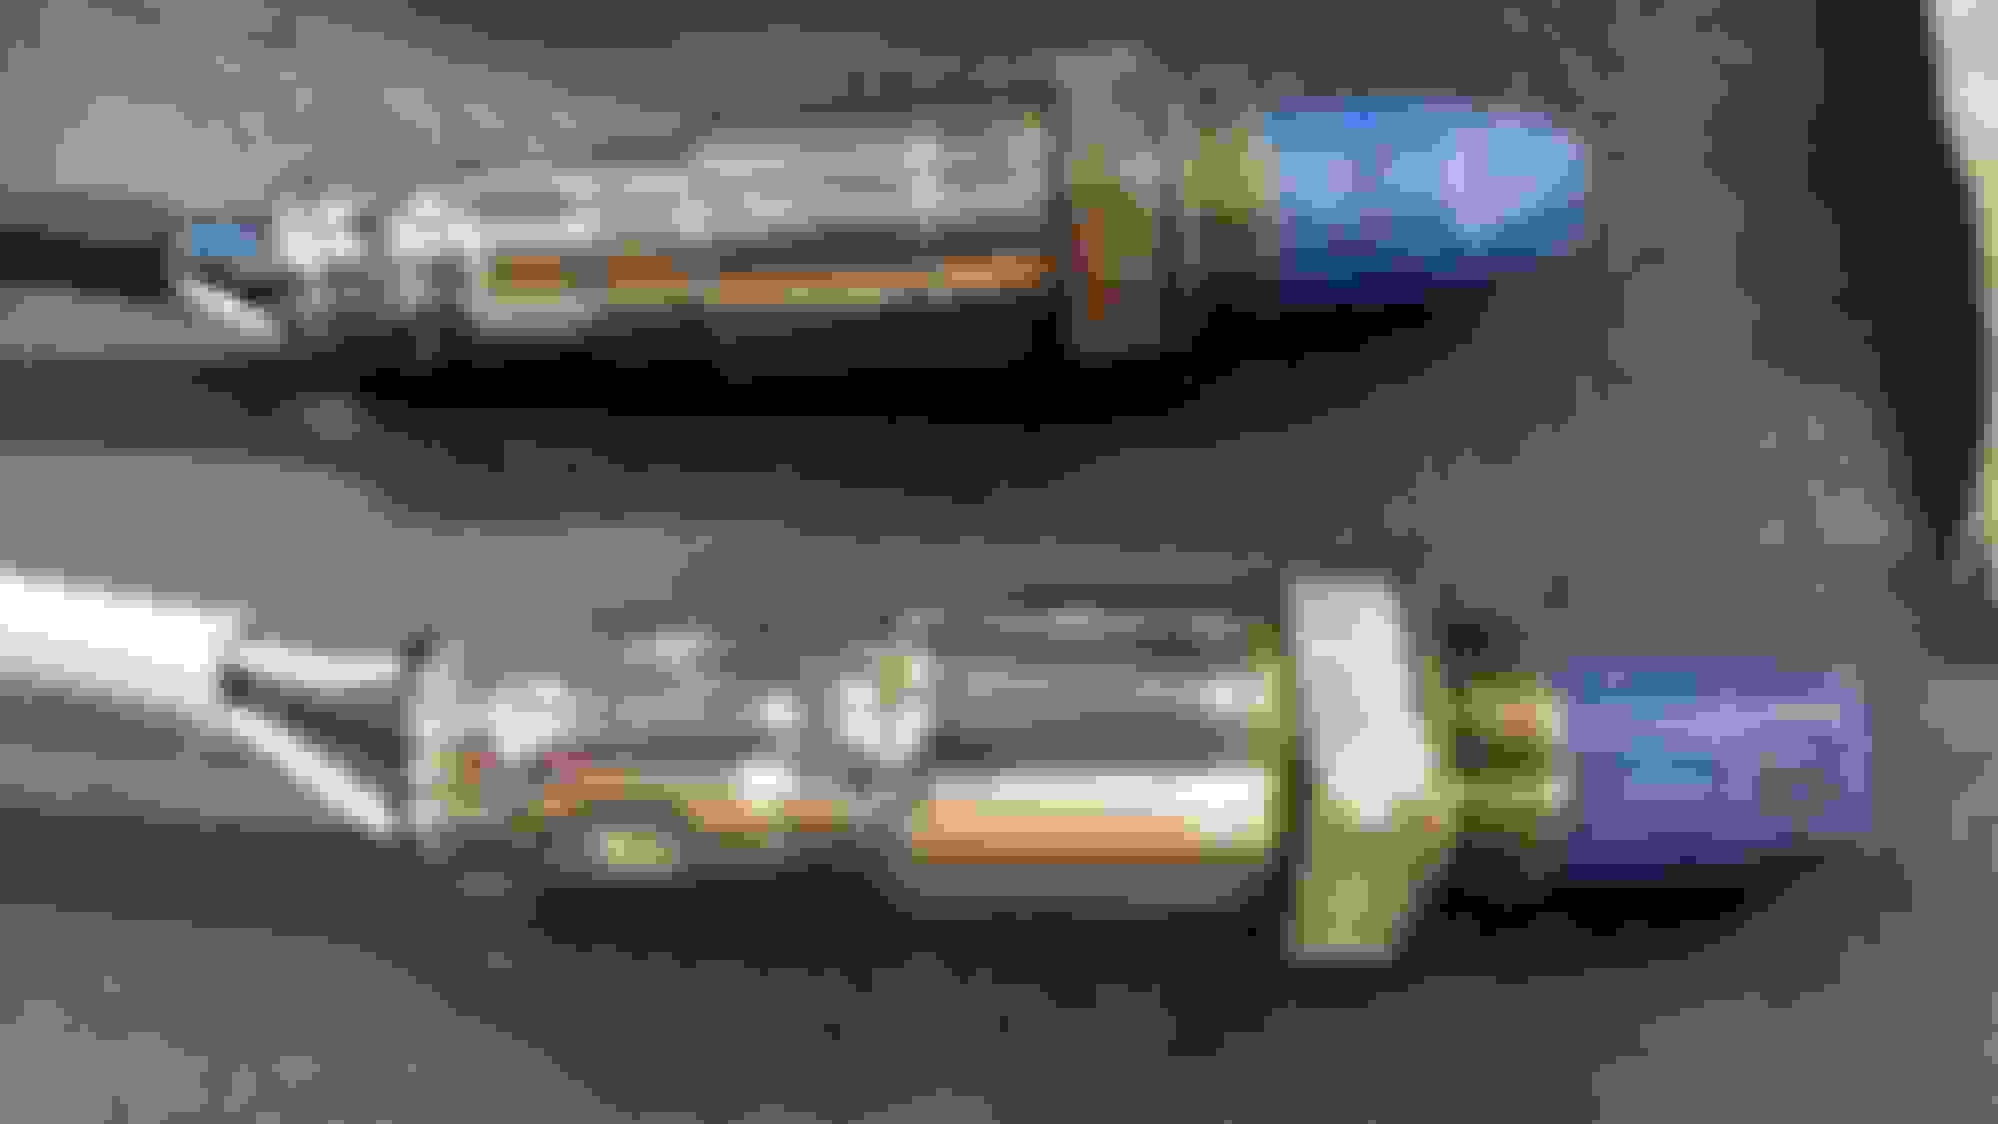
Got new ring gaskets for collector-to-cat, 5 pack for $10 deal on ebay right now. The guy threw in an extra one, now I have 6.
It turns out the single one on top in this picture (19U00) is slightly oversized for my particular cats. The other 5 end in 19U0A and are correct and what I ordered.
Last edited by Justin Bailey; 11-16-2018 at 12:16 PM.
Sanded this all over, and smoothed out the weld stop and start globs, then mounted it to polish the back of the tips easily. Don't know when I will paint this because it has been raining all week. It dries slow when the barometer is down.
Chiseling the weld spatter was difficult on the tips because it is much thinner than the rest of the metal, so it helped to use a carbide burr to cut away the tiny peices.
This area gets struck by road grit a lot but I shined it up the best I could. I'm getting some of the zinc primer and stainless steel paint for the muffler. It gets wet the most and is the coolest part of the system and thought it was worth more protection.
Last edited by Justin Bailey; 08-04-2018 at 12:39 PM.
The muffler is almost ready to paint, but I'm soaking the flanges still.
You can see the bubbling as the rust is dissolved. This was in a 50/50 mix of CLR & Coca Cola, cheaper than the wd-40 product and almost equally as effective, maybe not quite as safe, but still safe enough for indoors. I only would use Muriatic outdoors and more than 10 ft or downwind from anything you don't want to rust because it's vapors can affect nearby things and cause them to rust without realizing it until days later.
Shined these up a little bit.
The cats are still soaking, but earlier I double rinsed them and filtered the solution and put them back in. There was some sediment, but nothing unusual though, just rust and carbon looking specks and dirt. I have to work at this around my job the next few days so there may be certain lulls in the progress updates.
Last edited by Justin Bailey; 08-26-2019 at 11:37 PM.
The 2nd coat on the headers had air dried for a week and now gave them some heat @ 250 for 20 min, let cool slowly in the closed oven, then 350 for 20 min., and slowly cooled again. Will do 1 or 2 more coats on them after this, and and also thinking about about a gloss clear coat but not sure.
This is a material called Pyrogel XT-E in a 5mm thickness that I will try to replace the original y-pipe insulation with. There is 3 sq. ft. piece here. It is very lightweight, rated to 1200 degrees, and is said to be hydrophobic, meaning it will resist the absorbtion of water, yet still breathable. It also was said to be maroon in color, but turns out to be just a light pink. The price ran about $10 / sq. ft., found it on e-bay and shipped from RI where I believe it's made. There is a pyrogel xtf that is basically the same thing and is a nice grey color, but only comes in 10mm thickness, this xte is also available in 10mm as well.
Plenty to make all the pieces from, there are also some very small pieces on the manifold shields.
Last edited by Justin Bailey; 08-13-2018 at 12:47 AM.
 08-01-2018, 09:11 AM