When you click on links to various merchants on this site and make a purchase, this can result in this site earning a commission. Affiliate programs and affiliations include, but are not limited to, the eBay Partner Network.
Thanks for the input, I'm afraid to open it there in case it doesn't seal again, think I will leave that alone right now.
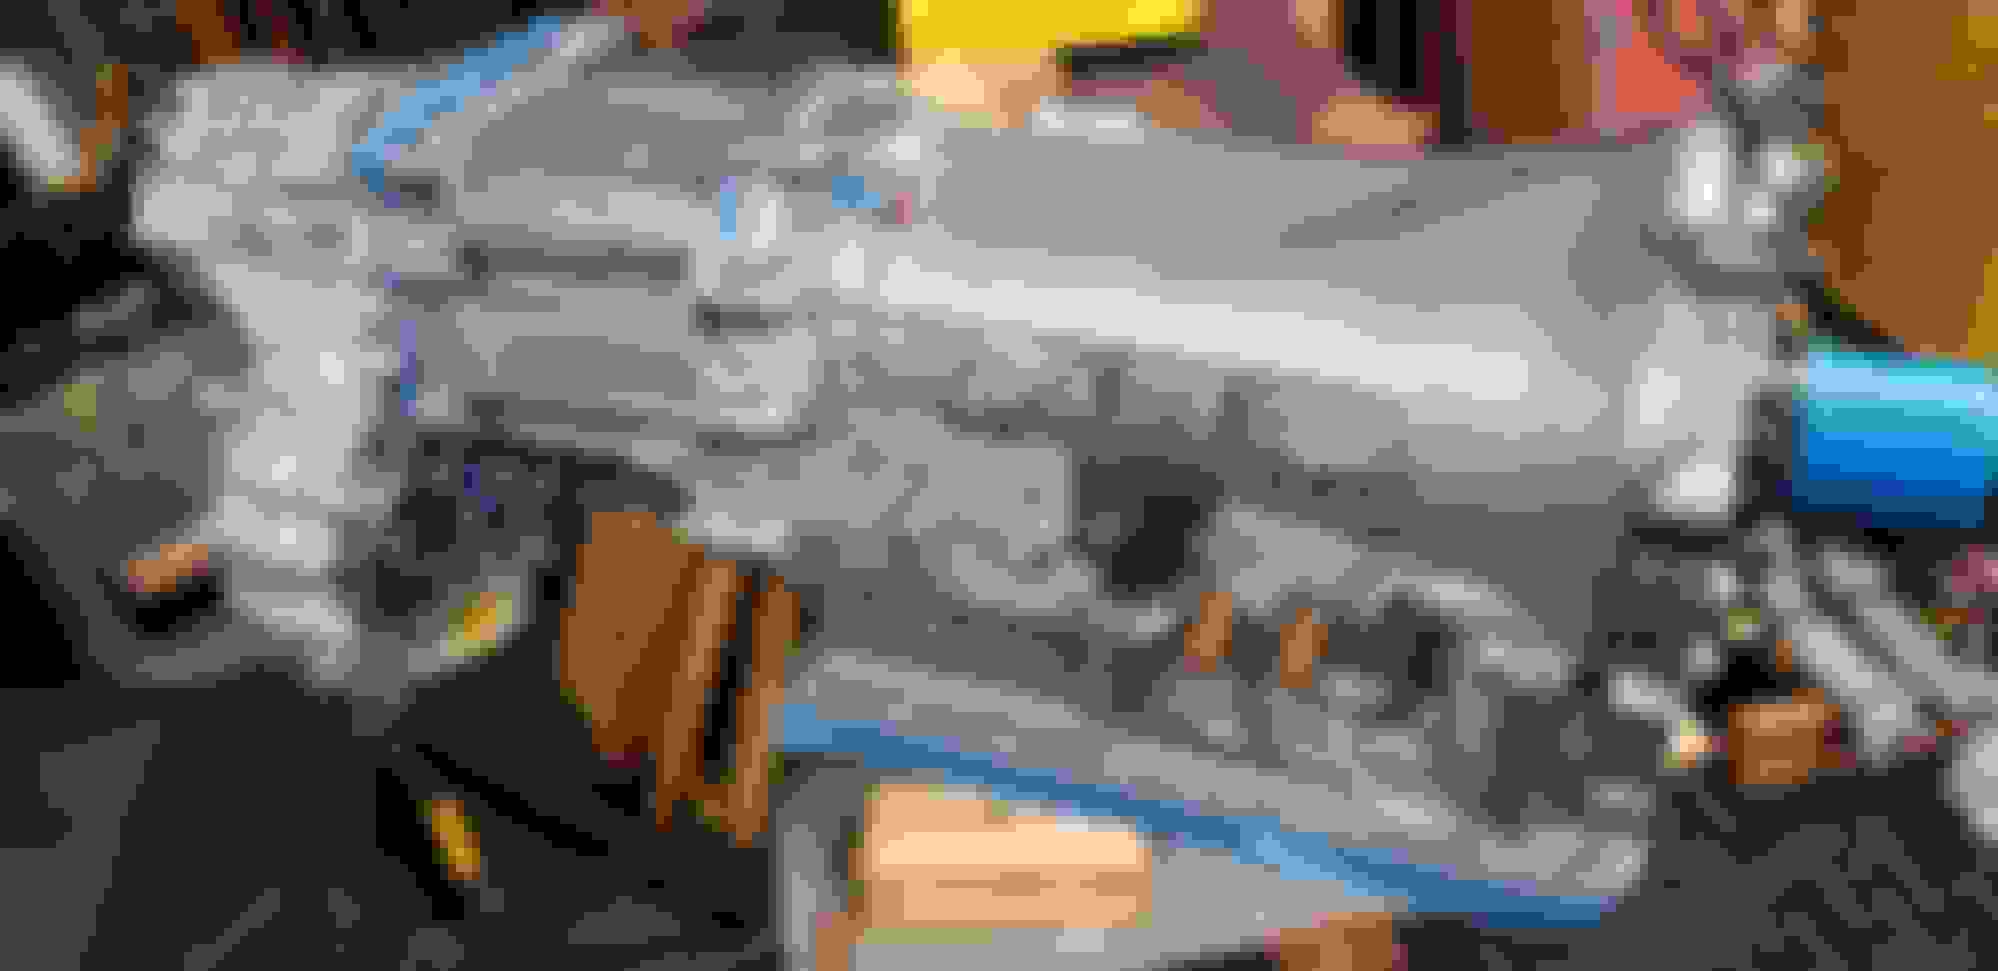
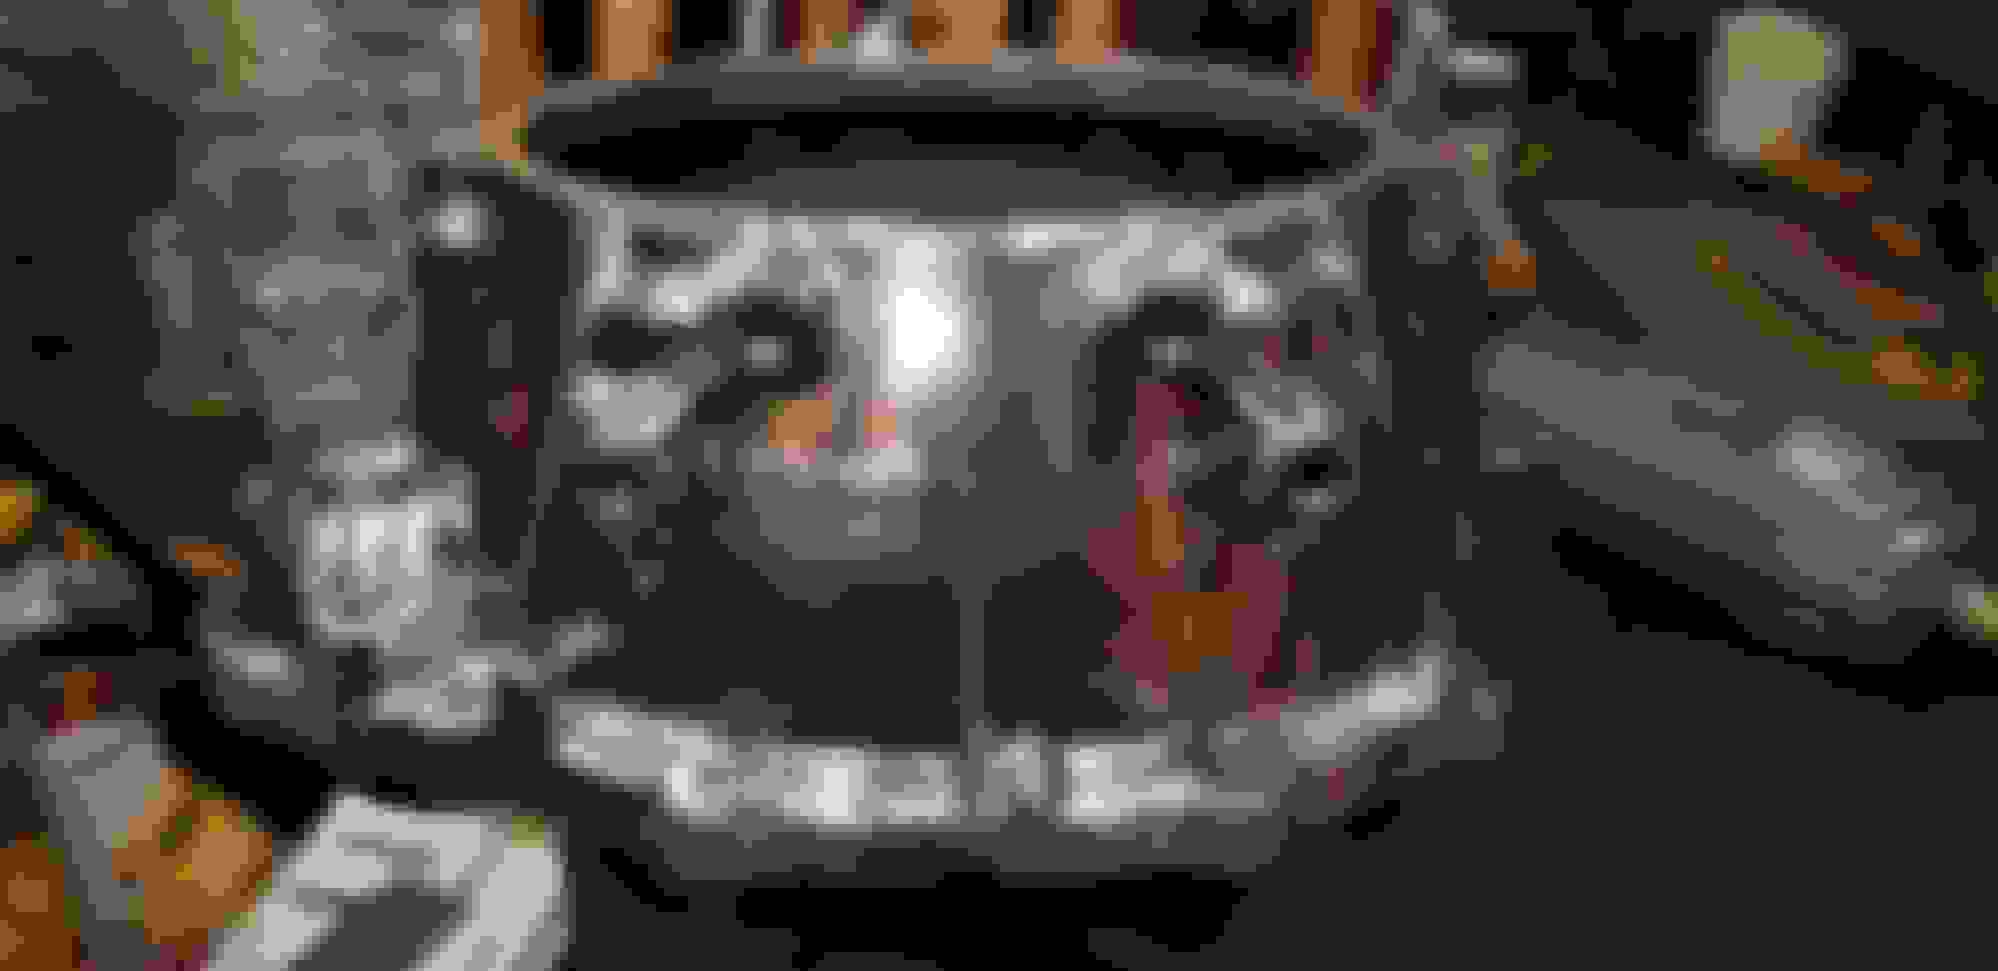
Got to painting today, hoisted it with a block & tackle.
I figured the flange on the end is strong enough, more of the weight is in the front anyway. Added some rope for insurance. Sudsing it up, then brightened, and treated with the alodine, rinsed.
Paint mixture is getting set up, so have added thinner and clear to keep it workable. Problem is it doesn't hide or cover as well, but it's ok. Should have waited to mix it but already did a week ago, thought I may have needed time to sample it on things but just made enough right then.
2nd coat. There are considerable brush marks, especially on the top, but maybe I can work it out in the next coats. I may do up to 5, with slightly less and less color in each coat due to adding clear.
While removing the bell accessed the other end, this area was difficult a little, but having it raised so high really helped.
I am just painting the bolts the same, except for the M6 wiring harness bracket screws, I have plans to replace them for some light blue titanium allen screws for them later.
2nd coat reverse
Last edited by Justin Bailey; 11-19-2018 at 09:39 PM.
Maybe I will lightly sand or rubbing compound it later, paint is really getting difficult now, good thing there is enough color down with all the clear cutting needed now.
Had a tiny bit of the header spray left, sample sprayed the end of this rod. It has a tiny bit more green in it compared to the trans, but pretty close. Was not really trying to match it, they do make an engine paint in the pontiac blue, but thought this tinted rust seal is a harder paint, idk.
Last edited by Justin Bailey; 11-20-2018 at 10:46 AM.
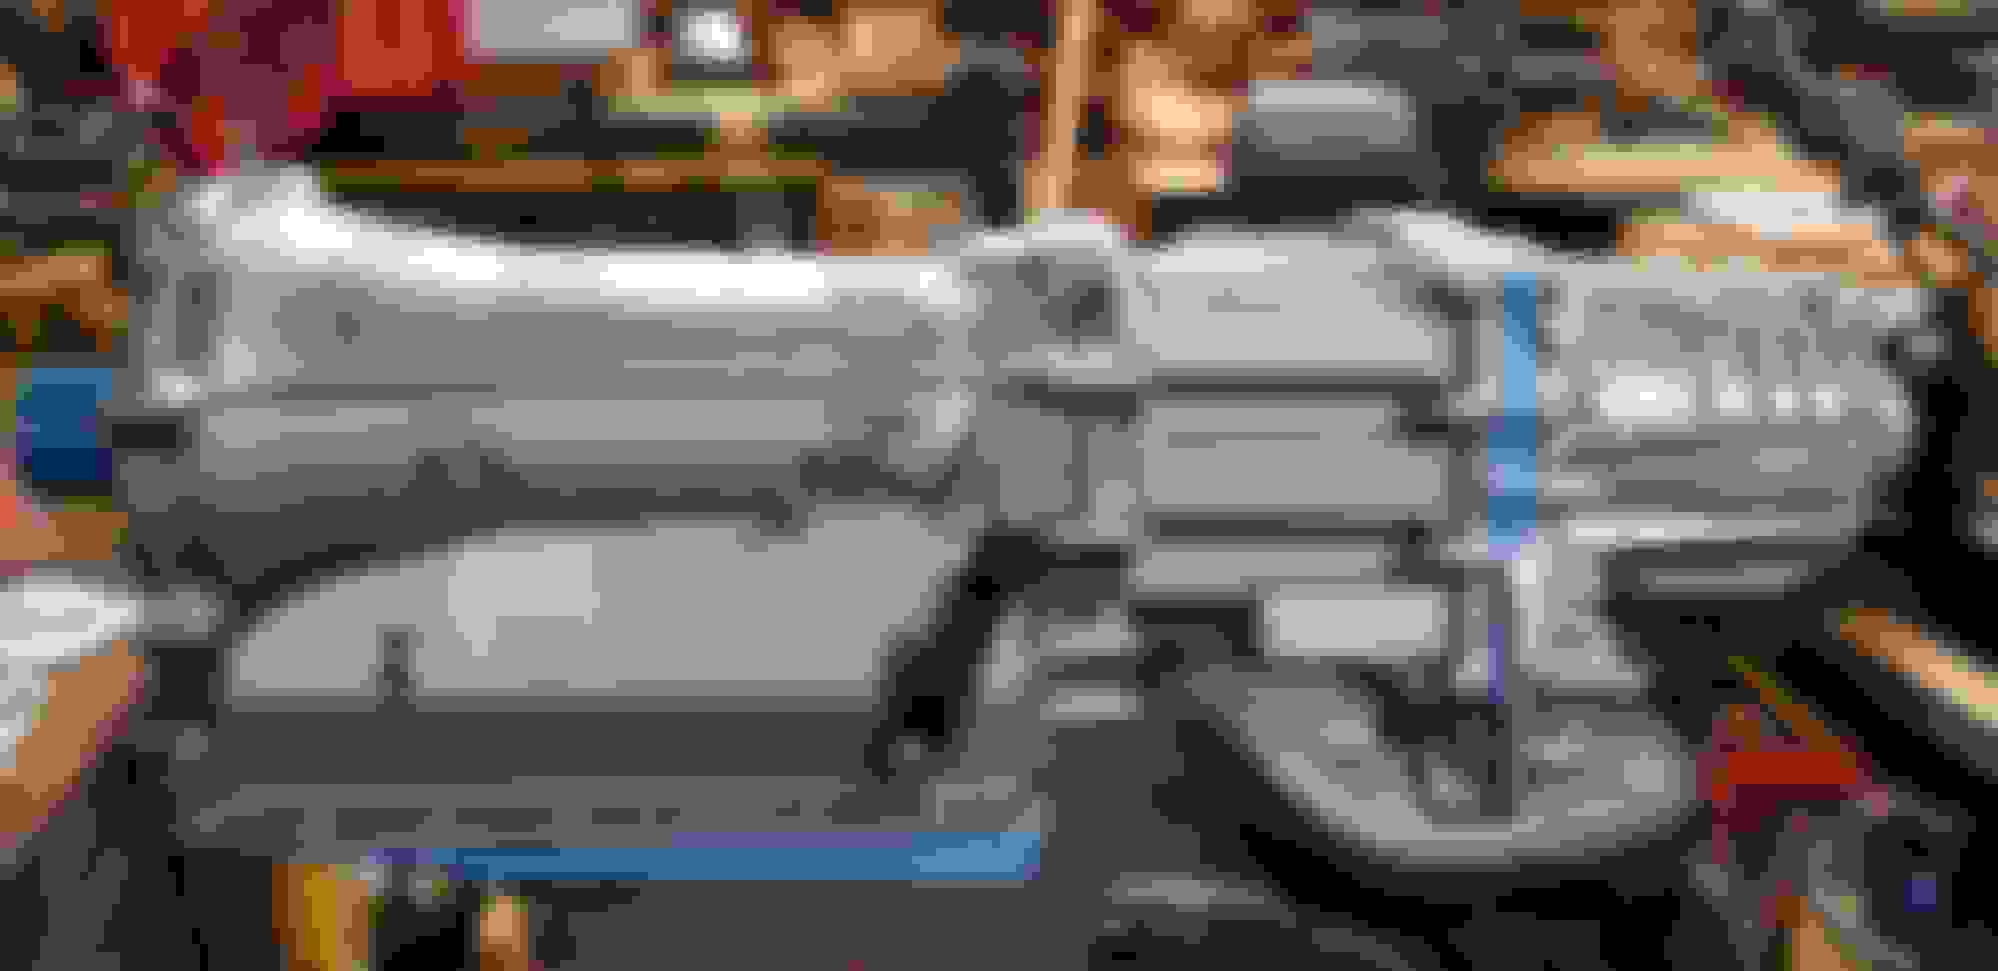
6th coat, well 5 and then a 6th on areas that I though needed more and the large open areas that had a lot of brush mark depth to knock down.
reverse
Don't know why I showed all those coats because now I am sanding the brush marks down with 320 and 400 grits, also the black scotch brite dremel wheels.
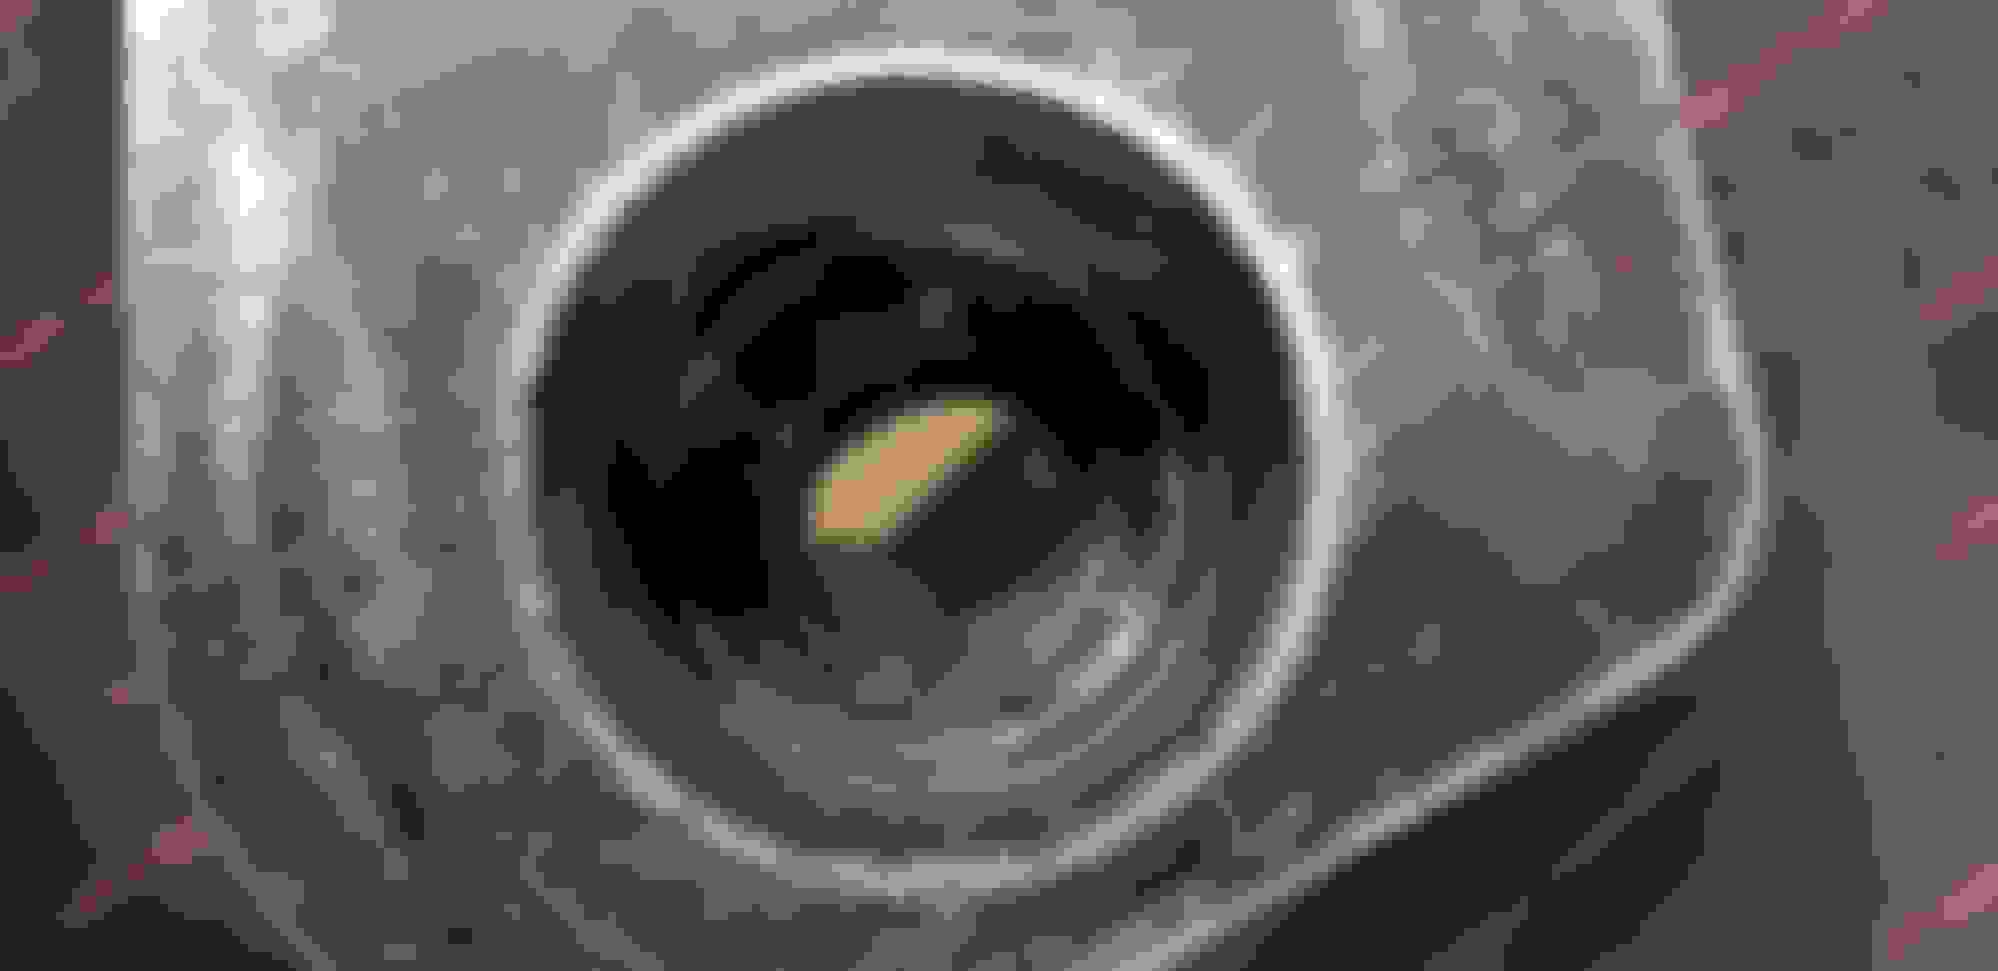
Had ordered M12x1.5 plug, got them and realized they are wrong, needed M14x1.5 so got them too so they are on there sealing that properly now.
Going to re coat again with enough clear mixed to paint that it flows better, just wanted to at least build up a base of good color to start with. Eastwood makes a 2 part catalyst activated engine enamel that I could have got instead and may have cured as hard as the rust seal product but already had it so wanted to use it. Probably would have needed to buy 3 pint kits consisting of a black, silver, and some kind of clear in the Eastwood range. I don't know if they have it in clear, so may not have been useful to my custom pearl pigmenting use.
Update: Actually Eastwood does just make the ponitac blue metallic catalyst-activated 650 degree engine enamel (their picture above). If I paint the engine ever, I may use it but I would be brushing it because I am not going to remove the thing, plus I don't have a spray gun. Would have to do it in small batches with careful mixing. It's a thought, I was also considering olds' bronze for the engine. idk. It's kind of like a burnt copper orange color.
Last edited by Justin Bailey; 12-02-2018 at 01:47 AM.
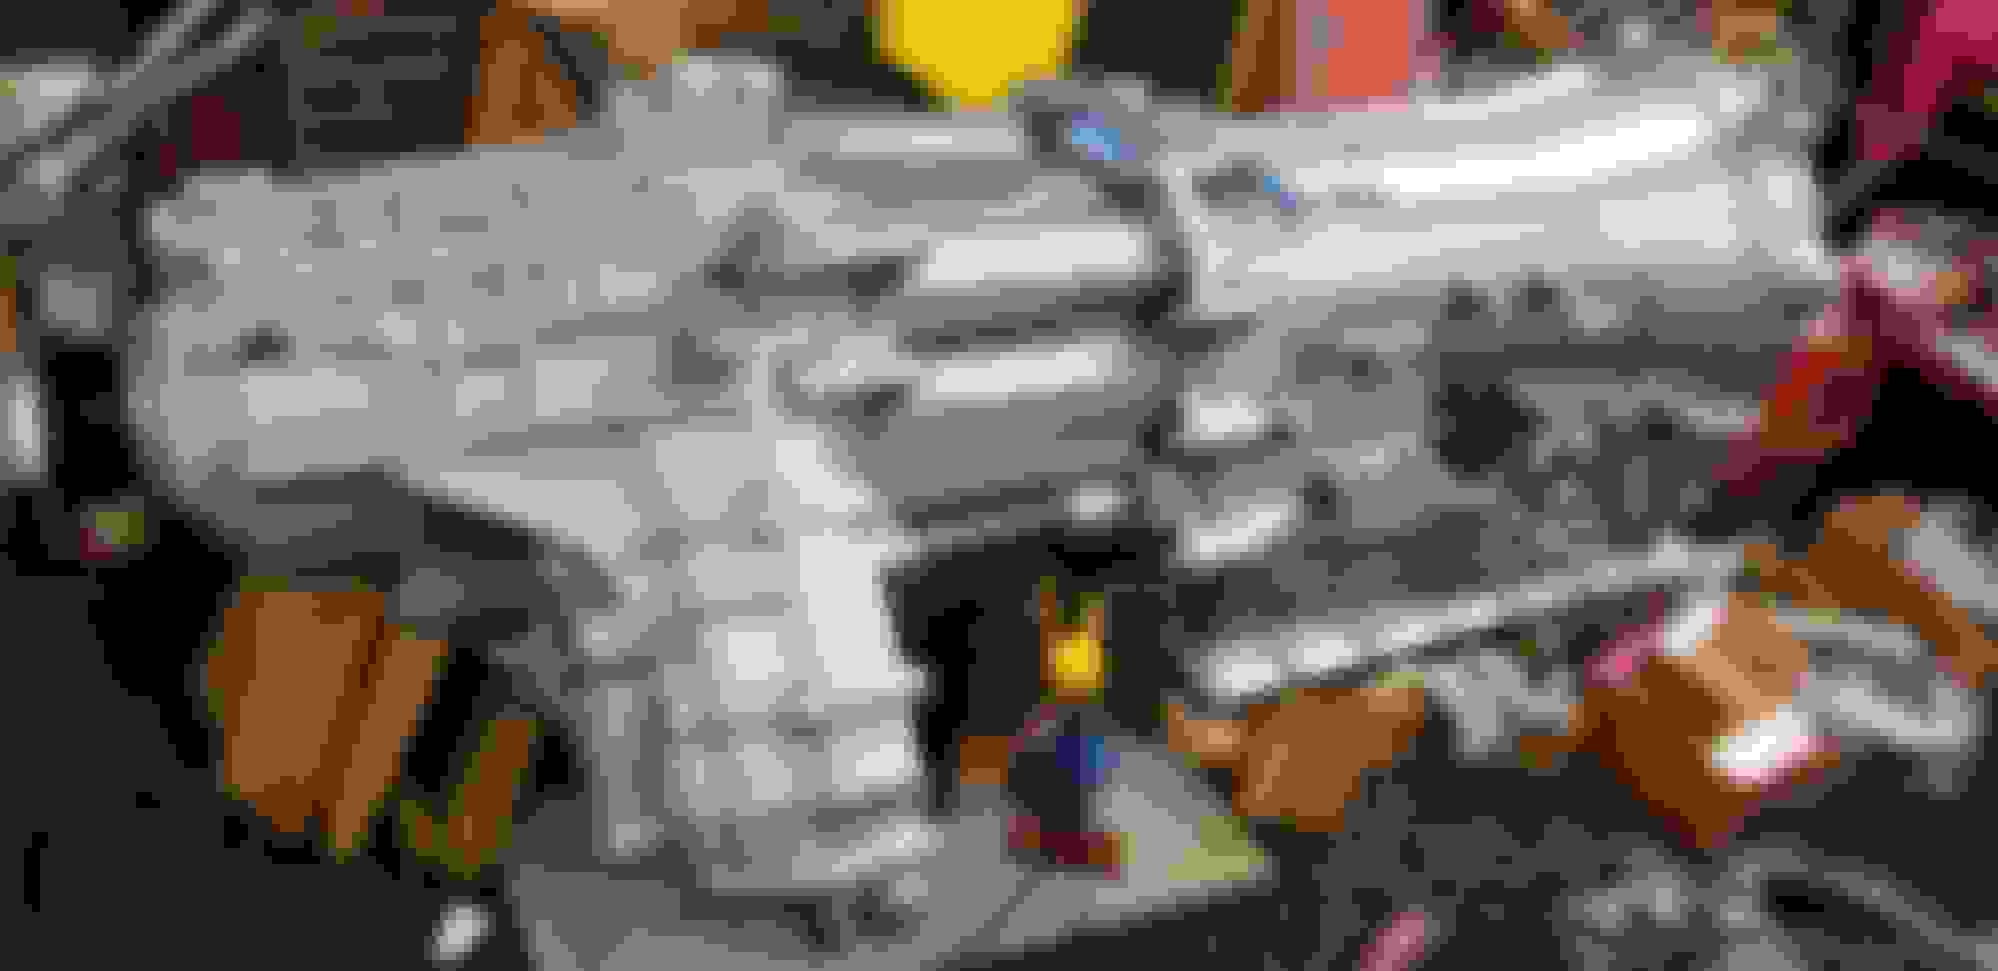
Calling it done, had sanded and sanded then one re coat to freshen it up, not the prettiest, but definitely armored from salt and corrosion for a long time.
Probably going to just wax the pan and let it as is, it's not rusty at all.
Transfer case is galvanized satin silver.
Using some ARP stainless in the blank threaded holes, there are 5 packs I can pick out for the rest.
Used a smal q-tip to paint inside around this front shaft output area.
Good enough for me, a heck of a lot better than what I could have done while it was on the car, so I'm satisfied.
Now hand sanding the bell or adapter, for polishing.
Picked up a cheap angle air grinder, some roloc pads, and small buffing wheels and shapes. Zip tied a rag to the end as a muffler.
The blue bristle items are kind of like plastic wire wheels with fine abrasive, wasn't sure how they'd work, they actually clean, but leave a blasted surface, probably not useful for a pre-polishing stage. I can save them for something else.
These roloc are just harbor freight kind. The smallest they carry are the 2" size, so improvised this mandrel from a 5/16" hex bolt. Drilled out the head, ground a shank size to 1/4" and cross drilled for a roll pin, so I could press a 2" one into it, snip the pad smaller and round it off with the bench grinder. They are listed on the package as fine 120-180 grit, but genuine 3M green ones are called very fine, colored the same, but they have a super fine, ( not harbor freight) abbreviated SFN that are grey. I will manage progressing with 320 psa discs and regular sheets if needed but you only really need to go to 320 for the medium buffing compound I have.
These are some polishing bars, the green is the left most one, a heavy cut but more suited for stainless steel. The pink is also for stainless. There is a brown heavy cut I don't have that would be better than the green or the medium to start with for aluminim.
I guess I will just hand sand to a finer grit and try to get by without it. The medium removed 320 grit from the steering knuckes ok, all done on 8" wheels, that was easier to safely apply heavy pressure, but the bell has more hard to reach areas that I needed some small wheels and shapes to reach.
Last edited by Justin Bailey; 11-27-2018 at 12:04 AM.
Getting pretty far with the polishing, it was very time consuming, still have the final compound to advance to next.
Although the roloc pads and the air grinder helped a lot to initially knock down the casting surface, I later used hand sanding again. The 3/8" felt dremel wheels were needed to get into the corners to really detail it.
Took a break from that and went back to the crossmember. To try to clean out the inside, I used a pressure washer with a shop vac taped to the opposite end and then switched directions. Rinsed well on the inside, followed by heat gun and vacuum to dry it inside. There was still junk stuck in there but at least gave it a good cleanse. Could have soaked it in solvent or degrease but didn't bother.
Taped off all the holes and marked the through holes. Then used one of the small spray caps inside to form out a cylindrical mold around the end bolt areas, also used some screws into two engine bottom cover attachment points. Lightly brushed oil on both beforehand as a release agent.
Filled this small area first. Made a little catch with the tape on each end to pour into.
These say 2.2 lb kit, pretty sure it is for both a+b together. The product is called Smooth Cast onyx fast and sets up really fast if you don't get it mixed and poured in about 3 min. you won't be able to pour it. In 5 min it's a thick gel and starts to heat up. After 15-20 min you can peel masking tape off of it, after 1/2 hr you can chisel, grind, saw, sand, thread, or paint, but I am using a urethane paint, so I don't know what adhesion you'd get from other kinds of paint. A lighter weight option would be some foam 2 part products for boats but wanted something really rigid to paint and have impact durability.
Had used 2 kits so thats 4 lb or so, but it only filled up to about where that upper clamp is, so ordered one more kit to top it off. It gets hot as it cures. Says it's urethane based. Idk but I hear crinking, snapping and popping noises. I think it may be shrinking and pulling away inside, oh well. As long as the openings are solid and I get that coated enough to seal it water won't get in I'm hoping.
Last edited by Justin Bailey; 11-27-2018 at 06:50 PM.
Parts that were filled went ahead and removed the tape and chiseled any excess.
My idea was simply to leave a place for the bolt here and form the plastic around something so found these caps fit well.
The cap oiled, removed easily. You can see the ribbed edges molded into the plastic but it set off center so used a cylinder burr to align it better. The hole was filled in so had to drill it and rasp away the plastic to the steel oval shape.
A view of the side/ end. There is a good 1/4 wall of material at the thinest point.
This and another one where the bottom cover bolt into is filled with plastic above this point now, but still threaded to a 20mm depth from the bottom.
Lol, yes this has to be some kind of an obsession. I definitely added some weight to the peice, about 5-1/2 lbs. I hope this won't interfere with the safety of the vehicle as far as designed crumple zones, but I think it being under the car would have little effect on that aspect.
Found a good deal on new ATF banjo copper washers.
M14 x 22mm x 1 mm. They are not oem but the same dimensions.
Last edited by Justin Bailey; 12-06-2018 at 05:02 AM.
No. I'm going back on the 3rd for a few weeks at least truck driver. Hehe. I kind of used my vacation now and for Thanksgiving instead of December and Chistmas this year, I'll be gone through Dec, but oh well.
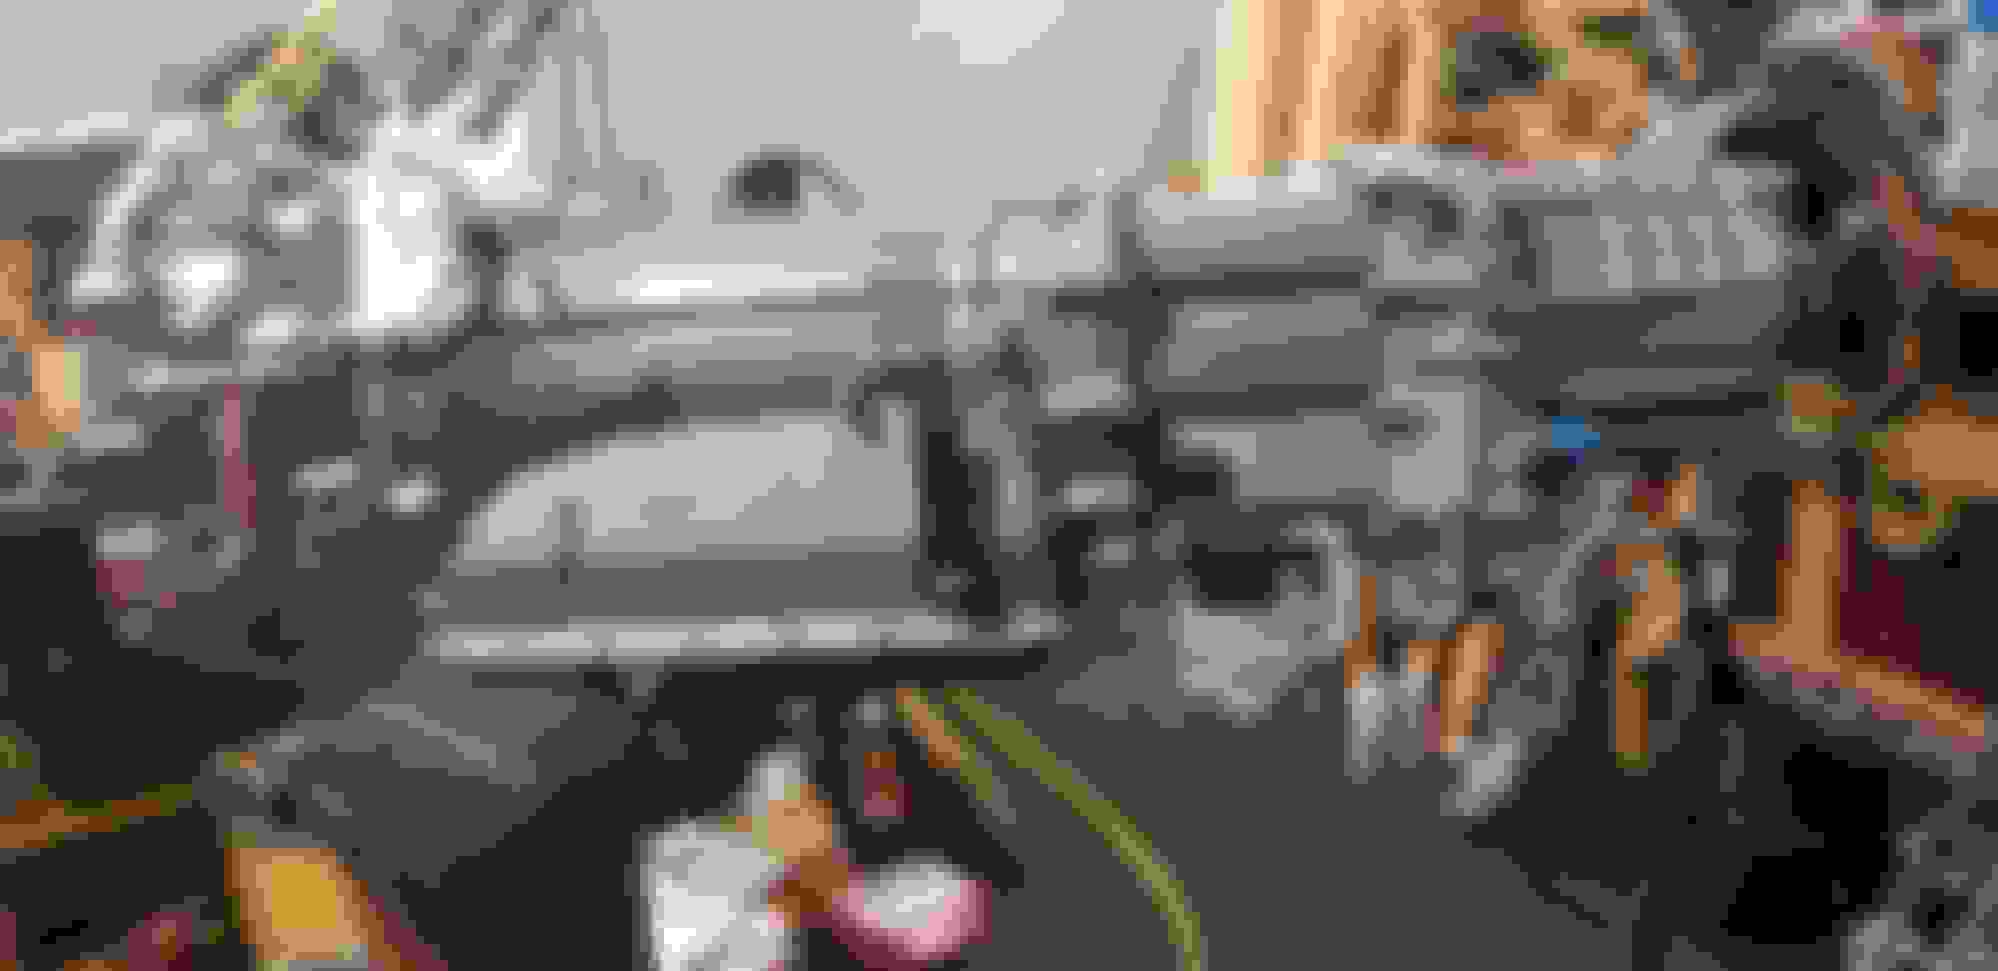
I'll share this because I am just trying to get a look at how this whole thing appears together, definitely different.
So you have the much cruder brushed finish on the one hand and a highly polished on the other.
reverse
Quick comparison. Aw yeah, hehe.
The bottom had corrosion damage to the surface that is impossible to get out without heavy material removal which I did not want to do. I tried to get it out, but this is just the way it is, kind of why I want / need to think about some kind of clear coat.
With this adapter bell part, the diff cover, and the front knuckles they will sort of be complementary polished accents together. I kind of want to do both engine mount brackets yet, and then a clear gloss 2k urethane- eastwood or spray max same thing, heck I could see polishing the alternator too one day. Hmm.
I'm debating getting the same in matte clear to hit this trans/transfer case together just for more smoothness on their brushed surfaces.
Last edited by Justin Bailey; 11-28-2018 at 01:18 AM.
Im jus asking because I can't see why anyone would be nuts enough to do all this dismantling if they weren't bored with free time lol. It's jus so much work especially for stock parts . I barely have the energy and motivation to clay bar my car
Im jus asking because I can't see why anyone would be nuts enough to do all this dismantling if they weren't bored with free time lol. It's jus so much work especially for stock parts . I barely have the energy and motivation to clay bar my car
Right, well I just have the free time I guess. It's a hobby and I have this 'audience' which is supporting. It's been hard to have a hobby as an over the road truck driver I've been the last 2 yrs, but got home regularly this year with an unexpected dedicated run near my home, so kind of got ambitious here. I don't really enjoy Facebook much as others seem to.
Last edited by Justin Bailey; 04-20-2019 at 11:59 PM.
I like the idea of getting to know the vehicle. I don't have knowledge or experience on building an engine or transmission or differential, but this I can do. I am reminded of the movie 'the sand pebble' where Steve McQueens character thoroughly knew the ship's steam engine. An old movie...
Some people paint and assemble small scale models. This is just a life size model, 1:1 scale.
Last edited by Justin Bailey; 11-27-2018 at 11:22 PM.


 11-19-2018, 08:53 PM