Group Buys Group Buys put on by Members or Sponsors

GB Bell Raceworks Rear Differential Brace

Thread Tools
 
Search this Thread
 
Old 01-10-2019, 01:47 PM
  #61  
Entcee
Premier Member

iTrader: (3)
 
Entcee's Avatar
 
Join Date: Oct 2016
Location: Mooresville, NC
Posts: 580
Received 123 Likes on 80 Posts
Edited my list above. So there is a visual, here is the Z1 upper bolt/washer combo.
Entcee is offline  
Old 01-10-2019, 01:48 PM
  #62  
Rochester
Administrator
Thread Starter
iTrader: (8)
 
Rochester's Avatar
 
Join Date: Nov 2010
Location: Rochester, NY
Posts: 18,865
Received 4,573 Likes on 3,424 Posts
The promo code for this purchase is "myG37". Enter it during the checkout process in Bell Raceworks shopping cart.

Pick your brace, go through the checkout, $100 shipped. I just ordered mine.

This promo code is good through midnight tomorrow ( Friday, January 11, 11:59 PM ). So if you didn't jump into the group buy, you can still use the code anytime through tomorrow.

http://bellraceworks.bigcartel.com/
Rochester is offline  
The following users liked this post:
nelledge (01-11-2019)
Old 01-10-2019, 01:54 PM
  #63  
Entcee
Premier Member

iTrader: (3)
 
Entcee's Avatar
 
Join Date: Oct 2016
Location: Mooresville, NC
Posts: 580
Received 123 Likes on 80 Posts
Just ordered mine! Thank you for putting this together, Rochester!
Entcee is offline  
Old 01-10-2019, 01:56 PM
  #64  
RMB5190
Super Moderator
iTrader: (2)
 
RMB5190's Avatar
 
Join Date: Dec 2016
Location: Maryland
Posts: 3,112
Received 500 Likes on 429 Posts
Confirming that the Z1 brace WILL fit the OEM unit. Test fit was successful. In order to access the rear chassis bolt (at least for the AWD) you have to drop the muffler and fish the bolt up. I'm going to execute the install now and post pictures with steps once I'm done.
RMB5190 is offline  
The following 2 users liked this post by RMB5190:
Entcee (01-10-2019), Rochester (01-10-2019)
Old 01-10-2019, 01:57 PM
  #65  
Rochester
Administrator
Thread Starter
iTrader: (8)
 
Rochester's Avatar
 
Join Date: Nov 2010
Location: Rochester, NY
Posts: 18,865
Received 4,573 Likes on 3,424 Posts
Originally Posted by Entcee
Just ordered mine! Thank you for putting this together, Rochester!
You're very welcome. This was all fun for me.
Rochester is offline  
Old 01-10-2019, 01:59 PM
  #66  
Arthur.bell
Registered User
 
Arthur.bell's Avatar
 
Join Date: Jan 2019
Posts: 13
Likes: 0
Received 10 Likes on 6 Posts
Here's the trick for the upper bolt guys, take a long boxed end wrench and put a piece of tape across the back of it and stick it to the nut for a little less of a balancing act getting it up in the subframe
Arthur.bell is offline  
The following users liked this post:
Baadnewsburr (01-15-2019)
Old 01-10-2019, 02:33 PM
  #67  
redsoxfan5
Registered Member
iTrader: (4)
 
redsoxfan5's Avatar
 
Join Date: Nov 2012
Posts: 62
Received 2 Likes on 2 Posts
Just ordered mine as well. Thanks for organizing this Rochester!
redsoxfan5 is offline  
Old 01-10-2019, 02:56 PM
  #68  
RMB5190
Super Moderator
iTrader: (2)
 
RMB5190's Avatar
 
Join Date: Dec 2016
Location: Maryland
Posts: 3,112
Received 500 Likes on 429 Posts
Install complete. everything bolted back up; including the exhaust. Arthur's tip is dead on. I'll post a quick little How-to in this thread in a minute.
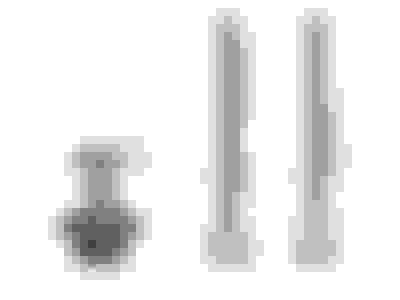
RMB5190 is offline  
Old 01-10-2019, 03:37 PM
  #69  
RMB5190
Super Moderator
iTrader: (2)
 
RMB5190's Avatar
 
Join Date: Dec 2016
Location: Maryland
Posts: 3,112
Received 500 Likes on 429 Posts
Install Process of the Z1 Brace on the AWD model

What you will need:
14mm wrench (OEM bolts)
(2) 19mm wrenches (Chassis bolt)
18mm wrench (Brace bolts to differential)
Loctite blue
Tape (I used electrical)

I'm starting after the removal of the muffler:


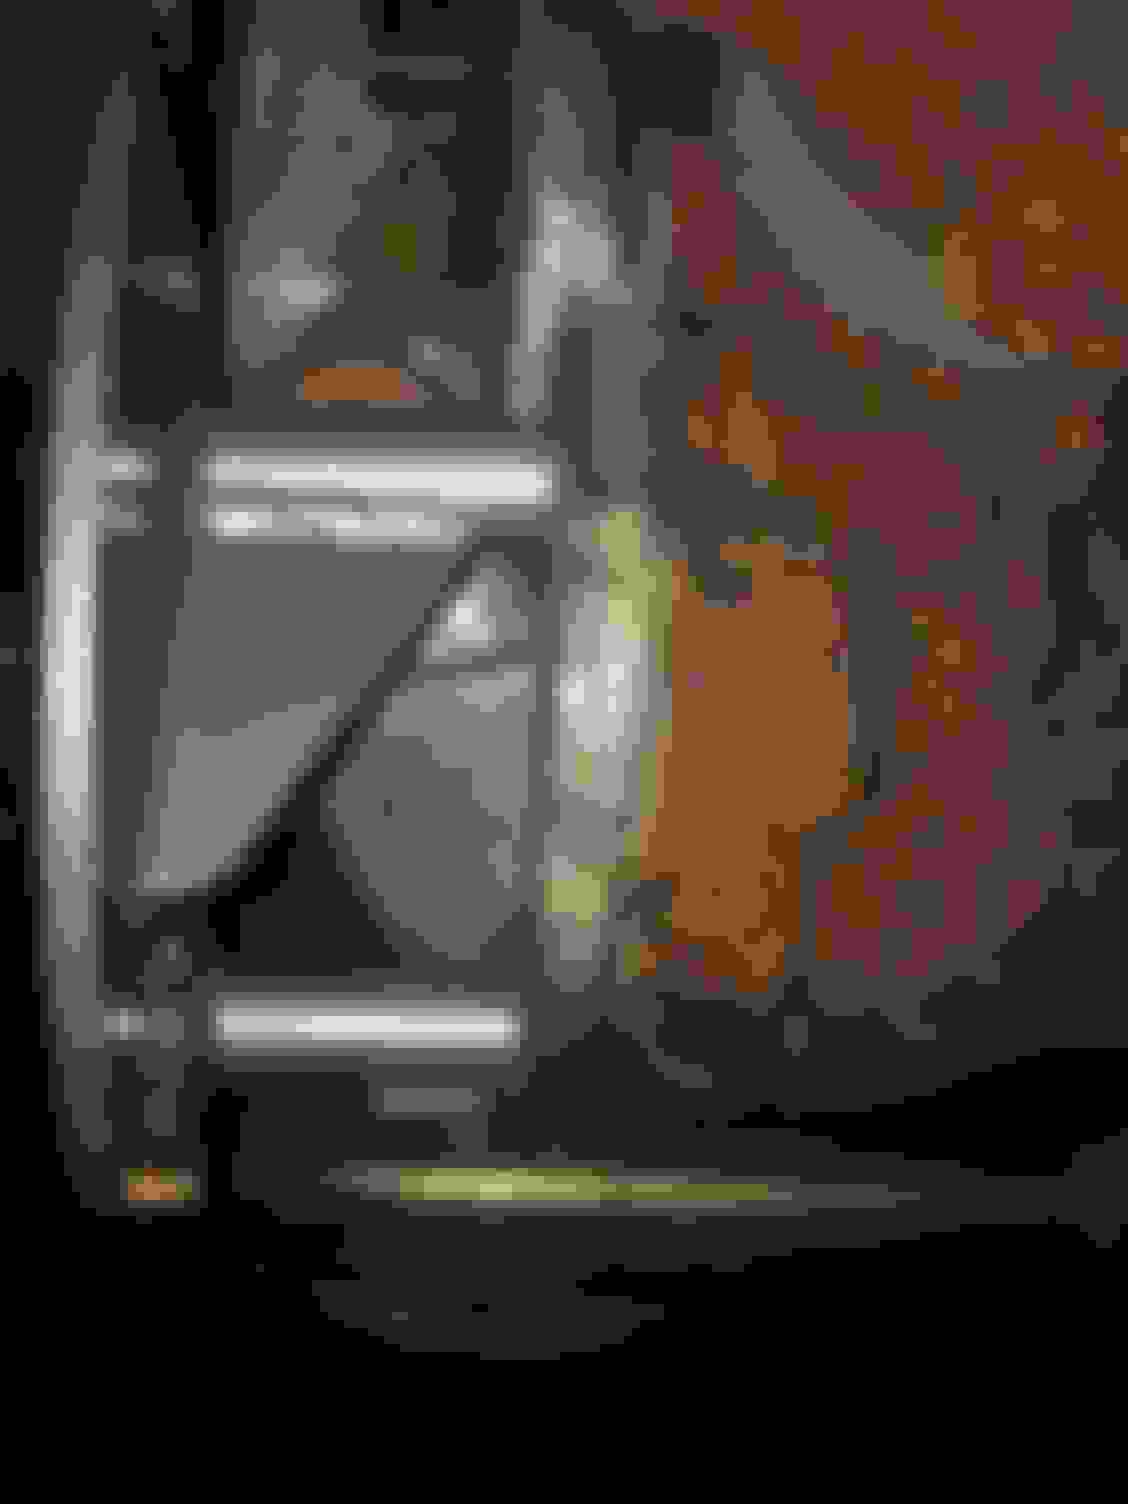
Referencing the picture above, remove the two lower passenger side OEM differential bolts using a 14mm wrench.

Next, line your bracket up and insert the two new bolts for your brace (DON'T FORGET YOUR WASHERS). I only tightened them enough to hold the bracket in place while I lined up the chassis bolt. You can see what I mean in the below photo. Ignore my wrench, I took this photo as soon as I began getting the chassis bolt to thread. That detail is next.


Using one of your 19mm wrenches, place a piece of black electrical tape on the back of it and place the chassis nut into the opening. Press the electrical tape against nut and guide it up into the opening located by the toe bolt:


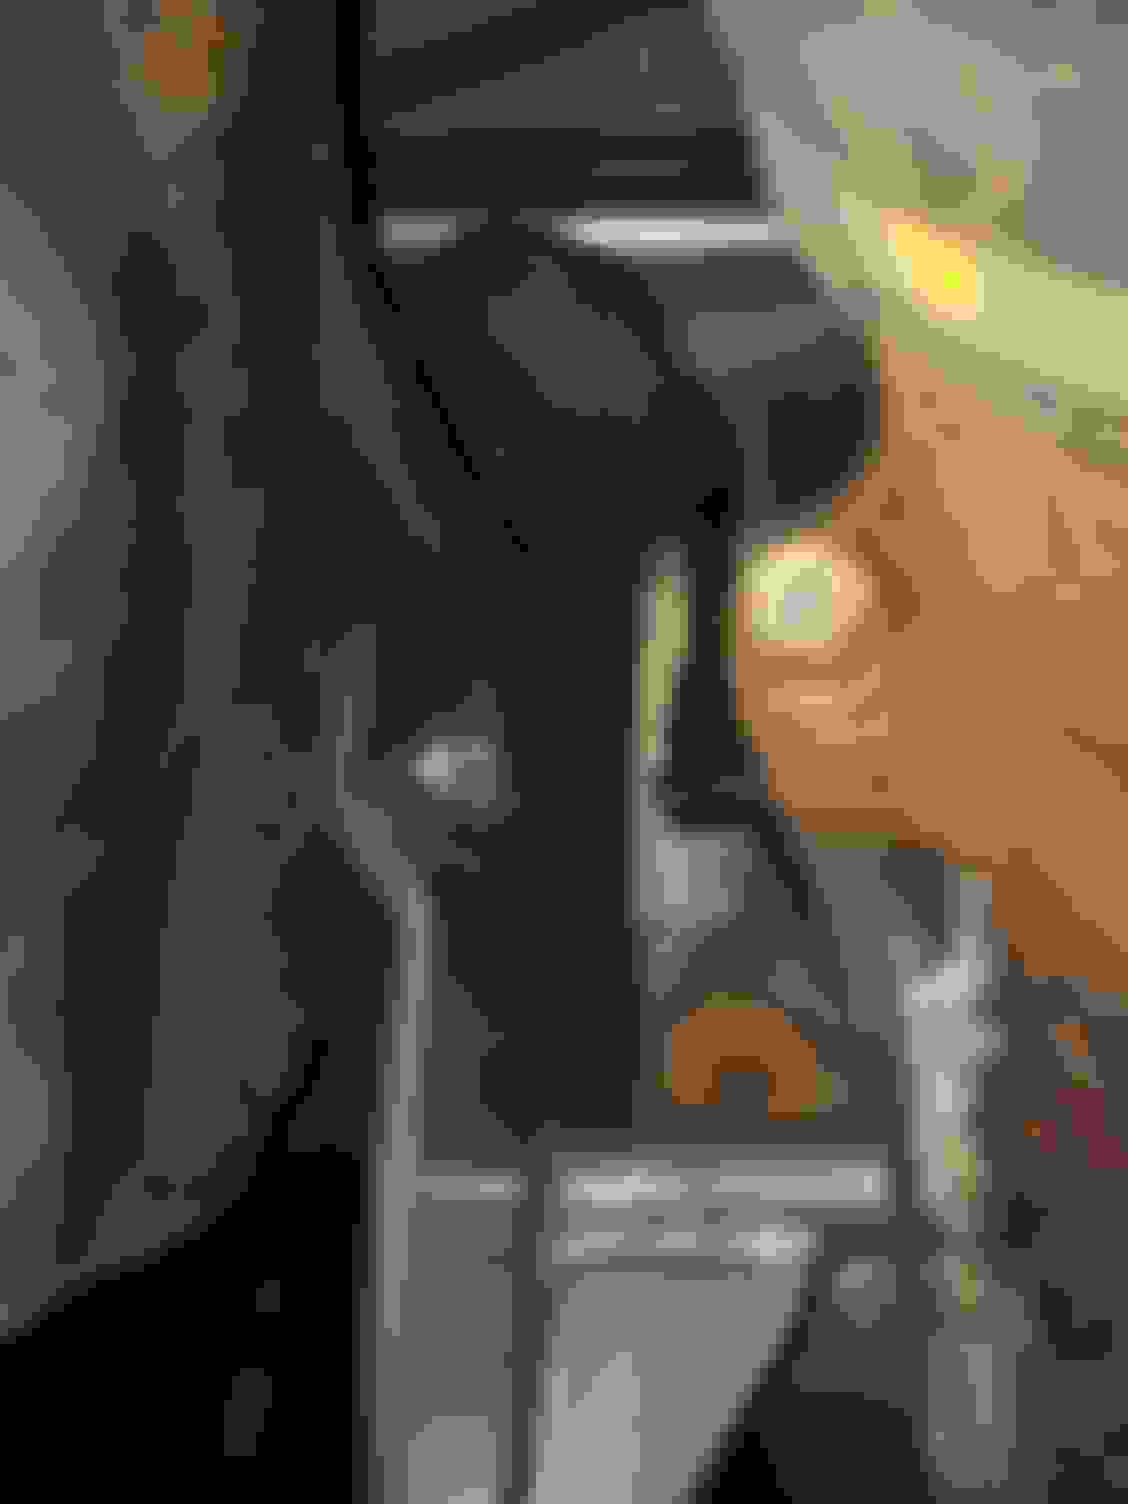
The next part takes a bit of finesse but you're going to then try to guide the chassis bolt into the nut. Apply your loctite blue to the bolt and hand tighten the bolt as much as possible. Use your other 19mm wrench to tighten the bolt while the using the other to steady the nut. DON'T FORGET YOUR WASHER.

You're not going to be able to fit a TQ wrench due to the AWD sensor. Not sure what the RWD guys will run into. Regardless, do your best to tighten down the bolt to 45 ft. lbs.

Proceed to tighten down the two brace bolts to 32 ft. lbs. as best as you can. You'll be able to use a 3/8 tq. wrench on the bottom bolt but the chassis frame will not grant a ratchet head access to the top bolt. The OEM brace guys might not run into this issue but with the Z1 brace being raised to grant access for a Z1 differential cover, a Tq. wrench isn't going to fit. I gauged the upper bolt's tightness based on what the bottom bolt felt like.

That's it! Mine looked something like this when completed:


RMB5190 is offline  
The following 2 users liked this post by RMB5190:
Entcee (01-10-2019), slowg562 (01-10-2019)
Old 01-10-2019, 03:40 PM
  #70  
Rochester
Administrator
Thread Starter
iTrader: (8)
 
Rochester's Avatar
 
Join Date: Nov 2010
Location: Rochester, NY
Posts: 18,865
Received 4,573 Likes on 3,424 Posts
Great job, RMB5190! Excellent pics.

Pretty high bar you set there for whoever does the same with the 4-point brace.
Rochester is offline  
The following users liked this post:
RMB5190 (01-10-2019)
Old 01-10-2019, 03:48 PM
  #71  
slartibartfast
Super Moderator
iTrader: (7)
 
slartibartfast's Avatar
 
Join Date: Oct 2014
Location: Houston, Tx
Posts: 6,086
Received 836 Likes on 715 Posts
Order placed.

Thanks again to Rochester.
slartibartfast is offline  
Old 01-10-2019, 03:50 PM
  #72  
RMB5190
Super Moderator
iTrader: (2)
 
RMB5190's Avatar
 
Join Date: Dec 2016
Location: Maryland
Posts: 3,112
Received 500 Likes on 429 Posts
Thanks!

Hope it helps some members out (us AWD owners need all the verification we can get ha ha) and I'm happy to see the Z1 brace fits the OEM unit for anyone looking to upgrade in the future. Liquid gasket is drying on the exhaust so I won't get to test it out until tomorrow morning on my drive into work. Very excited to see what the experience is like after 4DRZ's review. I figure if a member who tracks his car raves about it then it must be a noticeable improvement. Again, huge thanks to 4DRZ. Without the recommendation/review, I can't say I would've looked into this.
RMB5190 is offline  
Old 01-10-2019, 03:52 PM
  #73  
slartibartfast
Super Moderator
iTrader: (7)
 
slartibartfast's Avatar
 
Join Date: Oct 2014
Location: Houston, Tx
Posts: 6,086
Received 836 Likes on 715 Posts
I don't have an event scheduled but will certainly report when I get on the track.
slartibartfast is offline  
Old 01-10-2019, 03:58 PM
  #74  
Entcee
Premier Member

iTrader: (3)
 
Entcee's Avatar
 
Join Date: Oct 2016
Location: Mooresville, NC
Posts: 580
Received 123 Likes on 80 Posts
Great write-up, RMB5190! What color is that brace?
Entcee is offline  
Old 01-10-2019, 04:29 PM
  #75  
RMB5190
Super Moderator
iTrader: (2)
 
RMB5190's Avatar
 
Join Date: Dec 2016
Location: Maryland
Posts: 3,112
Received 500 Likes on 429 Posts
I got it from Z1 so it's whatever their default color is but looking at the Bellraceworks site, I'd have to guess it's the clear raw? Only other options are Red, Gold, and Black; none of which are what I'd call this color.

That's probably a question Arthur would have to chime in on.
RMB5190 is offline  


Quick Reply: GB Bell Raceworks Rear Differential Brace


All times are GMT -4. The time now is 05:50 AM.