When you click on links to various merchants on this site and make a purchase, this can result in this site earning a commission. Affiliate programs and affiliations include, but are not limited to, the eBay Partner Network.
I've done the "use the torque from the starter" to remove balancers from several vehicles, never had a problem doing this, just have to make sure you've got an area on the frame that's clear, and a good 6pt impact socket. It's only super sketchy if something goes wrong
sometimes I feel like I'm the king of "something goes wrong" most work i do on the car involves an hour of smooth sailing with several hours of dealing with a tiny insignificant issue...that being said I'll probably give it a shot when I get to it as it seem like the best method when it works lol
Well I got the part number for the solid lug nuts so I couldn’t pass it up(**** oem g37 caped lug nuts $11-15 ea, $4 ea for solid (: ) and I needed more oem crush washers, and the one time I let an oil change place change my oil bc I was lazy and they threw away my drain plug and me being ocd I had to have oem lol and there was a lot of might as wells lol but thanks to Sid at discountinfinitiparts.com he helped provided all the gaskets and o rings for the job so discountinfinitiparts.com again guys thank Sid you can message him on the online message thingamageg and I’ll provide all the part numbers soon
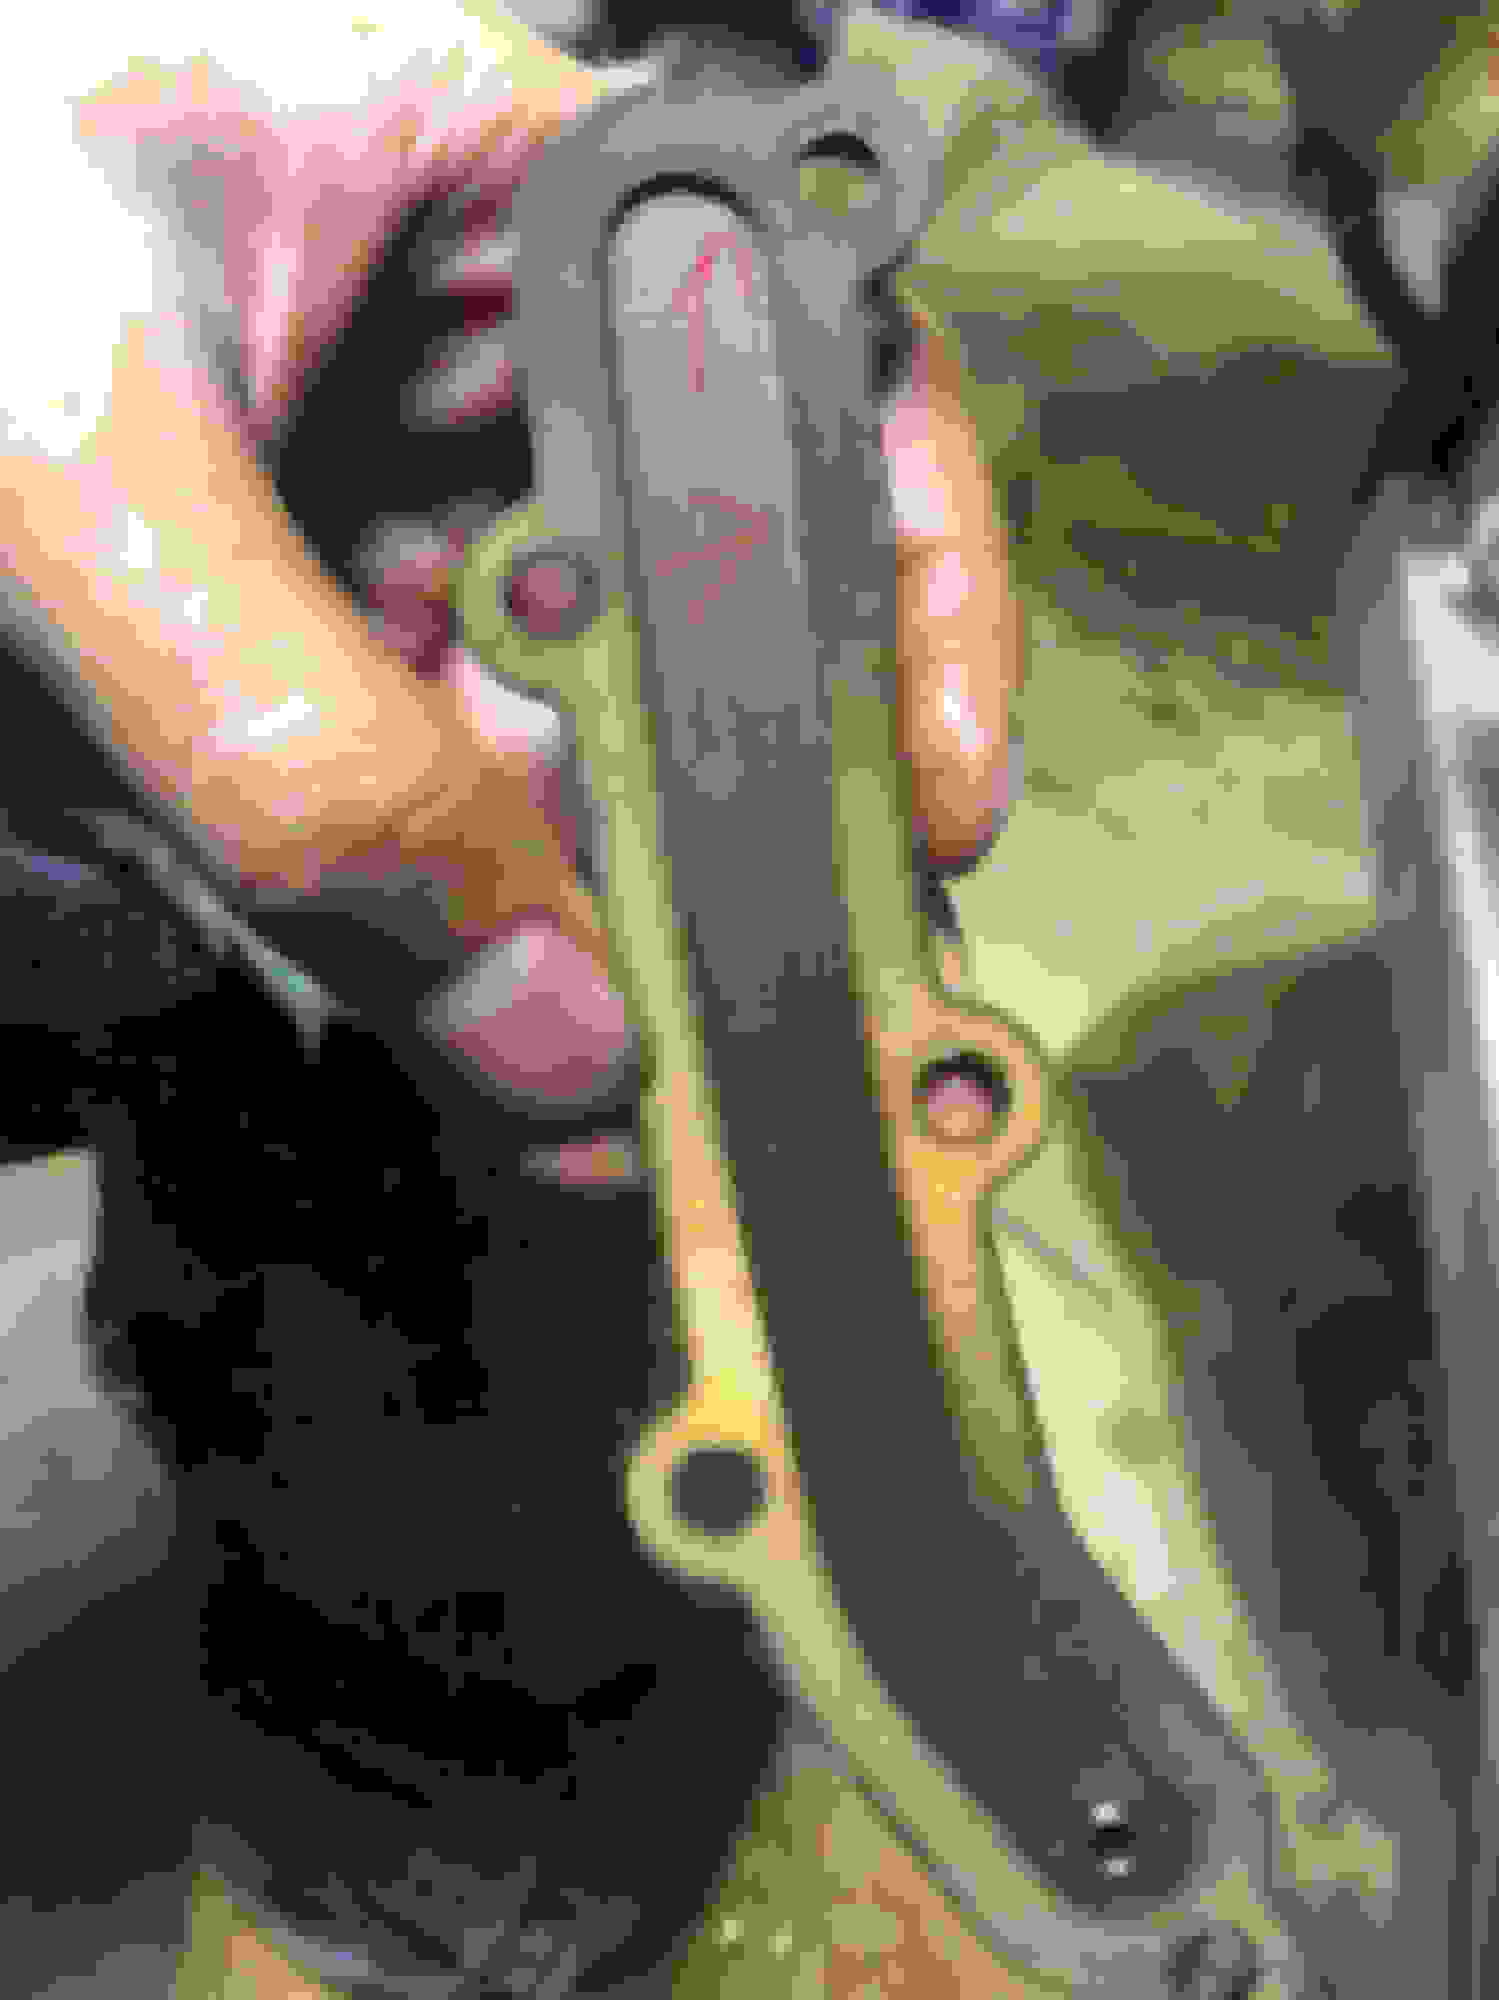
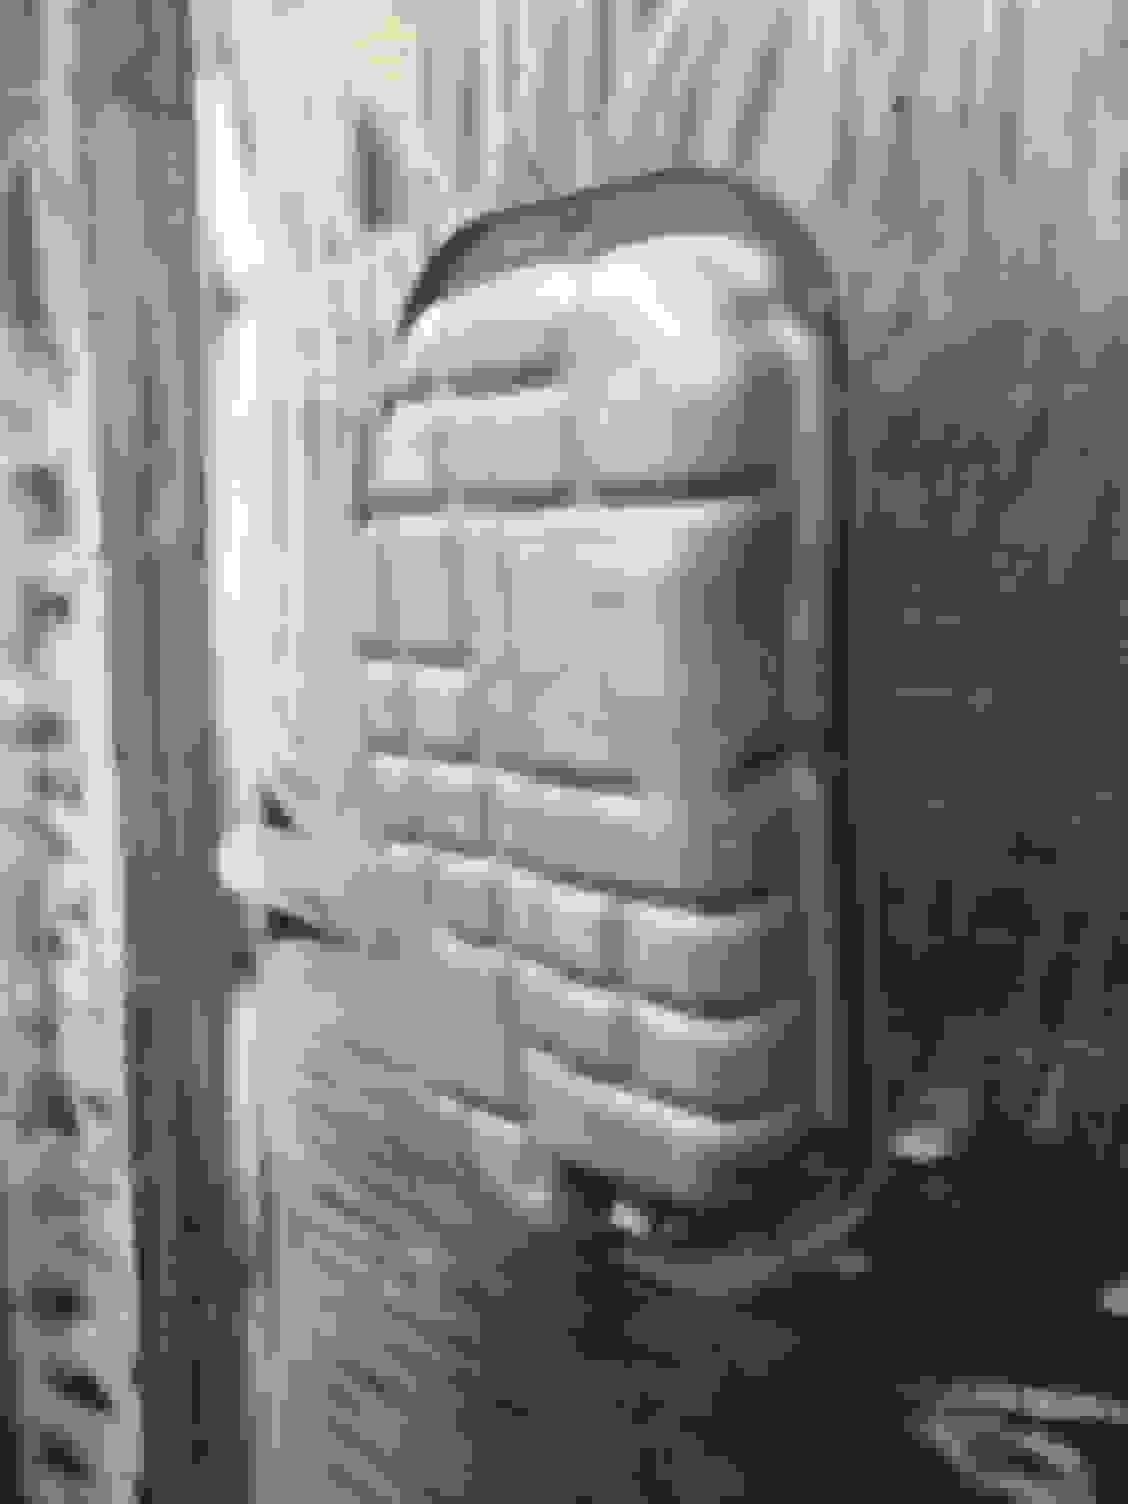
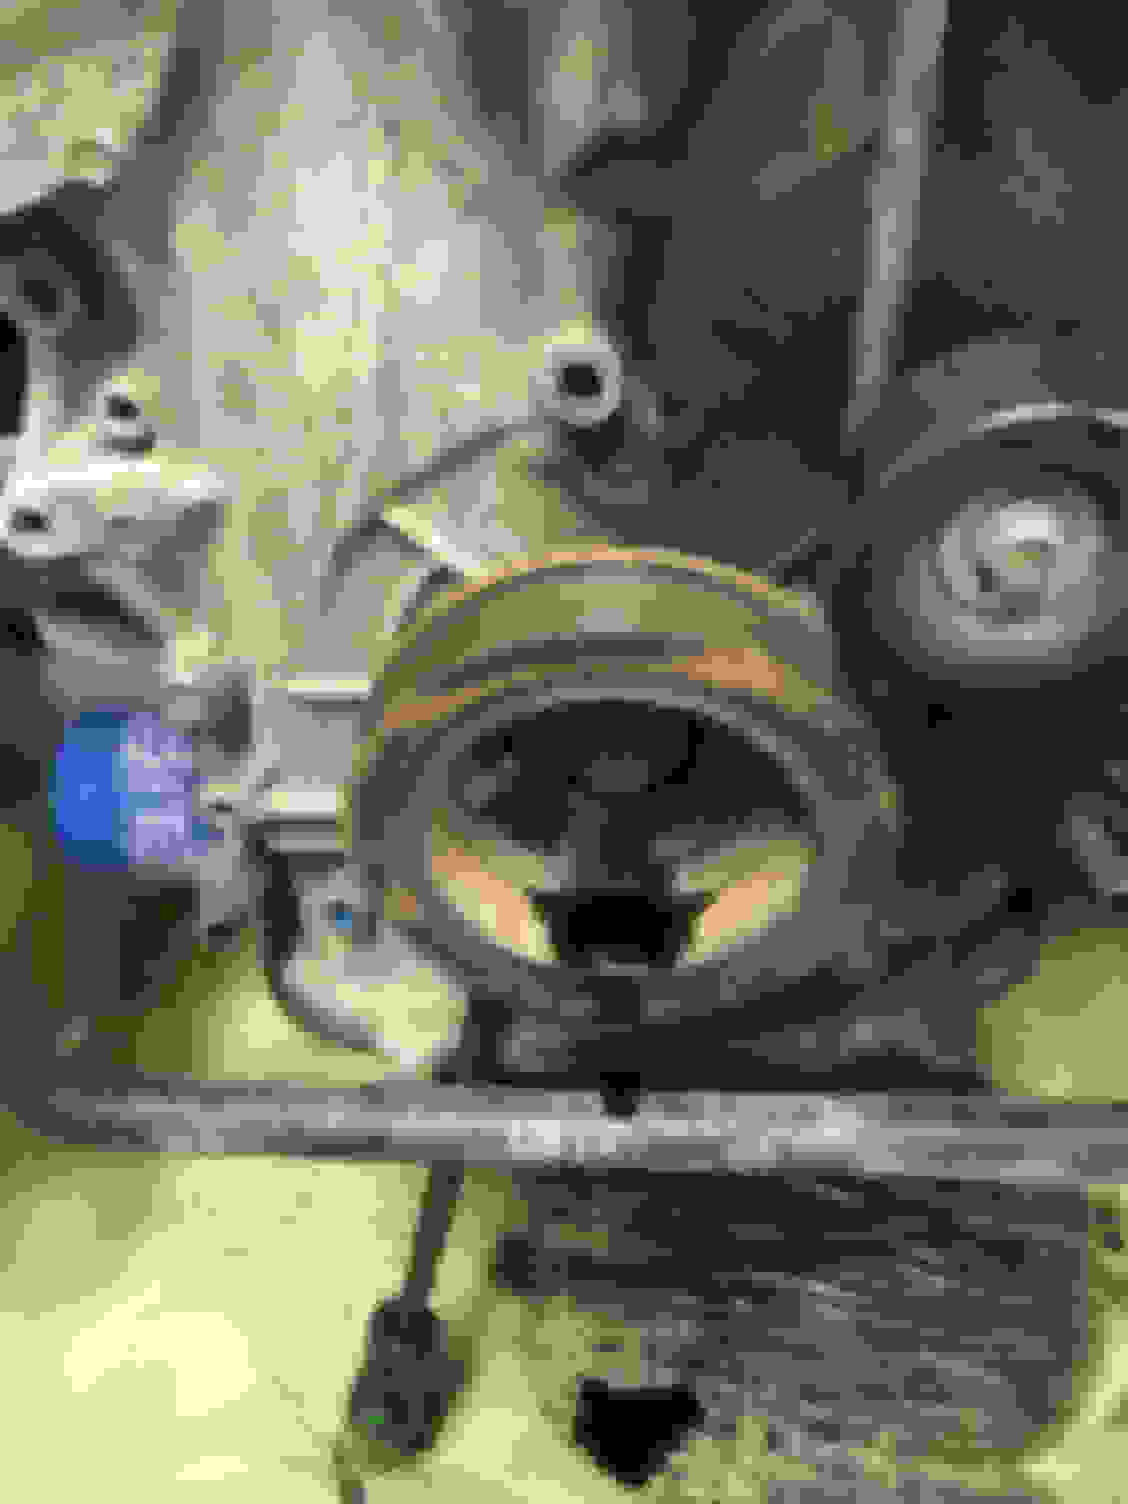
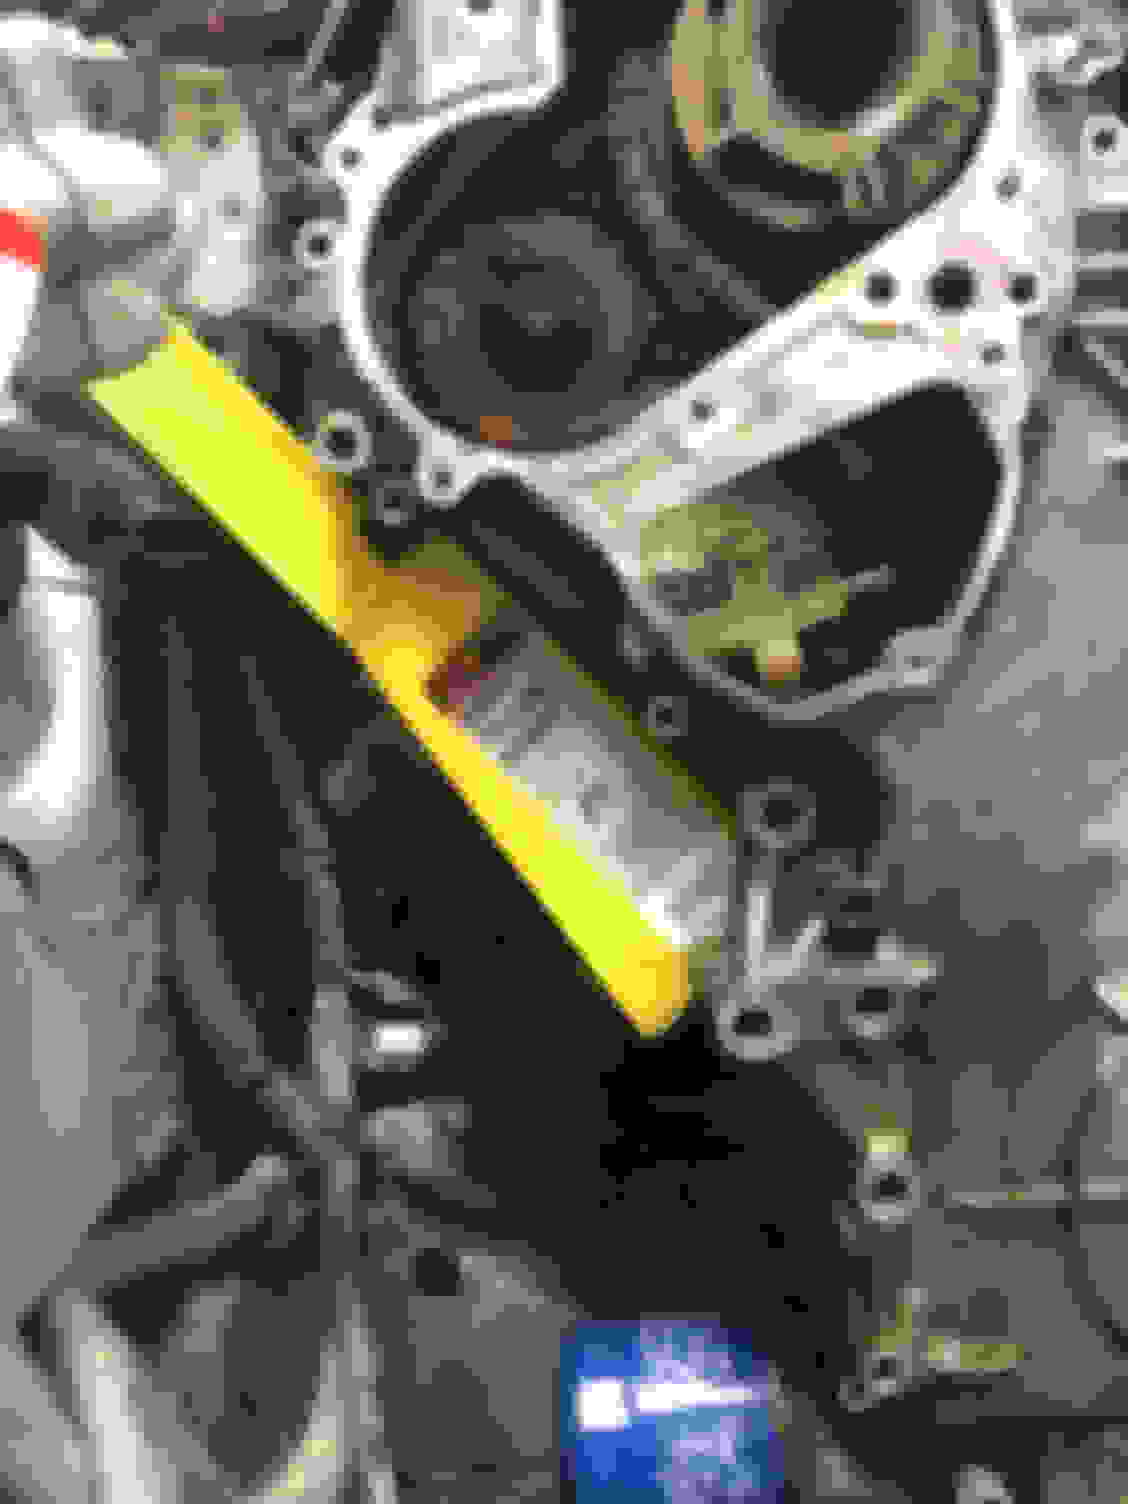
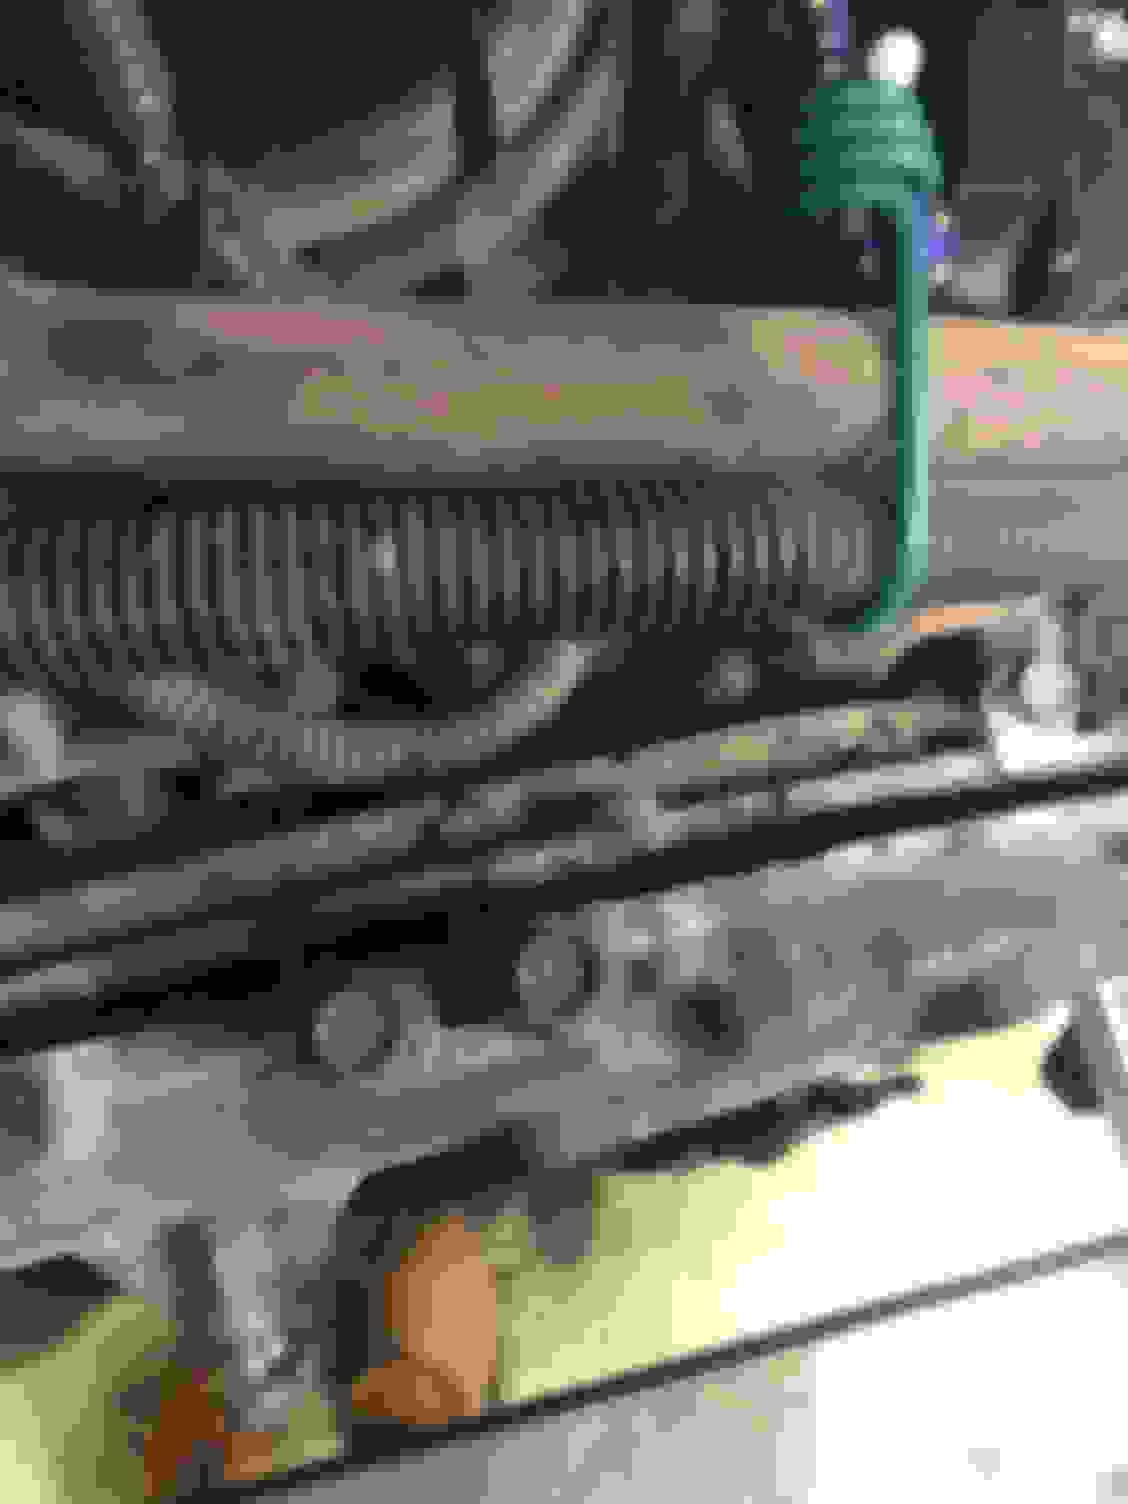
For those that don’t know why you’re losing coolant and can’t find a leak, it’s you water pump, it has a weeping hole that leaks to the rear of the block and here are some pics to give you an idea
i was lucky I needed a water pump because my galley gaskets were about to give. It’s just a hard paper and the new ones has a metal or metallic material in the center
Jamie, you’re making this job look easy,lol. I think if the crank bolt didn’t give you such a hard time, I believe that you’d be finished already.
well idk if this helps but I was a Honda master mechanic at 20 and I did body frame paint mechanics since I was eight, won some car shows and built race cars and wrecked them lol but my parents made me learn a lot and work at a young age bc my brother and I loved jumping on customers cars like the floor was lava lol and loved throwing spark plugs at windows so work kept up out of trouble lol
I havent touched a car till recently to put stage three twin turbos in the bmw so I’m learning as I go and I take my sweet time on my personal cars Plus I still have the flu but this job is easy if you use your head and stay organized, if you think it’s gonna break, it’s gonna break if you think something needs to be held back use bungee cords, but most importantly it’s getting over the fear of this could be an expensive **** up, I’m pretty sure most ppl here has put together legos harder than this job it’s just on a larger scale
I havent touched a car till recently to put stage three twin turbos in the bmw so I’m learning as I go and I take my sweet time on my personal cars Plus I still have the flu but this job is easy if you use your head and stay organized, if you think it’s gonna break, it’s gonna break if you think something needs to be held back use bungee cords, but most importantly it’s getting over the fear of this could be an expensive **** up, I’m pretty sure most ppl here has put together legos harder than this job it’s just on a larger scale
Well said. Personally, I have always felt that cars are just like giant lego sets.
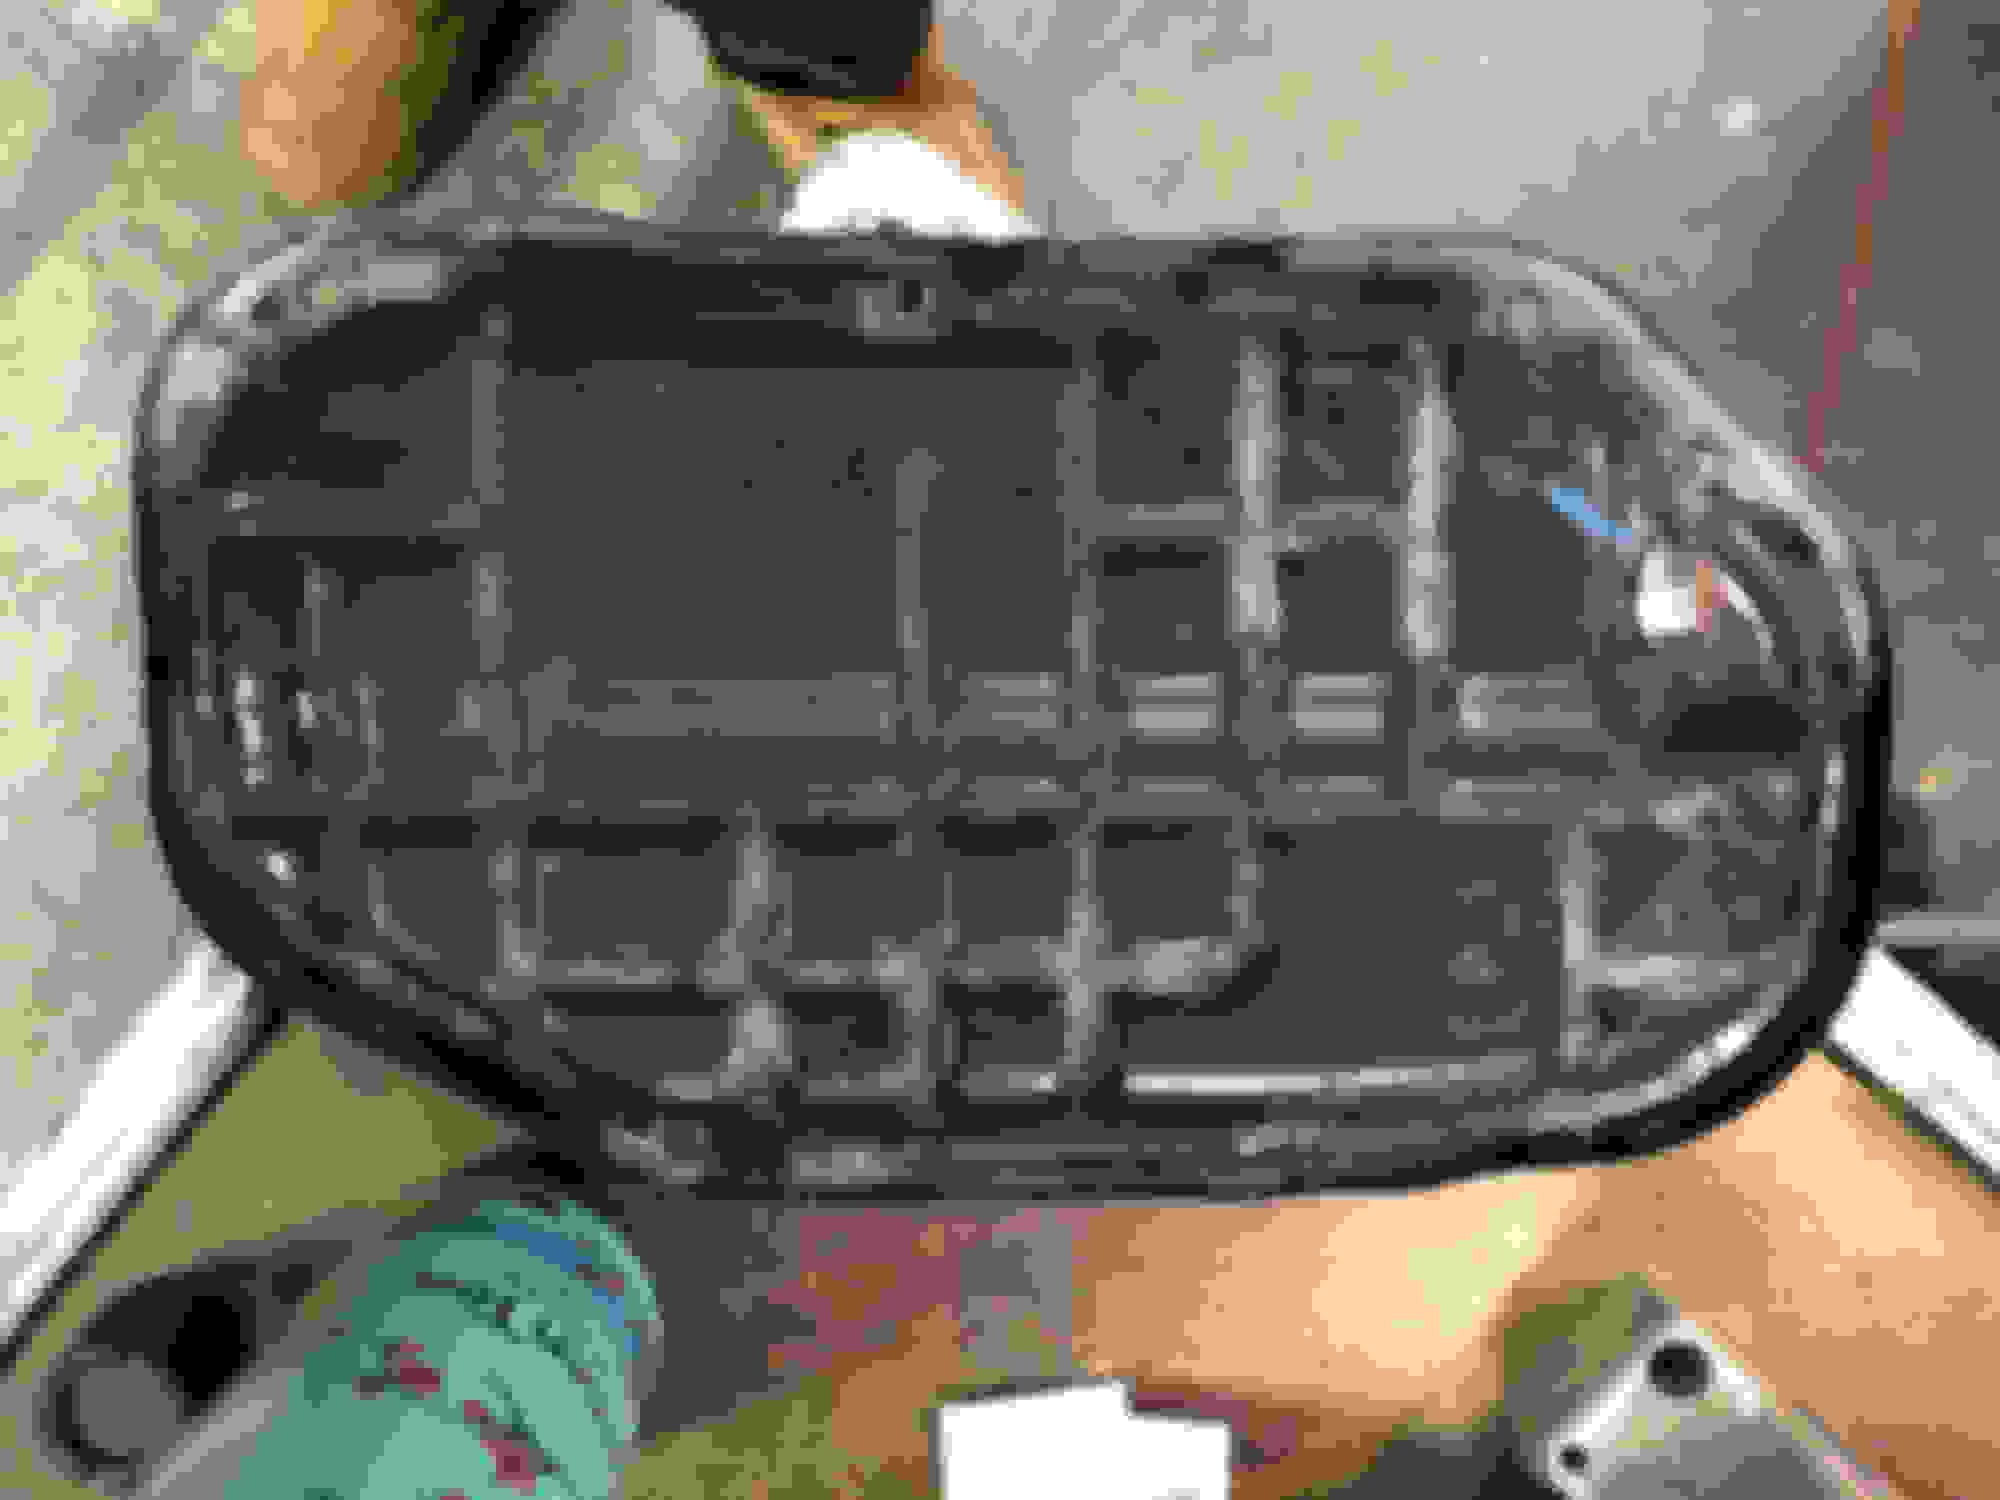
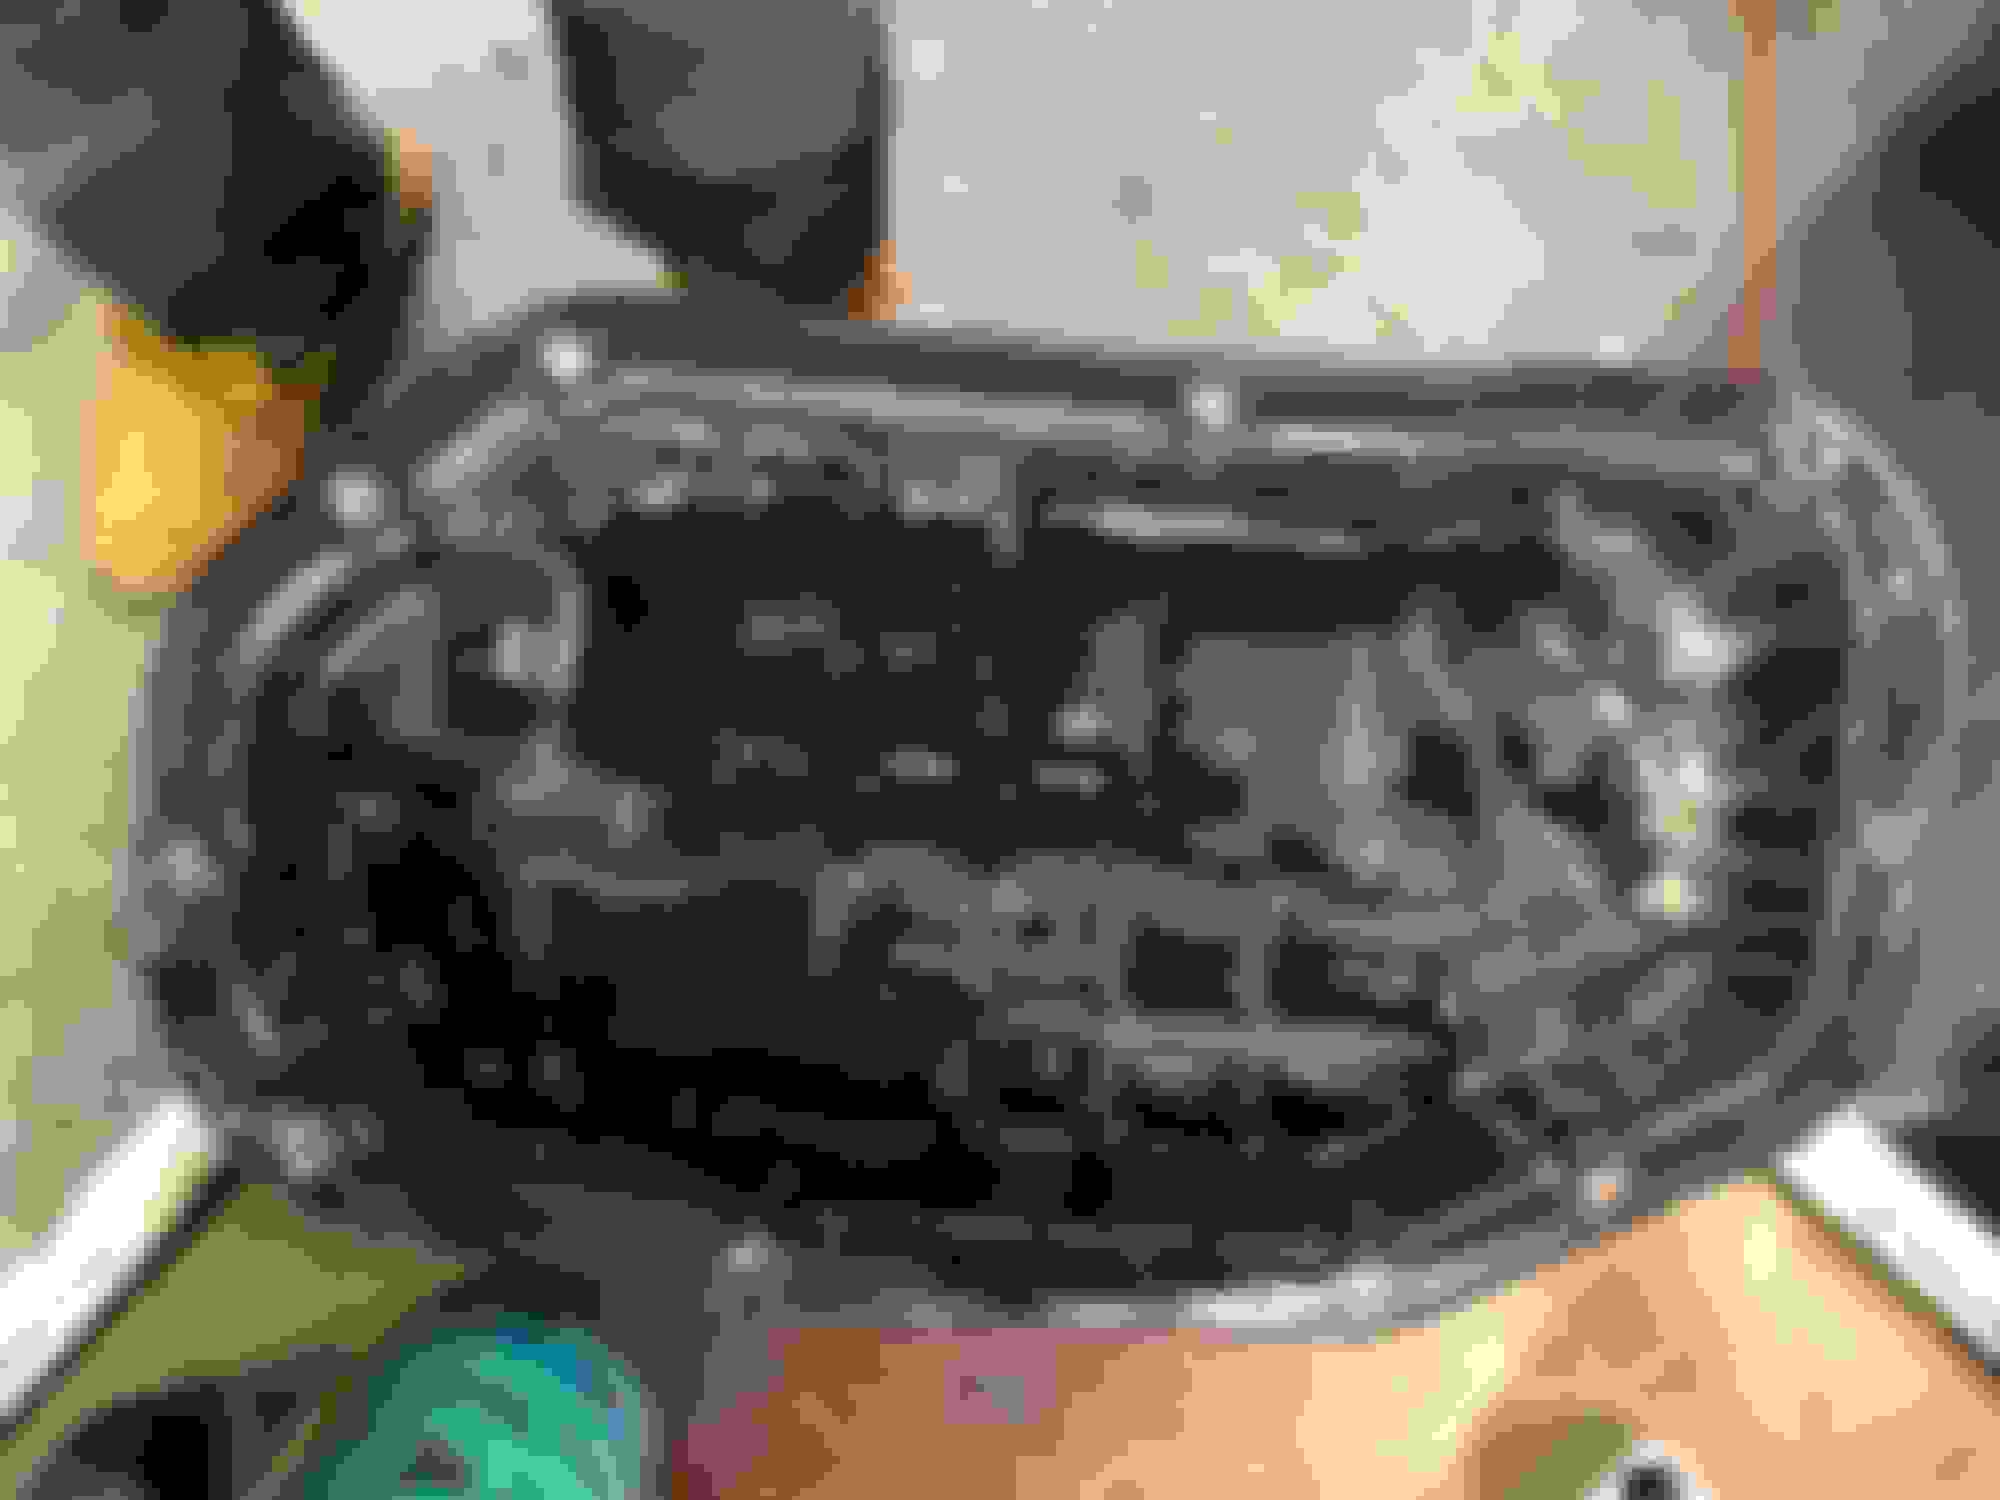
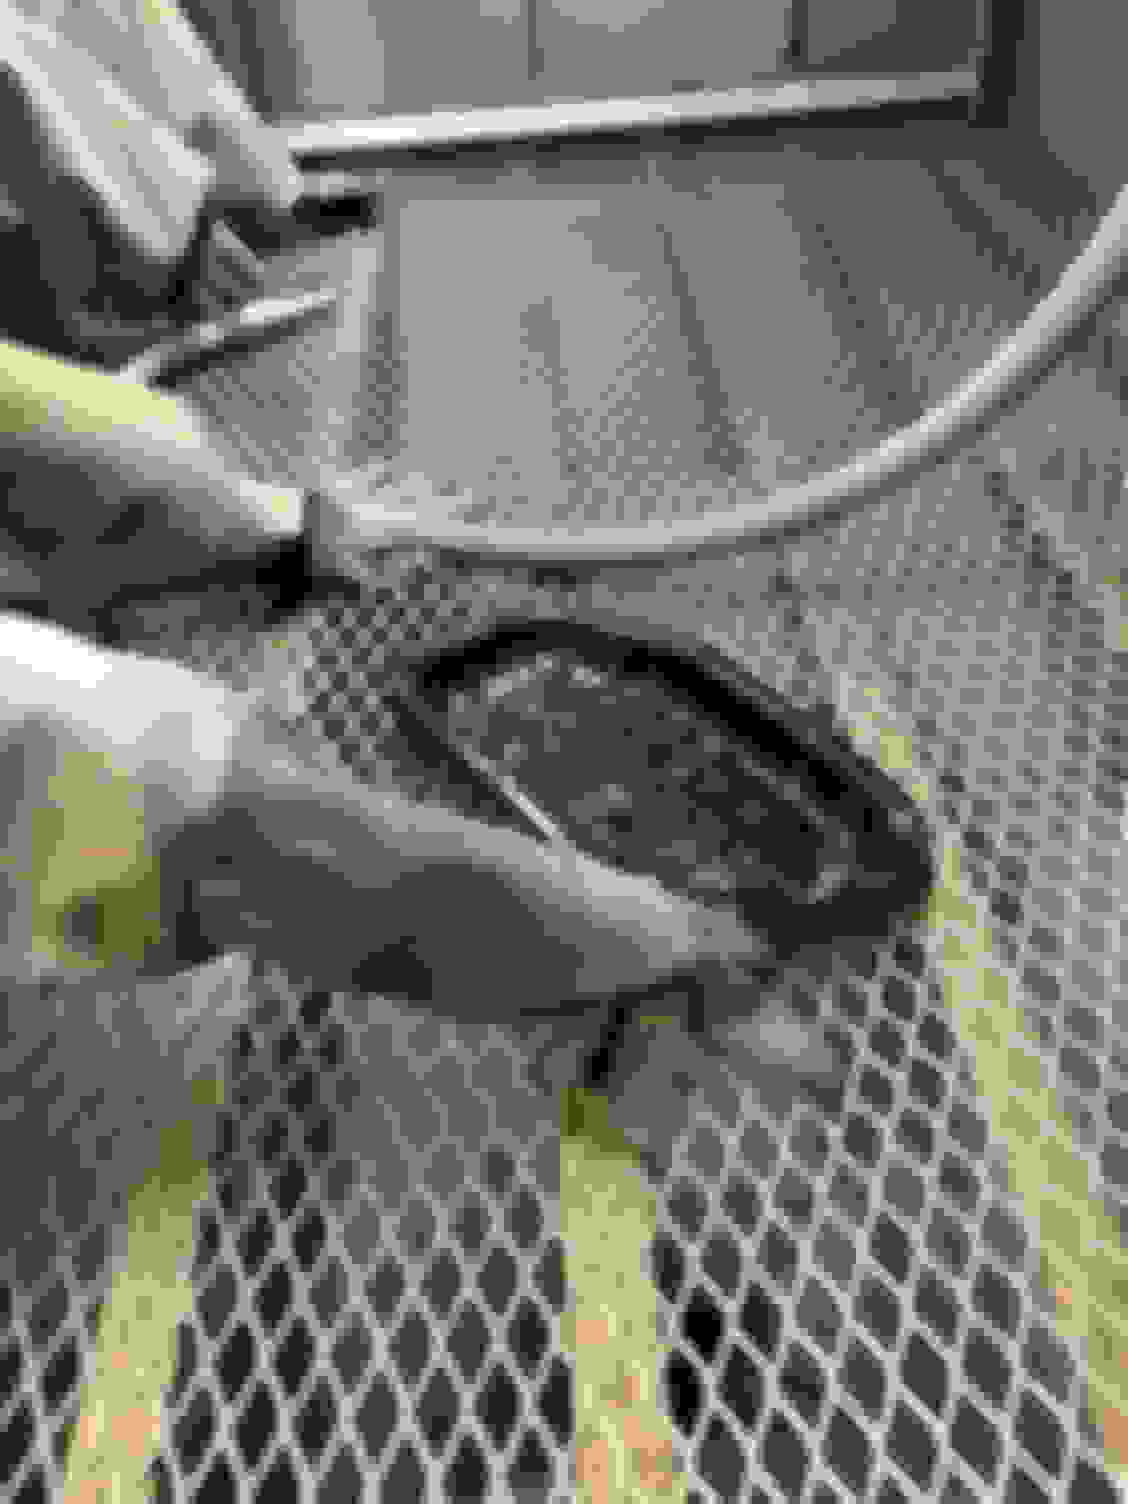
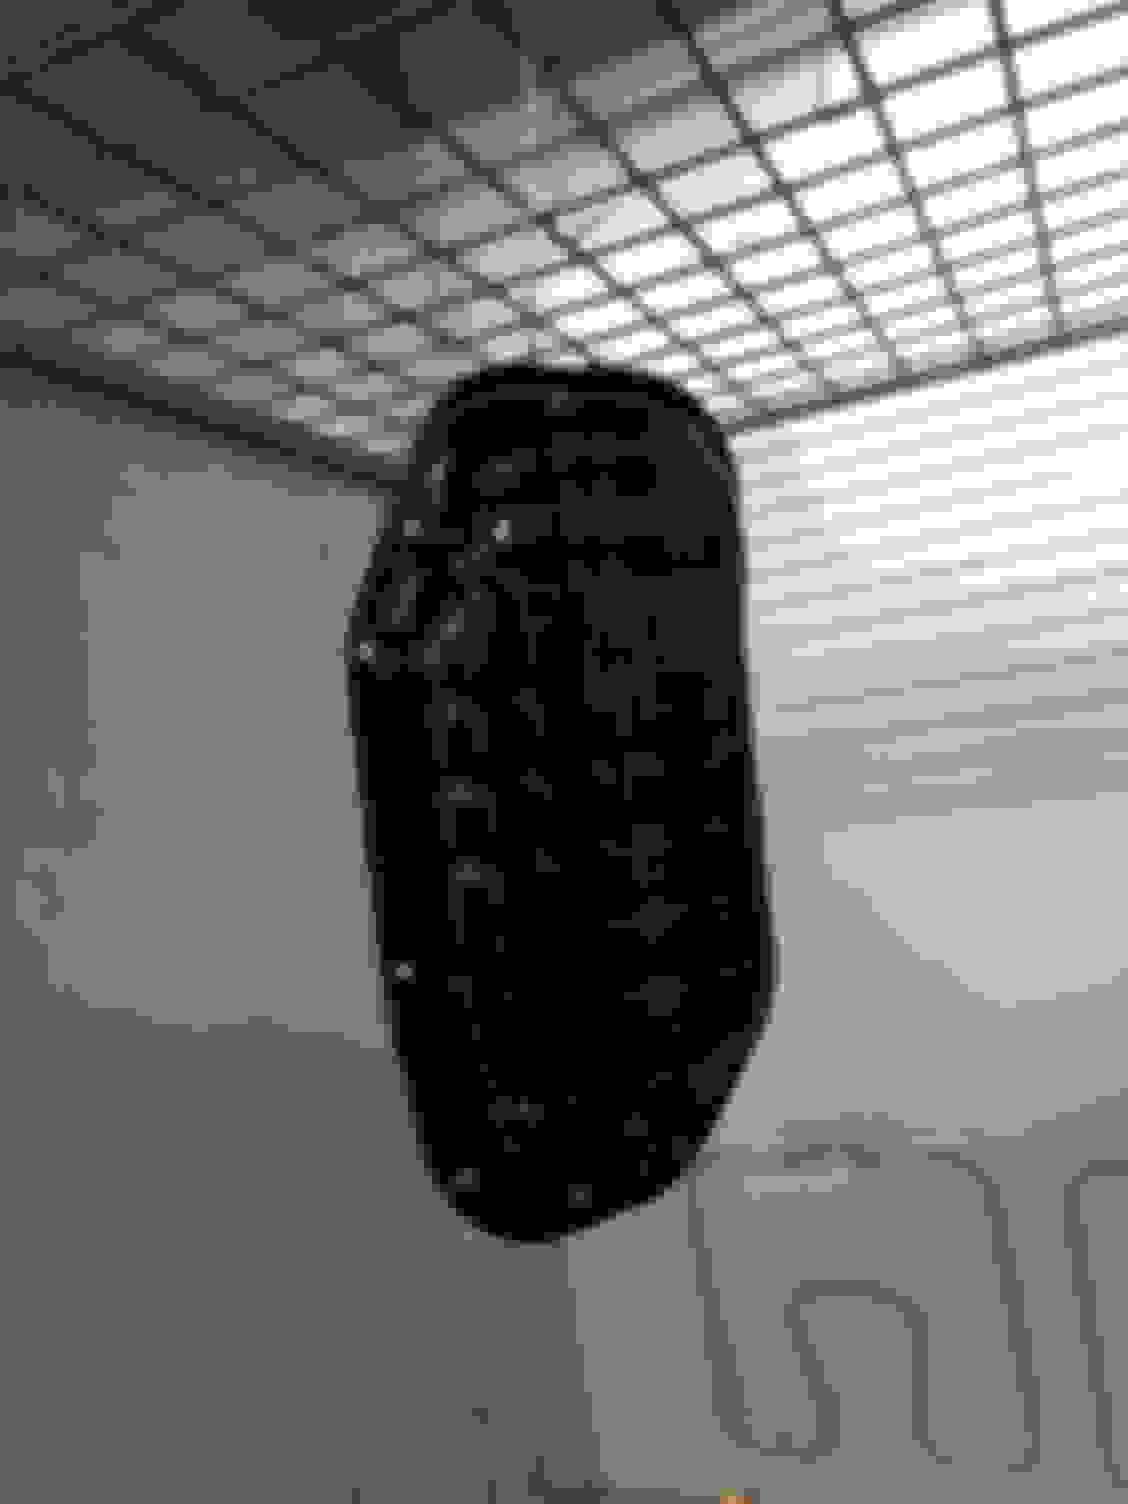
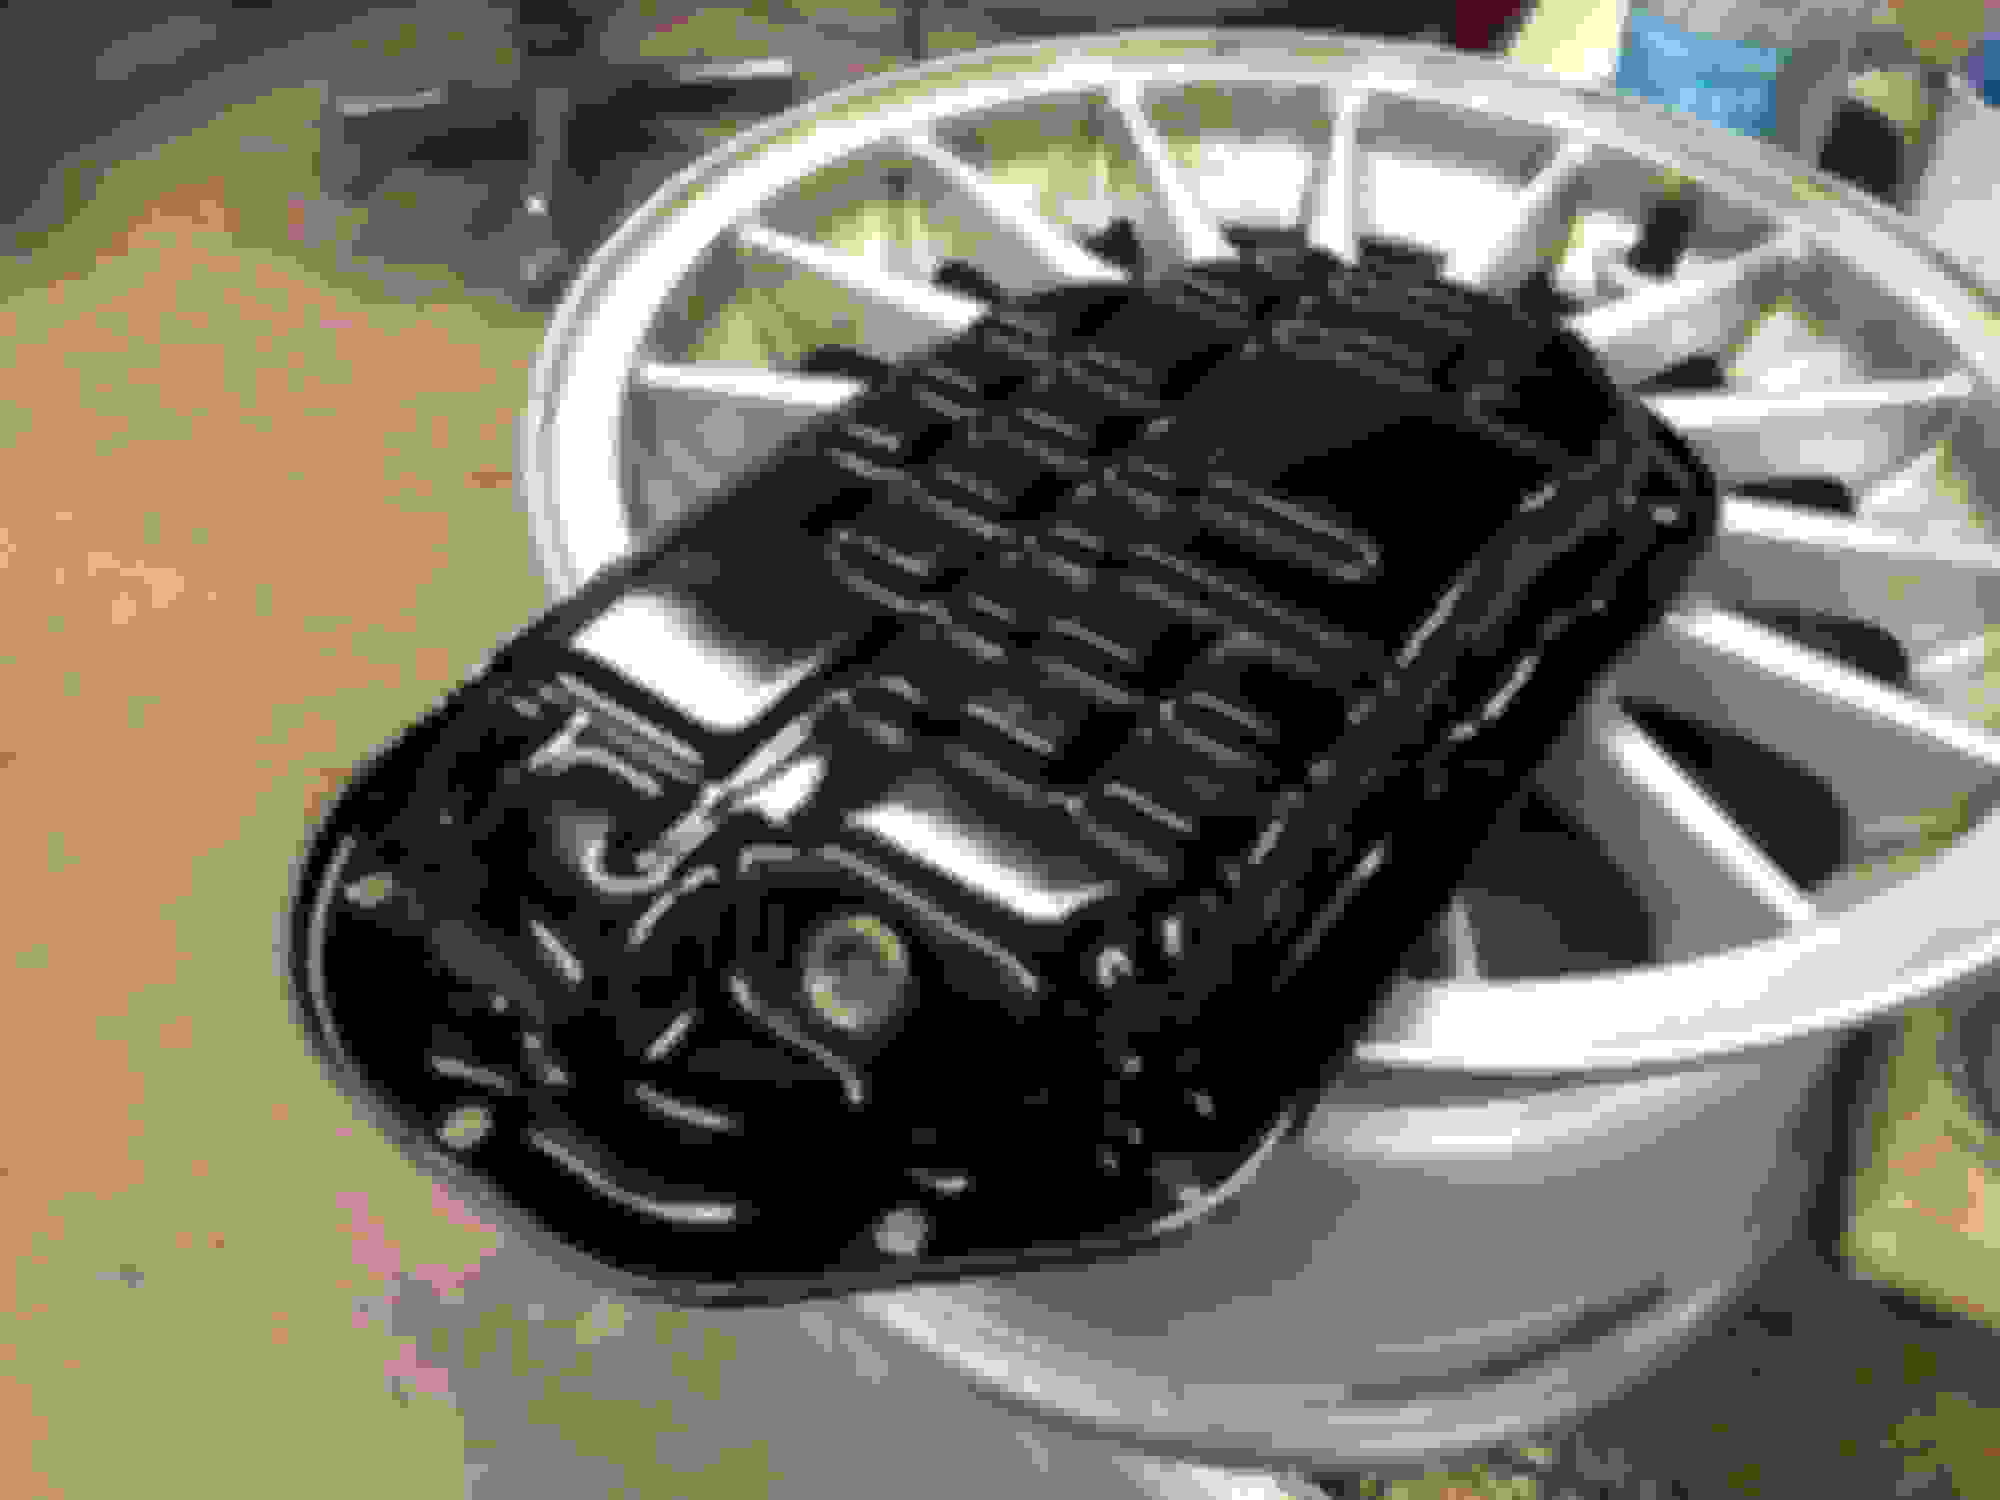
So I had some time this weekend to sand blast and powder coat my pan just for fun
i kept my plug in so it wouldn’t damage the threads and it looks like how it was oem
Well if this helps anyone, I’m shooting from the hip so input is good lol
note this is not for the faint heart
I took every clip and sensor clip off with a clip puller and small needle nose so all my clips went in perfect after
if you don’t have access to an ac machine or a friend has one at their shop your life just got harder or you paying for an evap and recharge or your going to do this without taking the the front clip off which is very do able and probably faster I will have pics since you don’t have the greatest view
its actually very easy if you’re organized(I threw everything in a bucket and I don’t recommend it I did boy for years
Parts
There might be a newer rtv lol check your expire dates on rtv
1. Put car on jack stands( I put mine on all four) at prop hood up and remove front wheels(makes easy for access and creeping for inspection) note I have part numbers for solid lug nuts if anyone interested in doing the swap if you have busted cap lug nuts and you’re sick of it
2. Release fuel pressure-very important when priming timing chain tensioner at the end of project so you don’t jump any teeth on chain
A. Remove battery cover and passenger side cowl
B. Remove battery(just do it, it makes your life easier)
C. Remove fuse box from bracket by depressing the top two tabs and lift entire box up
D. Open fuse box by depressing bottom tab
E. Remove blue 15a fuse for fuel pump, looking at the fuse box it’s the top left fuse
F. Halfass install battery and start car, it should crank up and might even start and shut off or crank with no fuel-means you have no fuel in fuel lines. Good, but it has to crank other wise you not making enough connection on the battery to release pressure
G. Remove battery terminals and safely prop them down so you don’t make a connection
H. Bag all clips and store cover/cowl in corner or garage
3. Remove front splash guard(10mm) and front inner fenders and bag the clips and bolts and store in corner
4. Remove front bumper- note there is one bolt on each side that hold a bracket that holds the fender to the bumper under the weather stripping between bumper/fender/head lamp
Bolts up top and two screws on the side- tip pull down and out on the corners to remove bumper cover and if you have fogs unplug them
Carefully remove sensor off bumper support and remove bumper support
Bag it up and store in corner, careful not to scratch the paint
5. One oil cap and coolant cap. Drain engine oil(14mm I think) and coolant from radiator(bottom passenger of radiator with FAT phillips
6. This step is dangerous because freon is odorless and CAN KILL YOU it’s recommended to use an ac machine but I just slowly opened the valves and ran for my life lol just kidding I just stood there like an idiot until my lungs felt like burning and then ran out the garage, could be cancerous, caution is advised
7. Remove intakes, coolant reservoir, coolant upper and lower hoess lol and remove transmission cooler lines from radiator I just stuck bolts in the from leaking
Bag and store
8. Carefully remove hood latch wire(use a small flat head) Remove top air deflector and Remove head lamps bag and store
9. Remove radiator fans by unplug harness and tucked away and two top bolts and lift up
10. Unbolt ac lines from radiator( make sure clean before removal) I just carefully remove the bracket that holds ac lines through the radiator support, you will need this if you cut your support like me then remove the short ac line to pump
11. Unplug any sensor that could go to the radiator, srs sensor, horns, wiper fluid motor, get everything out the way even the longer ac line careful not to bend or break and harness tucked away. Unbolt powersteering cooler and tuck away using bungee cords
12. Maybe two people job, unbolt radiator support, no need to unbolt hood latch from radiator support unbolt entire thing and carefully remove radiator support without breaking long ac line through hold you made bag and store, I removed the radiator from support first but some ppl don’t up to you bag and store
13. Take a picture of your belt set up and remove
14. Now I put most of the bolts in with all the pumps, clean ac pump lines before removing lines. Remove power steering pump, alternator, ac pump, pulley tensioner bracket and pulley. Remove power steering pump and bungee cord hold it back. Remove dip stick, remove top water out let and maybe thermostat housing if replace( might as well and makes easy for you)
15. Remove every harness, bracket out the way and bungee cord everything back, I think I took off one hose from intake mani(looking at motor from front)for a harness to be bungee back
Last edited by Jamie Nguyen; 12-05-2018 at 07:52 PM.
Reason: DIY
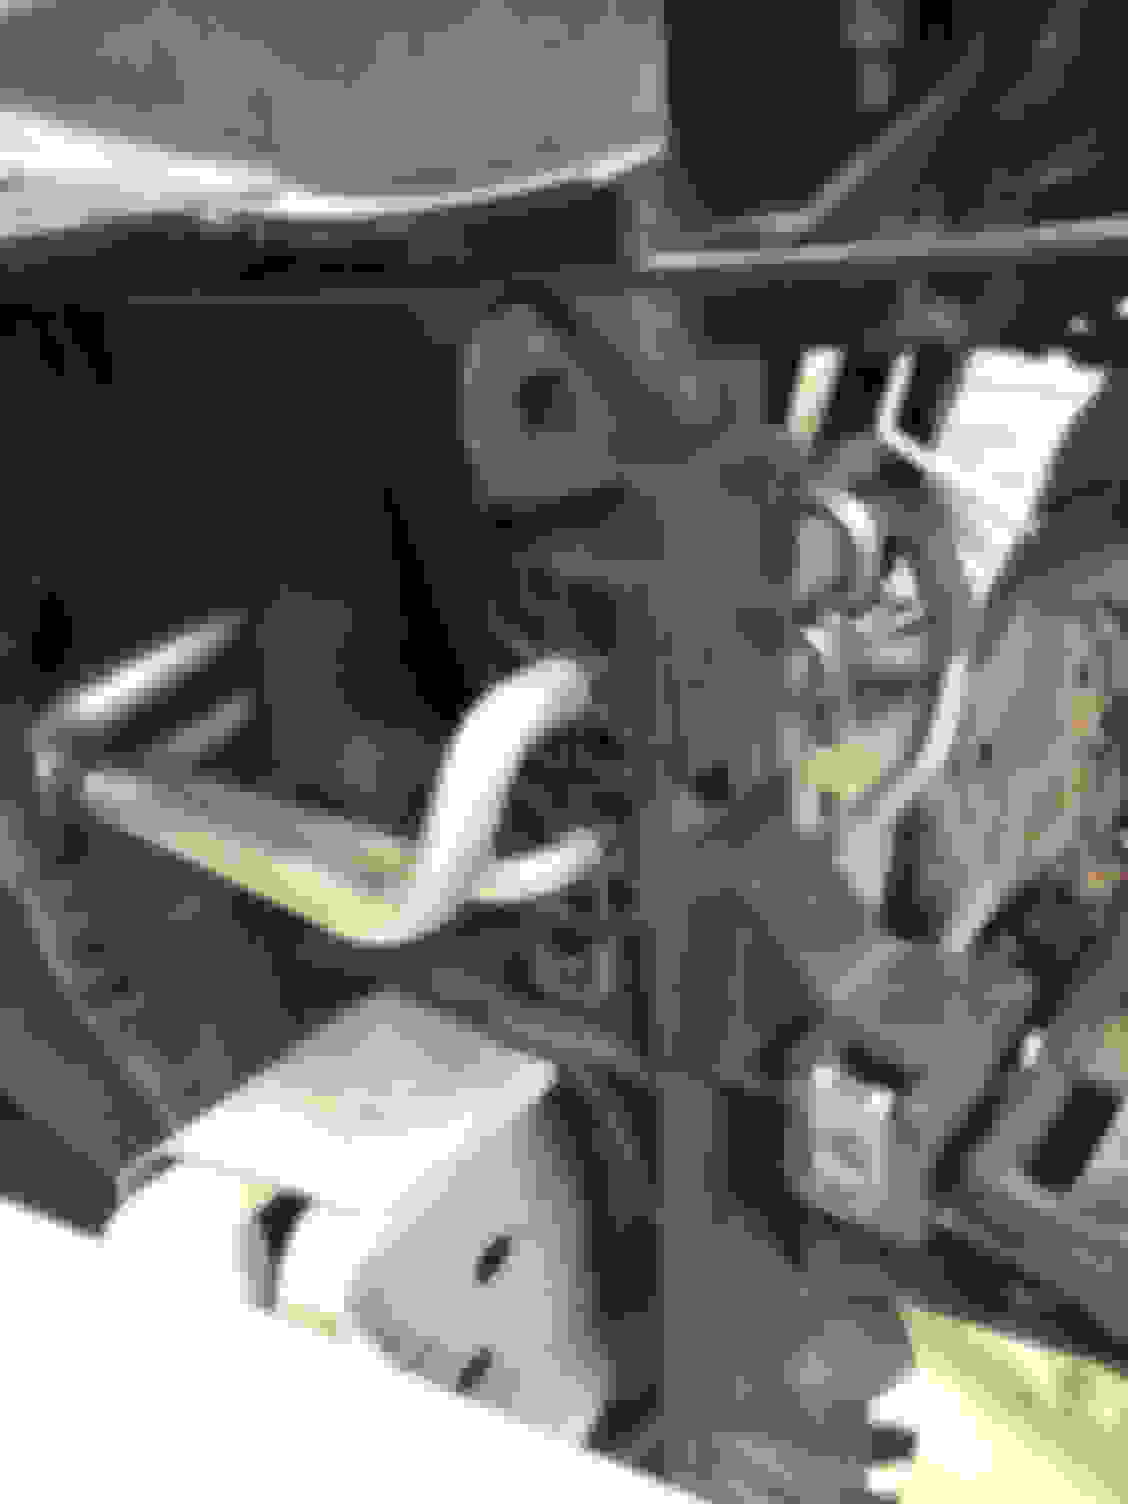
16. Remove harmonic balancer, try with the biggest gun you have first, if it doesn’t break, no problem, if you torch it too hot you might have to replace the pulley so try this first, I stuck a long pry breaker in and used a breaker or a strong 1/2 ratchet and fence post or large jack handle on bolt, when the bolt is broken loose make sure you can get the pry bar out first because you don’t want all that tension on the crank
17. Well at this point you might look at the car and think maybe I should take it to a shop but it’s pretty easy so don’t give up and don’t f@@#$&&*$# this up! Clean the edges of timing chain cover and oil pan. THIS IS VERY IMPORTANT TO REMOVE LOWER OIL PAN BEFORE you do anything further. There are TWO BOLTS INSIDE THE OIL PAN that holds the TIMING CHAIN COVER.
18. Remove both cam covers carefully and evenly and bag them
19. I created a drawing and numbered everything so it makes it easy for install and they say for removal too
20. FIRST Remove both bolts that holds the cover inside the pan
21. Remove timing chain cover bolts in reverse order
22. Note make time for this step because you don’t want your cover to flex over night, set 4 hours or more for this step bc you don’t want to rush this otherwise you might bend your cover if you’re rushing, but it might take you a half hour lol. Take your time splitting the cover and use a torch randomly to soften old rtv, I used the old cam cover gasket as a tool(to cut old gasket all the way trough), flat head, small pry bars to big pry bars and a dry wall blade(not to split but to hold the progress of the splitting) and a body filler scoop from orielys(to hold larger progress) wear gloves, gasket will cut you. Unless you have proper cutting tool lol store in safe safe place and I put the small vvt filters sit in oil or replace them, I have the part number if want The tools to split the cover lol
Last edited by Jamie Nguyen; 12-05-2018 at 08:49 PM.
Reason: Diy
 10-30-2018, 02:21 PM