When you click on links to various merchants on this site and make a purchase, this can result in this site earning a commission. Affiliate programs and affiliations include, but are not limited to, the eBay Partner Network.
Cutting, Modding, and Resealing Tail Lights Made Easy
I made a video on how to cut open the tail lights on my sedan to change the led arrangement. It was pretty simple and relatively easy to do. It only took me about two hours to do both but I think it was worth it.
I made a video on how to cut open the tail lights on my sedan to change the led arrangement. It was pretty simple and relatively easy to do. It only took me about two hours to do both but I think it was worth it.
Very nice, I did mine which was a pian. I used silicone as an added layer of sealant which works because my passenger that doesn't have the additional sealant developed some condensation build up but probably redo them using your method. Thanks is for the video, did you tint the outside of spray the inside?
Very nice, I did mine which was a pian. I used silicone as an added layer of sealant which works because my passenger that doesn't have the additional sealant developed some condensation build up but probably redo them using your method. Thanks is for the video, did you tint the outside of spray the inside?
I tinted the outside of the tail lights with vvivid vinyl tint just because I prefer the look and I can always take it off when I rewrap my car a different color.
I tinted the outside of the tail lights with vvivid vinyl tint just because I prefer the look and I can always take it off when I rewrap my car a different color.
I sprayed my for a different look n not to mention if I happen to get pulled over I can't get a ticket, being that I'm not reducing light output by adding tint over the tail lights. I live in the bx n have friends who received tickets for tinting thier tail lights, wont be me.
I sprayed my for a different look n not to mention if I happen to get pulled over I can't get a ticket, being that I'm not reducing light output by adding tint over the tail lights. I live in the bx n have friends who received tickets for tinting thier tail lights, wont be me.
Here in Florida it seems as though you can get away with almost anything. I see people driving around with things way worse than tail light tint
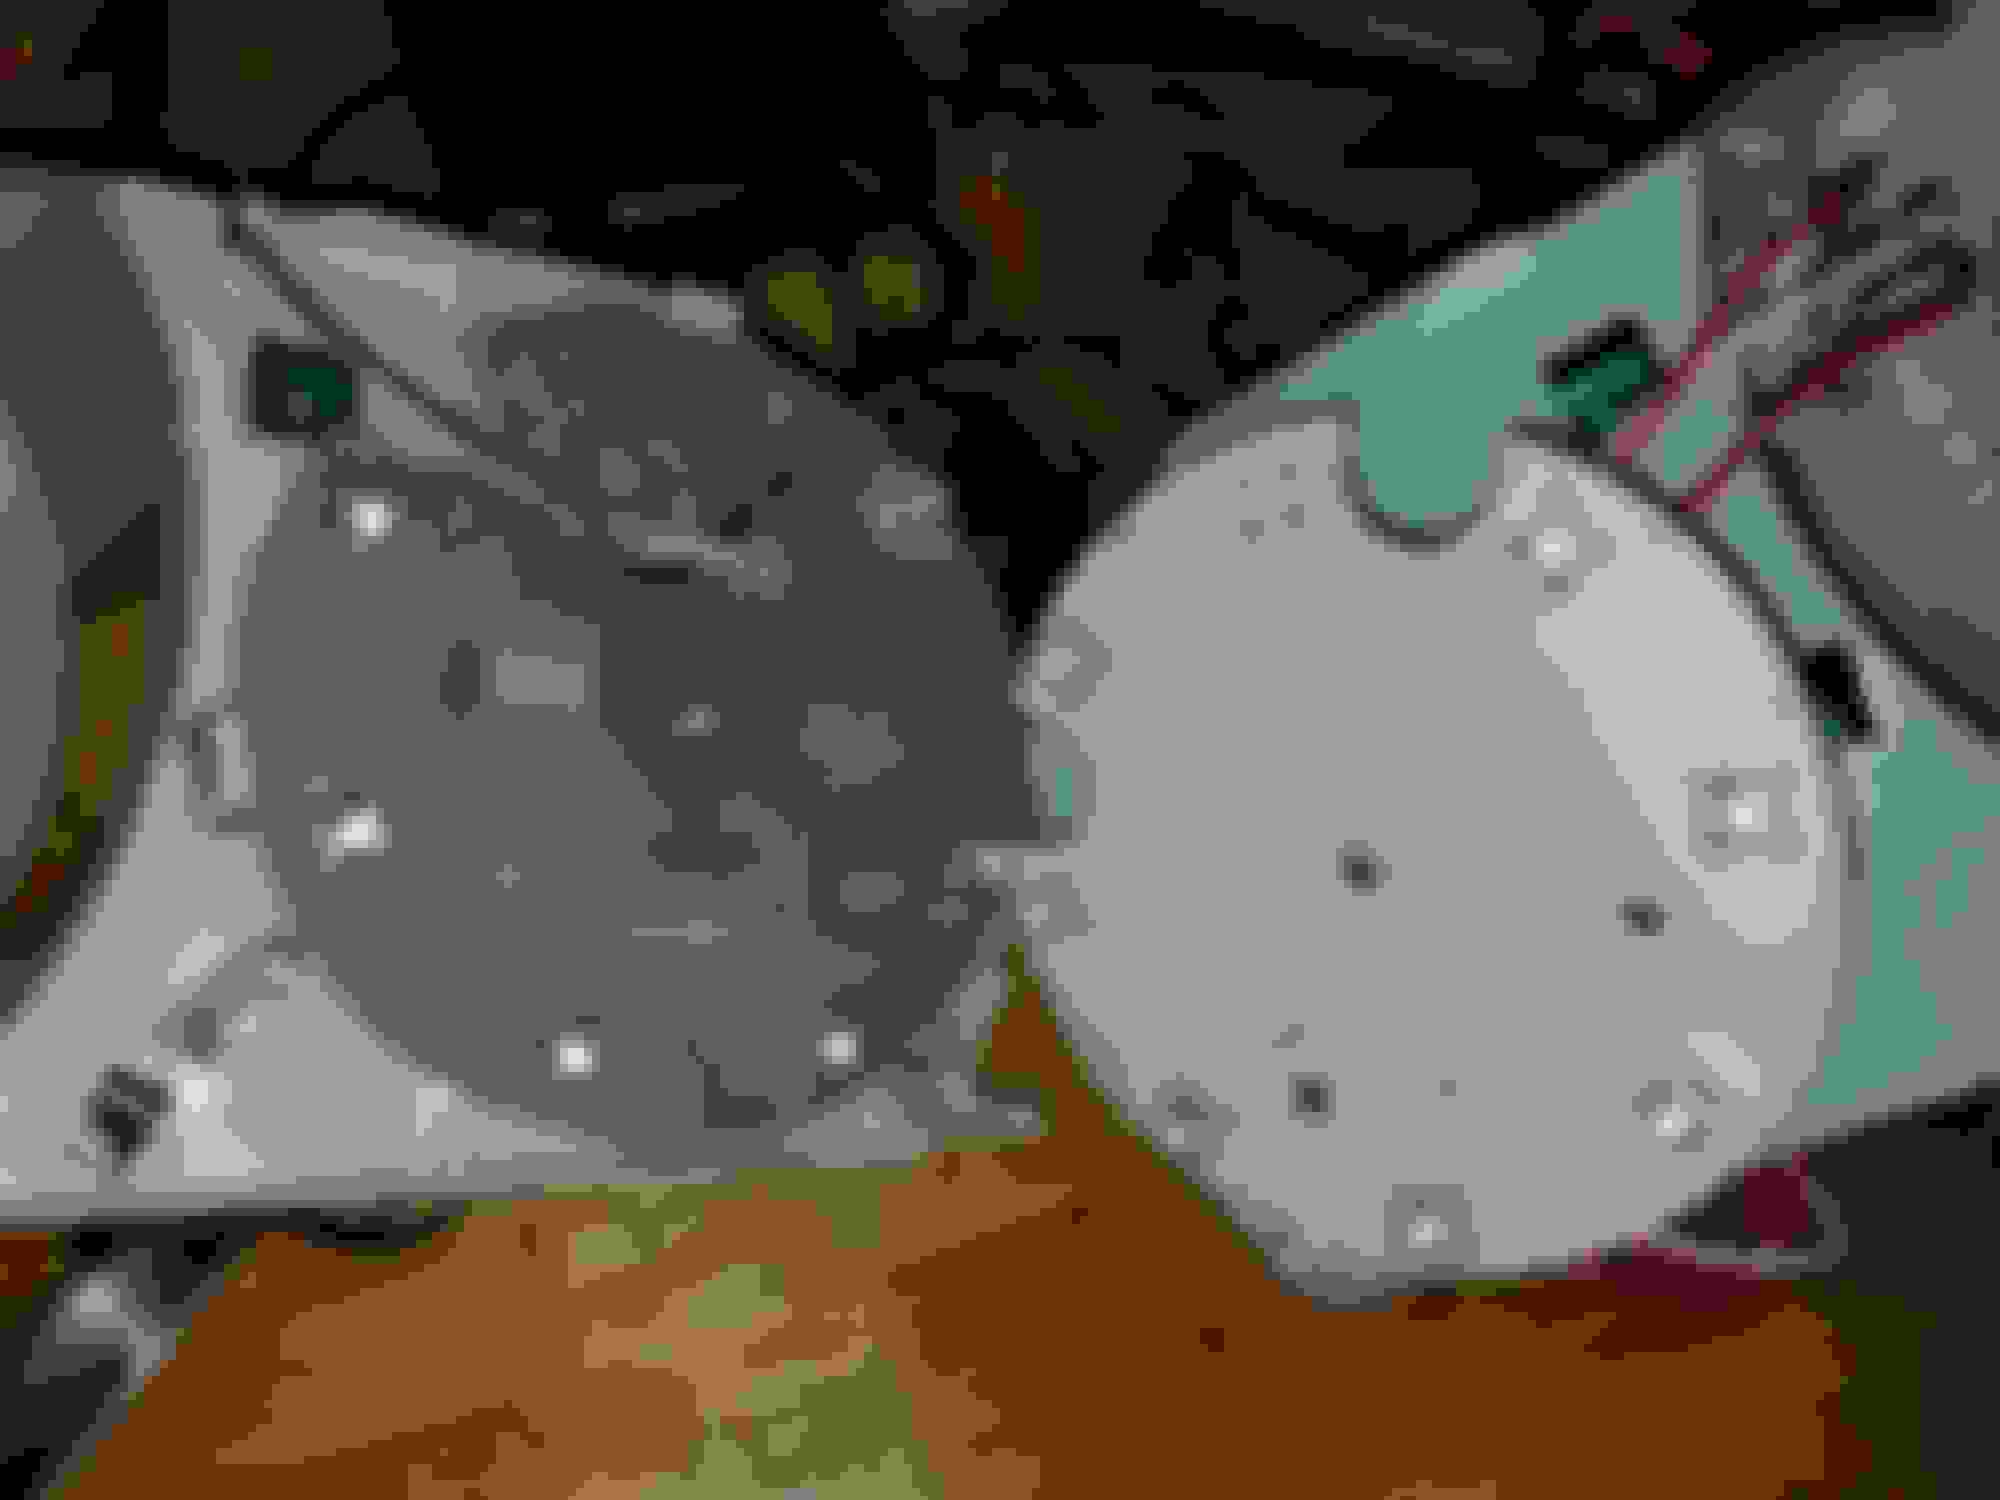
Hey everyone, just putting my 2 cents on tail light modding, I used OP method to open my tail lights n it worked out much faster n cleaner then using a soldering iron which is what I used my first time opening my tail lights. Now my second time around was great until I cut the LEDs off, I believe I had 1 OEM n 1 aftermarket because the internals were not only different in appearance but wired different as well. So long story short I messed up 1 tail light because it was wired differently. Check the pics. As for the tail light thats exactly the same as OP everything went smooth as butter so I'm either going to buy a single tail light n redo it or just throw some halos in there now not sure yet. Hope this helps.
Hey everyone, just putting my 2 cents on tail light modding, I used OP method to open my tail lights n it worked out much faster n cleaner then using a soldering iron which is what I used my first time opening my tail lights. Now my second time around was great until I cut the LEDs off, I believe I had 1 OEM n 1 aftermarket because the internals were not only different in appearance but wired different as well. So long story short I messed up 1 tail light because it was wired differently. Check the pics. As for the tail light thats exactly the same as OP everything went smooth as butter so I'm either going to buy a single tail light n redo it or just throw some halos in there now not sure yet. Hope this helps.
Sorry about the aftermarket tail light being different than the oem one. Good to know though for future reference I guess. If you don't mind and you still have them apart, could you measure how wide the outer and inner rings are? It would be helpful for anyone who wants to do the halo tail lights. Thank you!
Nice work, the coupe tail lights are definitely a bit more pita with the sharp curves at the top and very thin plastic up there. It's certainly not the easiest tail light to work wit because of the ultra sonic welds. The coupe has the demon button the drivers side lense and having to cut / dremel in there because it is US welded also, makes for a really frustrating moment. Nice video, I like this kind of custom over the vinyl layovers, end results are very nice!
 06-03-2019, 11:54 PM