When you click on links to various merchants on this site and make a purchase, this can result in this site earning a commission. Affiliate programs and affiliations include, but are not limited to, the eBay Partner Network.
Making the shift over to be a full out race car you start looking at saving weight here and there. Looking over the coupe and thinking hmmmm, I'll be getting a cage eventually and might as well get rid of the rear seat.
Pulling out the whole thing but I still want it to look ok so I'm planning on making a cover with wood/fabric to dress it up a bit (cover the fuel pump and bare metal).
This will help others that want to do the same. After pulling parts I weighed everything to see what savings there were:
Top Seat ~ 30lbs
Bottom Seat ~15lbs
Hardware/Seat Belts ~10lbs+ (I kept adding and only weighed one seat belt)
Recommended Tools:
Flathead Screwdriver
12mm and 14mm Sockets
Beer
Gloves!
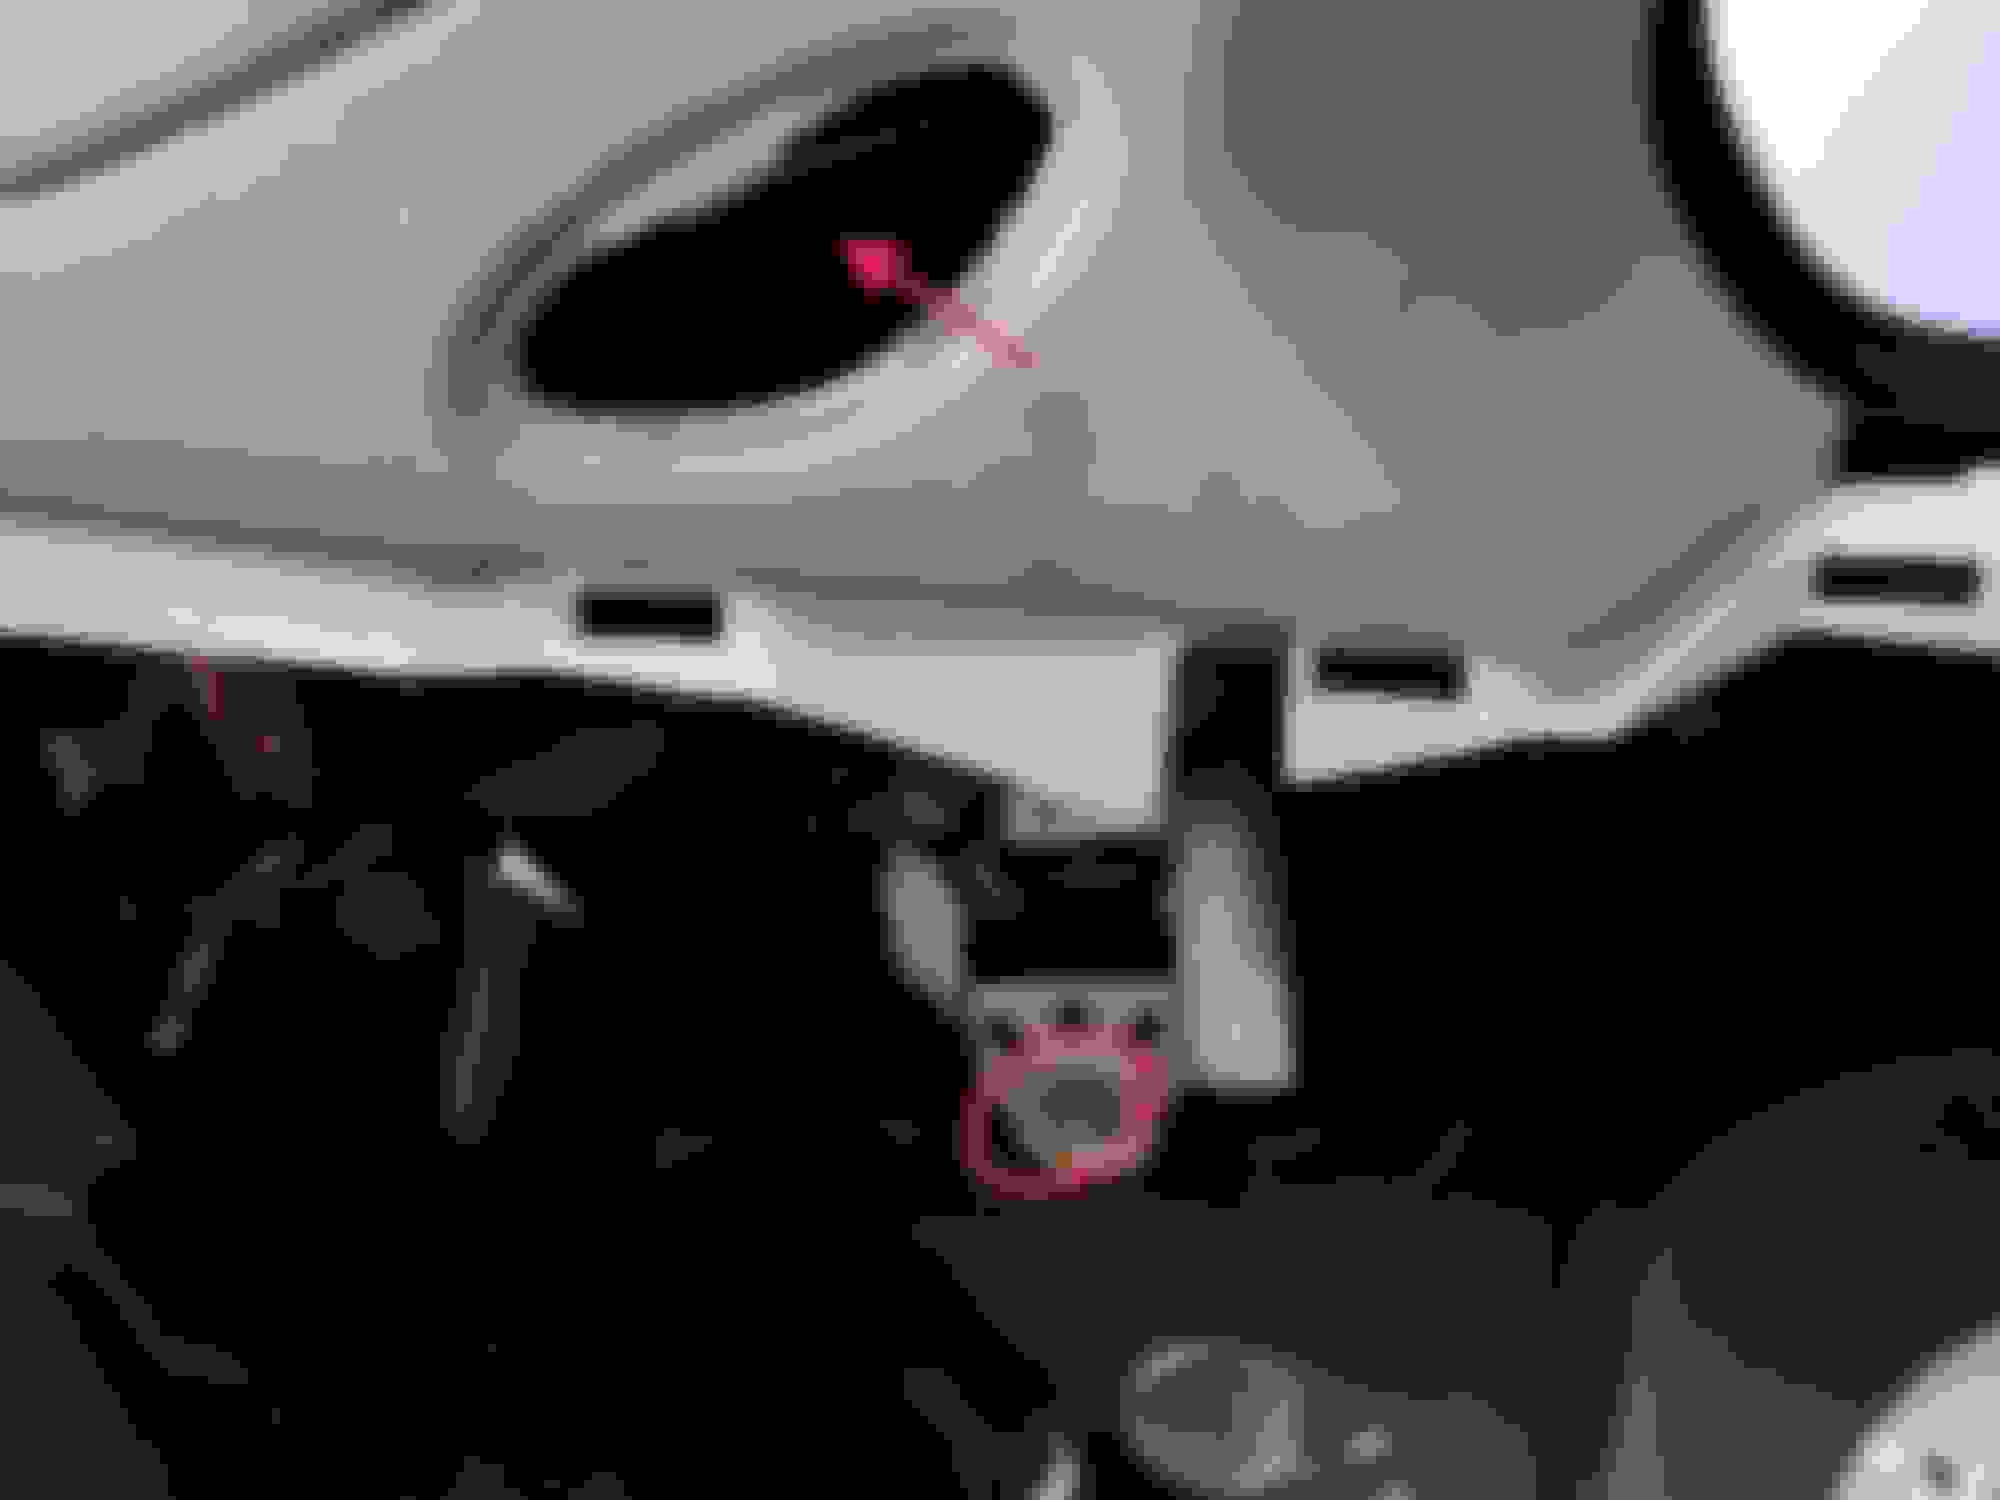
First things first, move your seats forward if you can to give you some room to work. My fixed back seats and harness bar became a real PIA but I still did not remove them (I did end up removing the harness bar).
Straddle in between the seats and pull up to release the bottom of the back seat.
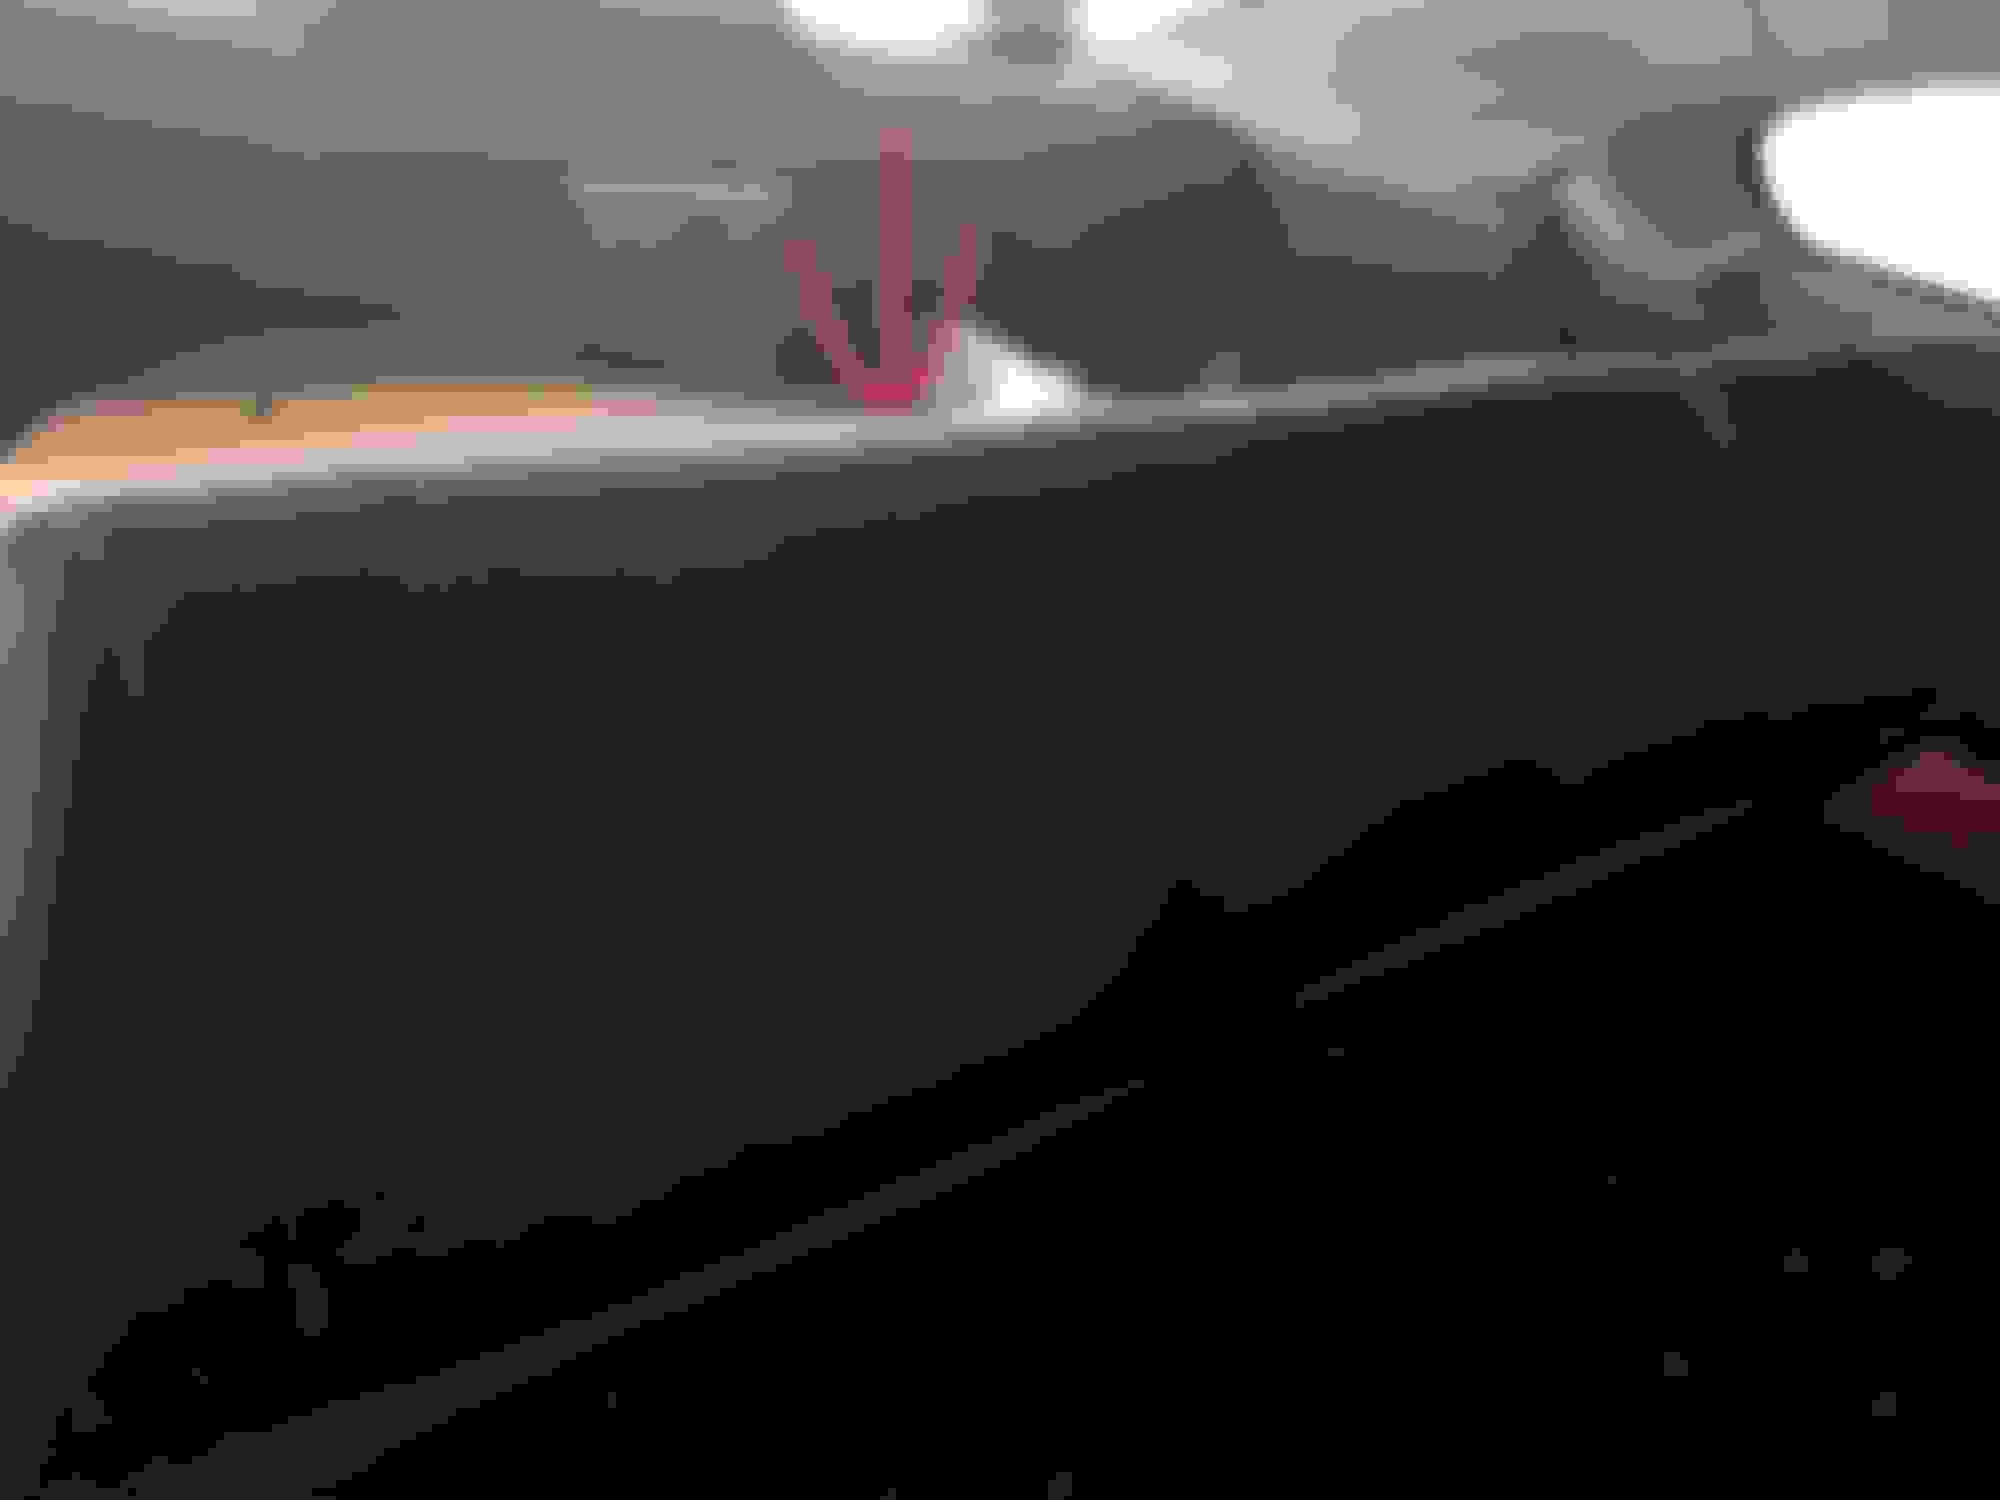
With the bottom seat unclipped, pull it out and set it aside. Open your trunk and find your top seat release.
Pop the release and lean the top seat down. You'll need to access behind it to get it disconnected.
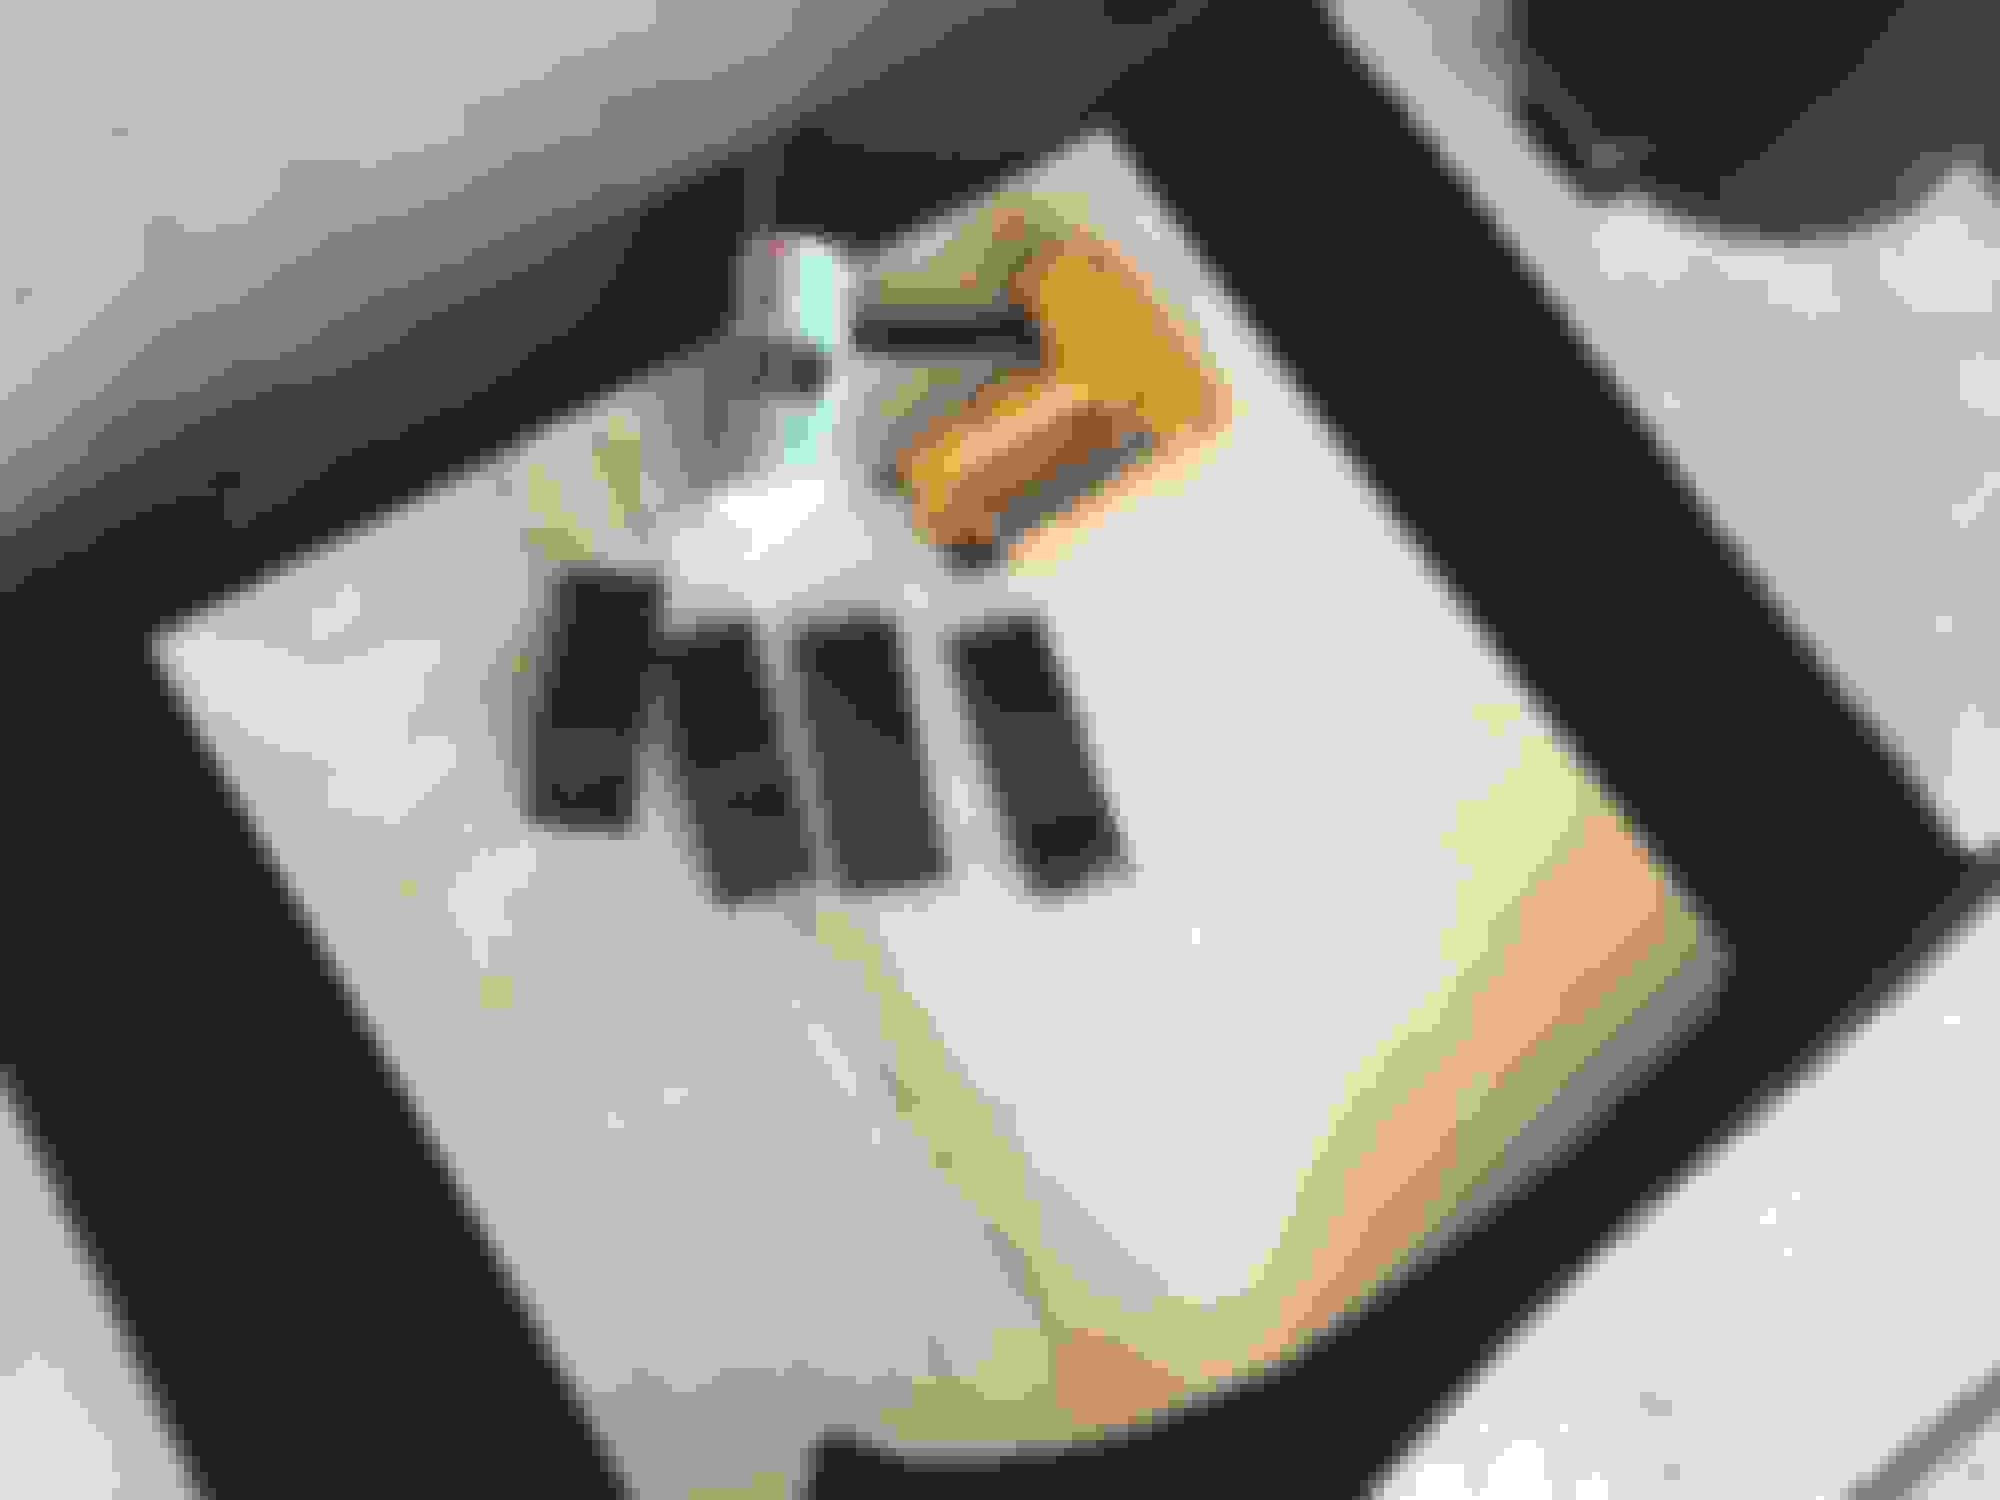
Look down and find the carpet clips to pop out with the flathead.
This will uncover the areas of connection. To include; the seat release cord and seat bracket.
With the top seat removed and set aside you'll be free to have more working space and start removing the really fun pieces (sarcasm)
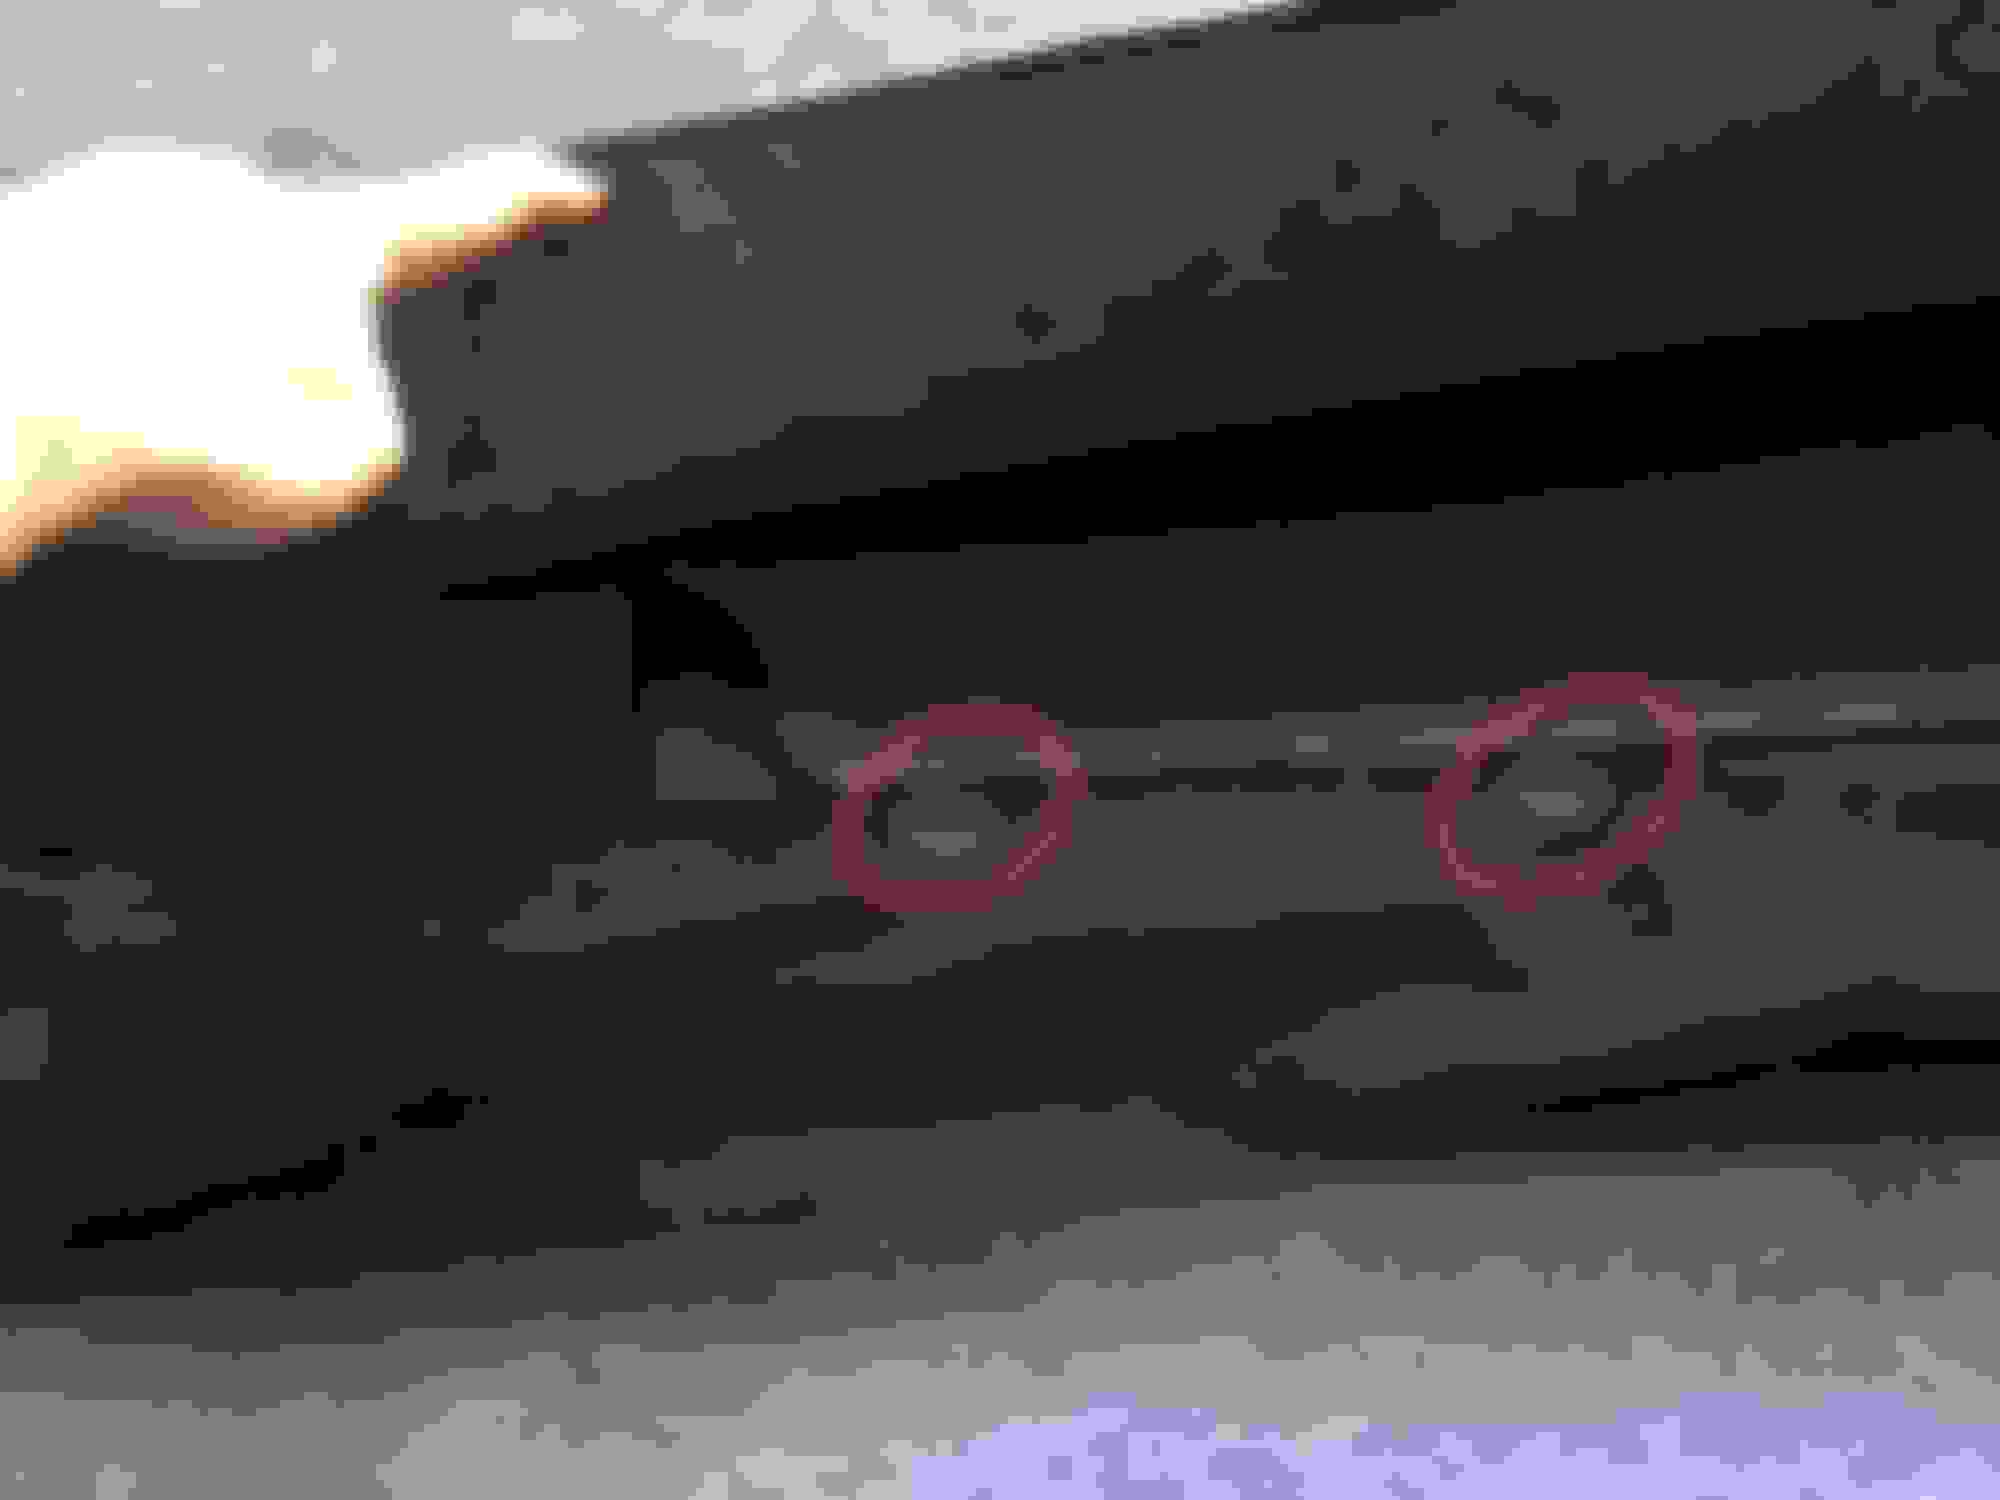
Break out those 12/14mm and start dropping dead weight.
Get all those pesky nuts off for both sides and make sure to have a beer or three in the process. This is where the gloves would help. ***WARNING*** some of these nuts break hard and let you practice your uppercuts and hooks right into the bare metal fixtures.
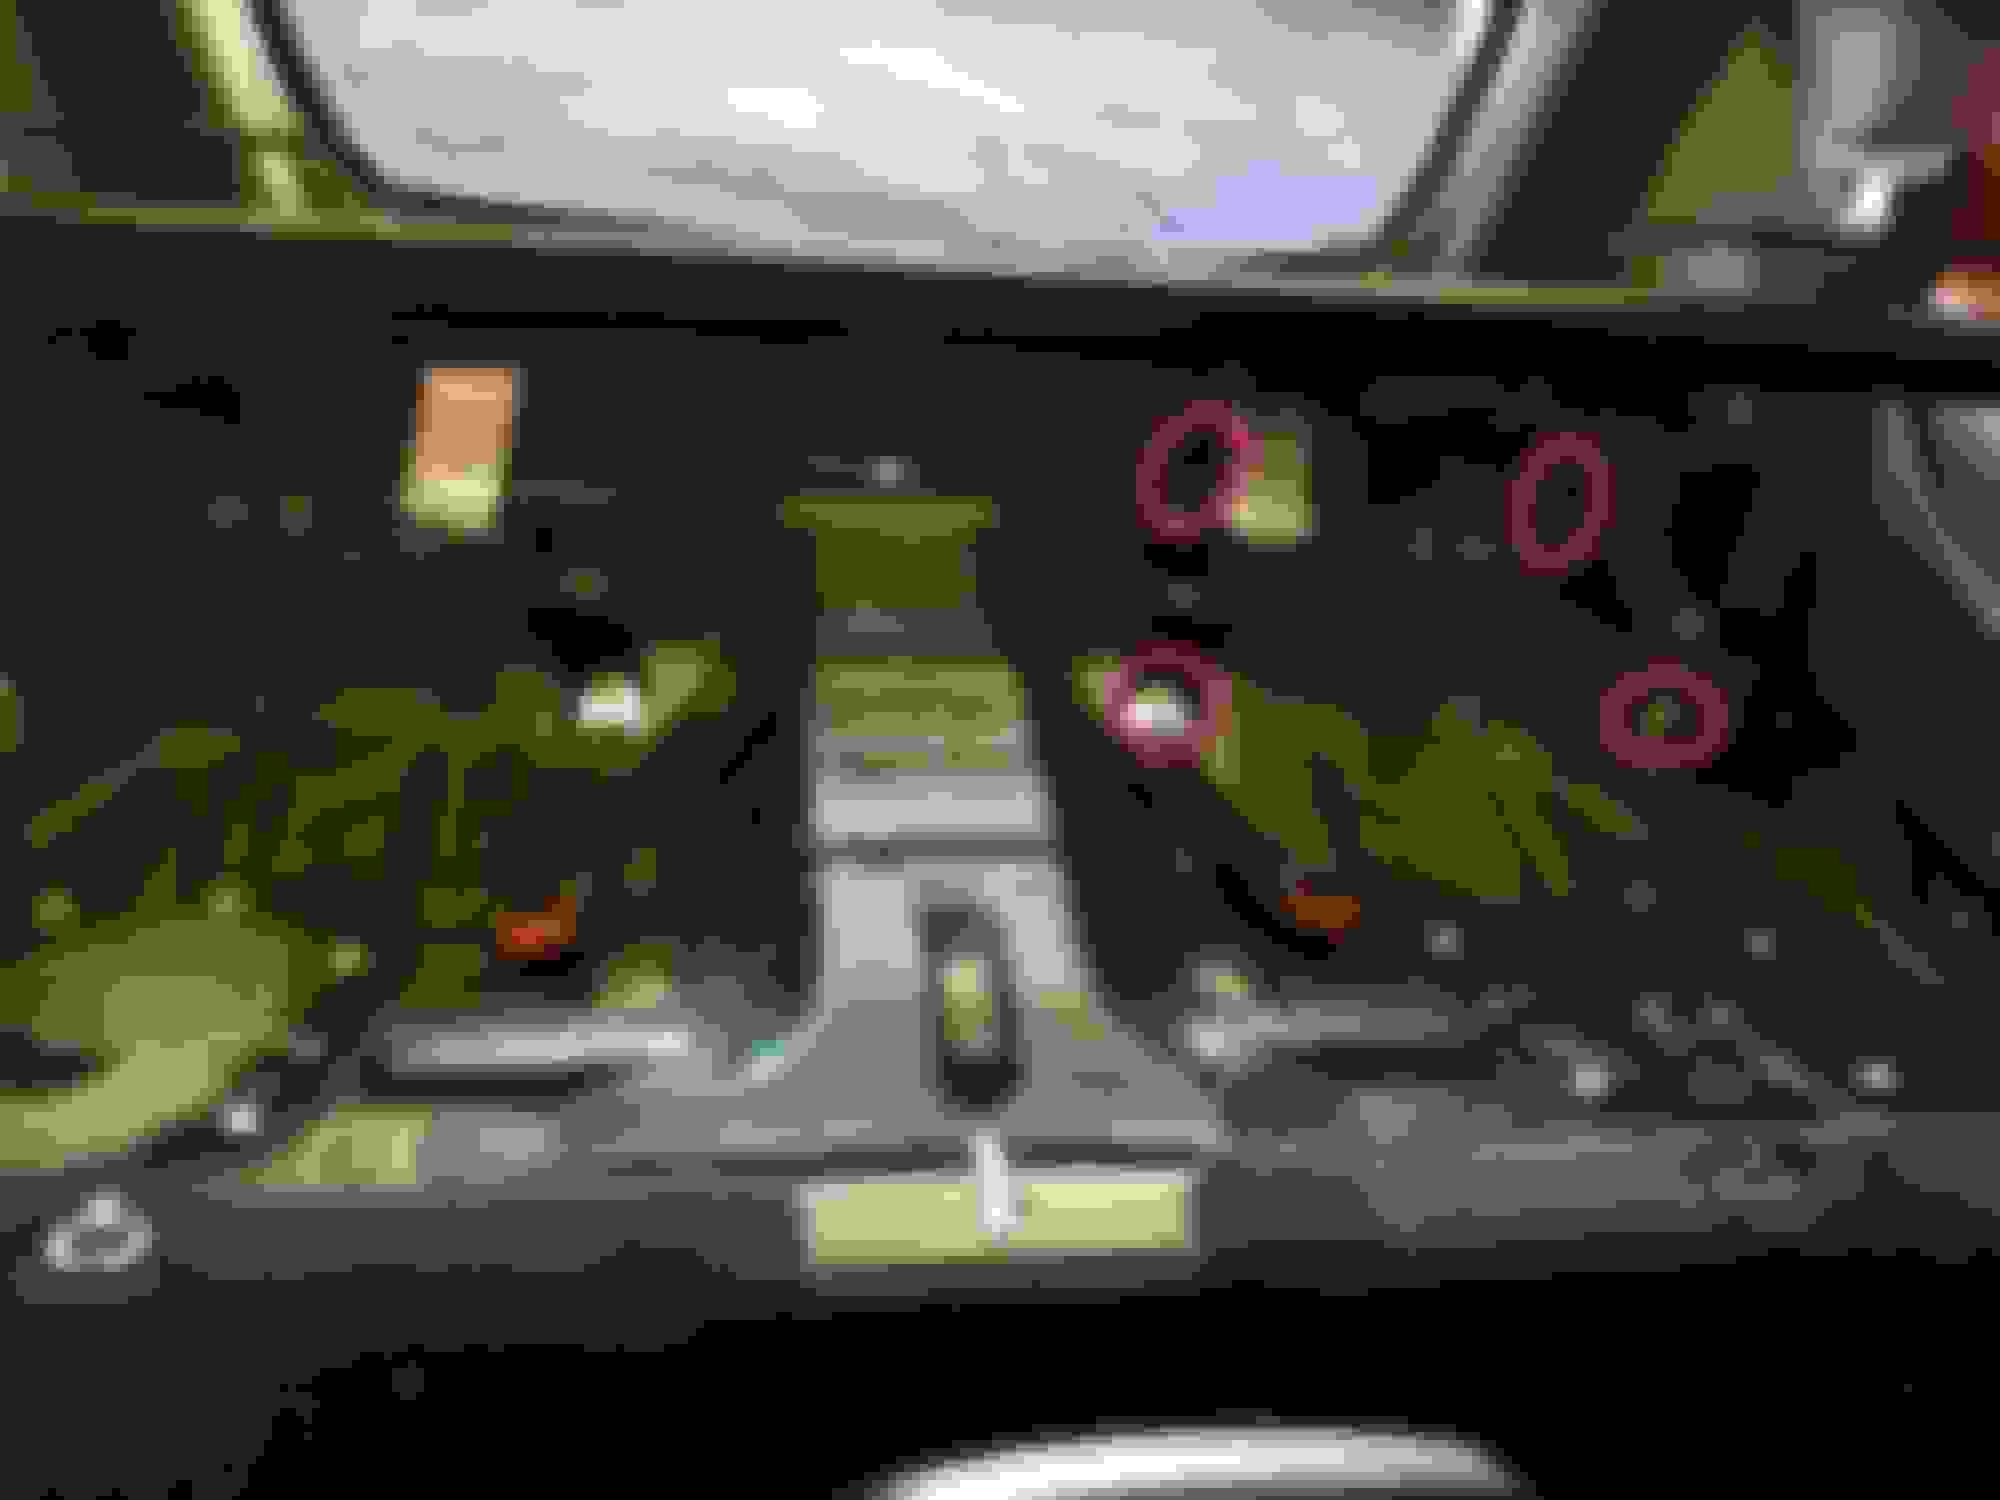
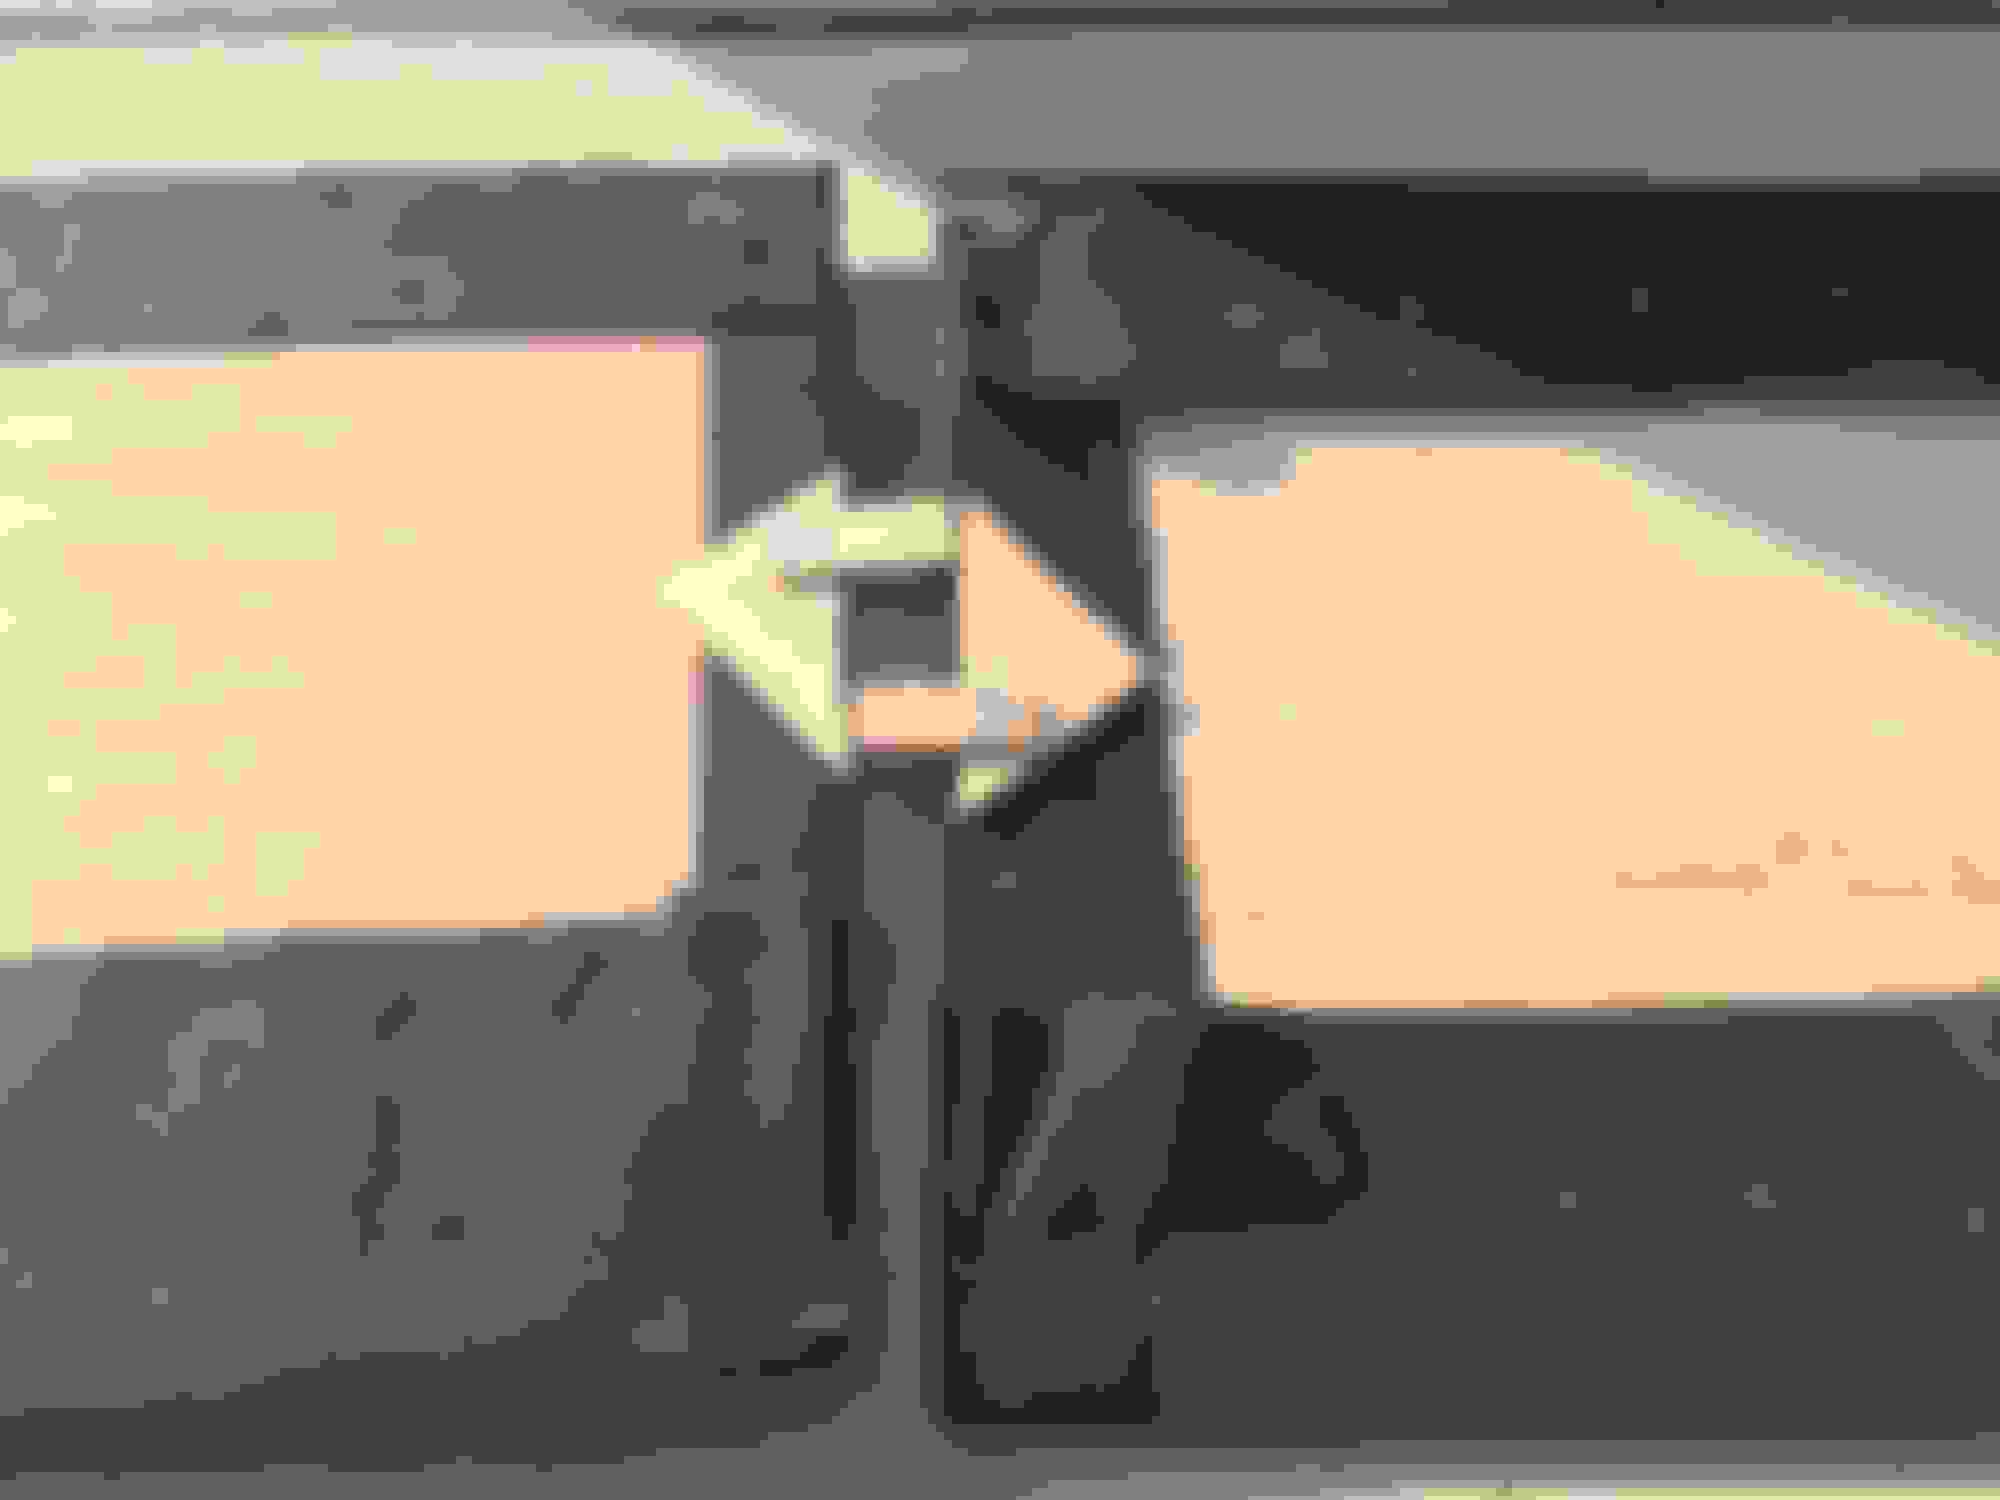
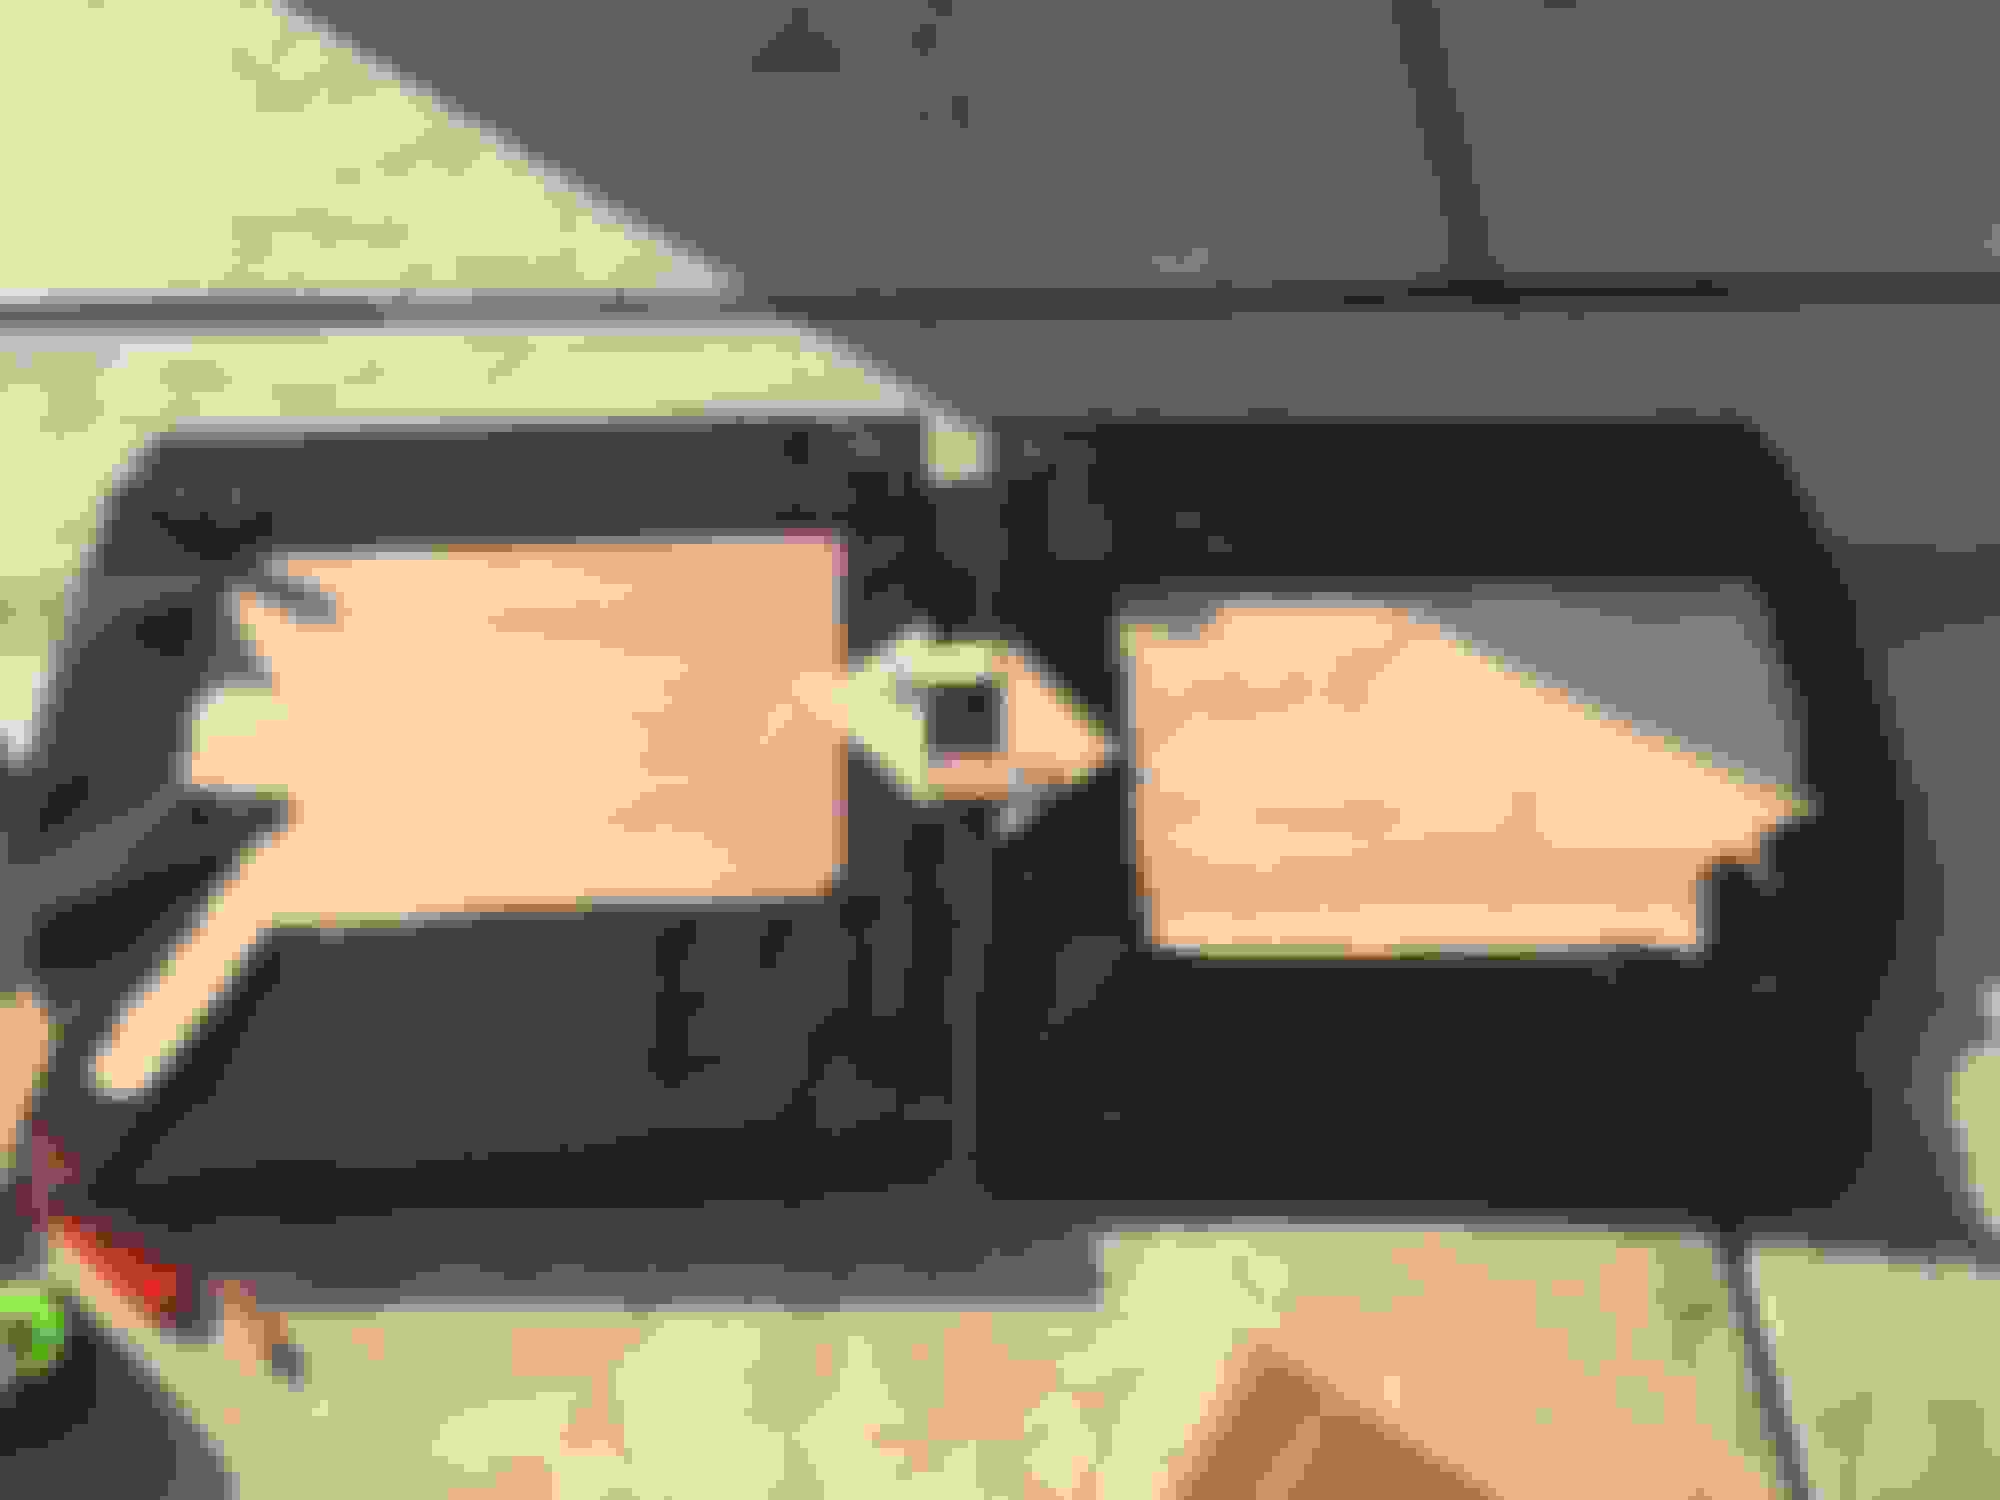
Now, most people would stop here with the open fixtures gone and the seats. Unfortunately, I'm a glutton for punishment and decided to ditch the rear seat belt assemblies. First start to that is removing the rear side panels. These pretty much pop off to reveal the following:
Pop these areas off with the flathead.
Now grab the 14mm and start cracking away. The seat belt tensioner is a real SOB so prepare for the battle.
With those off, replace the side panels and you're done with the delete part.
With everything out and gone you have the room to leave it be or make a cover for aesthetic purposes. It is at an odd angle so I am opting to make a flat piece and fabric overhang with Velcro.
Start with some cardboard to make a template for whatever board you will want to use. Get the cuts as good as possible because this will transfer over to the hard piece.
After you make a good template you can trace and cut what you plan on using for the cover. I used a thin 1/4" birch plywood.
Trace and cut, take time to get it right so you don't have to keep adjusting like I did. After you get it right leave a little room for the covering.
To put the covering (trunk liner) on lay out the fabric and put some spray glue on. Press the plywood down on the fabric and cut around the edges so you can pull and staple.
I put a couple of pieces of the plywood to interlock the two pieces while they are in. Also, I used the industrial strength Velcro on the top and bottom of the pieces to hold in place in the car.
All in all I think it came out pretty good. I will need to brush the fabric a bit to cover up the staples that came through and get shorter wood screws because they are poking out (hence the little bits of fabric in the middle). For a quick/cheap cover it works.
if youre goin all out full race car...saving every weight you can on a bloated car... why bother coverin it at all..
I'm slowly tearing stuff out where I can here and there. The backseat serves no function for me so that's an easy toss. I'm covering it for now to give it some aesthetic value. This will be temporary until I get a full cage welded in.
What kind of front seats do you have? Im in the midst of doing this exact project...but having issues getting my back top seat out... locked into place no matter how hard I pull release in trunk or red tag.
What kind of front seats do you have? Im in the midst of doing this exact project...but having issues getting my back top seat out... locked into place no matter how hard I pull release in trunk or red tag.
I have Status front seats. The top seat has the release to lower it or the red tag, then the bolts on both sides. If it won't lower, the cable may be snagged on something or the latch could be caught up.
I've tried the red tag and nothing....wonder if I cut the cables if it would force it to lower? I can feel behead the seat that the black plastic casing around the catch is loose. when I pull the seat its on tight...wont even budge.
I've tried the red tag and nothing....wonder if I cut the cables if it would force it to lower? I can feel behead the seat that the black plastic casing around the catch is loose. when I pull the seat its on tight...wont even budge.
Yeah, it's gotta be something with the top cable and the latch. If you dig around a little more there is a couple of different areas (top and bottom) where the cable connects/feeds through. May be caught up somewhere in there.
 02-25-2017, 07:15 PM