When you click on links to various merchants on this site and make a purchase, this can result in this site earning a commission. Affiliate programs and affiliations include, but are not limited to, the eBay Partner Network.
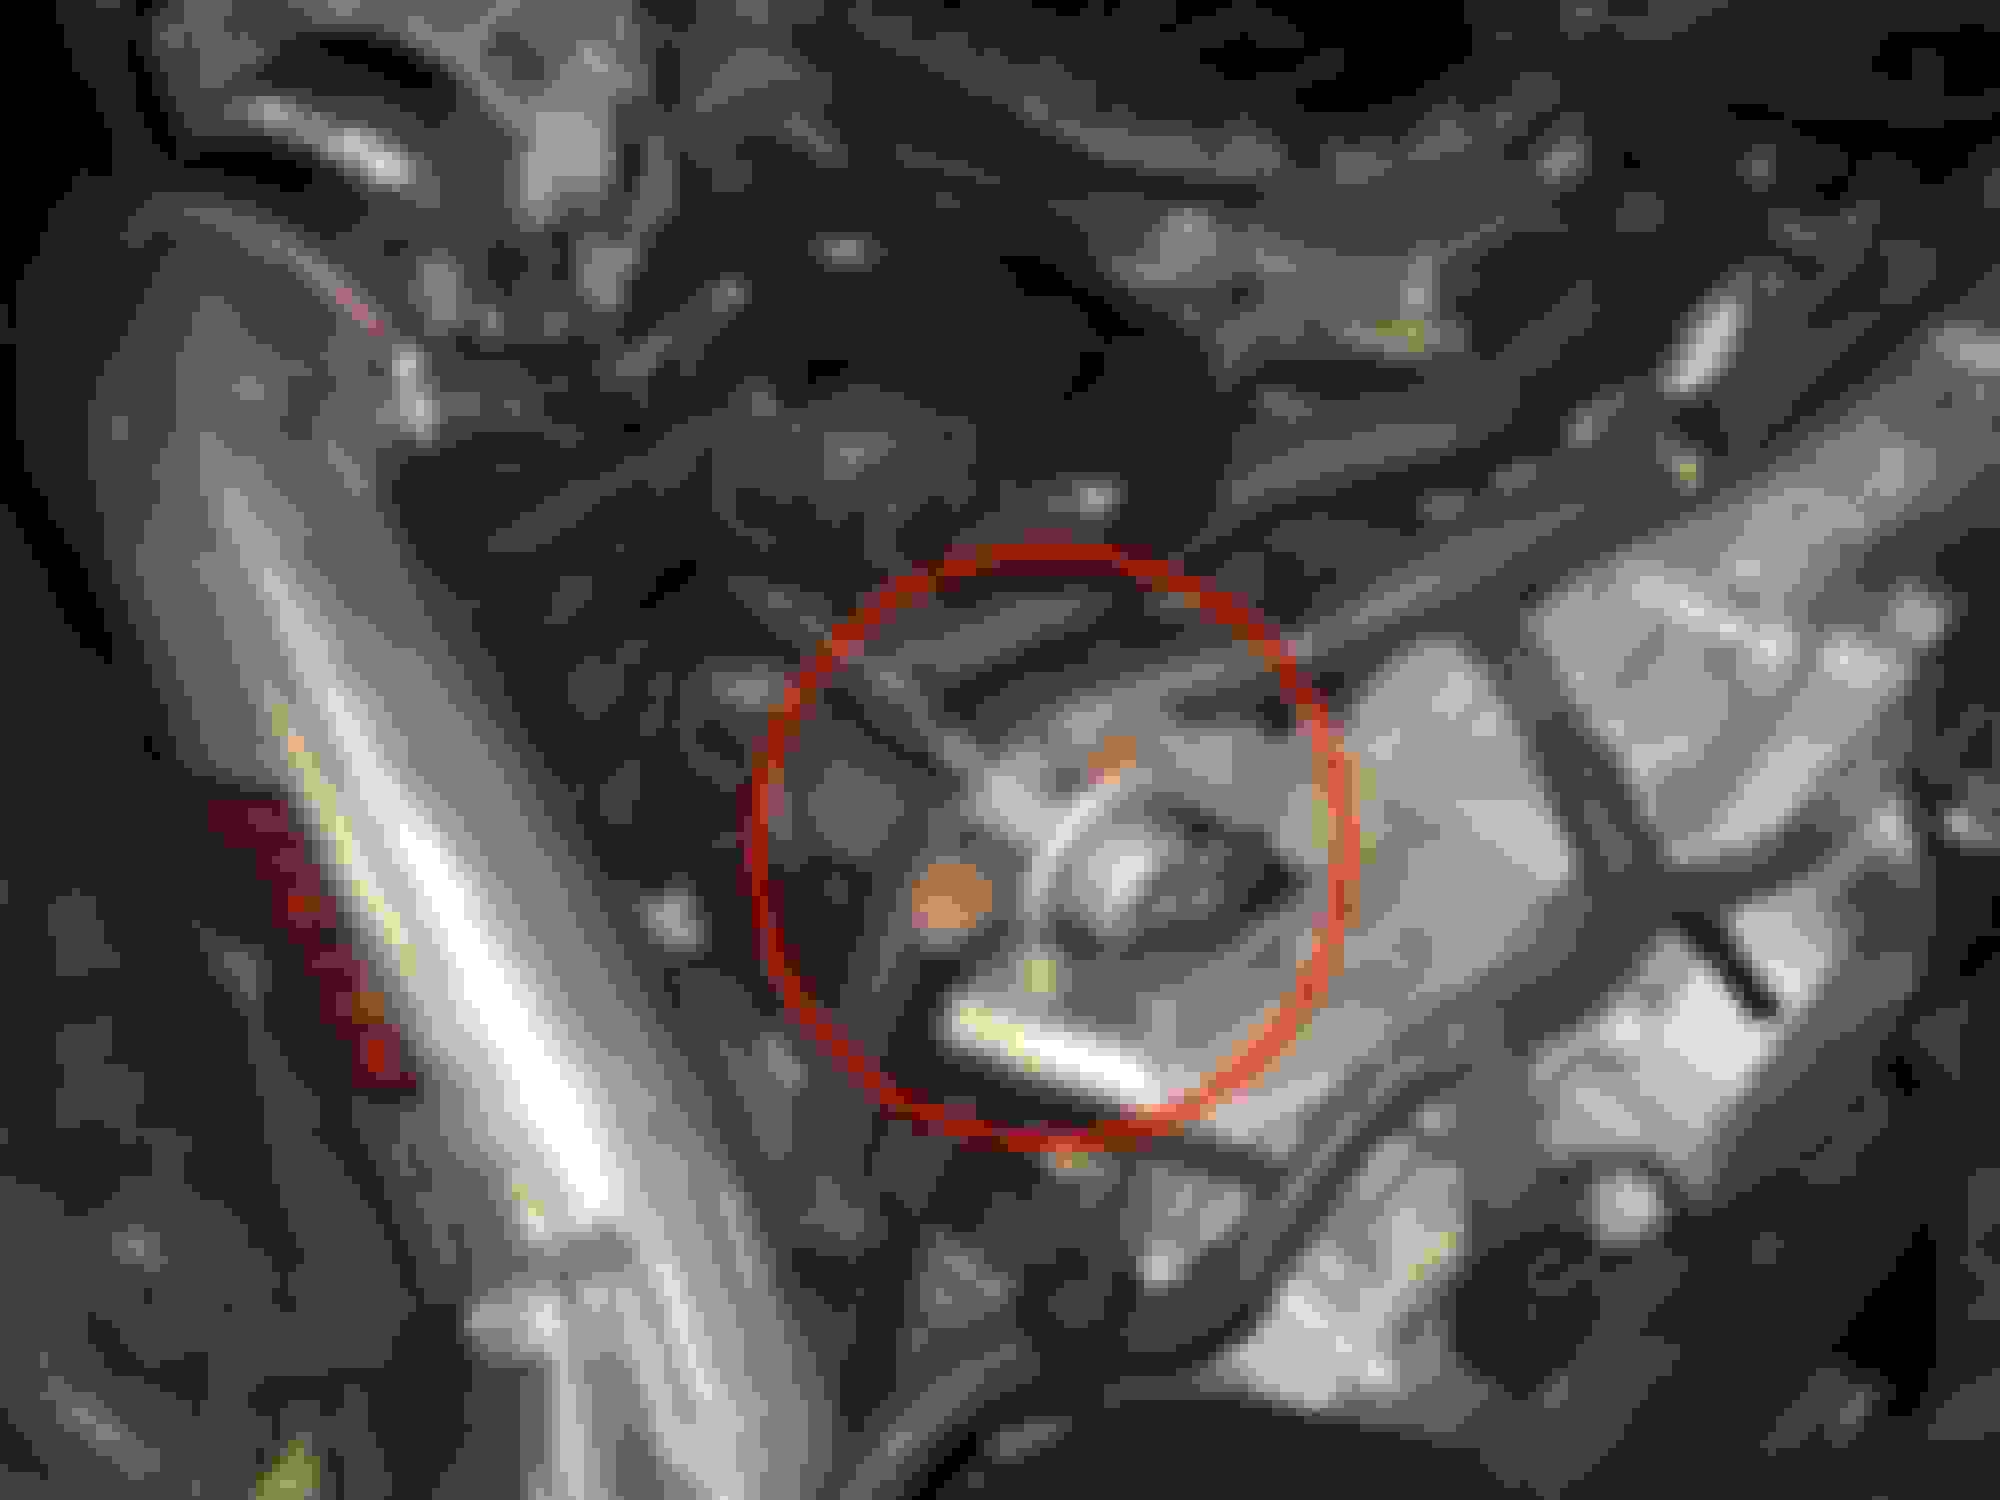
Find yourself smelling gasoline from inside the car when you're at a stop? You may have a faulty fuel damper. You may really smell it through the vents when you turn your A/C on. Here's a photo of the leaky damper:
I found a genuine Nissan replacement part for $68 on eBay. The part number is 22675-JK20B. It comes with a new damper, fuel hose, and o-ring.
Please keep in mind that I'm not a certified mechanic, and will not be held responsible if anything goes wrong. Proceed at your own risk!
This replacement took me about 4 hours to do, but I was relying on Internet research as I went about it and had barely done any work on Infiniti vehicles. So if you're pretty savvy with Infiniti, you could probably do it much quicker
Tools:
Ratchet Wrench
10mm Socket
Socket Extension
10mm Wrench
Flathead Screwdriver
Needle Nose Pliers
Flashlight
Pick
Floor Jack (low profile)
Jack Stands
Step 1: Depressurize Fuel Line
Before you remove the old fuel damper, you'll want to release the pressure that is built up in the lines. If not, gas will spray everywhere when you remove the fuel damper (I learned this the hard way). To do this, we need to remove the fuel pump fuse, located under the hood.
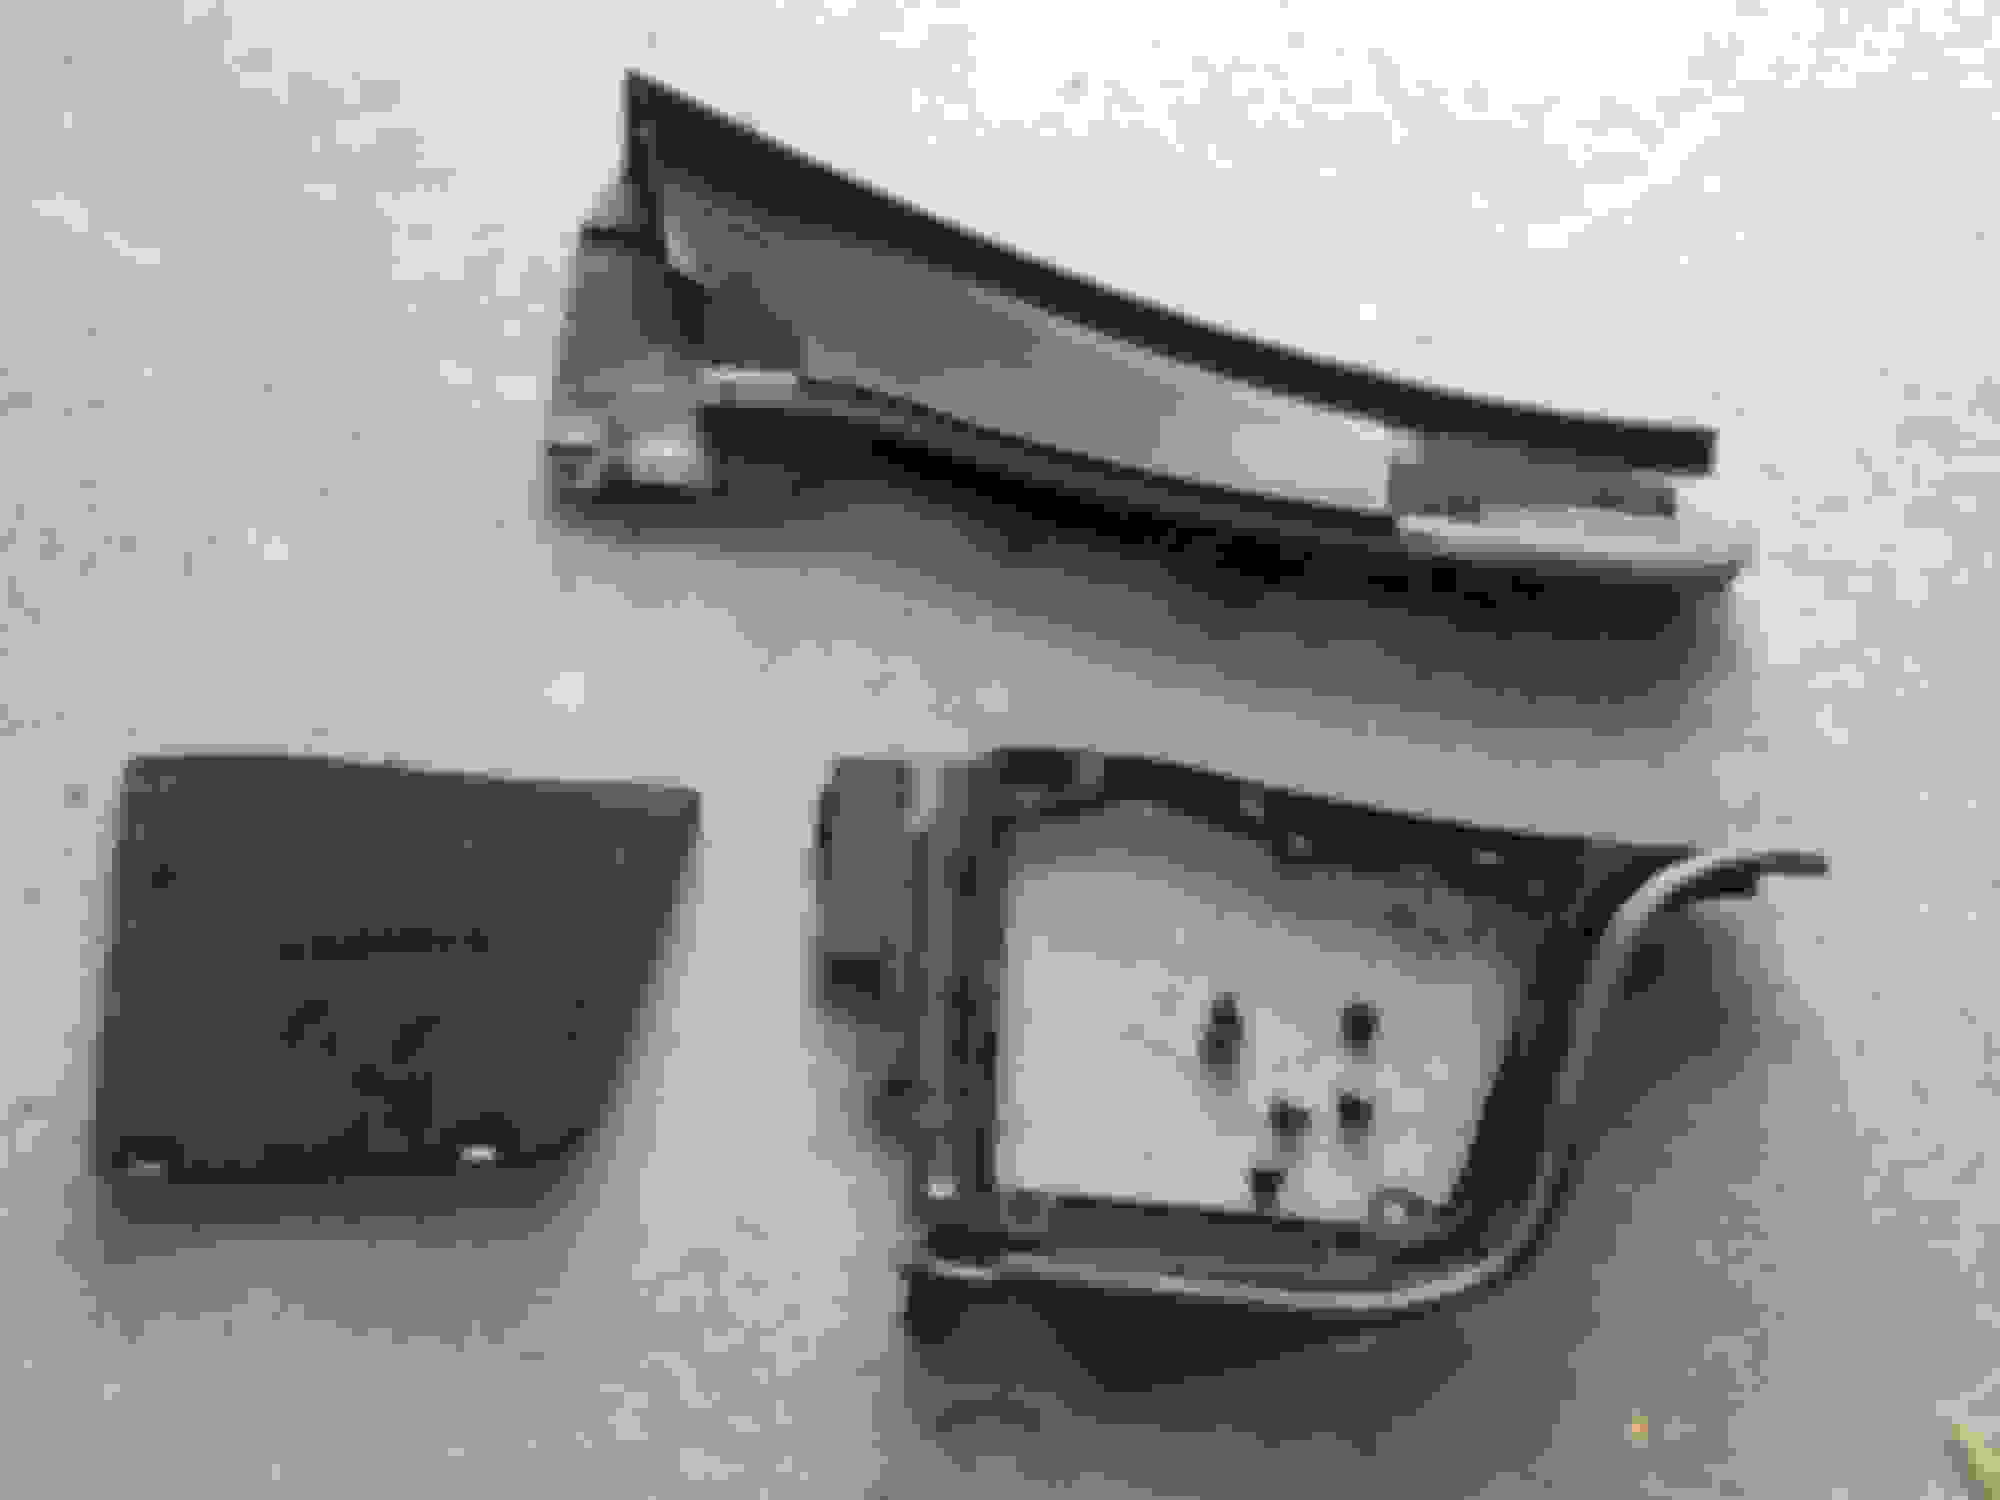
Unfortunately, Infiniti made it a little difficult to get to the under-hood fuse panel. It's next to the battery under some plastic paneling. Remove the battery cover, then remove the top trim piece by popping out the plastic rivets. Then you'll need to pull up the weather stripping by pulling the 3 or 4 tabs that hold it to the second plastic trim piece that touches the windshield. Be careful when popping these out, because they're fragile. Here's a photo of the plastic pieces you'll need to remove:
This also might be a good time to inspect your cabin air filter:
Now you can use a 10mm wrench to loosen the battery terminals and pull the battery out. Here's the fuse panel we need to get to:
There are 2 tabs you need to push in to pull it up and away from how it's secured. Then on the bottom there are 2 tabs you need to push in to pop the cover off. Here's the fuel pump fuse you need to pull:
The fuse puller is in the under-dash fuse panel under the drivers-side, to the bottom left of the steering column. Pop the fuse out, then put the battery back in and hook up the terminals. You need to start the car and let it die. Once it dies, crank it 2-3 more times to relieve all the fuel pressure. You could probably avoid this first step and wrap a rag around the fuel damper as you pull it off, but I thought I better give you the proper procedure
Step 2: Remove Engine Cover
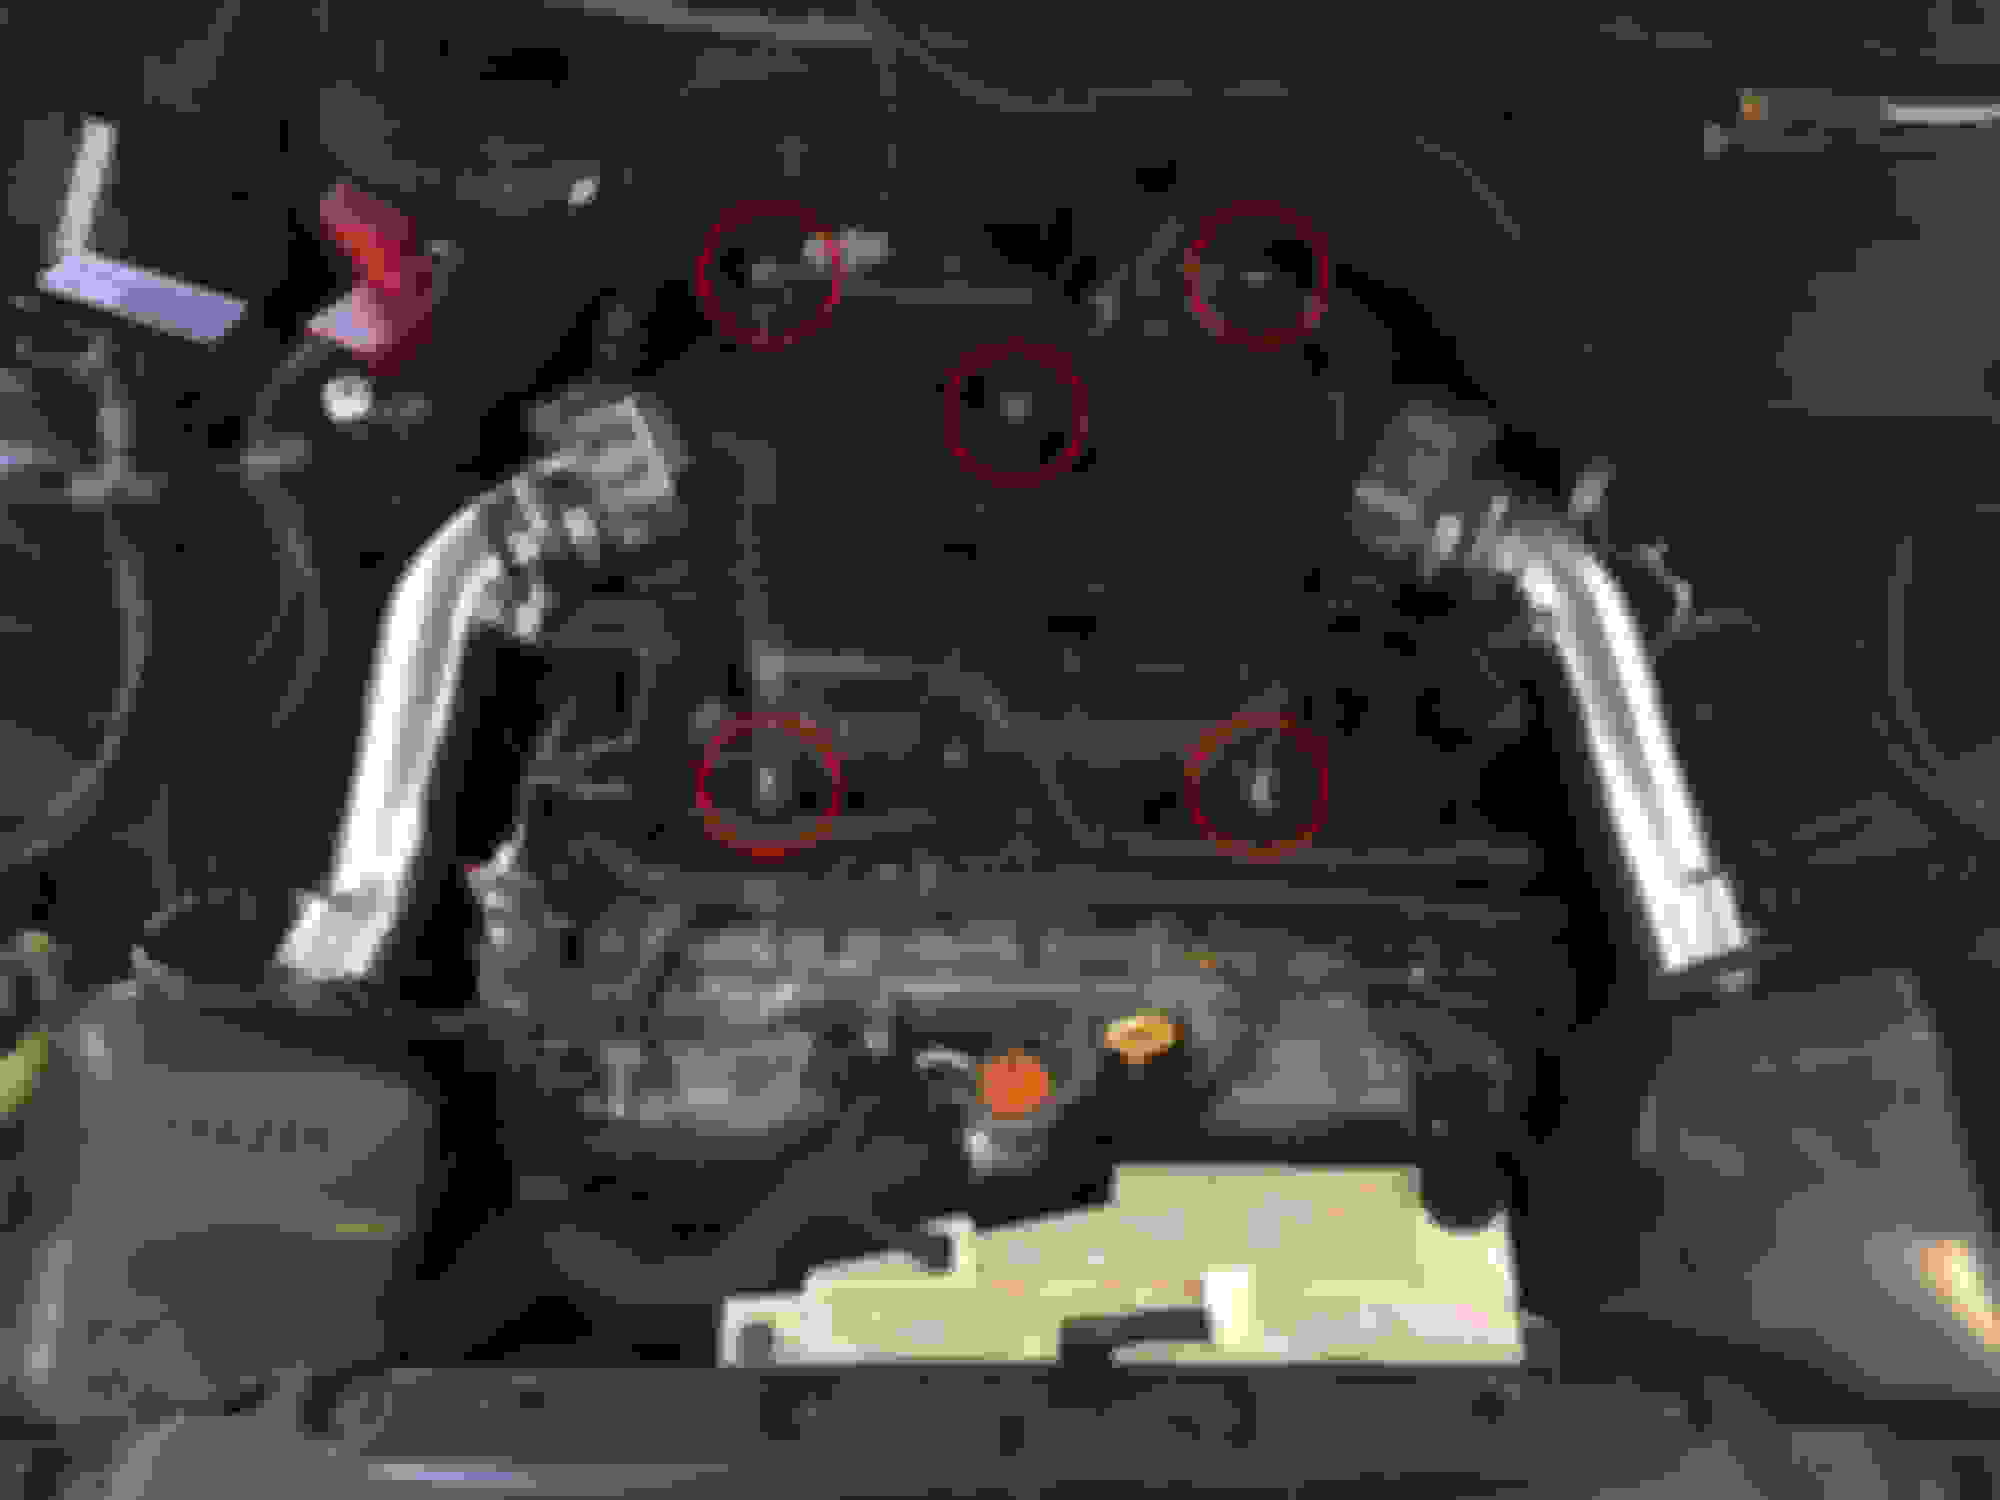
Use a ratchet wrench and 10mm socket to remove the 5 bolts that hold the engine cover on:
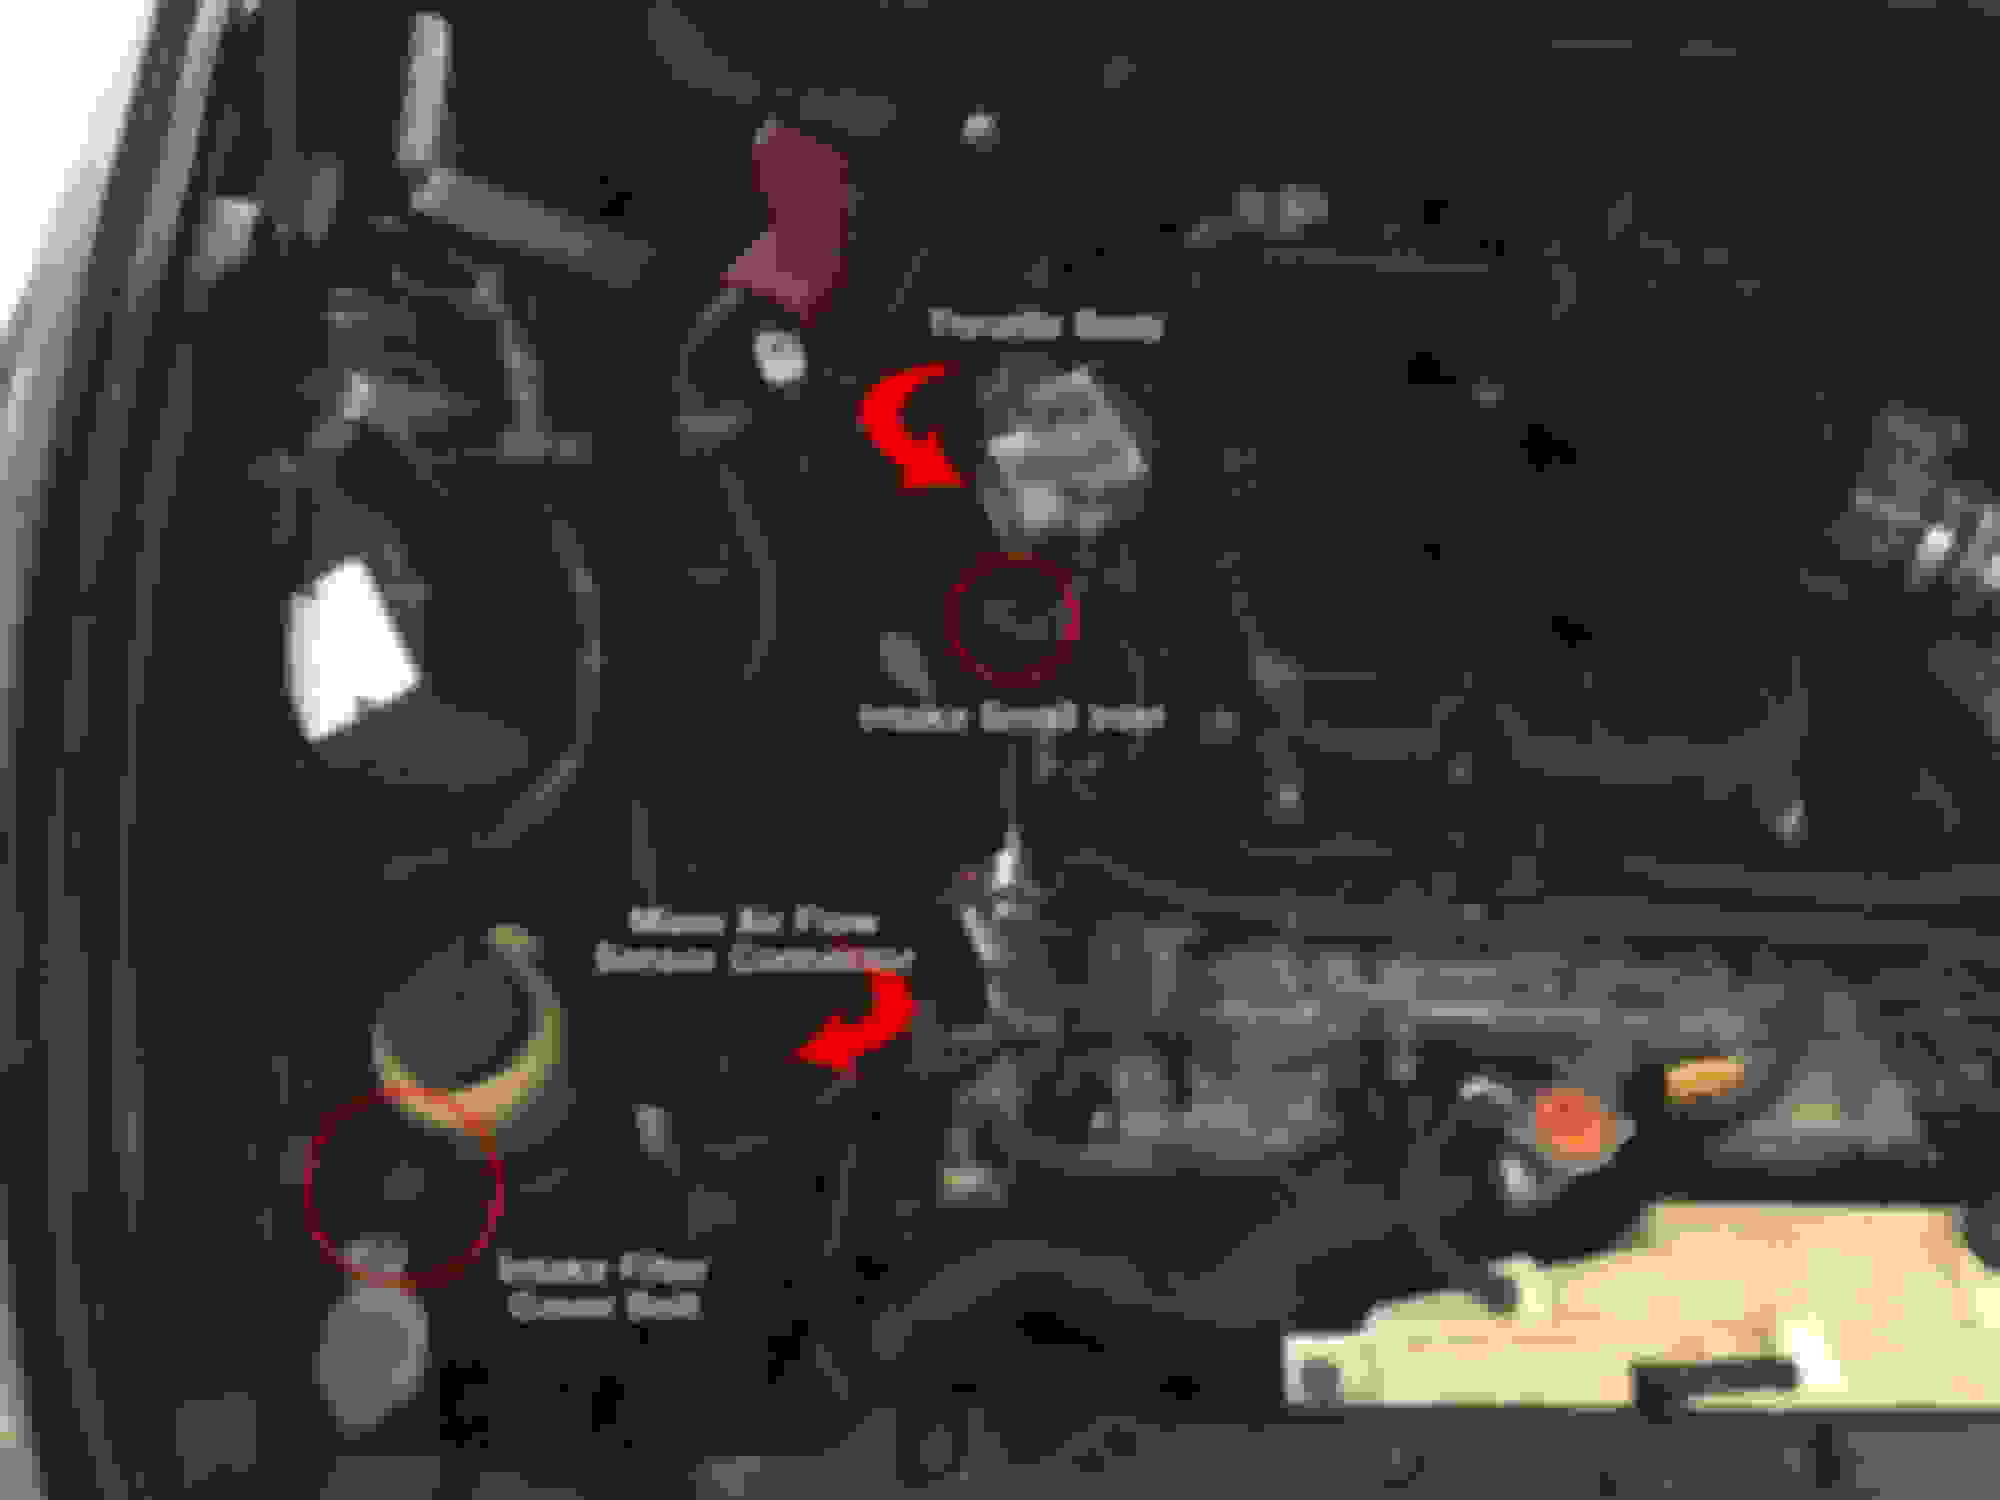
Step 3: Remove Air Intake
My car was equipped with an aftermarket air intake, so this step may be slightly different that yours. First you'll want to loosen the metal band that connects to the throttle body. Then there's another metal band you'll need to loosen that connects a smaller inlet to the intake tube. I also had a 10mm bolt that held the intake filter covers to the engine bay. Then disconnect the Mass Air Flow sensor connector. You should then be able to lift the intake out of the engine bay:
Step 4: Remove Fuel Hose/Damper
Now here's the toughest part of the whole procedure. Here's the brand new fuel line/damper we'll be replacing:
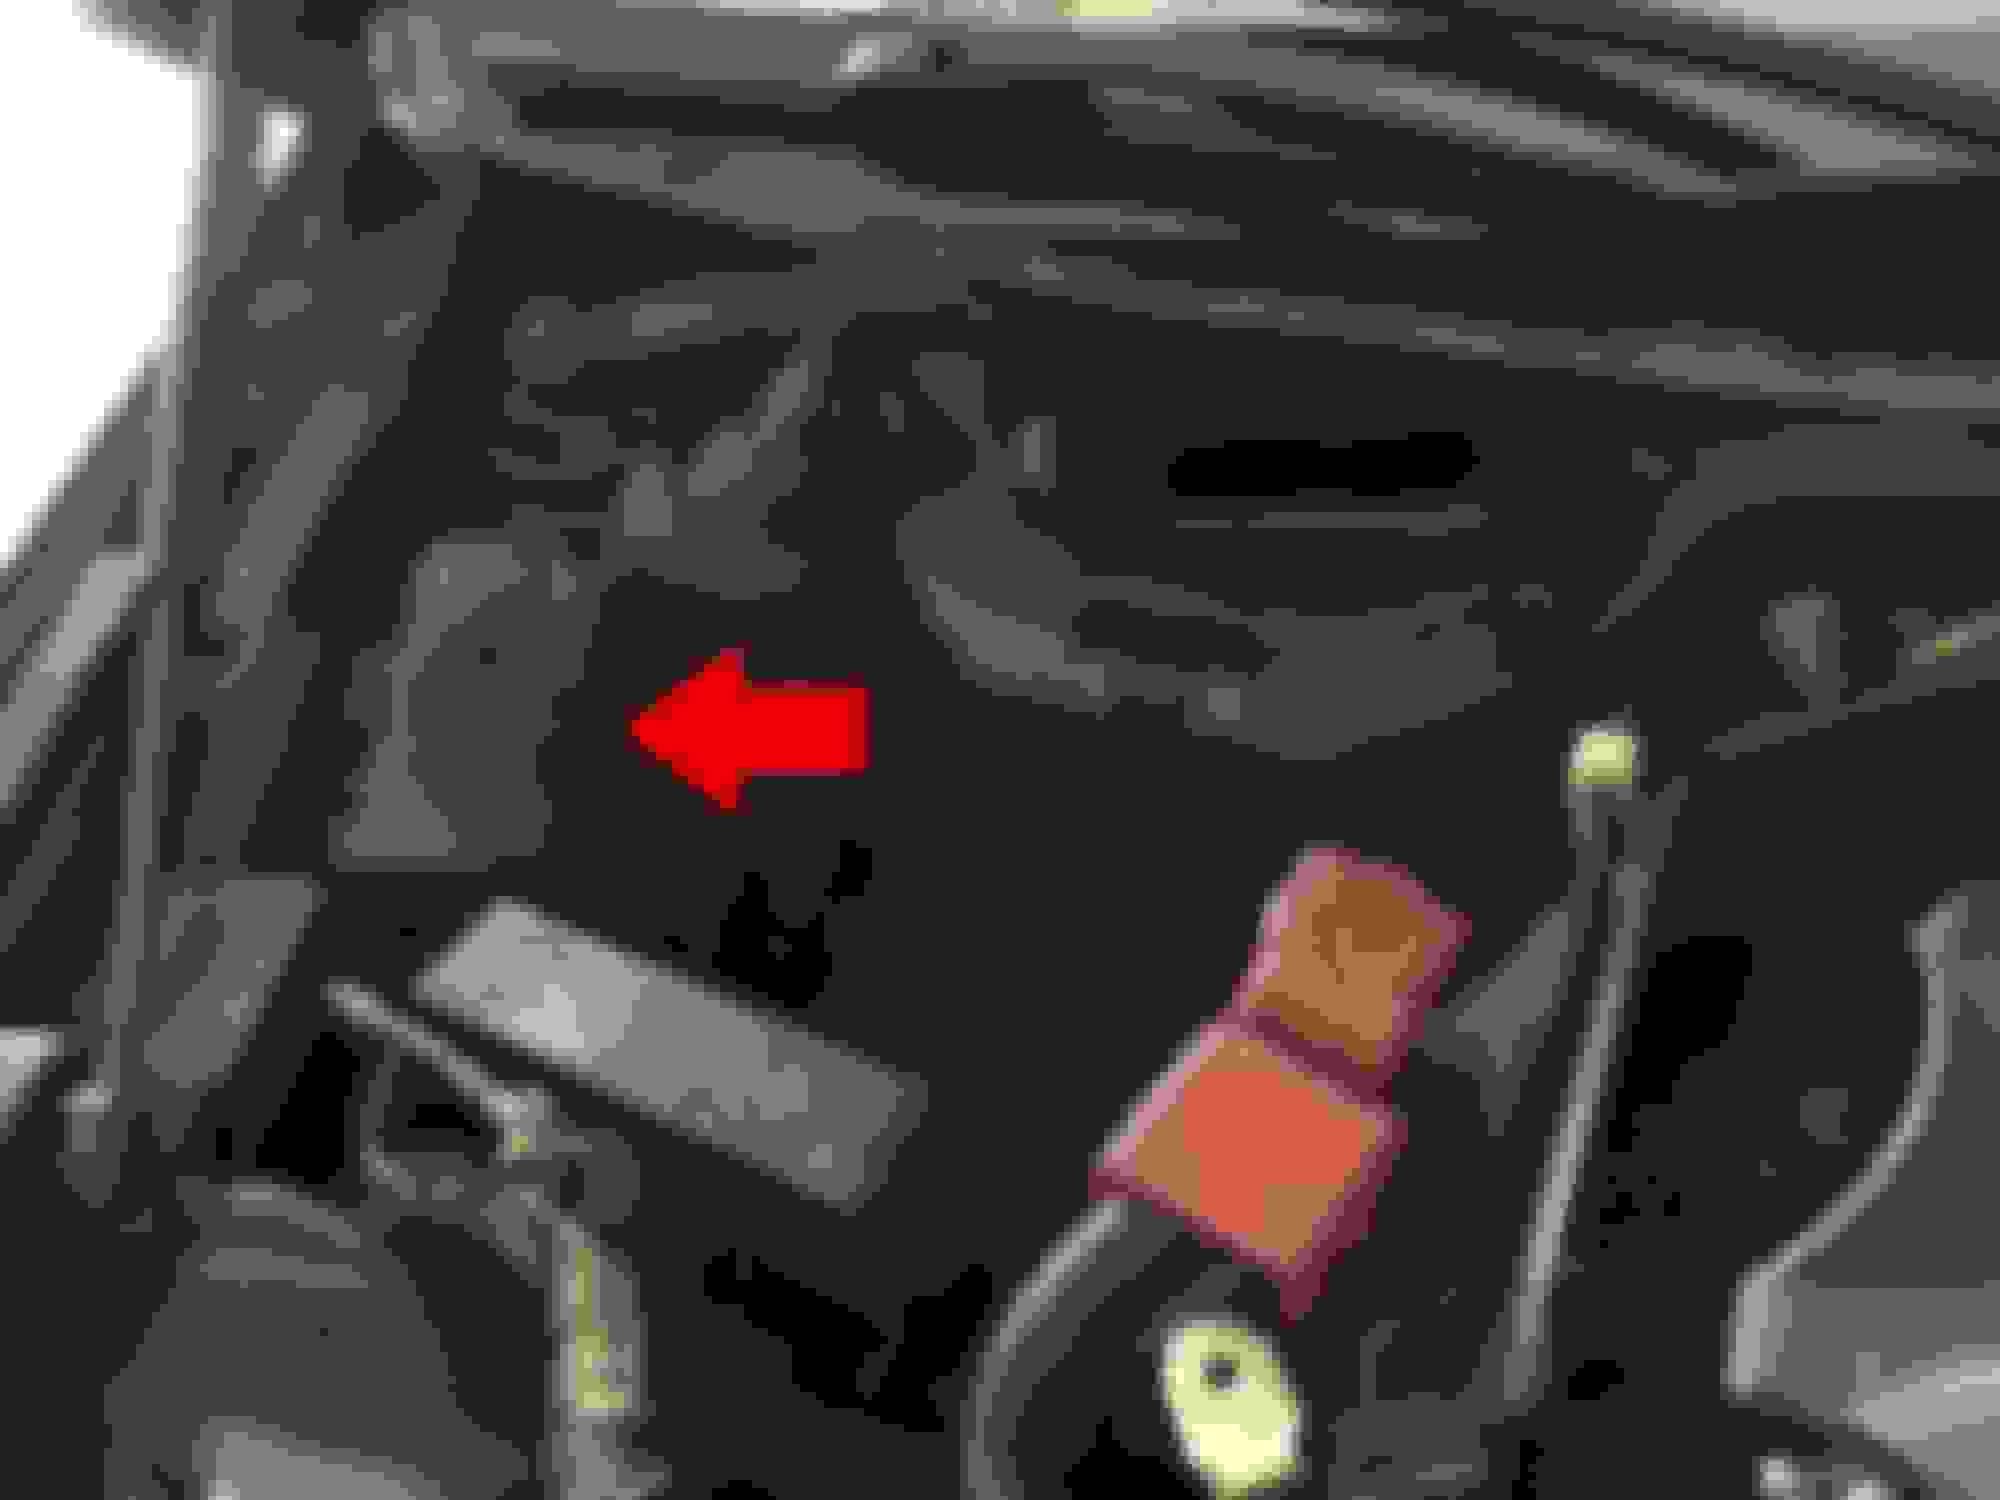
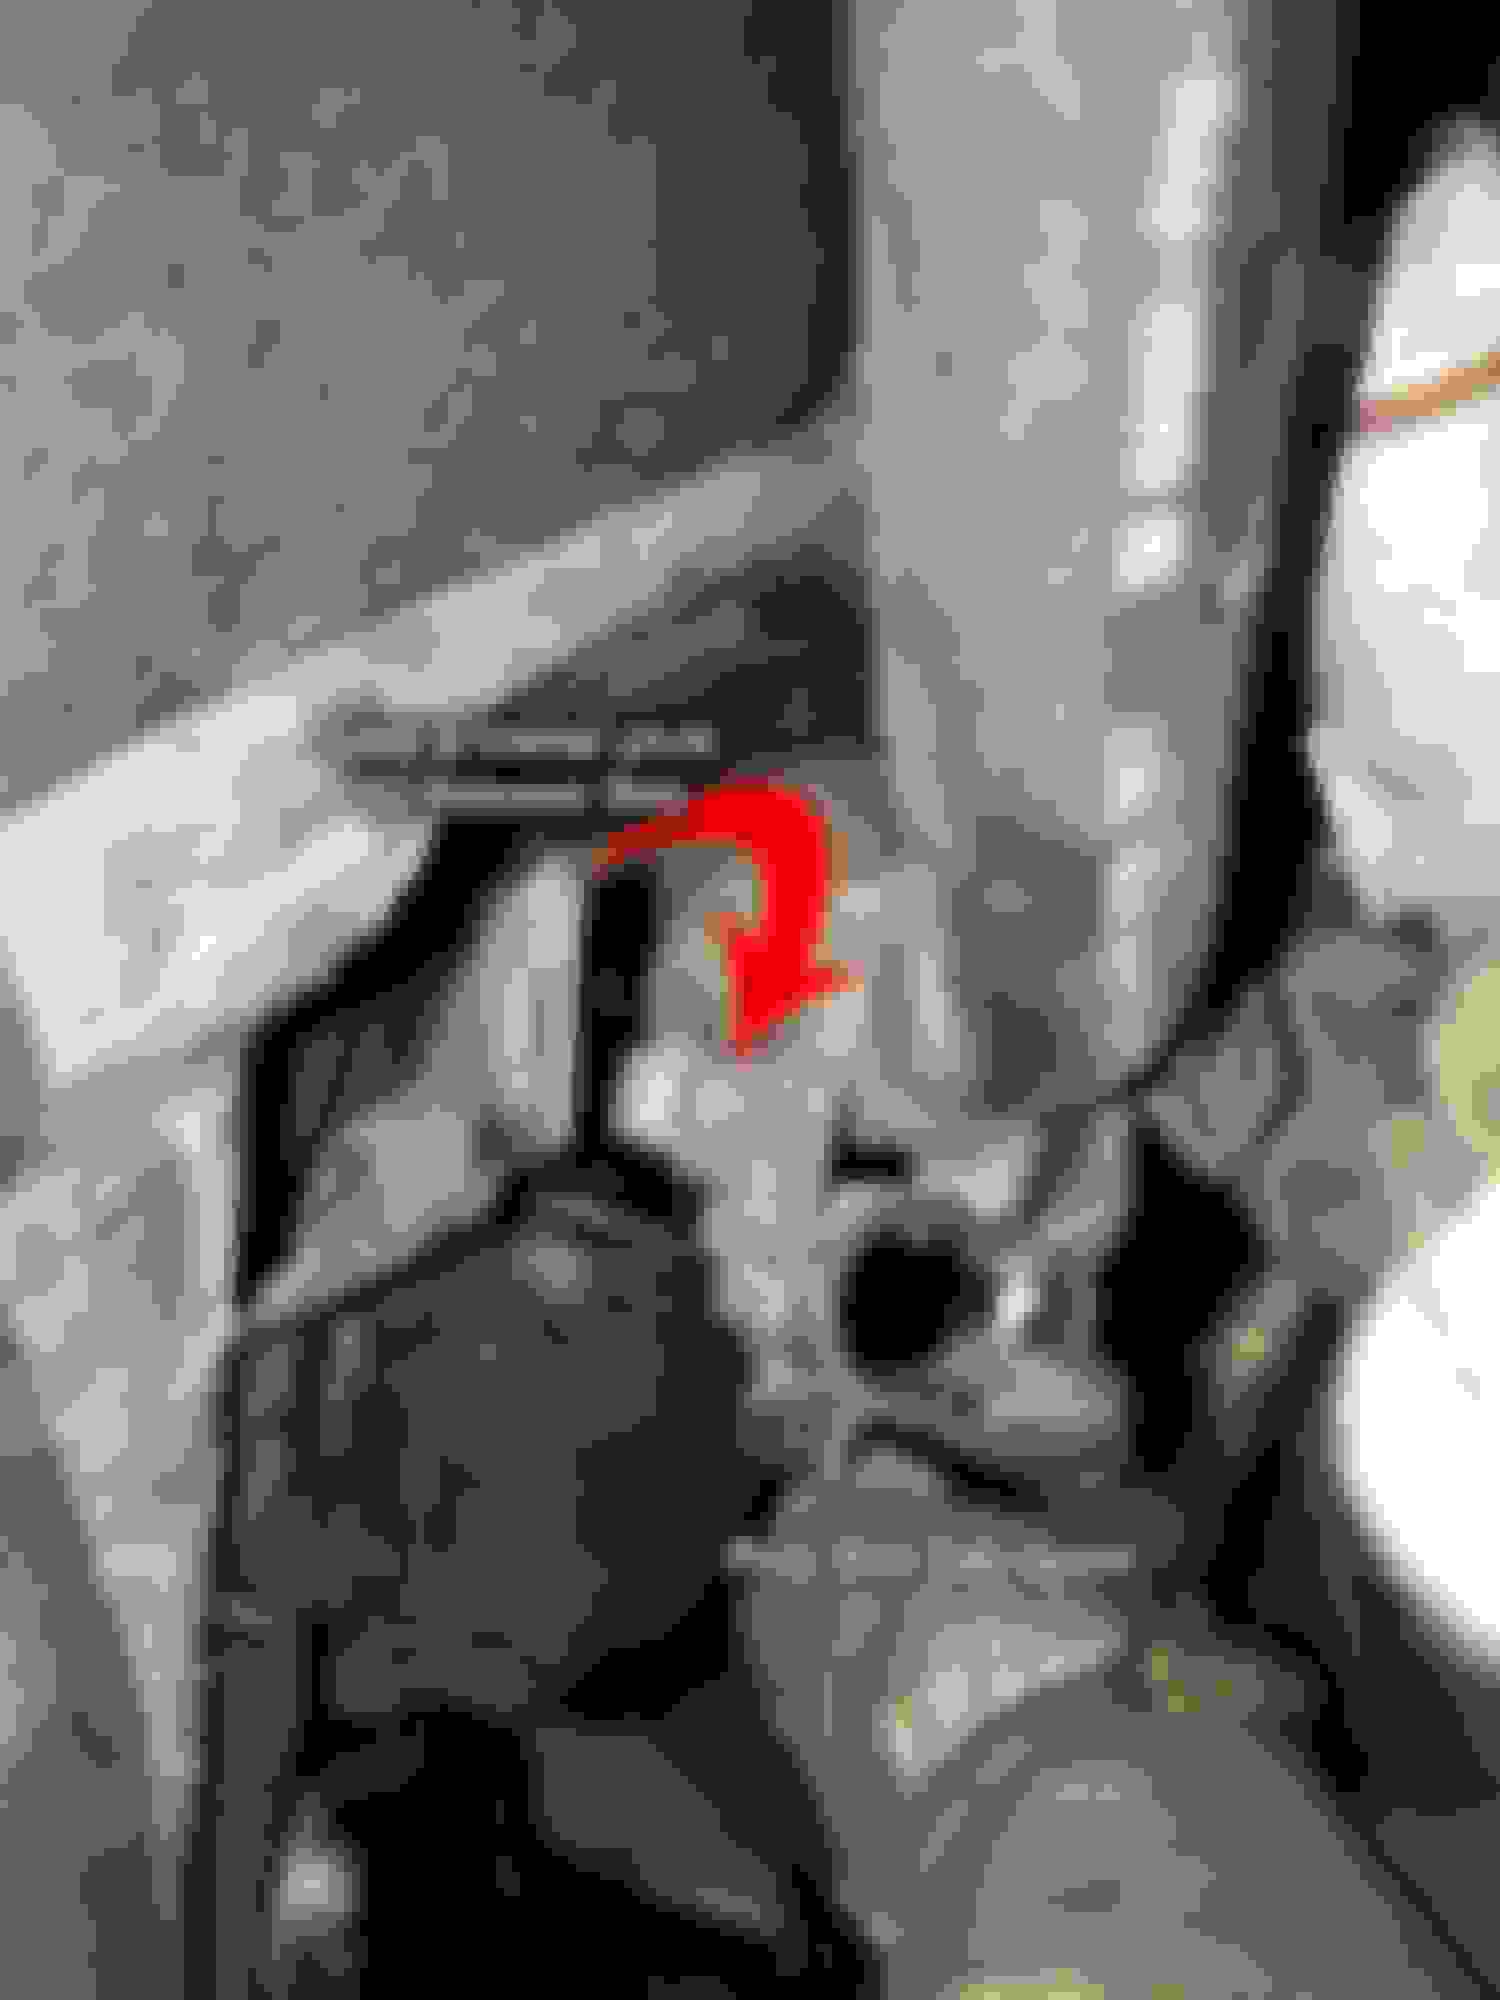
Before we start unbolting the damper, let's actually start at the opposite end. If you follow the fuel line, you'll come to this plastic connector that more or less holds the fuel line in place so that it's not bouncing all over the engine bay:
Pop the tab open as shown, and then use a metal pick to pop the connector off the engine bay. Then you can push this other fuel line out of the way so that you can reach the green quick connector further down. There is a green cover that fits over top the fuel line quick connector. I pulled this off from underneath the car:
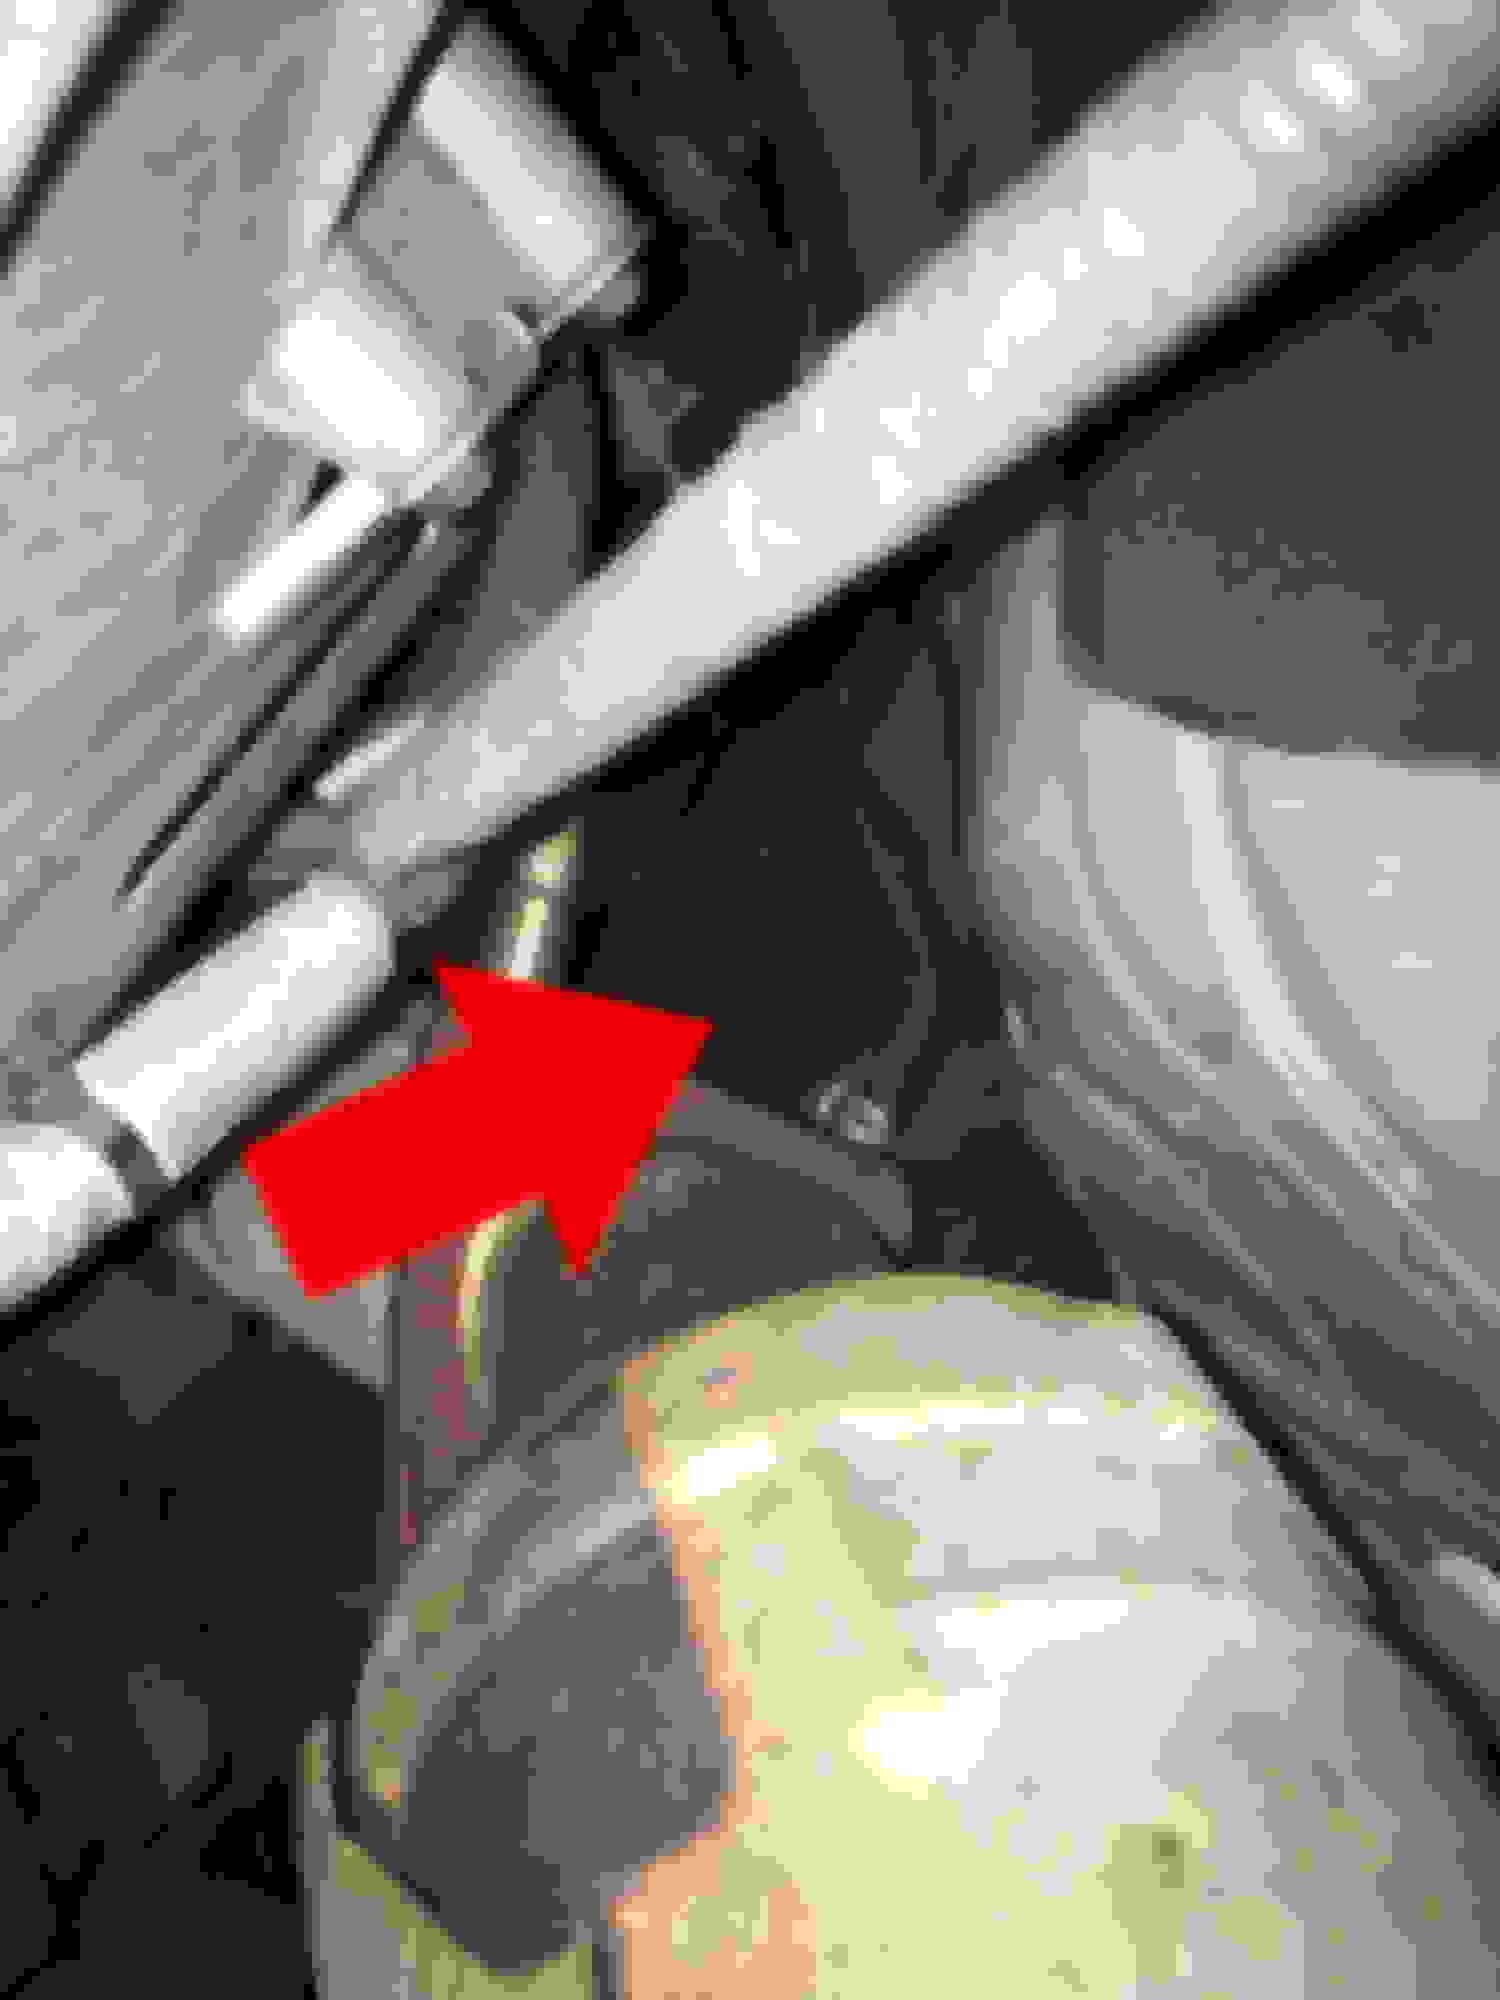
Here's the green quick connector from underneath the car. I had to jack the car up and you can see it a little behind the passenger side wheel:
If you jack the car up from the front, you'll need a low profile jack. The jack point is a little deep, basically centered between the front wheels:
Anyway, once you get the green plastic cover off, it's probably easier to disconnect the green quick connector from above. Lower the car back down. Basically you need to push the two green tabs in and pull up on the full line. It helps to have an extra set of hands for this step. I had my wife squeeze the green tabs together while I pulled up on the line and the thing came out. It's kind of a pain to reach down and do, but you can get it. In the service manual there's a bunch of unnecessary steps and precautions and it says you need a special tool to release the quick connector. I'm sure it would help to buy the tool, but it's really not necessary and I didn't want to spend the extra cash. At this point you can use a 10mm socket to pull off the bolts that hold the damper in place:
Step 5: Install New Fuel Hose/Damper
Before you install the new fuel line, you need to pop out the green connector and install it onto the end of where it will connect, like this:
Then you'll be able to push it down onto that connector and it will click into place (I actually installed my intake back on and started the engine because I wasn't sure if it was connected tight enough, but turns out it was). Then you'll want to jack the car back up and pop that green cover back in place.
At this point, you'll pretty much reinstall everything in the reverse order. Once everything is connected, start the engine to check for leaks and take it for a test drive. That nasty fuel smell should be gone! That's it! Feel free to PM me if you've got any questions!
Thanks for the great write up. I just complected my 2010 G. This resolved the ticking noise which could be heard inside the cabin similar to a lifter tick. I removed the guard around the connection shown in your last picture which allowed me to do everything easily from above.
Thanks for the great write up. I just complected my 2010 G. This resolved the ticking noise which could be heard inside the cabin similar to a lifter tick. I removed the guard around the connection shown in your last picture which allowed me to do everything easily from above.
I am looking into buying a 2012 g37x with 47k. During my test drive, when I came to a stop sign or light I could hear this gurgle noise. I'm not sure if that is just the way it sounds or if it has to do with the fuel damper? Could the fuel damper cause that type of noise at idle?
Sorry to bring up an old post, but I wonder if this part number would be the same for my 2008 G37 coupe. I searched the part number, 22675jk20b, on discount Infiniti parts and it said it isn't compatible with my car. However, on Infiniti parts online, it is (I guess) compatible but for $120 😶. The discount Infiniti parts is about $80 much better than $120 haha! The nissanpartonline for the same part number is $80. I just want to make sure. Thanks in advance!
There are rare occasions where discountinfinitiparts' catalog is not as up-to-date so to speak. I checked parts.infinitiusa.com (Infiniti Official eStore) and 22675-JK20B is the correct part # for the fuel damper on a 2008 Coupe (I used my VIN as a qualifier). It is listed at $120.75 whereas DIP has it listed for $83.32. Also, Z1 Motorsports has it listed for $87.60.
I would shoot discountinfinitiparts a email- Sid is awesome when it comes to customer service. Tell them what you need, give them your VIN and they will get you sorted.
Thank you for reply! I will ask them about it! 😊 Can't wait to fix it hehe
This is the how my fuel damper looks like right now. I think it qualifies to be changed. What are your thoughts? Hopefully that's the only part I need. Please let me know ! Greatly appreciated.
If you see/smell raw gasoline in/near/around that area than likely the o-ring on the damper is failing. Also, a very loud ticking/knocking noise could also be a sign of a failing damper. However, if you have any doubts take it to a certified mechanic for a visual inspection/diagnosis.
I am not a certified mechanic, and will not be held responsible for a improper diagnostic opinion.
 05-08-2016, 08:00 PM


 ! Greatly appreciated.
