DIY simple exhaust can blackout
 07-23-2013, 12:43 PM
#1

DIY simple exhaust can blackout
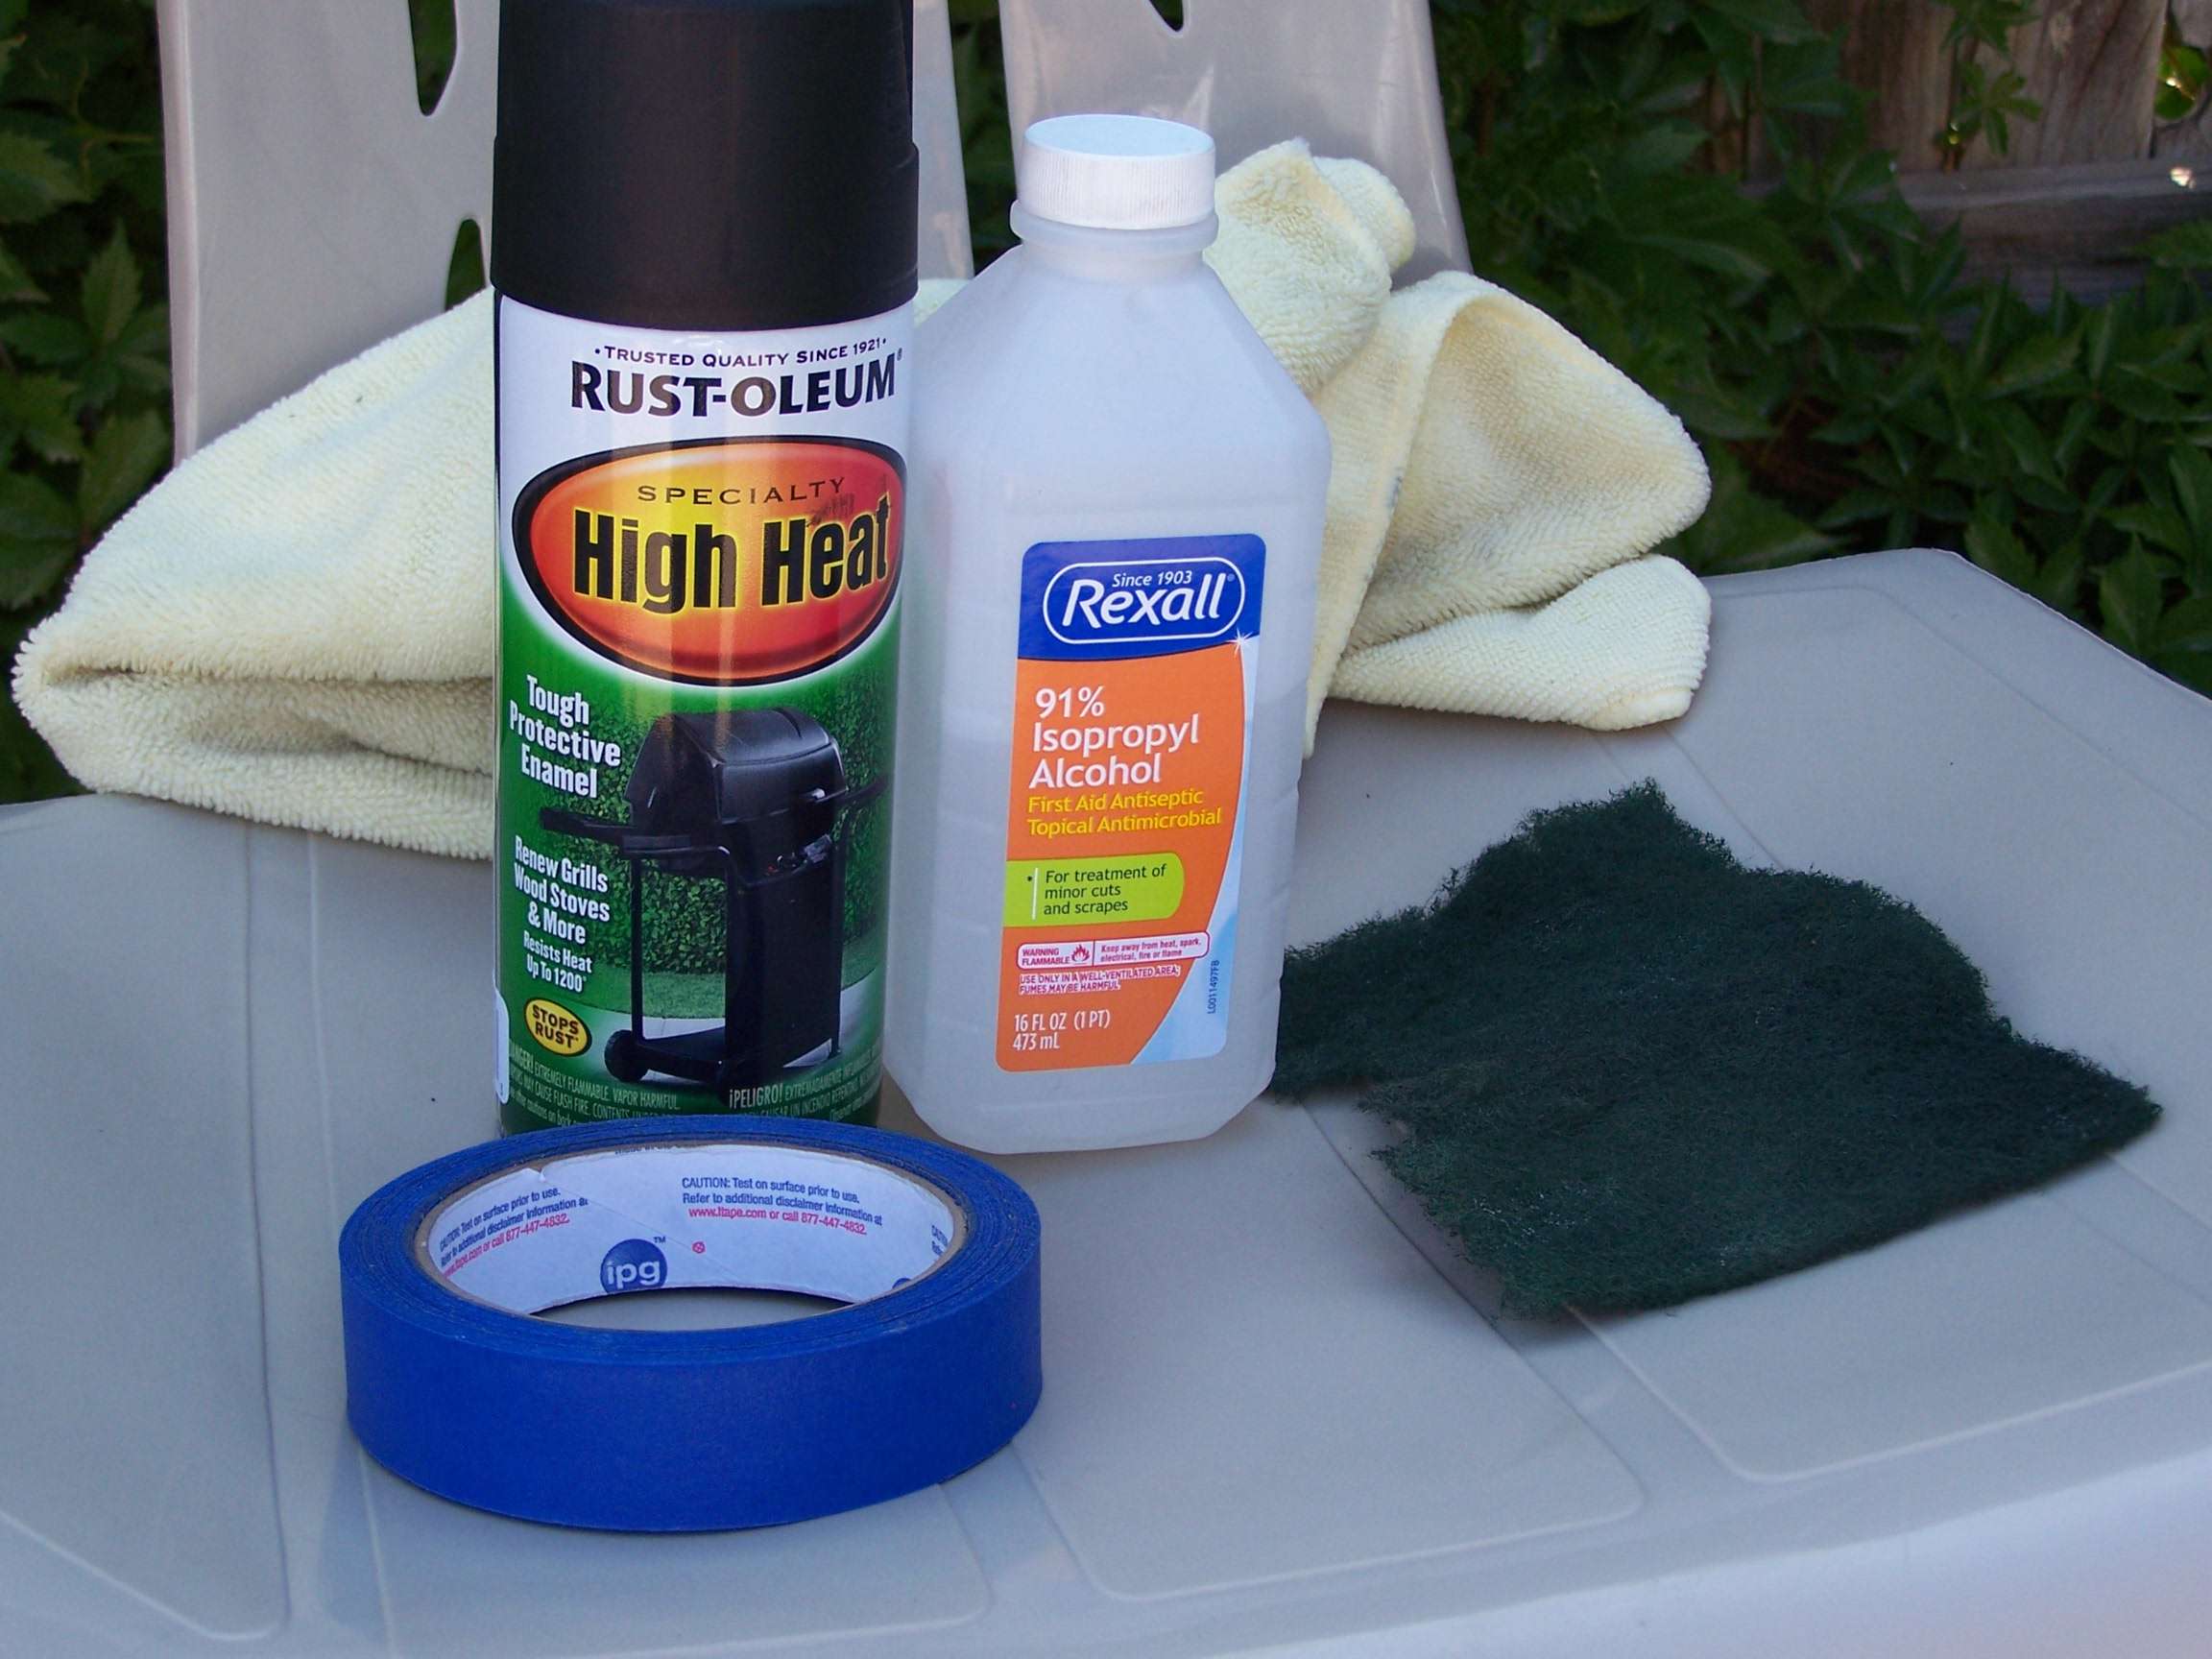
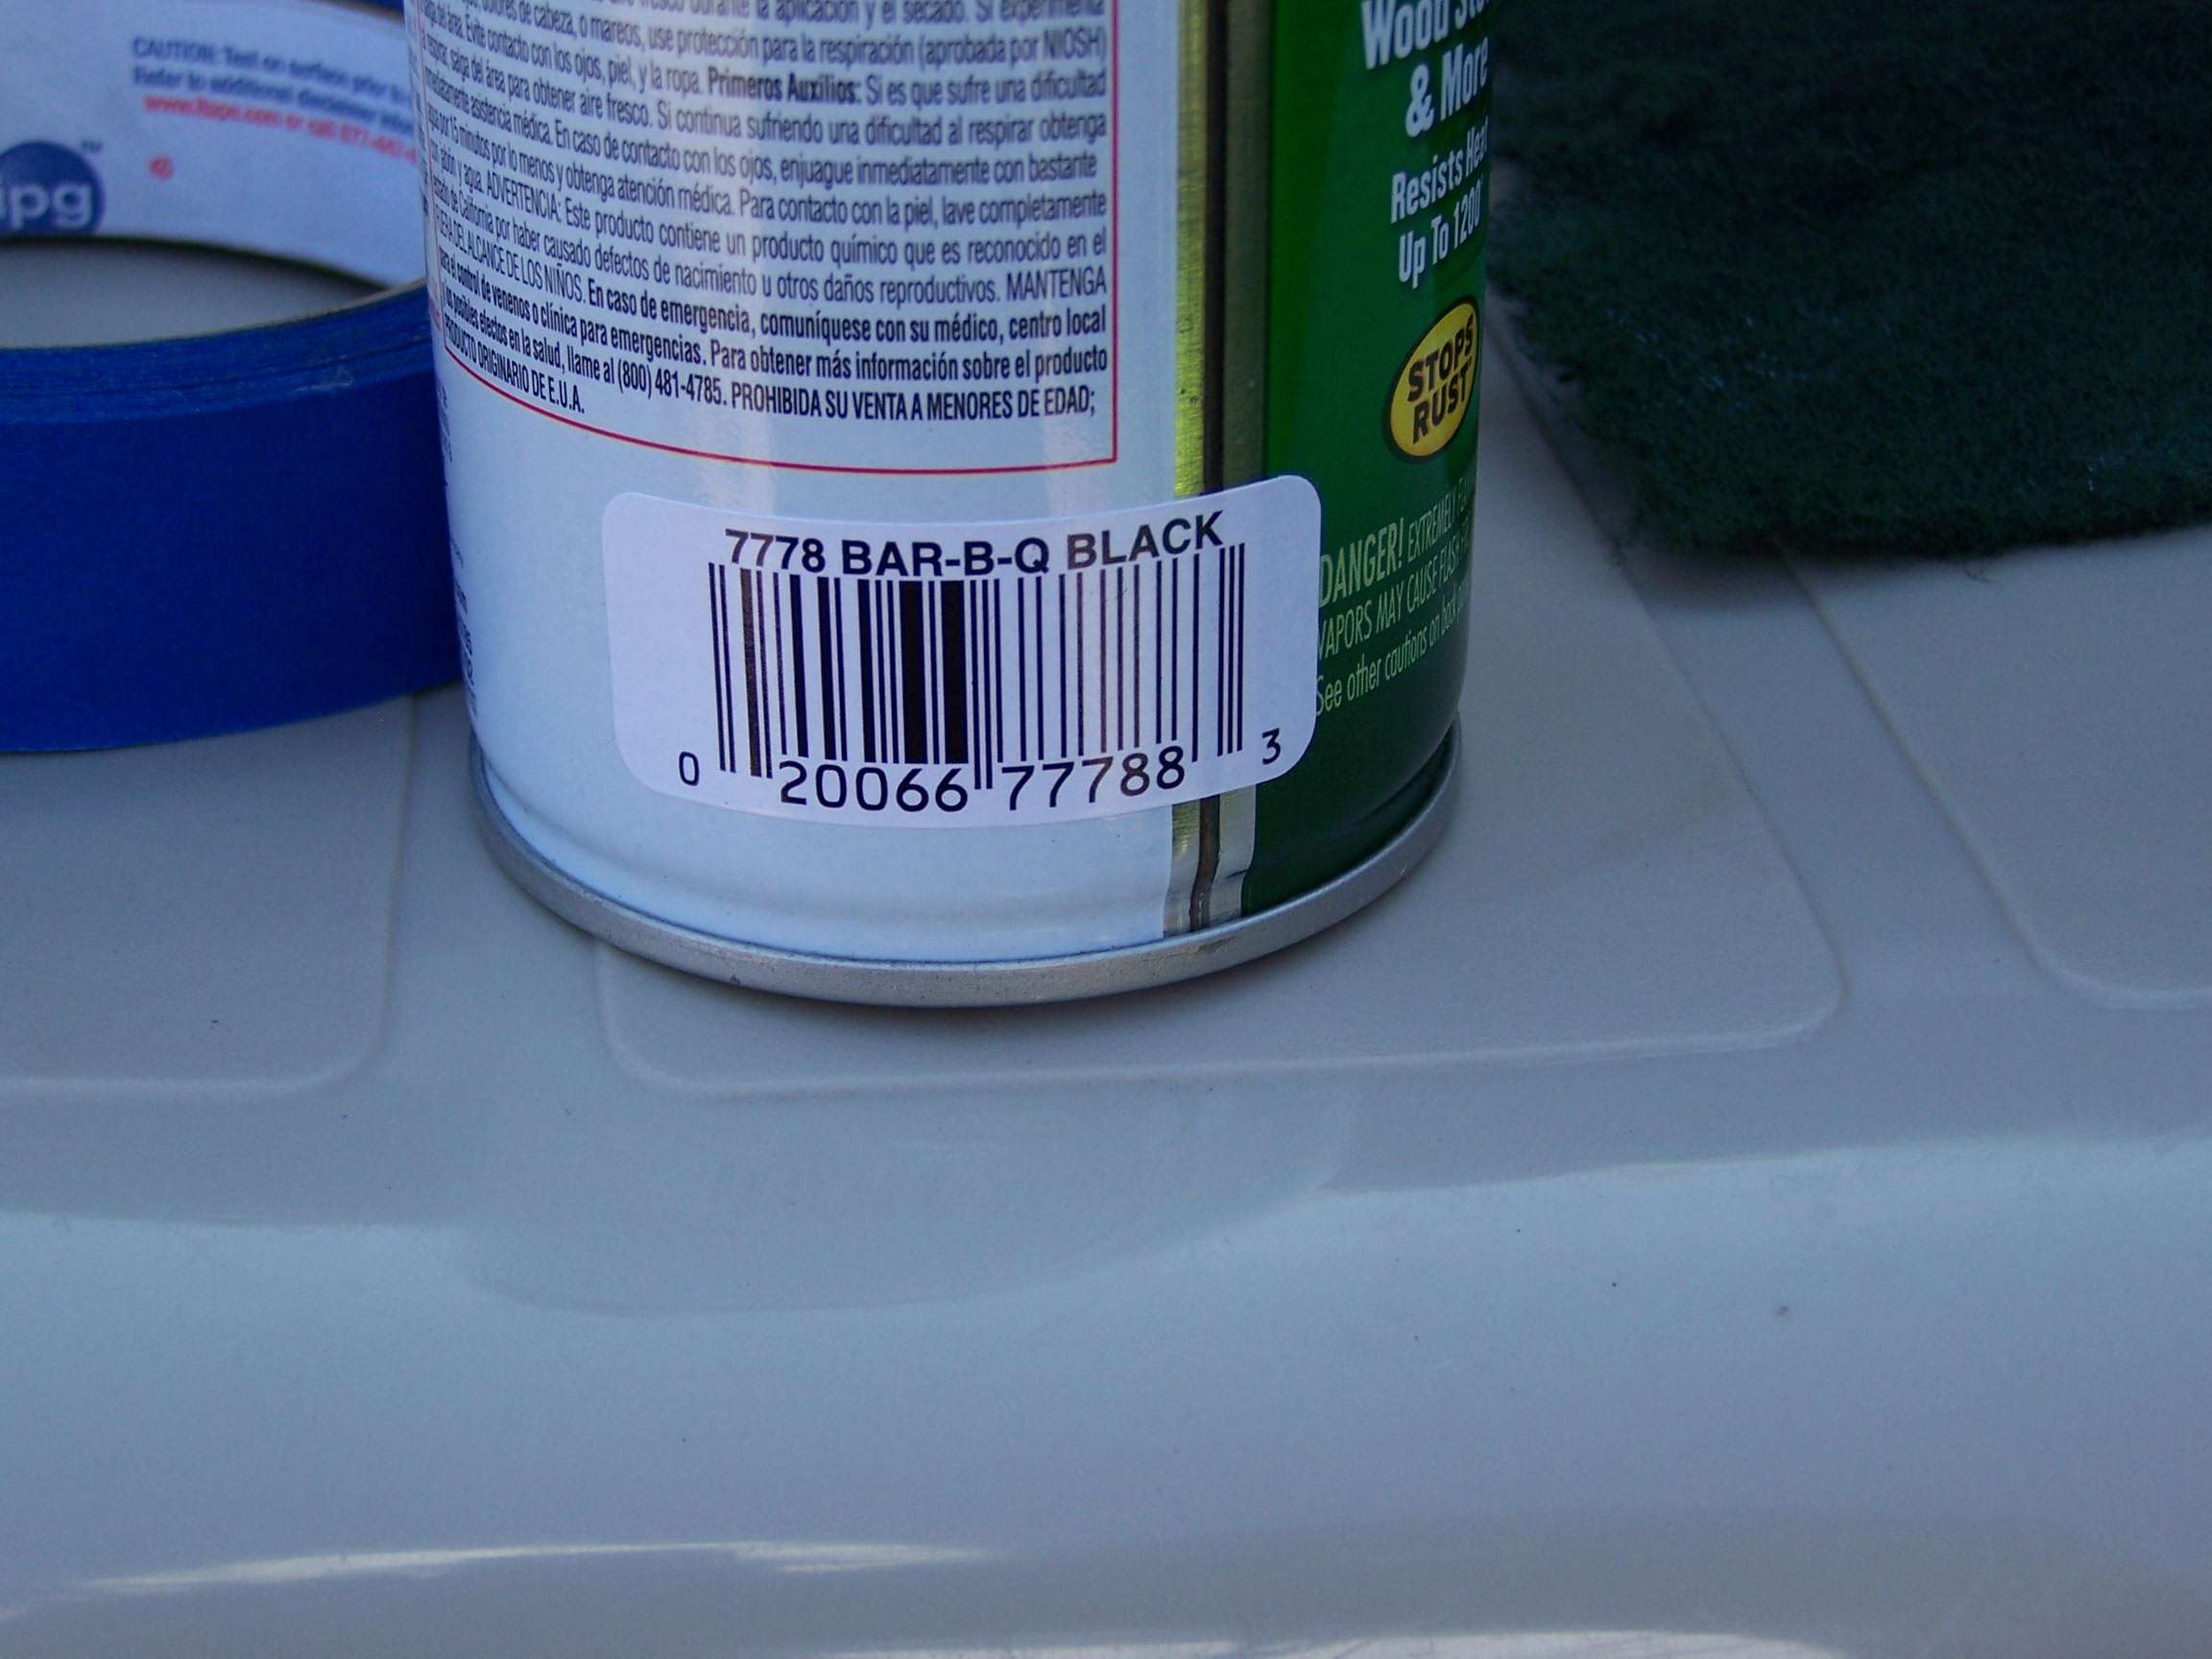
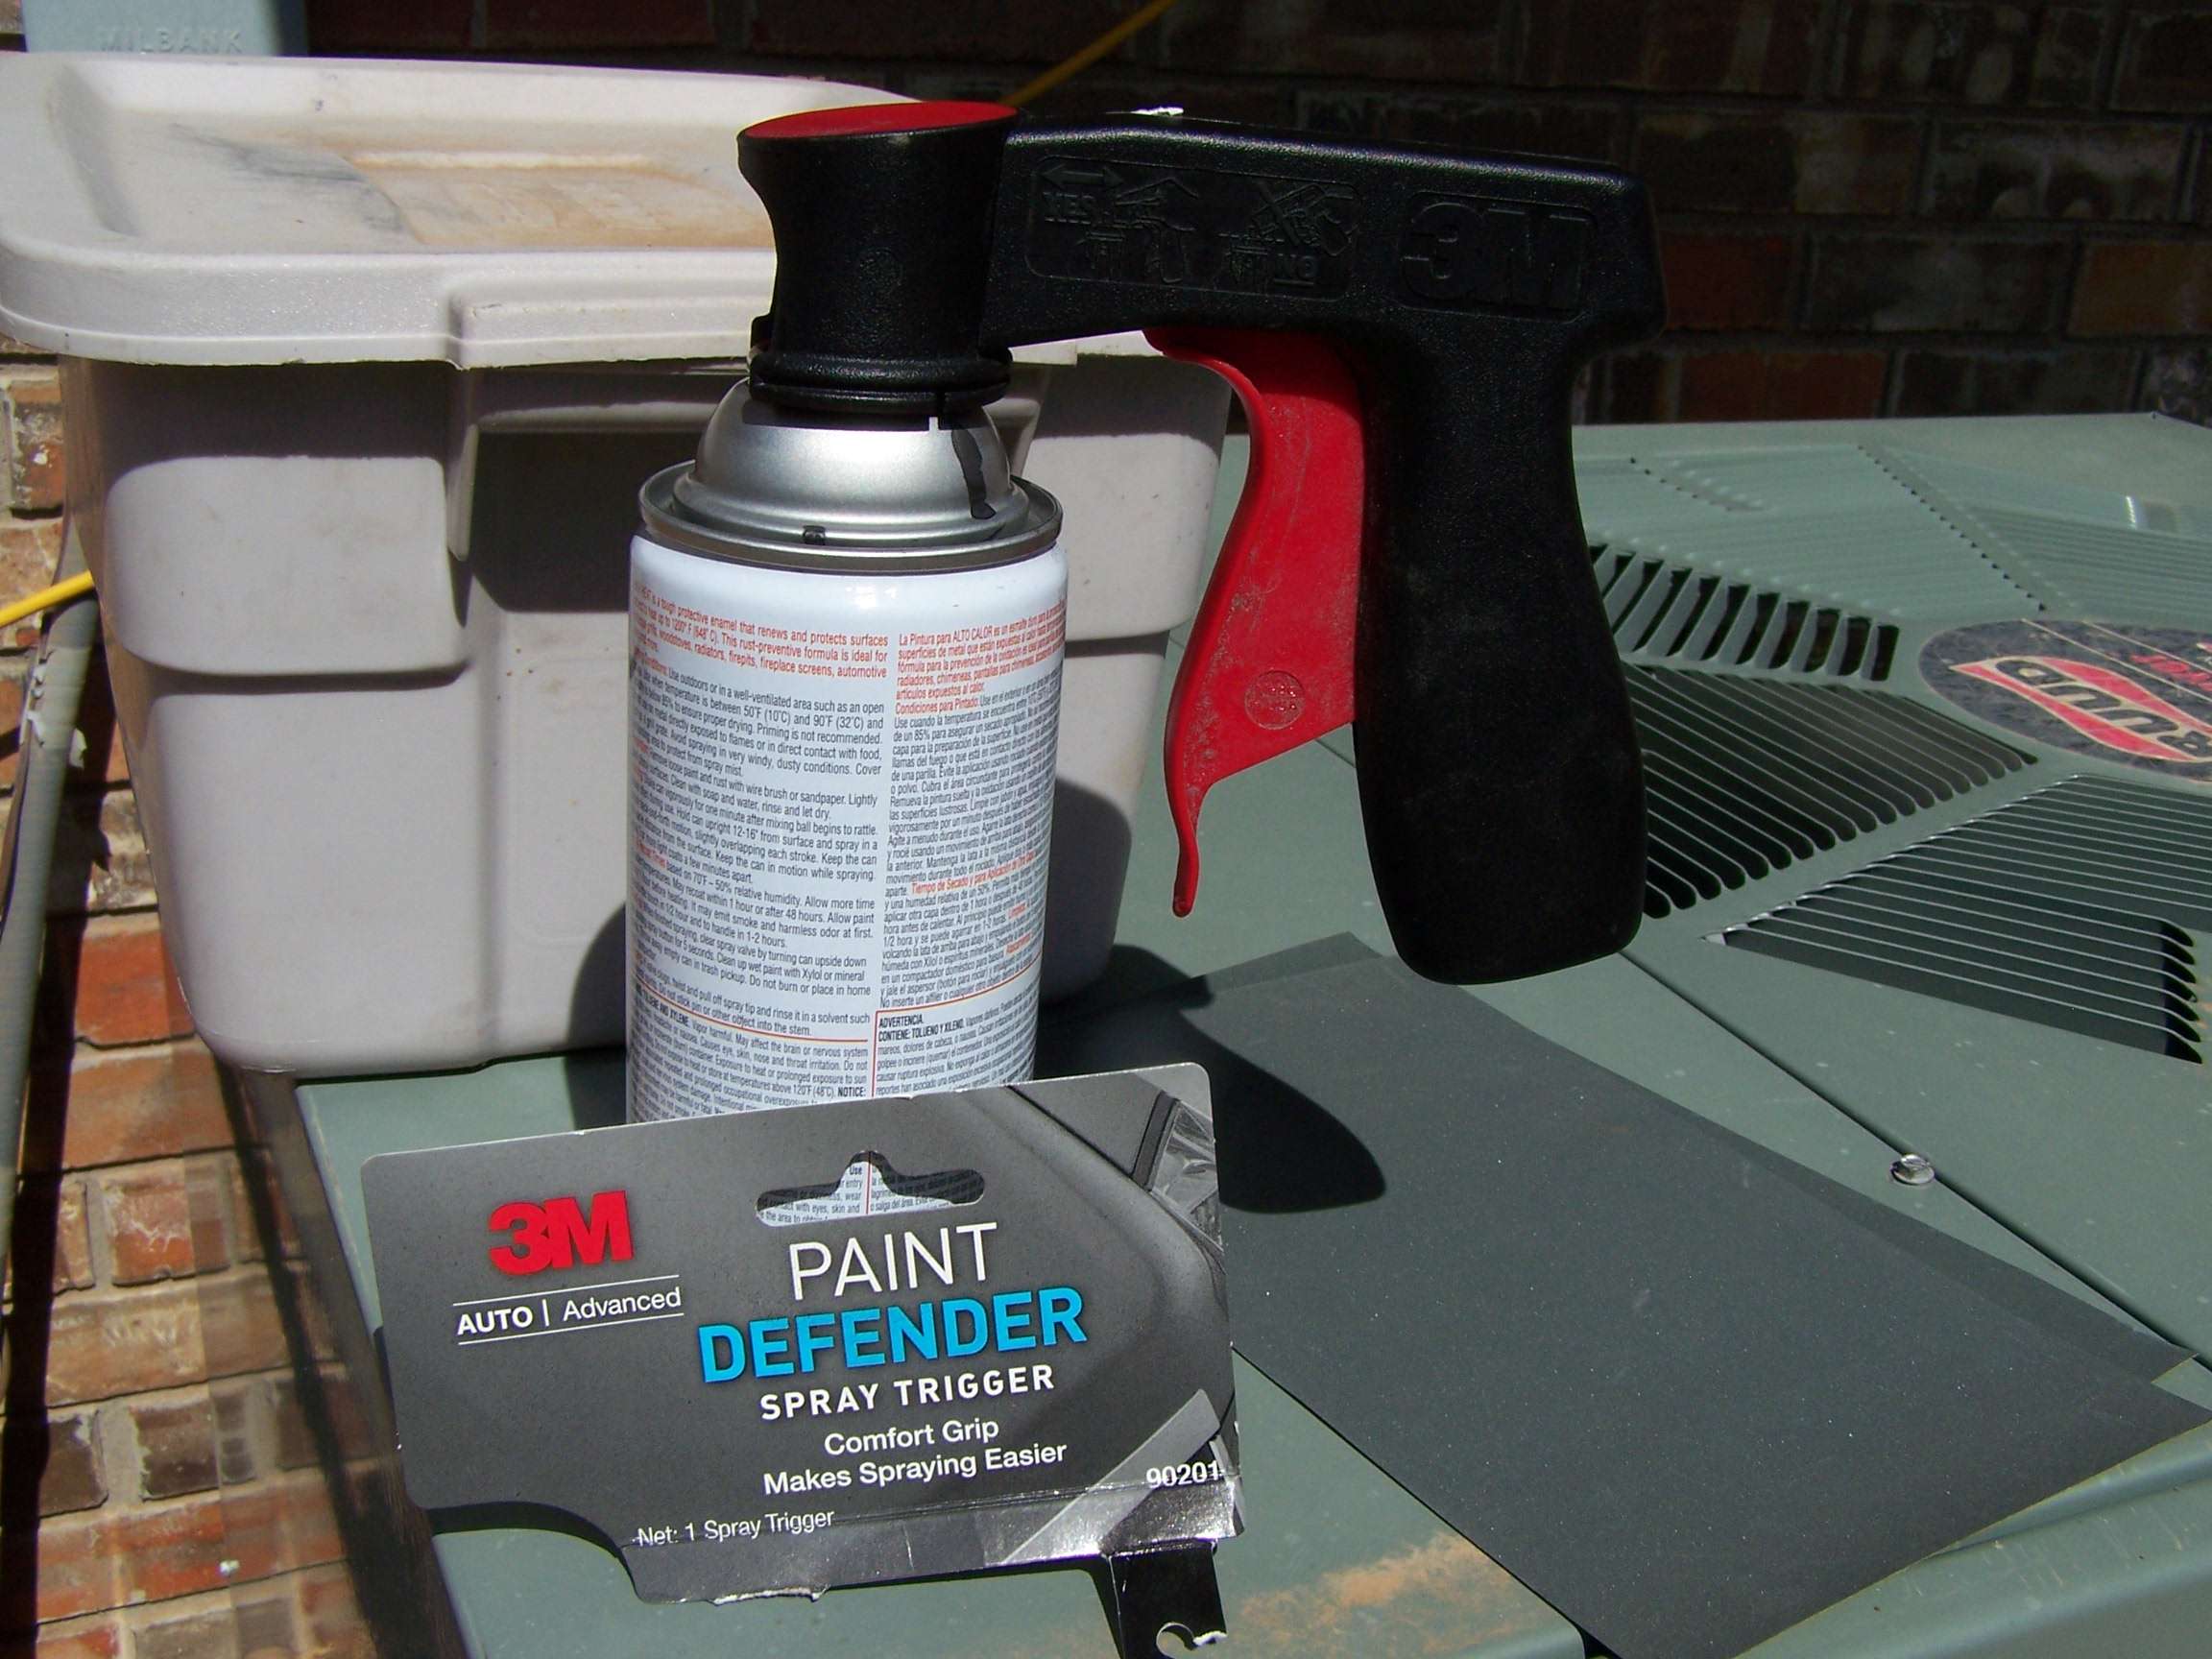
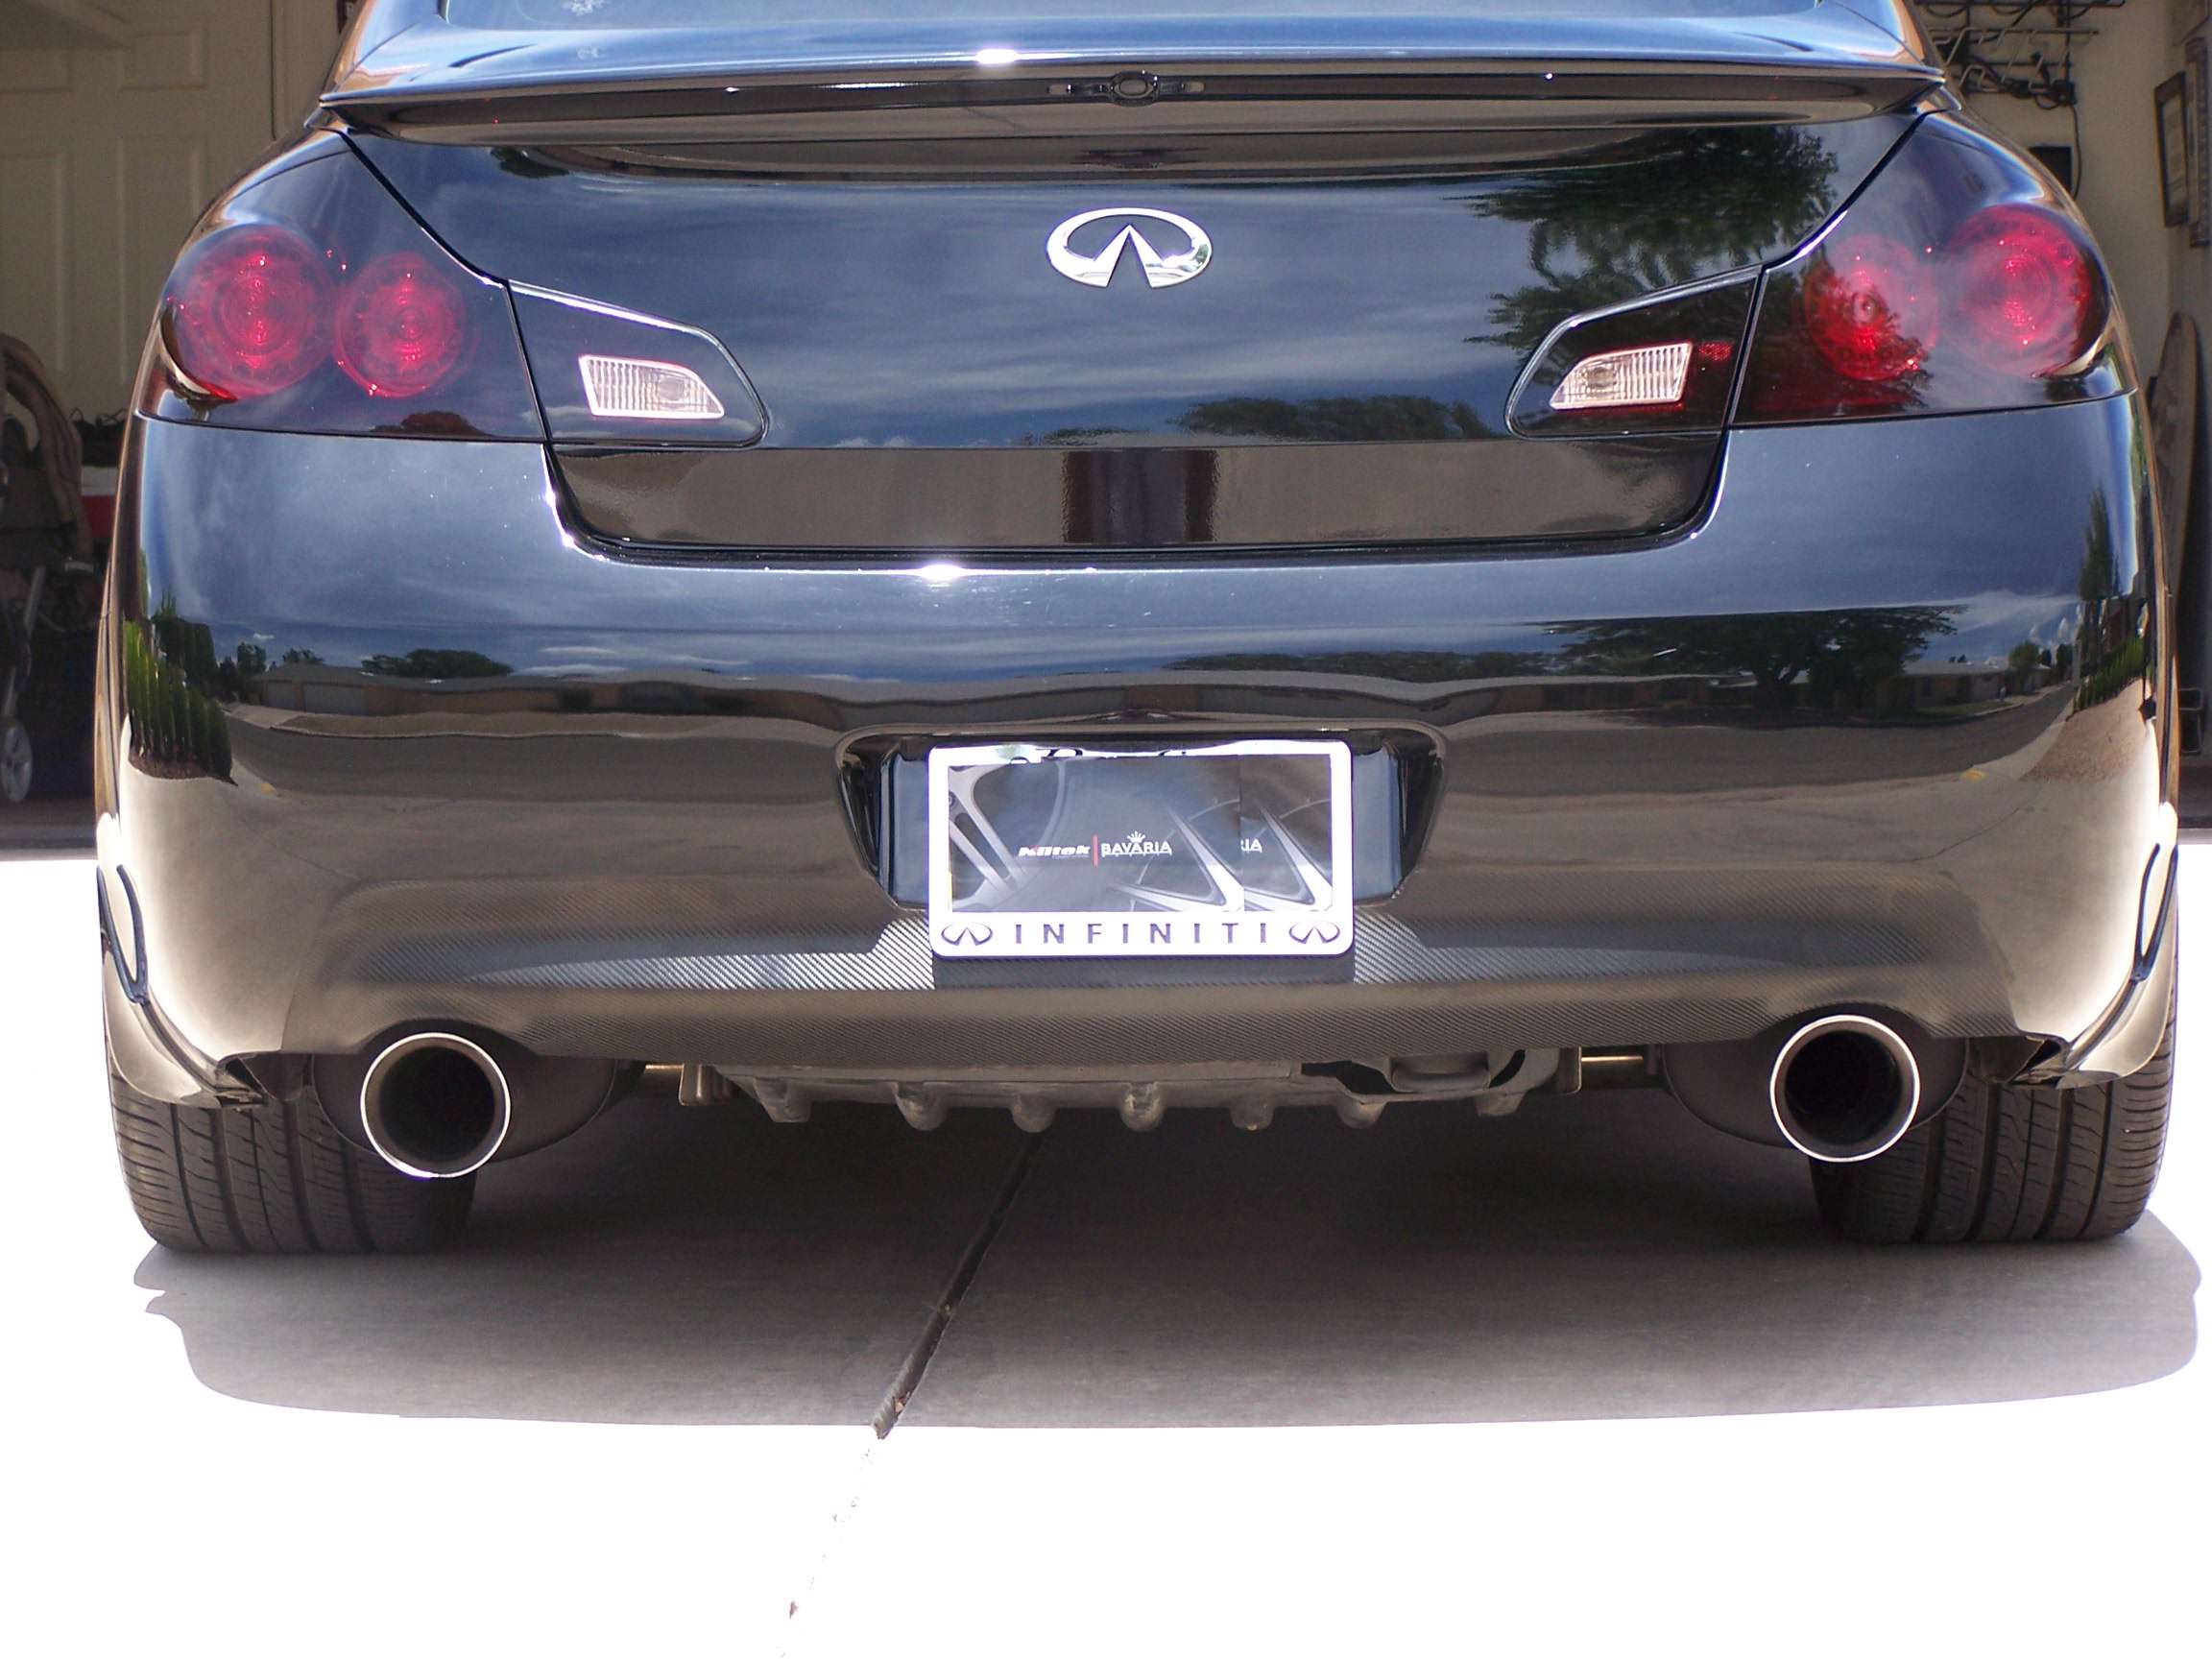
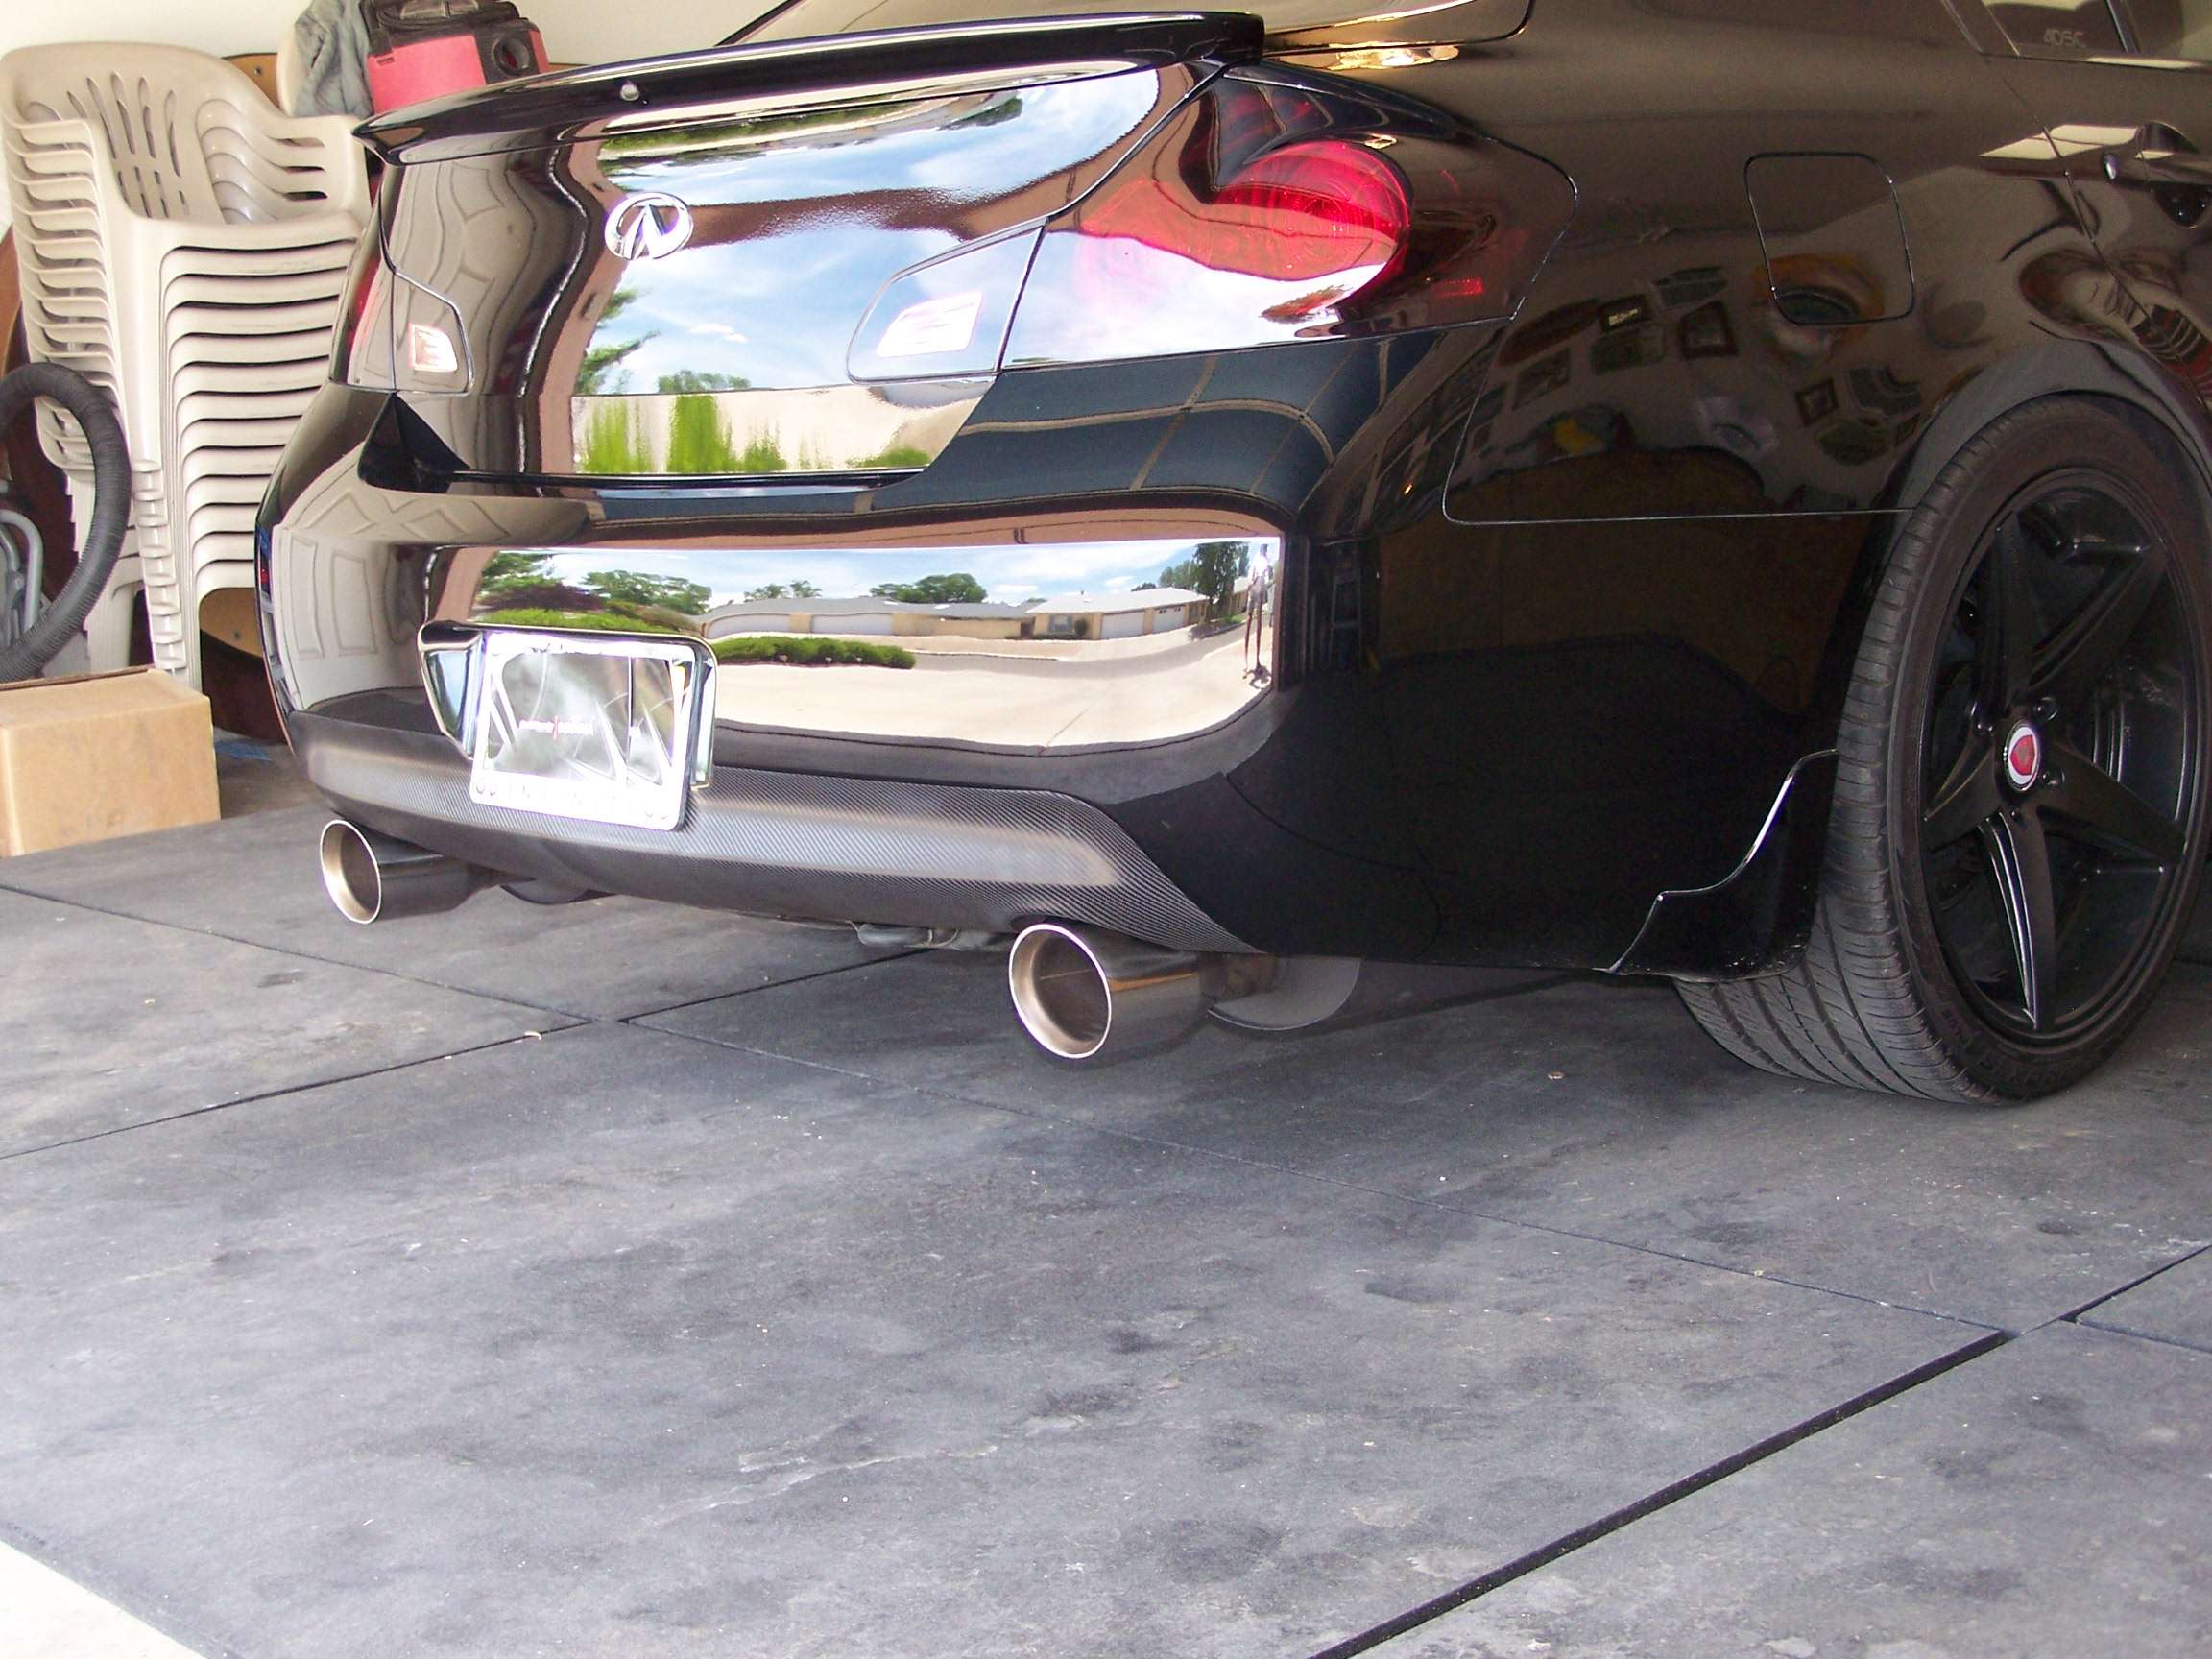
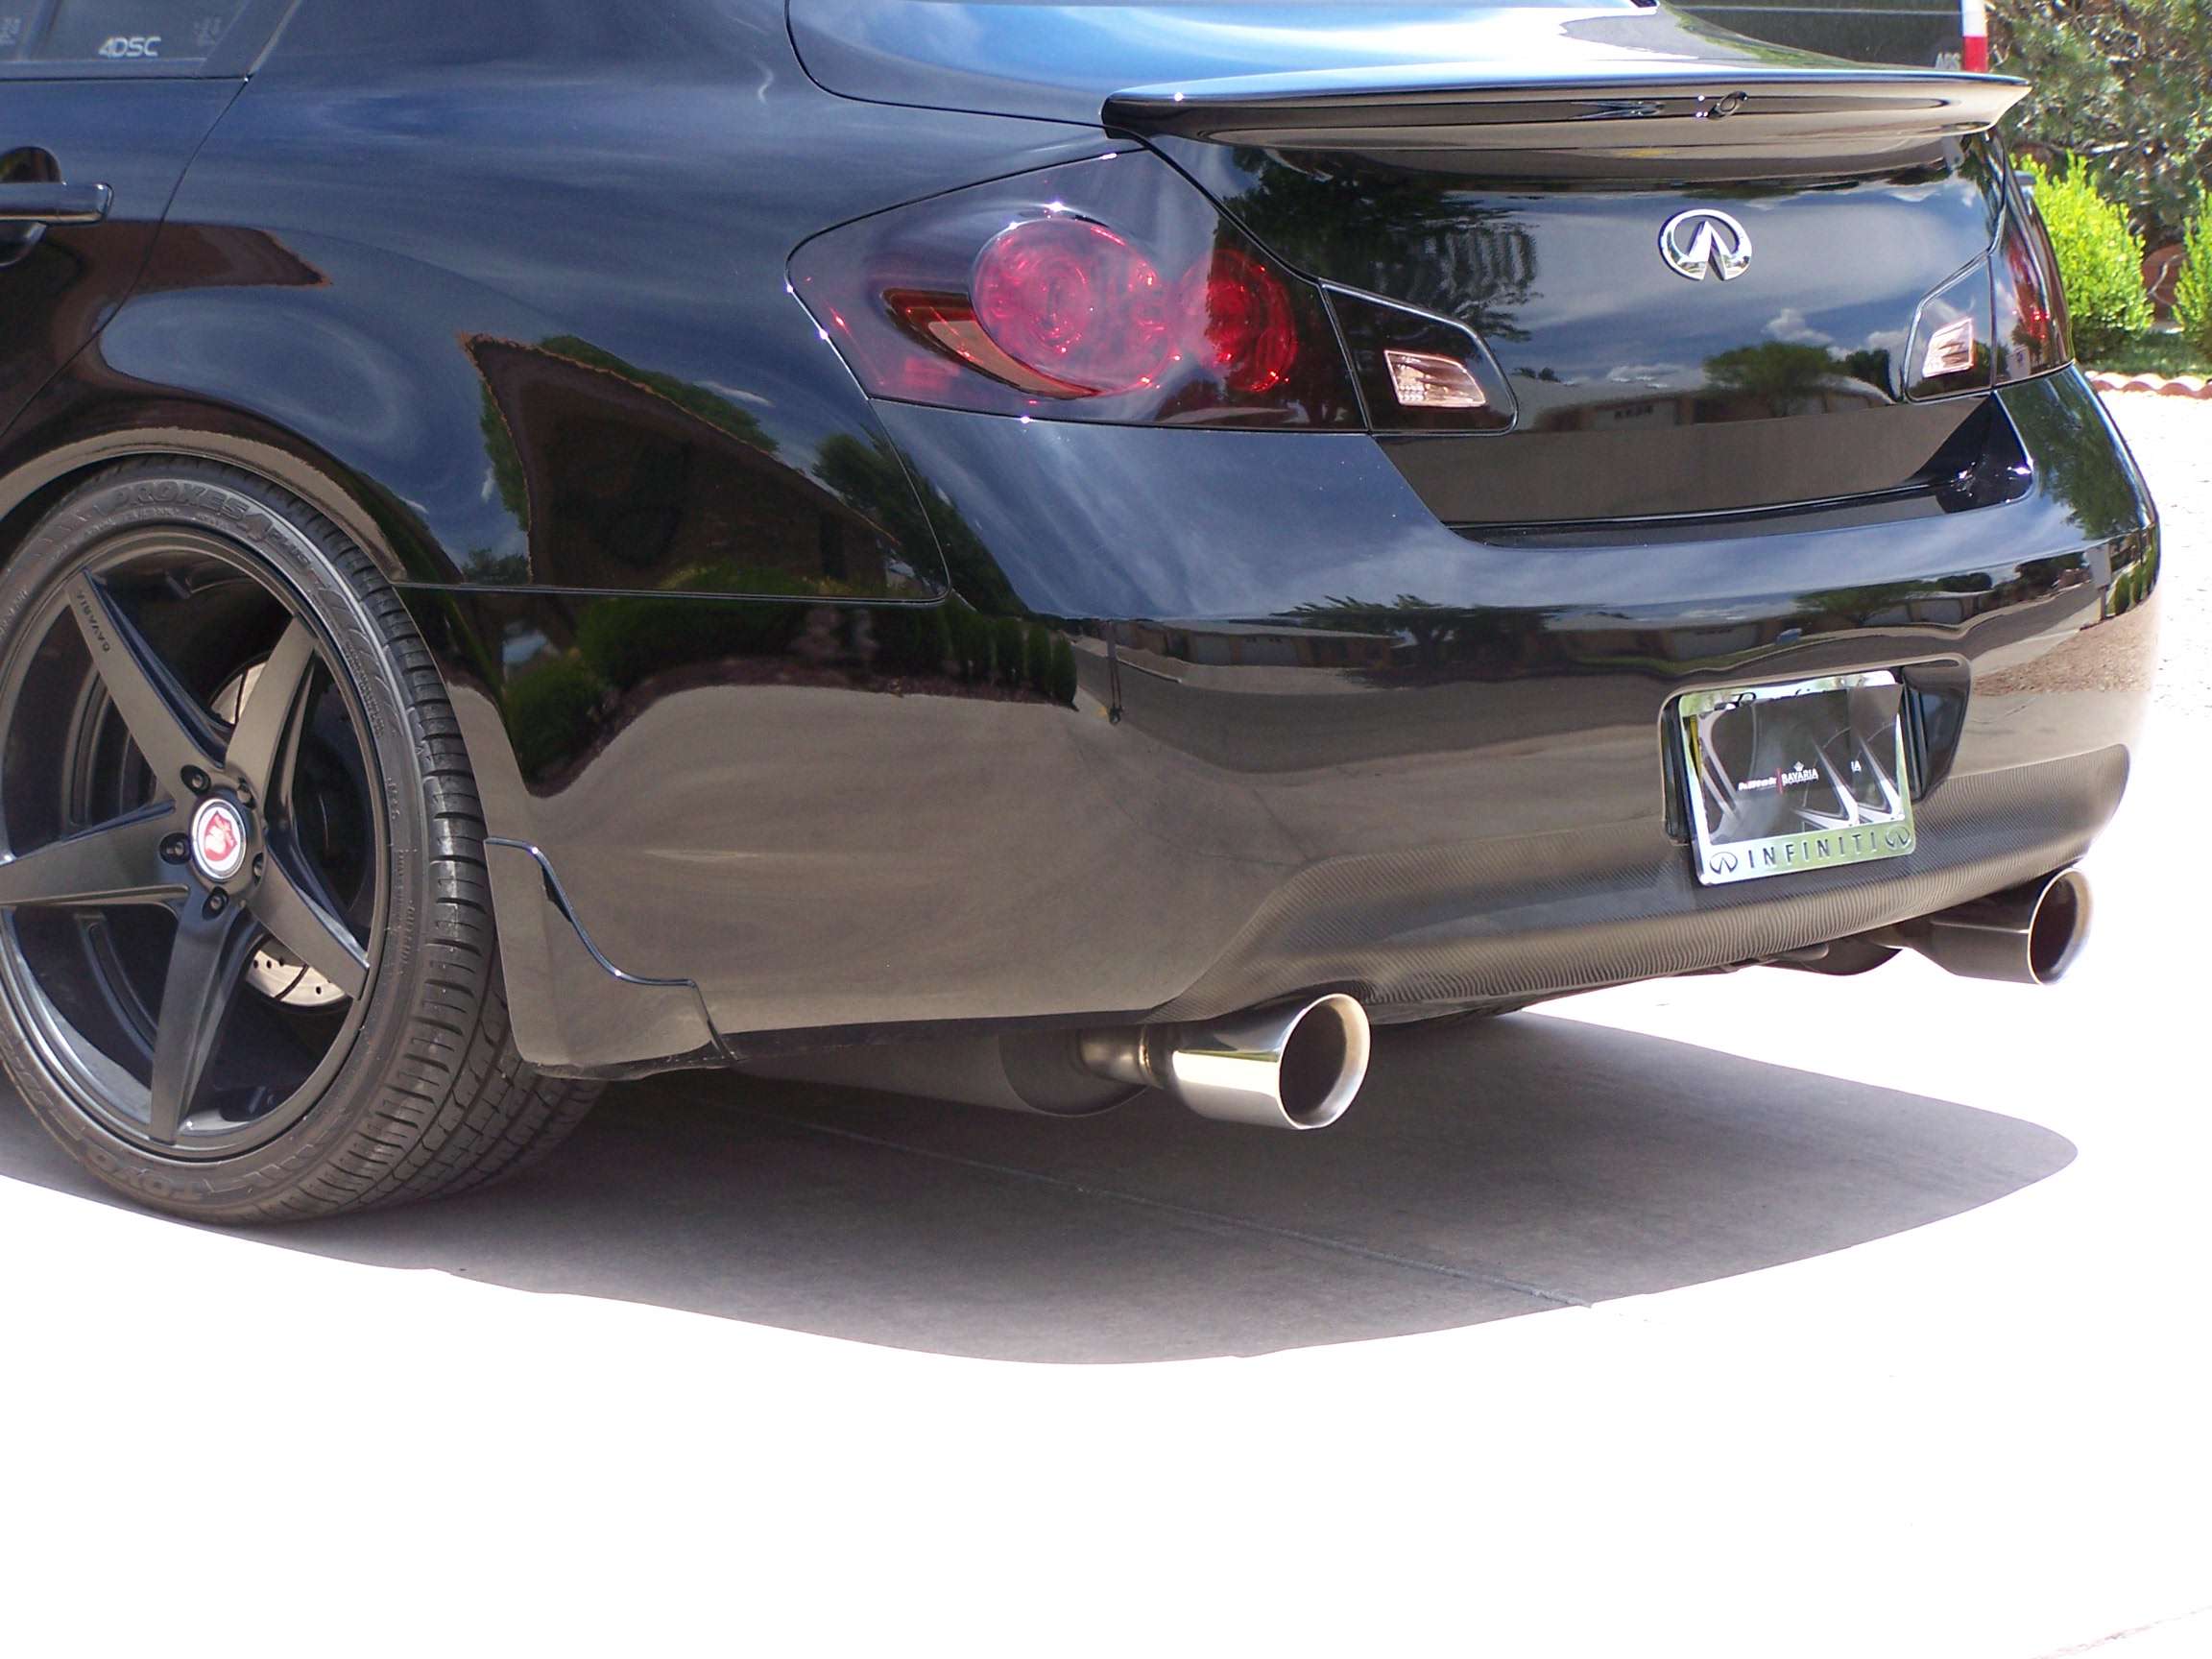
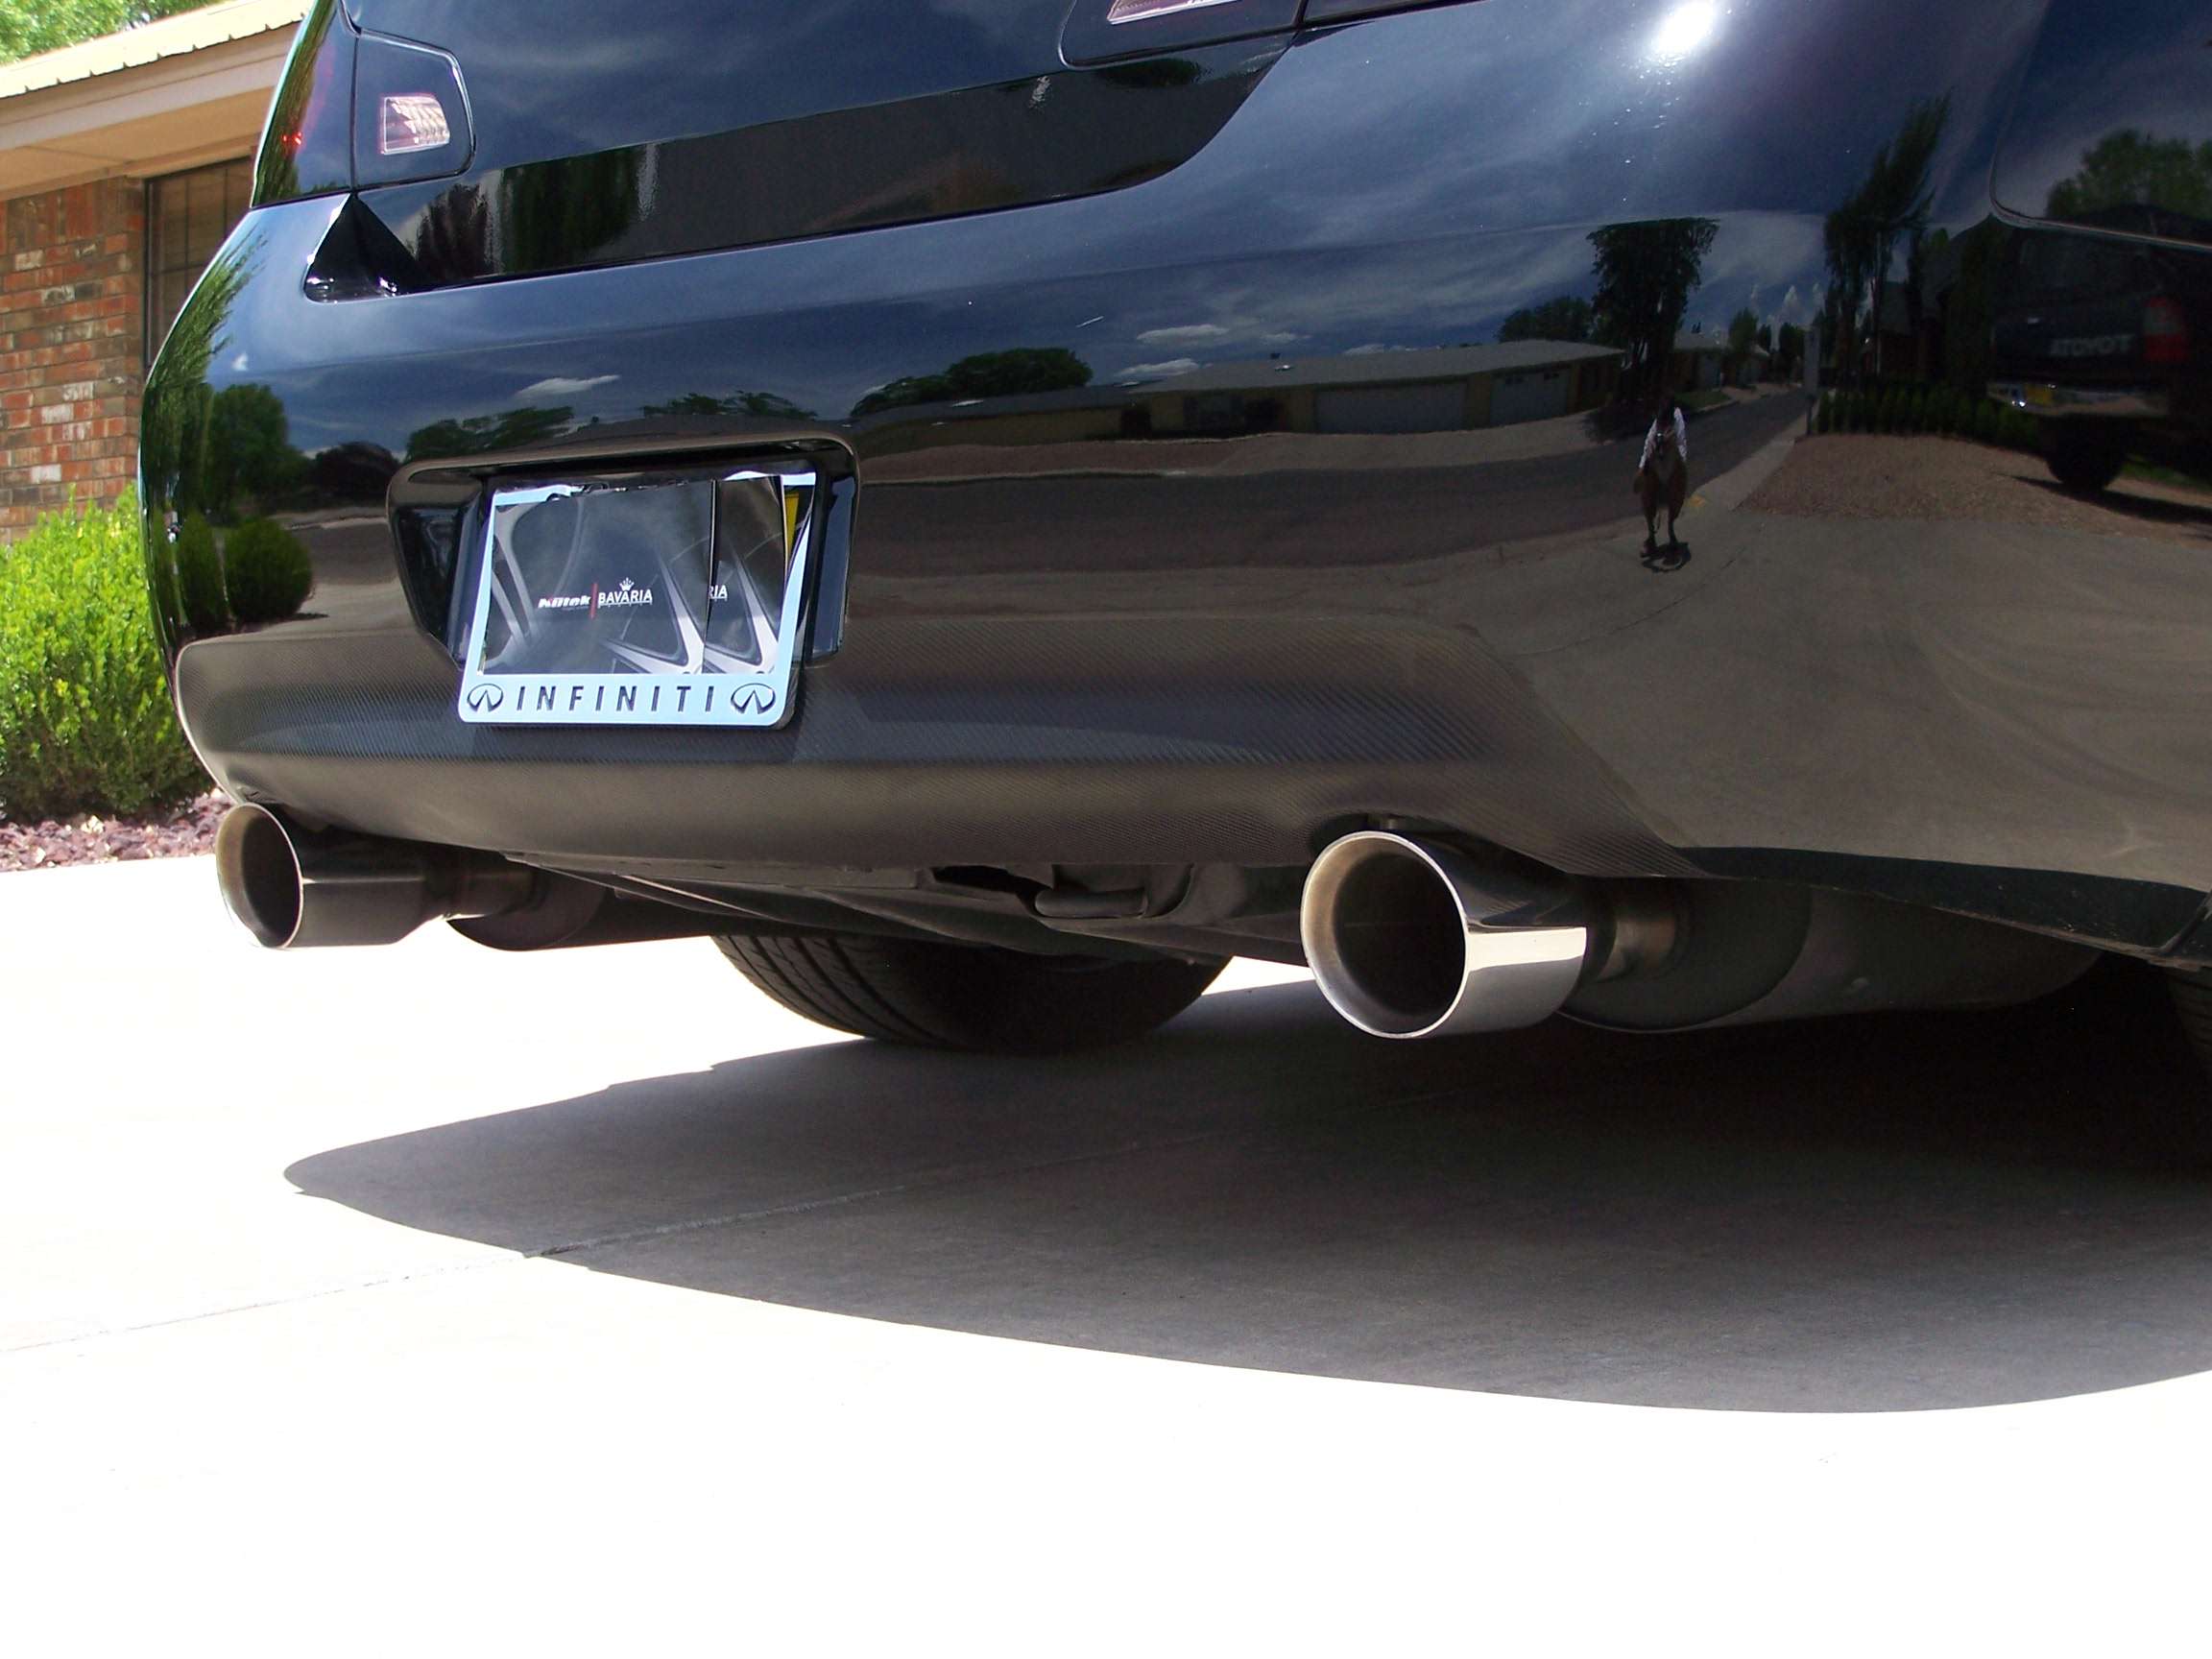
Just a simple little DIY for those that might want to do the same. Always thought the large shiny exhaust cans took away from the look rather than enhancing it. Tools needed are a green 3m scotchbrite pad, Isopropyl Alcohol, painters tape, RustoLeum High Heat BBQ Black spray paint (2 cans), rags, and I highly recommend the 3M Paint Defender spray handle (especially if your hands are old and tired like mine  )
)
These are available on Amazon or Autozone for about $6-7, great for any standard spraypaint can, makes the spraying 10x easier and better.
They make the RustoLeum High heat paint in a gloss black too but in my experience matte finishes tend to bond better and hold up better over time, especially to a shiny surface like stainless steel.
Start by cleaning areas to paint w/ soapy water, dry, then sand down everything w/ the Scotchbrite pad. Be sure to sand any rust deposits and road grime down to the original shine.
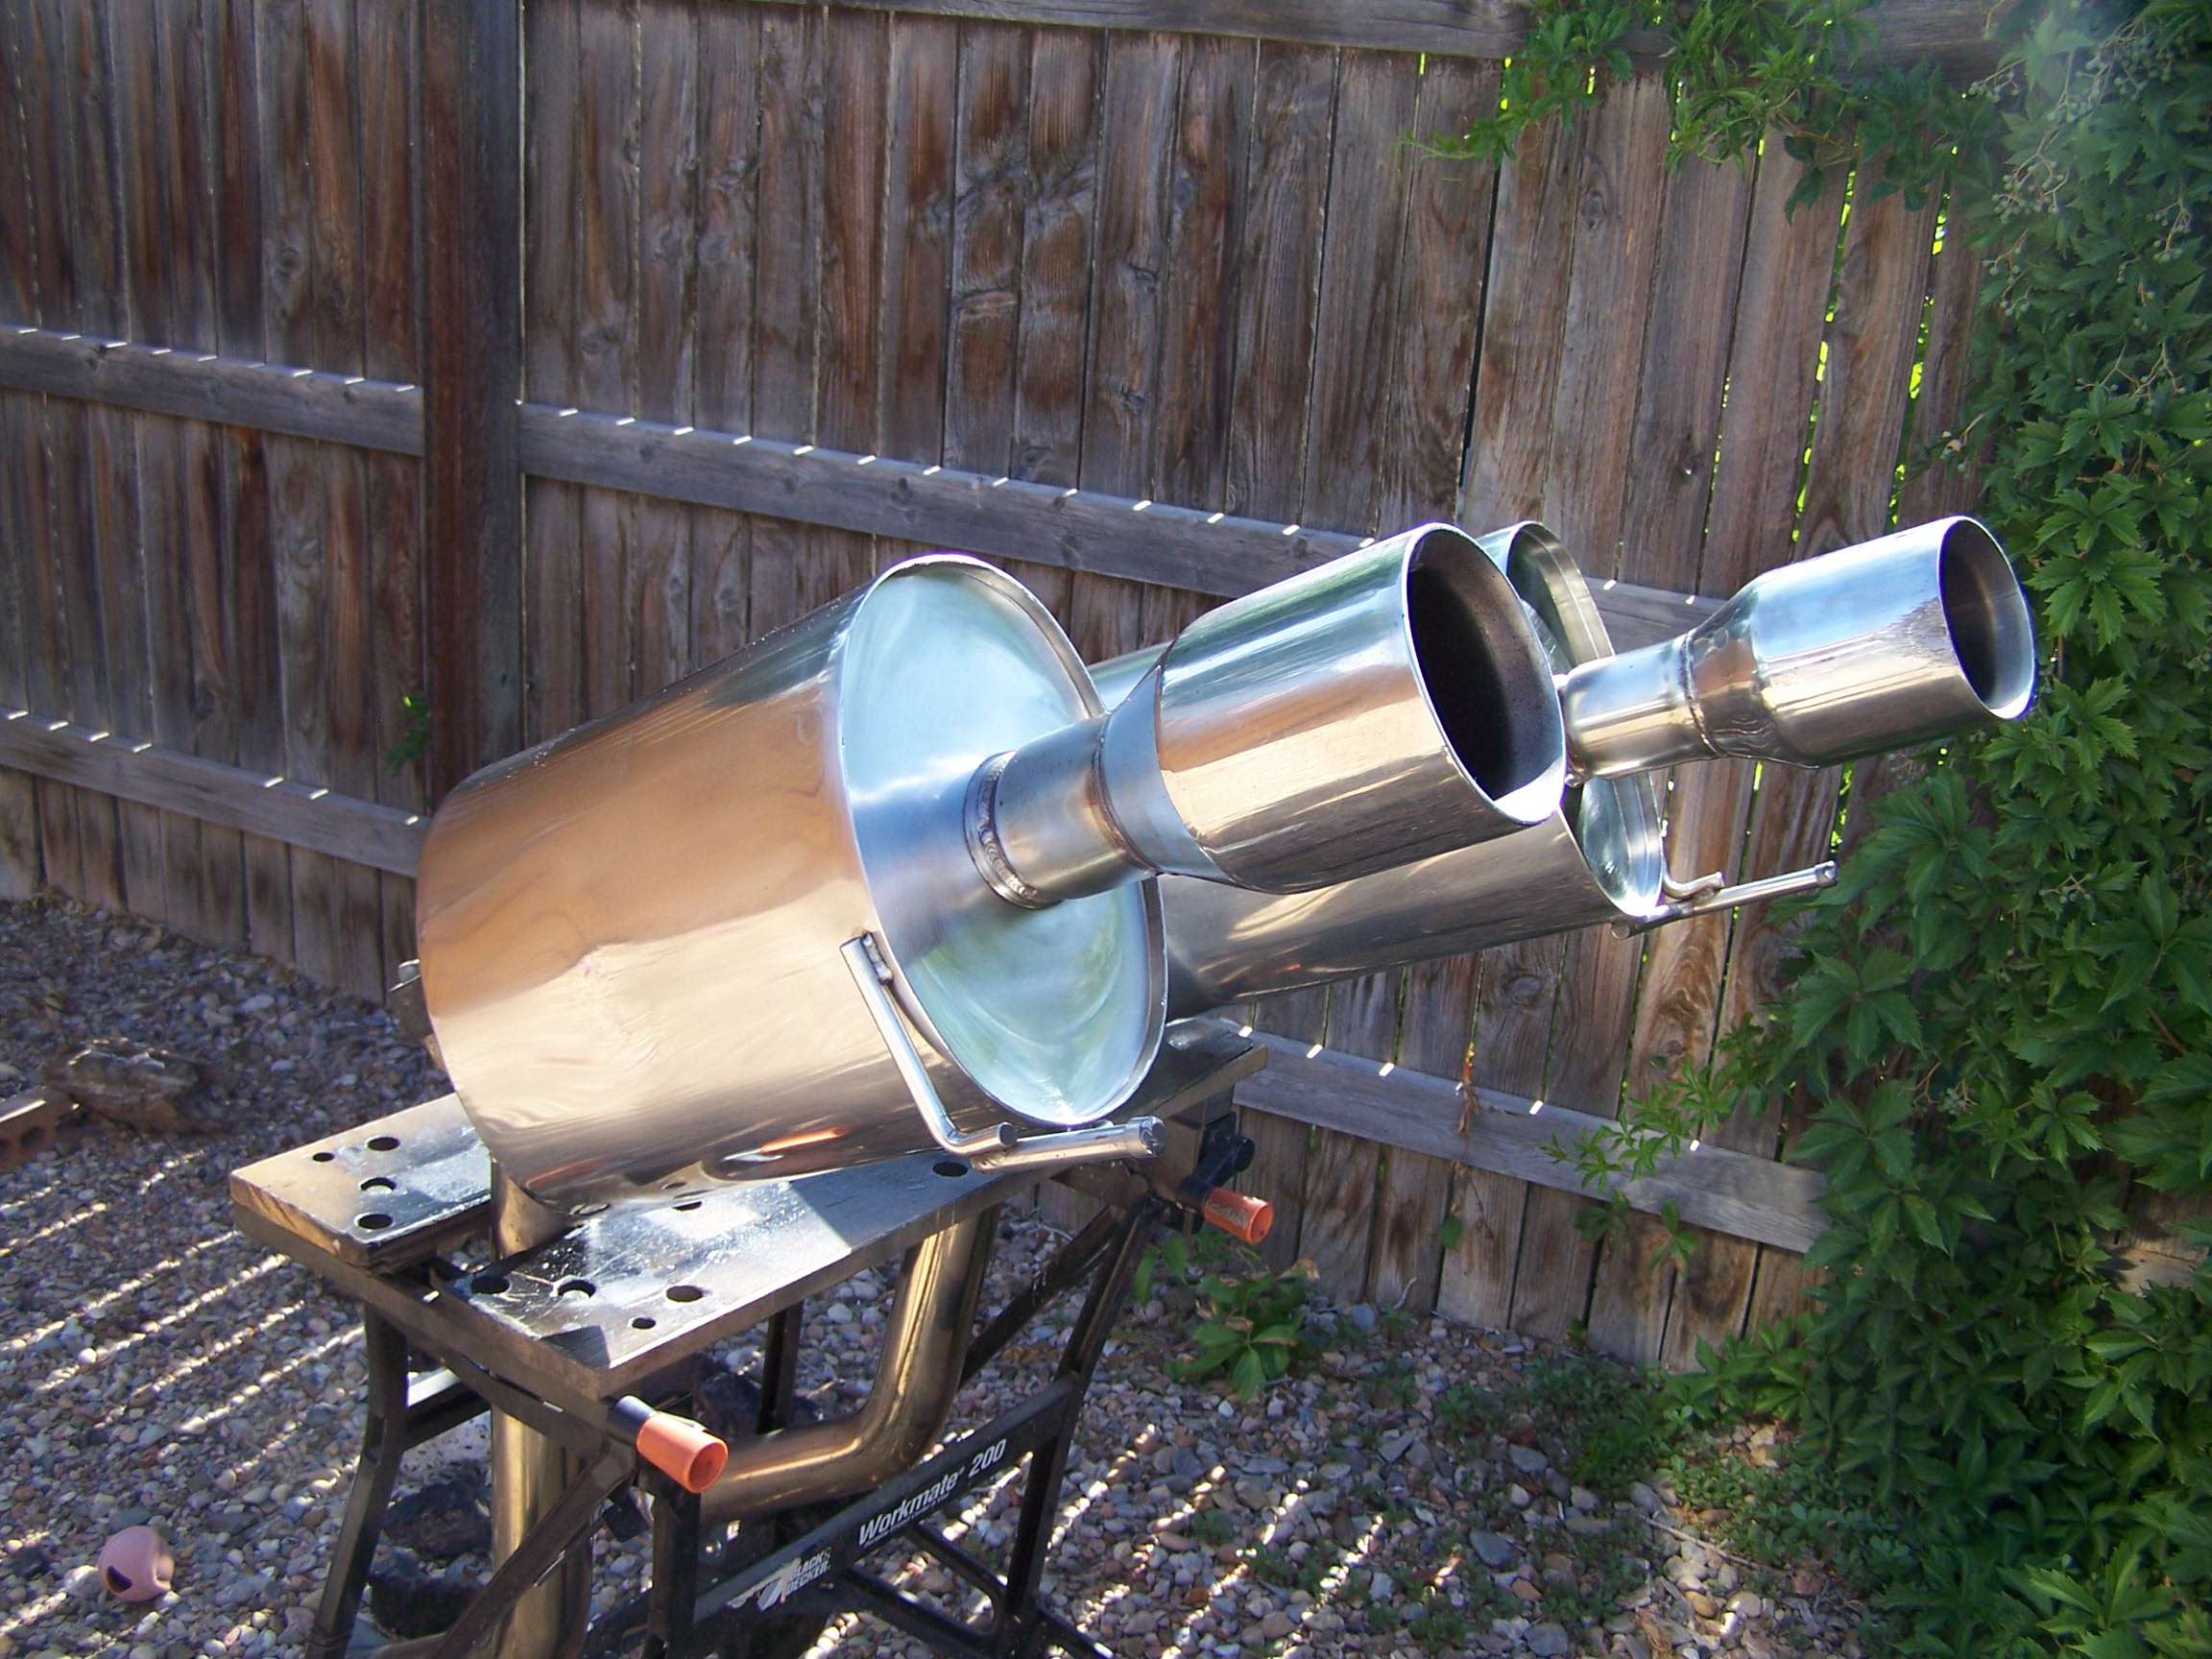
If you have a workmate these make great paint stands as they'll secure the pipes and you can keep the cans elevated a bit so you can get full spray coverage. If not, you'll have to wire them to a fence post or other method to secure them and keep them so you can get paint all around the cans.
Once you have your pipes secure give them a good rub down w/ Rubbing Alcohol, let dry then you're ready to paint. I started at the back of the cans where the tip is. Get every angle and every edge w/ about 3-4 coats, you'll be using entire spray can per exhaust can. Then do the can sides w/ a light coat followed by 3-4 heavy coats, just keep going around until you run out of paint, I think I got 4-5 full coats on.
Let dry for about 4 hours then install.
A big shout out to Soundmike for sharing the details and the paint he use
I'll post the installed pics in the next box this afternoon.
For those that have asked how the TopSpeed exhaust has done regarding rust, I've had no issues, even the mid pipe is clean, welds have darkened but no rust is prevalent

)These are available on Amazon or Autozone for about $6-7, great for any standard spraypaint can, makes the spraying 10x easier and better.
They make the RustoLeum High heat paint in a gloss black too but in my experience matte finishes tend to bond better and hold up better over time, especially to a shiny surface like stainless steel.
Start by cleaning areas to paint w/ soapy water, dry, then sand down everything w/ the Scotchbrite pad. Be sure to sand any rust deposits and road grime down to the original shine.
If you have a workmate these make great paint stands as they'll secure the pipes and you can keep the cans elevated a bit so you can get full spray coverage. If not, you'll have to wire them to a fence post or other method to secure them and keep them so you can get paint all around the cans.
Once you have your pipes secure give them a good rub down w/ Rubbing Alcohol, let dry then you're ready to paint. I started at the back of the cans where the tip is. Get every angle and every edge w/ about 3-4 coats, you'll be using entire spray can per exhaust can. Then do the can sides w/ a light coat followed by 3-4 heavy coats, just keep going around until you run out of paint, I think I got 4-5 full coats on.
Let dry for about 4 hours then install.
A big shout out to Soundmike for sharing the details and the paint he use
I'll post the installed pics in the next box this afternoon.
For those that have asked how the TopSpeed exhaust has done regarding rust, I've had no issues, even the mid pipe is clean, welds have darkened but no rust is prevalent

The following users liked this post:
rhdh104 (10-01-2014)

The following users liked this post:
blnewt (09-06-2013)

The following users liked this post:
blnewt (09-07-2013)
09-08-2013, 01:24 PM
#6

I did this today. This DIY was a good resource (I even bought a workmate 125). Thanks Newt! The only difference is I taped mine a little differently. I like the way it came out, but in all honesty I did this to protect my exhaust from the harsh NY winter roads more than anything else.

The following users liked this post:
blnewt (09-08-2013)
09-08-2013, 05:18 PM
#7
I did this today. This DIY was a good resource (I even bought a workmate 125). Thanks Newt! The only difference is I taped mine a little differently. I like the way it came out, but in all honesty I did this to protect my exhaust from the harsh NY winter roads more than anything else.
When the time comes to touch mine up I'm going to copy exactly what you did, really looks better w/ more of the "rough" pipe painted and just showing off the tips. You'll soon find out that you can't live without those workmates once you work w/ them a bit
Trending Topics
09-09-2013, 03:51 PM
#8
Here is an installed pic. I still need to play around with adjusting the hangers more. I'm thinking I might have to break out the torch and be a little more persuasive.
10-12-2013, 11:24 AM
#10

Hey guys Just thought I would add something to help out with the longevity of this DIY. I am a custom and collision painter ASE master, ICAR Platinum and PPG Master certified Refinish tech. I would Highly recommend a 320grit sand on these and the use of a Etch primer first. Etch primer can even be bought in duplicolor at the auto parts store and might as well use the engine paint too. The grille paint is most likely the same chemistry though. But make sure its the ETCH primer this will give you the best chance of not coming off and having good adhesion. I will be posting my build log very soon where I have taken some pics to help the others out with DIY on the paint side of things.

 06-11-2017, 12:02 AM
#14

If you are lazy like me and don't feel like taking the mufflers off, you can do this in about 5 minutes.
Wrap the tips with plastic bags and paint the cans with plasti dip. Yes you will not be able to paint the whole can, only the visible part of it when you stand behind your car. That will be more than good enough for the eye test. Nobody will crawl under your car and check whether you painted the whole can.
And yes the plasti dip will hold up just fine. Mine's been there for at least 4 years now. Has not peel off in any area. The cans get dirty pretty quick anyways, so nobody will be able to tell whether you did a good job or not.

Thread
Thread Starter
Forum
Replies
Last Post
sharmelan
Engine, Drivetrain & Forced-Induction
17
09-14-2015 03:18 PM

