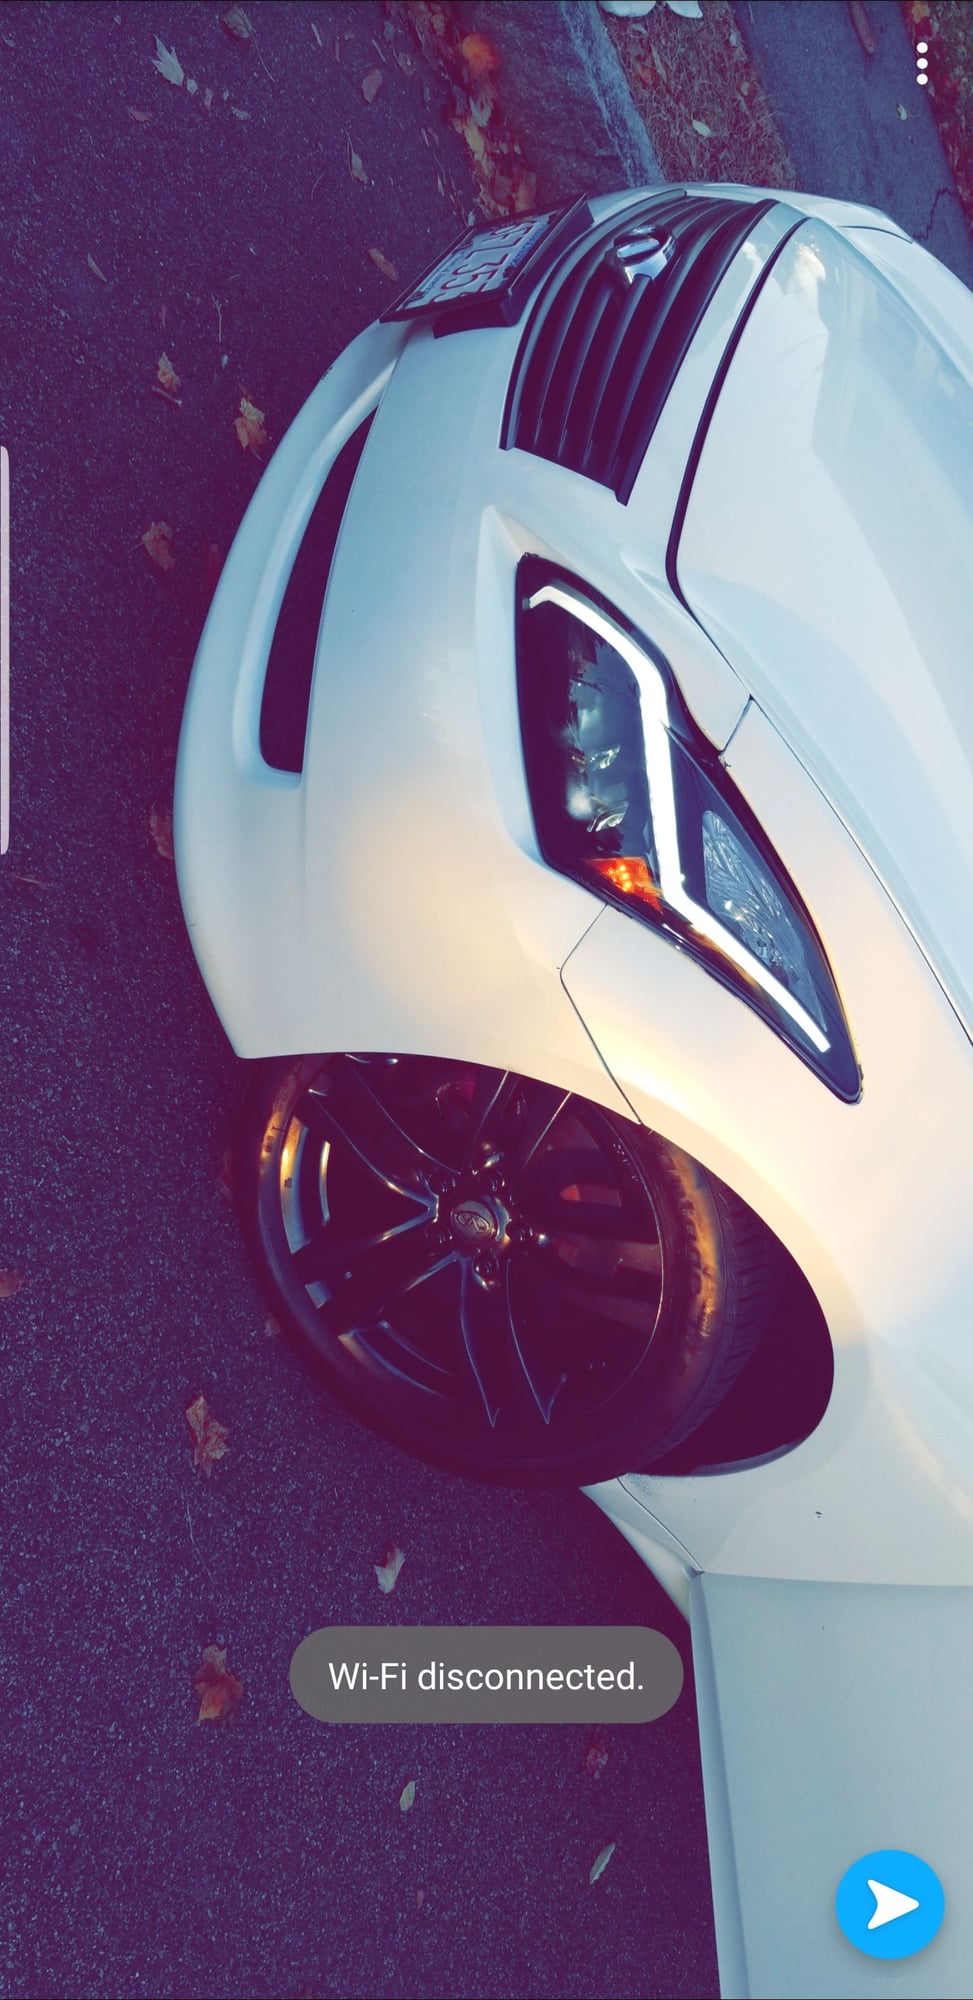
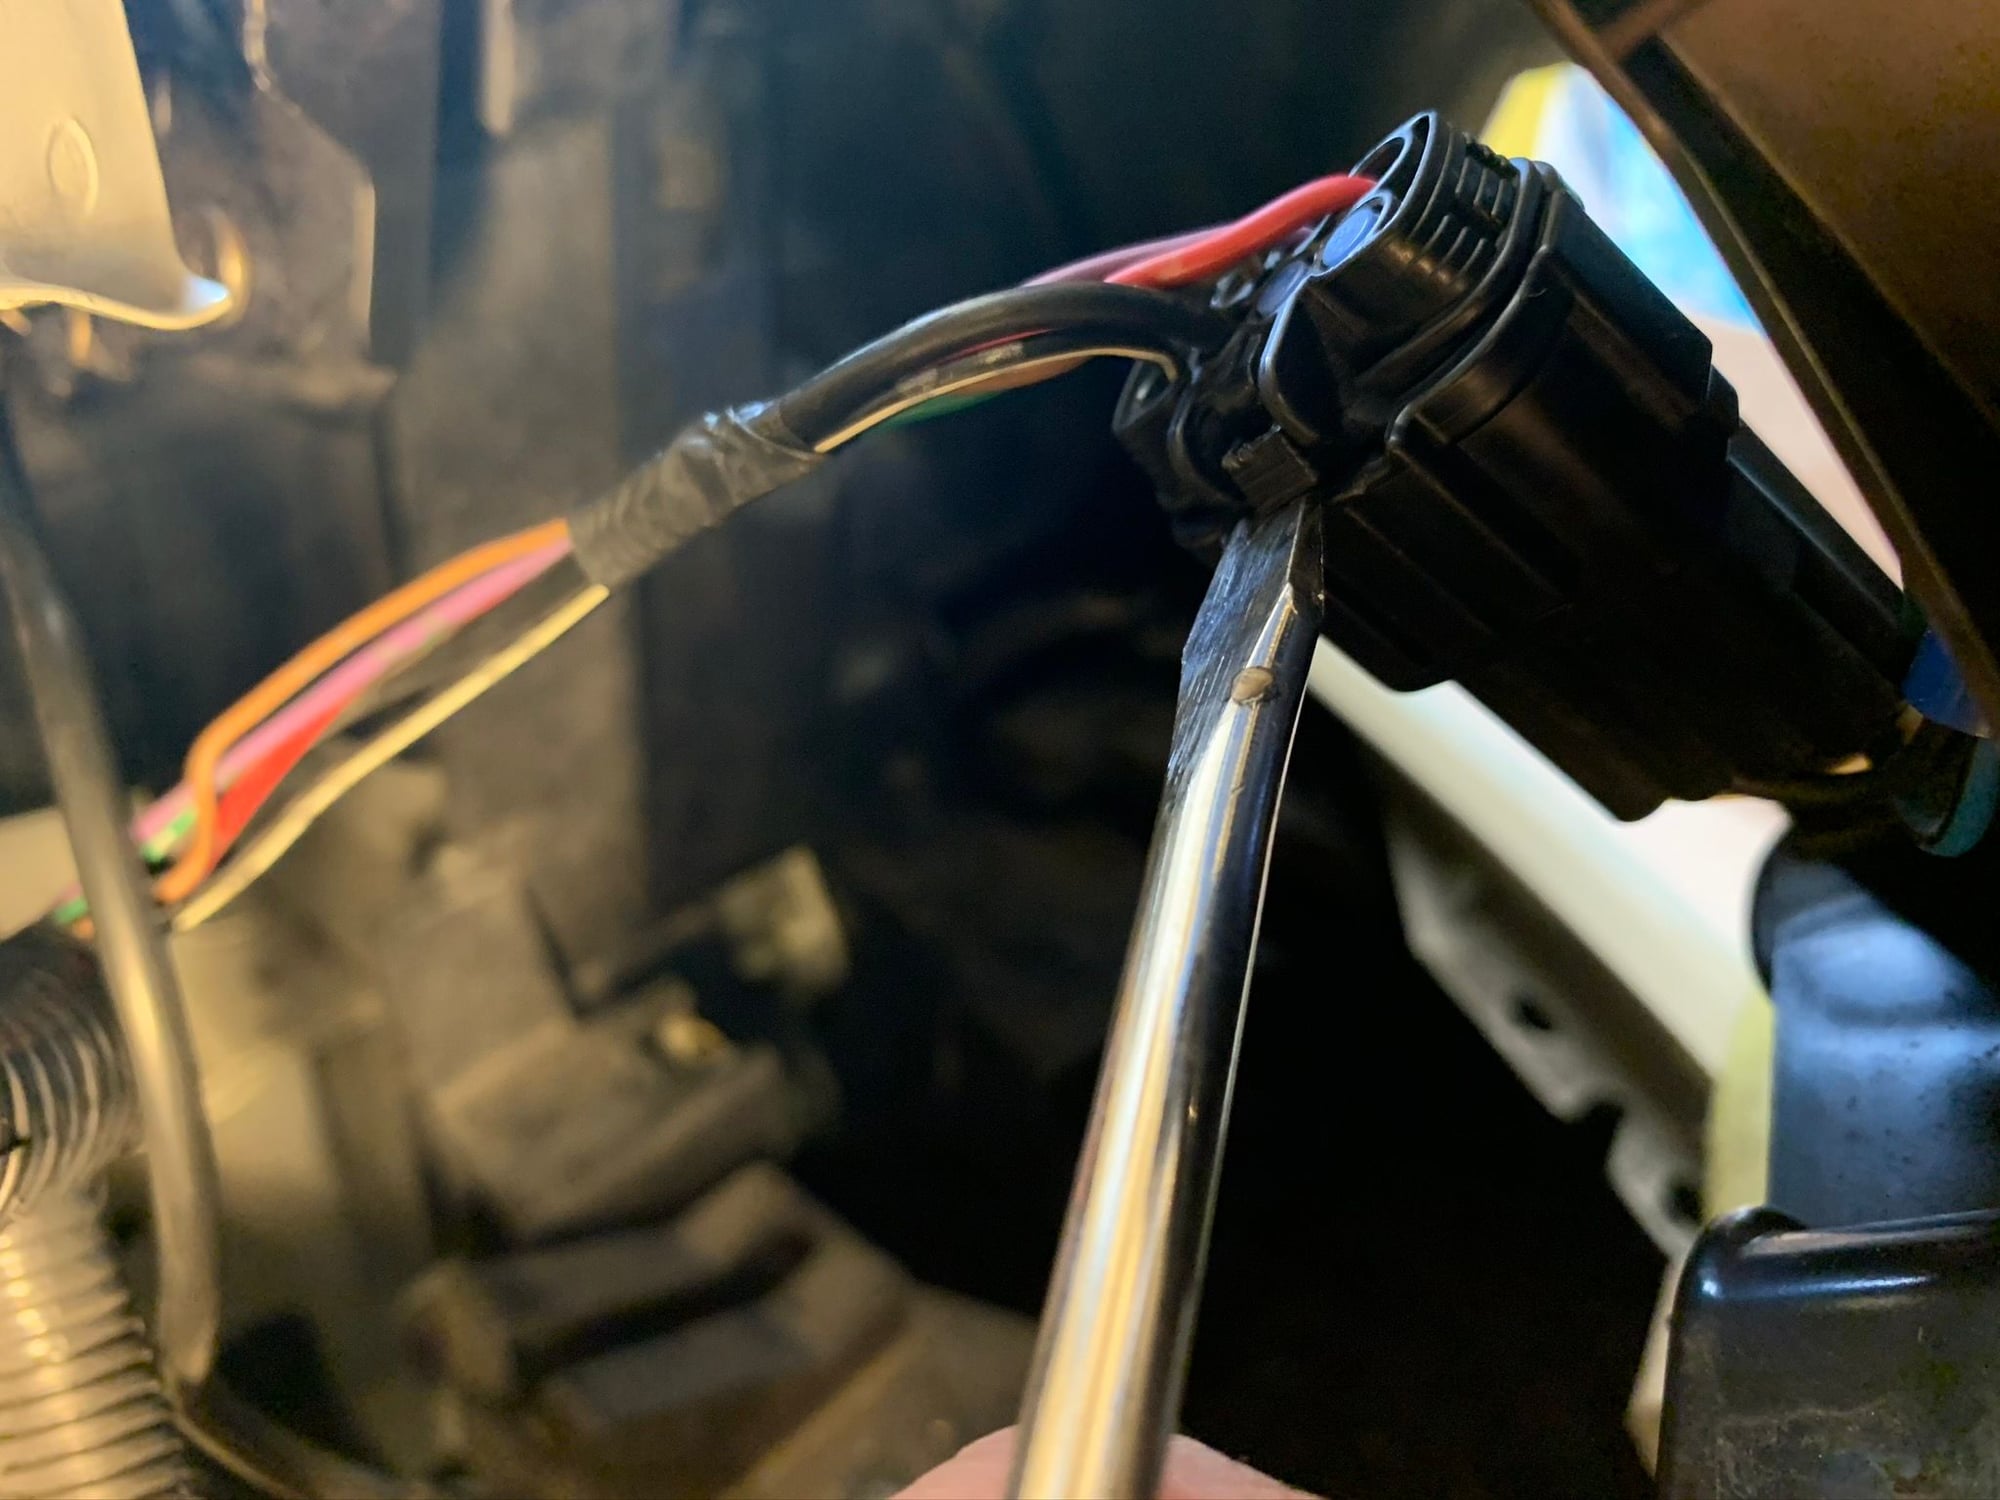
DIY: Quick headlight removal w/ pics
#46
Need some help with troubleshooting
Hi guys,
I followed these instructions from G35NYC and posted this problem on their site.
I thought I'd post it here as well to gather some feedback.
In my case, the replaced light isn't working either, so I need some guidance from you wise folks on troubleshooting.
- On the passenger side, my fog light and HID is not turning on. Only the parking light is working. I purchased a set of HID bulbs as well as an HID fog light kit thinking I mind as well install better fog lights since I'm disassembling everything.
- After replacing the HID, I tested the light and its not turning on so due to time constraints I put everything back together.
- when I removed the headlight assembly, i did notice 3-4 drops of clear water dripping from the corner of the clear plastic enclosure around the HID. Literally a few drops and when I replace the bulb, i didn't see any other signs of moisture. Not sure if its worth mentioning but I'm doing it anyway.
For the troubleshooting, these are my thoughts:
1) Test/Replace fuse (if so, which one?)
2) Find the time to disassemble and remove the driver side headlight assembly, and plug the passenger side assembly (the one that's not working) into the driver side plug.
3) If step (2) above works, then I need a new assembly? arghh.....
Does this sound like a reasonable approach, or is there something else I should do?
#48
Registered User
it sounds like the ballast to me. had to replace mine today due to moisture in my passenger housing. works great now! PS: THANKS 180 for this quick & easy procedure, saved me a ton of time! 

#51
Registered User
iTrader: (1)
Hey guys,
Quick question. I noticed in the original post that the actual projector was removed at one point. But I'm having the damndest time trying to figure out how he did that. Purpose being: I want to replace the projector thats in there with another set.
Any insight on what needs to be removed to achieve this?
#54
Registered Member
Thx 180 for this awesome post! Helped me so much. I broke a few of the plastic clips that hold the top of the bumper on. Some right by grille and some by outside of headlight. I figured out if you put one hand BEHIND the fascia and push, trying to keep the fascia at a neutral angle, it has less of a chance of breaking the plastic holding it on the car. Once plastic gets 10 years old it tolerates less bending. 

#56
Registered Member
My Sedan 2011 Premium, has 2 bolts on each sides. Do not brake your bumper after removing the first bolt and trying to pull the side of the bumper. Check if you have second bolt further to the front of the bumper.
If you do, make sure remove underneath bolt, holding the splashguard, so you can bent more splash-guard, to access the second bolt
If you do, make sure remove underneath bolt, holding the splashguard, so you can bent more splash-guard, to access the second bolt
Thread
Thread Starter
Forum
Replies
Last Post
blnewt
D.I.Y. Installations/Modifications
37
10-17-2020 11:12 AM
Upscale Speed
Private Classifieds
18
10-09-2015 01:42 PM


