When you click on links to various merchants on this site and make a purchase, this can result in this site earning a commission. Affiliate programs and affiliations include, but are not limited to, the eBay Partner Network.
One of the drive ways at work has a bad lip/angle on it that I tagged a few times over the years even though I take it reeeeaaaaaaaaaly slow. The hole from the zerk fitting was due to a road behind work had was under construction and I did not realize how big the dips were in the "repaired" asphalt and I bottomed out. I was amazed that the zerk fitting was undamaged and went right through the aluminum. (I think I got lucky on that one.)
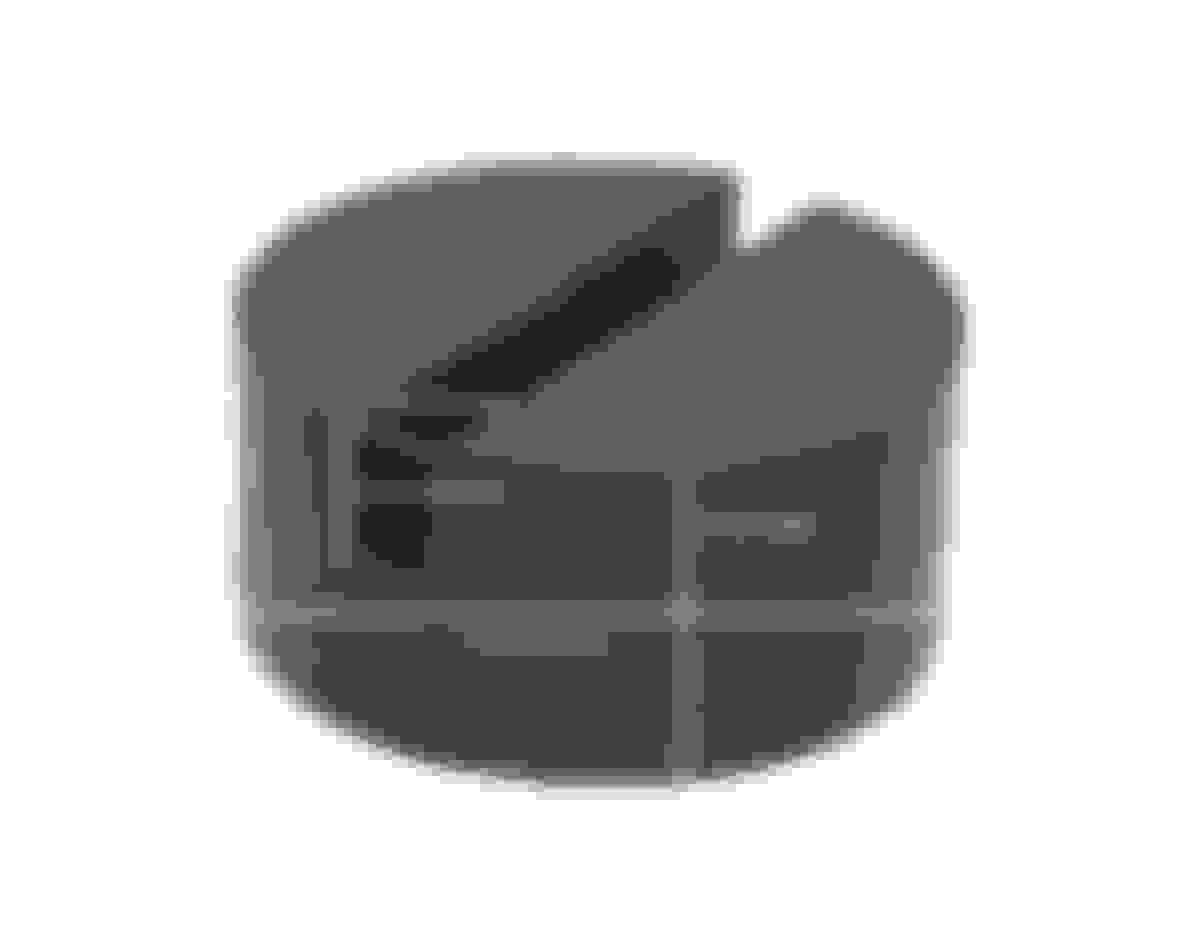
I also noticed something in the picture you posted earlier on my other thread. If you get one for your car, it installs a little cleaner if you put the plastic surrounds over the circled sections instead of under like in this picture from when I first installed the original.
I am also glad this now comes with new hardware. I don't think the original one did and that stuff takes a bit of a beating from the salt in the winter and also being uninstalled and re-installed so many times for mods. That should slow down a bit now
I will probably also try to sand, repaint, and respray rust proofing under my car (especially paint the jack points) while I have it up on a lift installing the ZSpeed under tray. Does anyone else do this in the snow belt to inhibit rust? I was using factory touch up paint, but it does not seem to hold up well and takes forever to apply. I think I might just try some white spray paint as it is not an area most people see and I think it would hold up better. Thoughts?
Not my car
The factory jack points seem to really take a beating and bend as they were designed to work with the factory jack that wraps around the seams of the unibody instead of a normal flat jack plate or lift. Has anyone tried a pinchweld jack adapter for your jack?
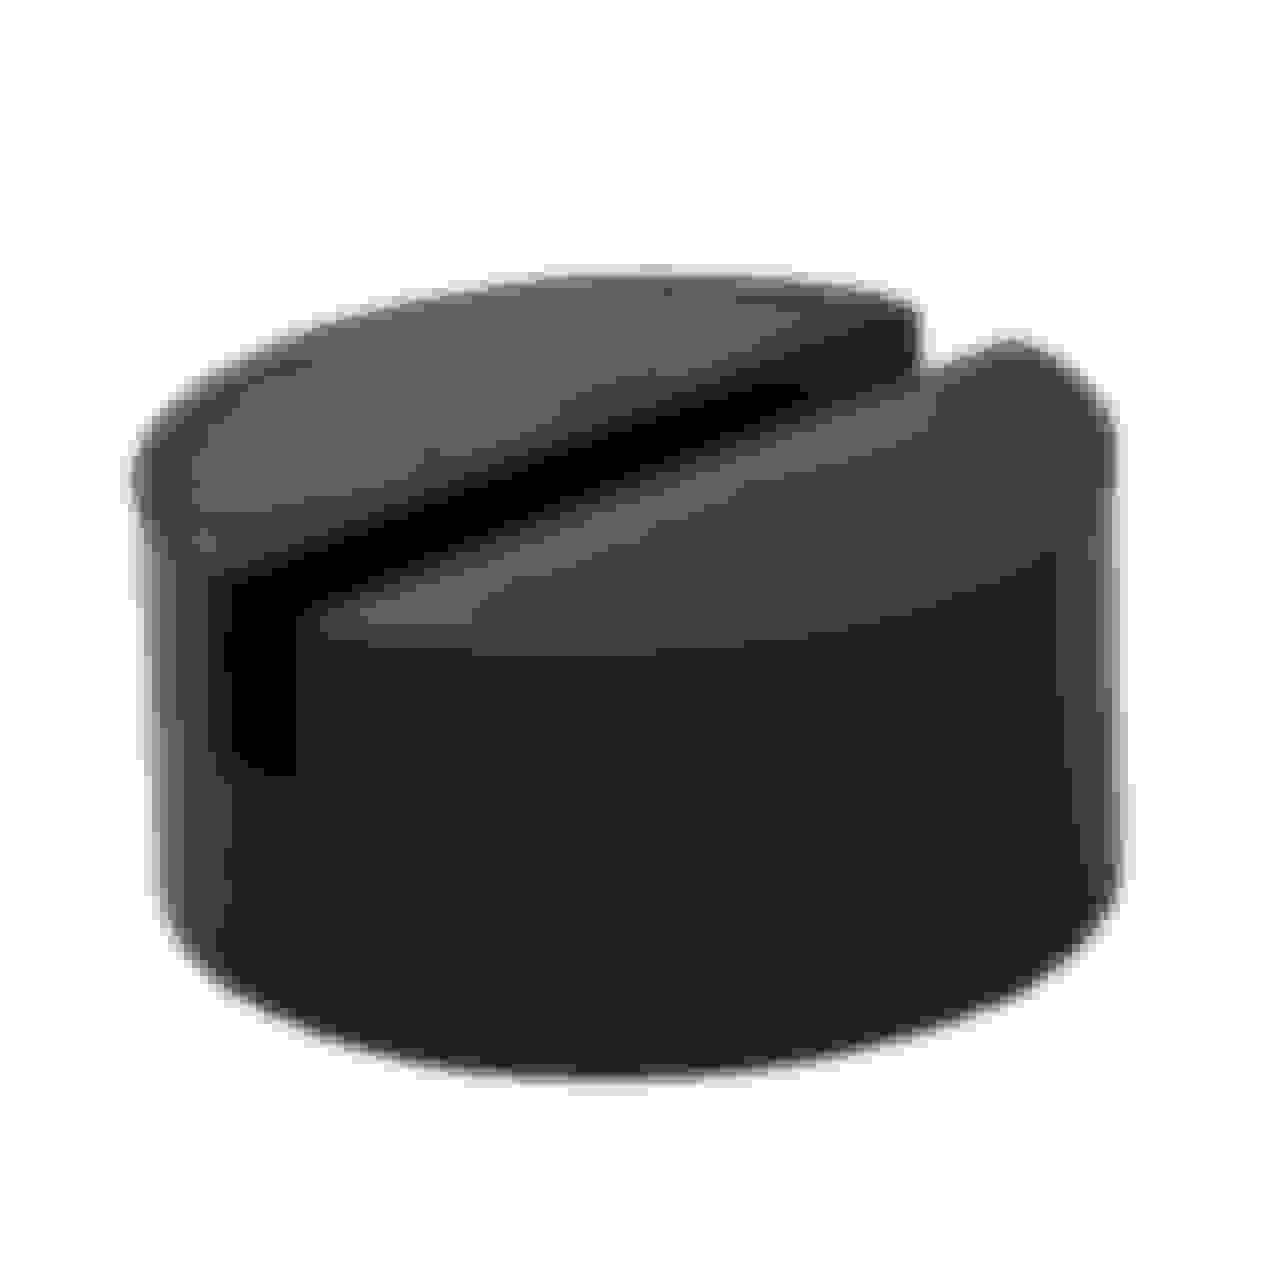
Pinchweld Jack adapter
Looks like they also make a rubber jack pad adapter
1/4" groove should be fine. Hockey pucks are like $2. Buy a couple of them and play around with it.
I've got a few spots where the pinch is gouged or even slightly bent. After all these years, I don't know if it was ever me, or shop lifts. So sometime back I read about the hockey puck trick, and have been using it ever since.
On Amazon these rubber pad adapters are cheaper than hockey pucks so I'll probably just pick one up and save the labor, but thanks for the idea.
Originally Posted by Lego_Maniac
I stuff old rags in the V notch of my jack stands. Seems to protect the pinch welds pretty good.
I ordered a jack pad adapter to protect the unibody off of Amazon for about $5 and it should be here later today. I already picked up some sandpaper, an angled sanding block, and some glossy white spray paint to repair the unibody seams and any other areas that need a little tlc after last winter.
Well look what just arrived. Here is how it looks all wrapped up. And it does come with all new hardware too. Wow, I did not realize how beat up mine had become until I saw how clean this one is. I might get a chance to install it this weekend.
Well look what just arrived. Here is how it looks all wrapped up. And it does come with all new hardware too. Wow, I did not realize how beat up mine had become until I saw how clean this one is. I might get a chance to install it this weekend.
I bet peeling off the cover on it must have been so satisfying.
Today I reshaped all the bent up jack points and pinch welds on the driver's side, sanded them down, and repainted them. Wow, were they beat up!
I also installed my new ZSpeed under tray with new hardware. The last one survived lots of impacts over the last 3 years.
One of the jack points in all of its rusty goodness. It's hard to tell from this angle, but they were really bent up too. Fortunately, they are pretty easy to bend back with a vise grip.
After I straightened out the jack points I sanded them down with 120 grit sandpaper and an 80 grit angled sandpaper block.
I picked up some glossy spray paint that included primer from Home Depot. I put on a few coats and now it looks like a new car again.
ZSpeed now includes rivets that install into the aluminum radiator support so that you can use an actual bolt instead of the plastic pop rivets. This makes for a lot more support.
Here is the included hardware and on the bottom is the "tool" you use to install the rivets.
Here is the new ZSpeed under tray. I should have taken a picture of the old one when I threw it away at Road America as it was pretty beat up.
Thanks! It was not difficult, just time consuming waiting to put on the next coat and trying to find a jack point to use while painting around it. That spray paint with the primer in it is awesome. It turned out really nice. Now I just hope it holds up over time. I plan to do the passenger side on my day off this week- Wednesday.
 06-03-2018, 09:44 AM