When you click on links to various merchants on this site and make a purchase, this can result in this site earning a commission. Affiliate programs and affiliations include, but are not limited to, the eBay Partner Network.
Today I decided to restore the hazy headlamps. Previously I was using a meguier's kit but that was not a long term solution and the lamps became yellow again soon after I use it anyways.
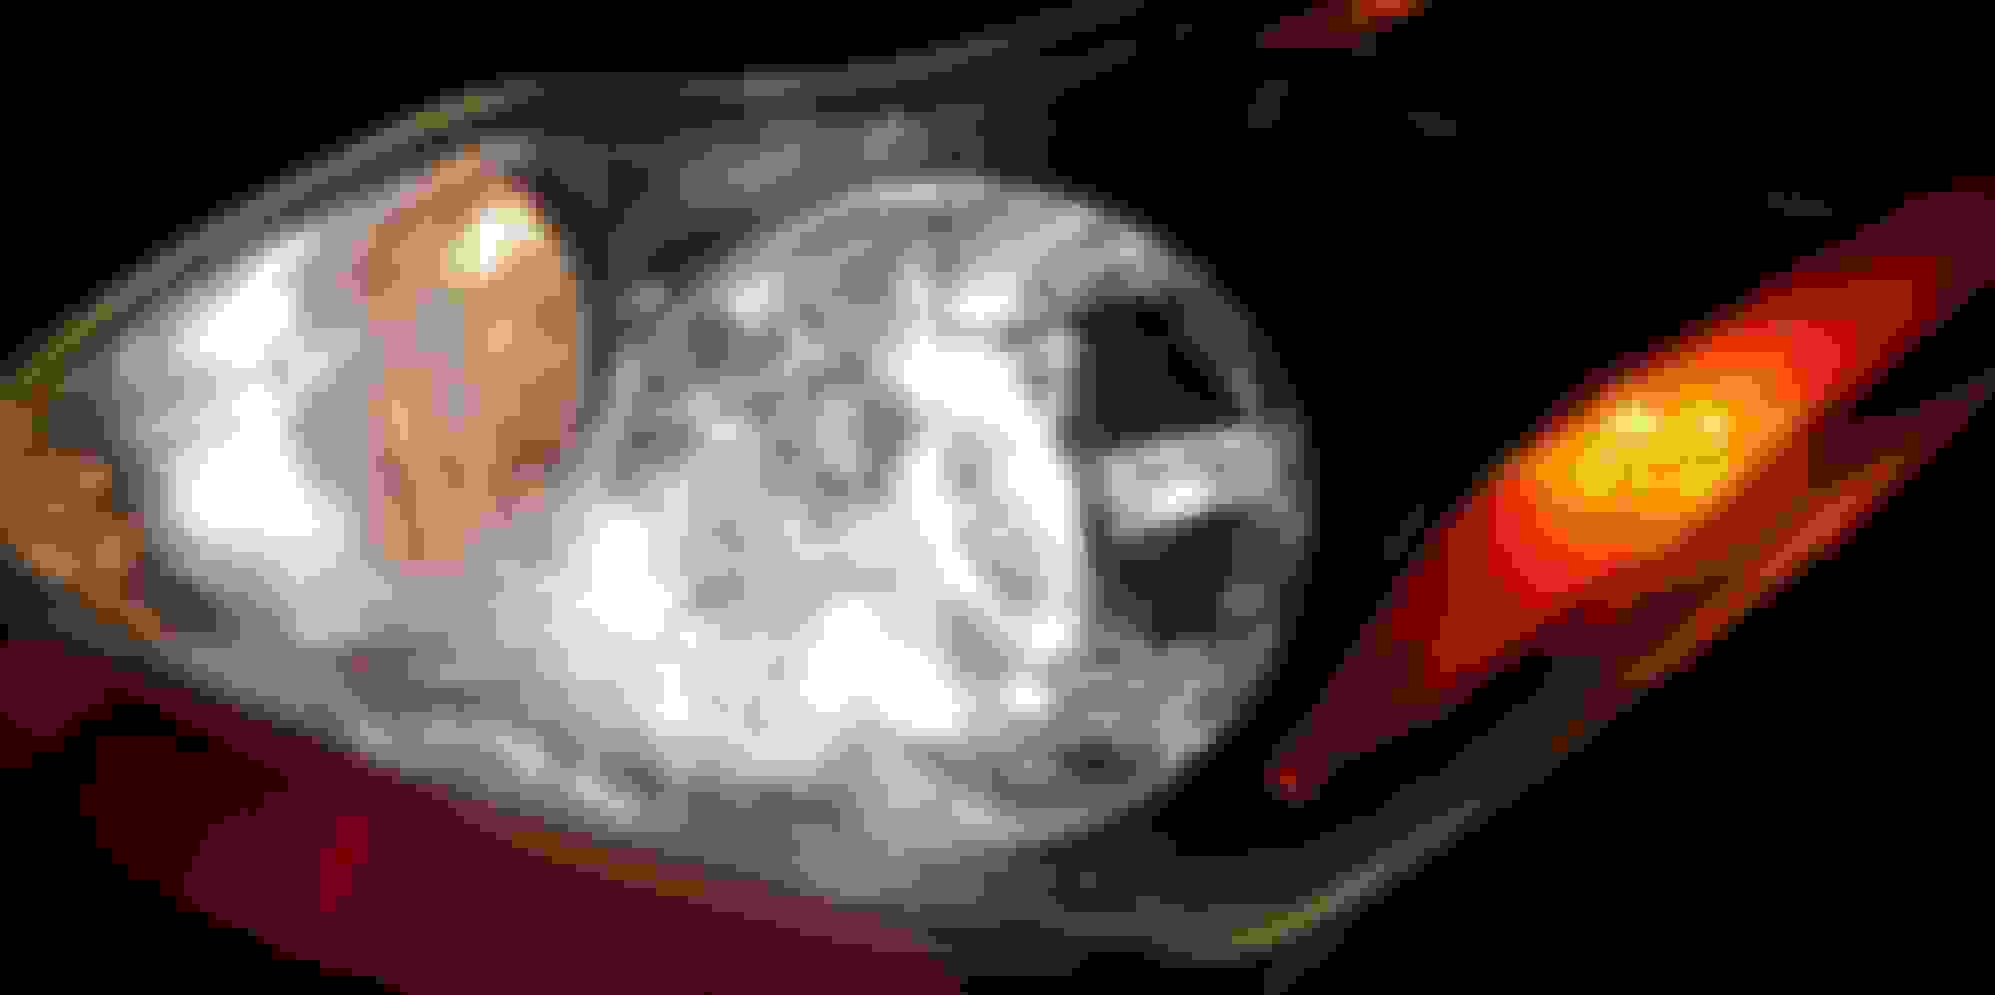
This time I used a 3m kit. Wet sanded up to 3000 then polished and at first the results were great as you can see in the photos. (that white gunk came from the lamp while wet sanding with 500 grit, at first it was yellow, too much build up)
I decided to clean it with ipa and microfiber cloth and used opti-coat 2.0 as protectant. It was looking very nice when I left it.
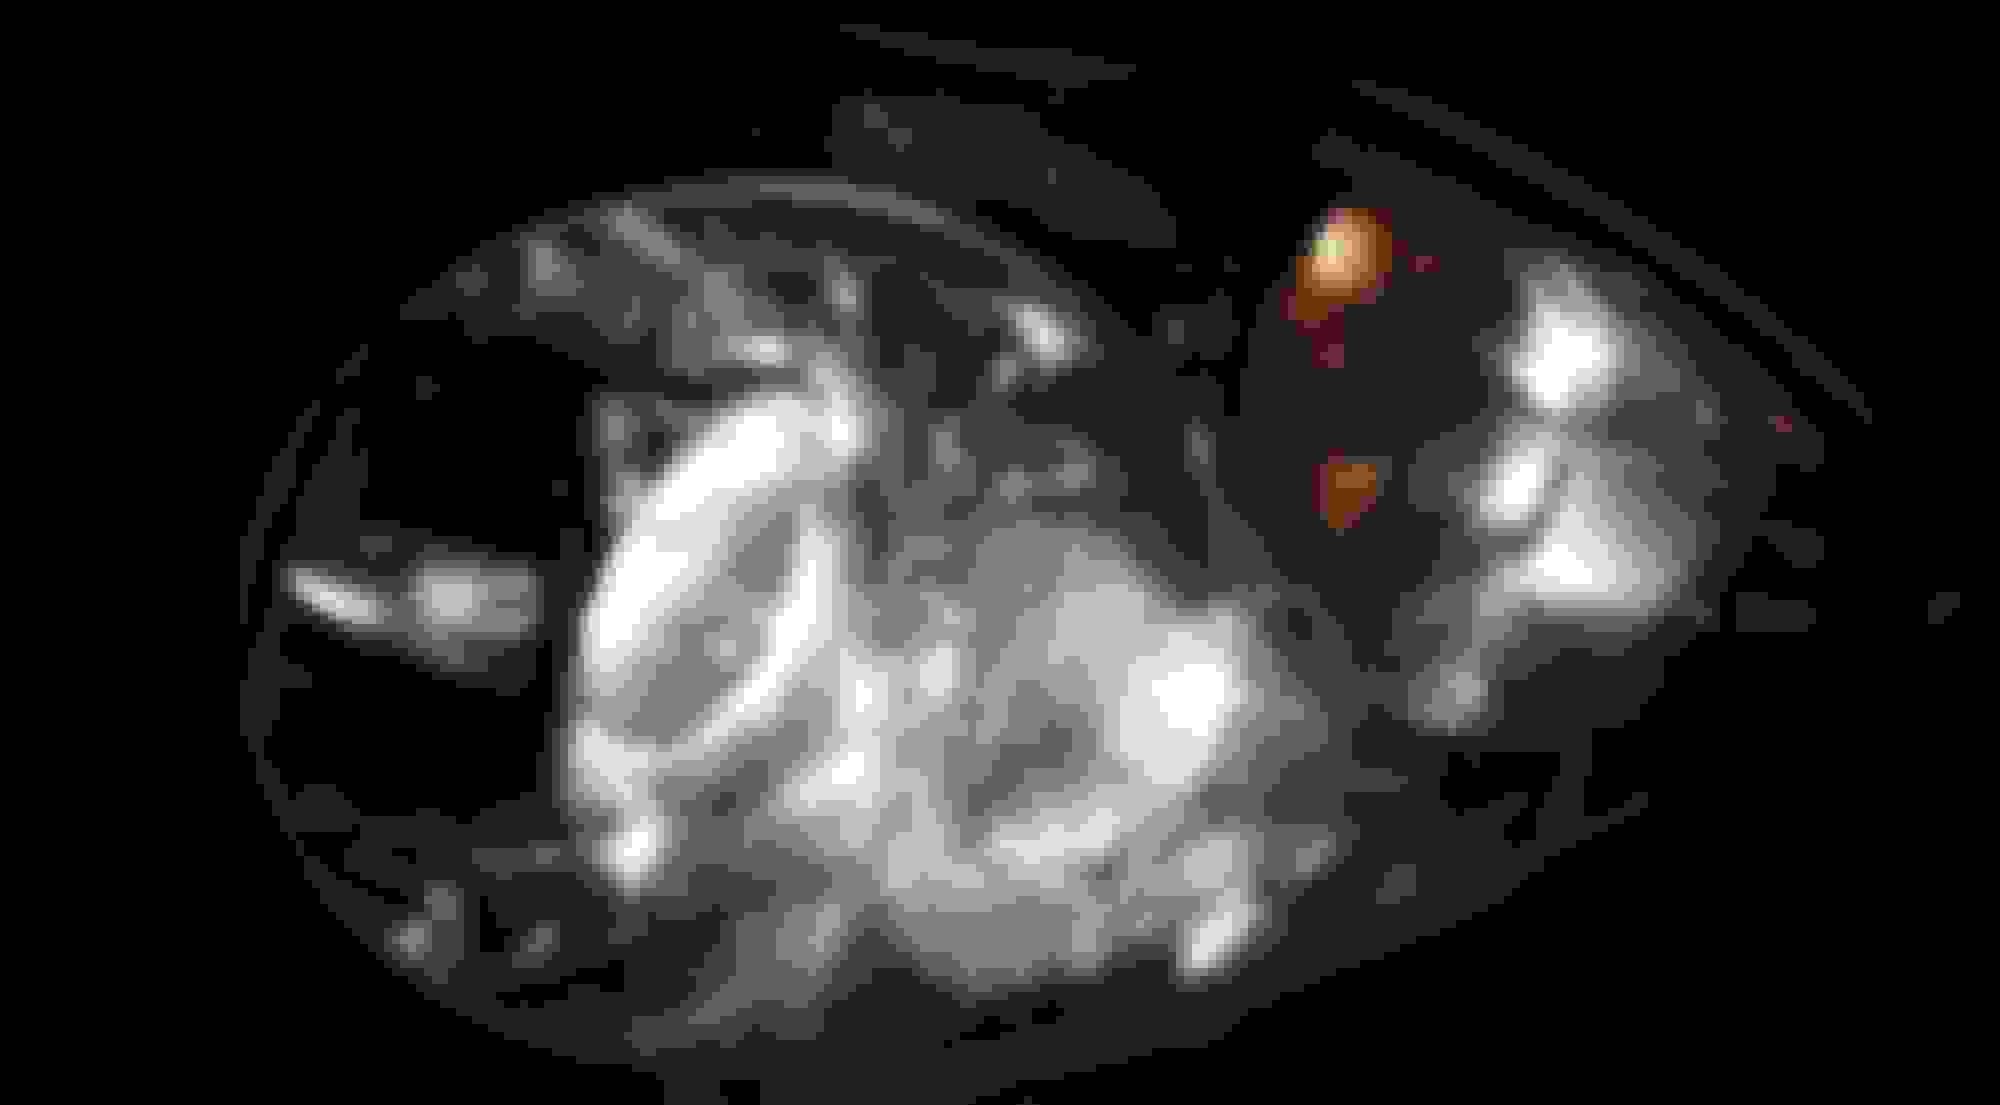
At night when I turned the lights on I realized that it looked as it there were hairline cracks everywhere inside the housing. The light goes through quite well but the headlamp does not look good.
Anybody having a similar issue or solution to this?
Do you think I can take this off by a wool pad and m105 by hand ?
tried it didn't work, I will try resanding a small patch to see if Ican get rid of it. It actually looks great in daylight, at night it does not odstruct the light coming out , you just see the hairline lines when looking at a close distance.
I did the same thing to my headlights... its form the protectant coating not being applied properly...I had a paint correction done sometime after and the guy couldn't get it off even with cutting and polishing, said they need to be replaced...I've learned to live with it...I haven't tried an aggressive recut myself so maybe the detailer was just being lazy, but please post a solution if you do sort it out...
I did the same thing to my headlights... its form the protectant coating not being applied properly...I had a paint correction done sometime after and the guy couldn't get it off even with cutting and polishing, said they need to be replaced...I've learned to live with it...I haven't tried an aggressive recut myself so maybe the detailer was just being lazy, but please post a solution if you do sort it out...
I re-sanded the mid section of the left headlamp by hand to see if I can get rid of the craze. Well I think I did (it is not polished properly btw since I didn't want to put in the effort without knowing that it will work)you can compare it with the picture in the first post or just look at the area close to the edges to see the difference. It seems the previous protective coat is damaged so bad that it requires a good bit of sanding before it comes clear. I guess I will be re sanding and finishing the whole headlamps again(although I am satisfied with the current condition).
I�ve done this on a few cars, sometimes you have to sand off more but the damage has been done to the plastic from the UV rays and the cracks your seeing is the top layer starting to deteriorate . The best bet since you have the pretty clear is to scuff it with 1500-2000 and have them cleared or alternatively get them wrapped in clear film.
no amount of scuffing, polishing, sanding will get rid of those tiny cracks. those cracks are the result of too much pressure and heat from using the polishing pad on the clear plastic lense of the headlamp and the cracks developed as a result. the cracks and splintering are actual on the inside surface not outside surface.
 08-02-2018, 03:38 AM