When you click on links to various merchants on this site and make a purchase, this can result in this site earning a commission. Affiliate programs and affiliations include, but are not limited to, the eBay Partner Network.
OK guys, I finally got all the parts and installed it
a few notes before
I've never worked with any radios before on a car. The only experience I've had before this was taking out the trim to wrap it and thats it...
Installation took me about 3 hours. I had a few challenges which I will mention but at the end I got everything working perfect!
It's not as complicated as it looks honestly. It's pretty much plug and play you just gotta be careful
This was for a 2011 G37 Coupe No nav Yes Camera and BOSE system. If you have anything different, the harness will be different so look out for that. but the basics are the same.
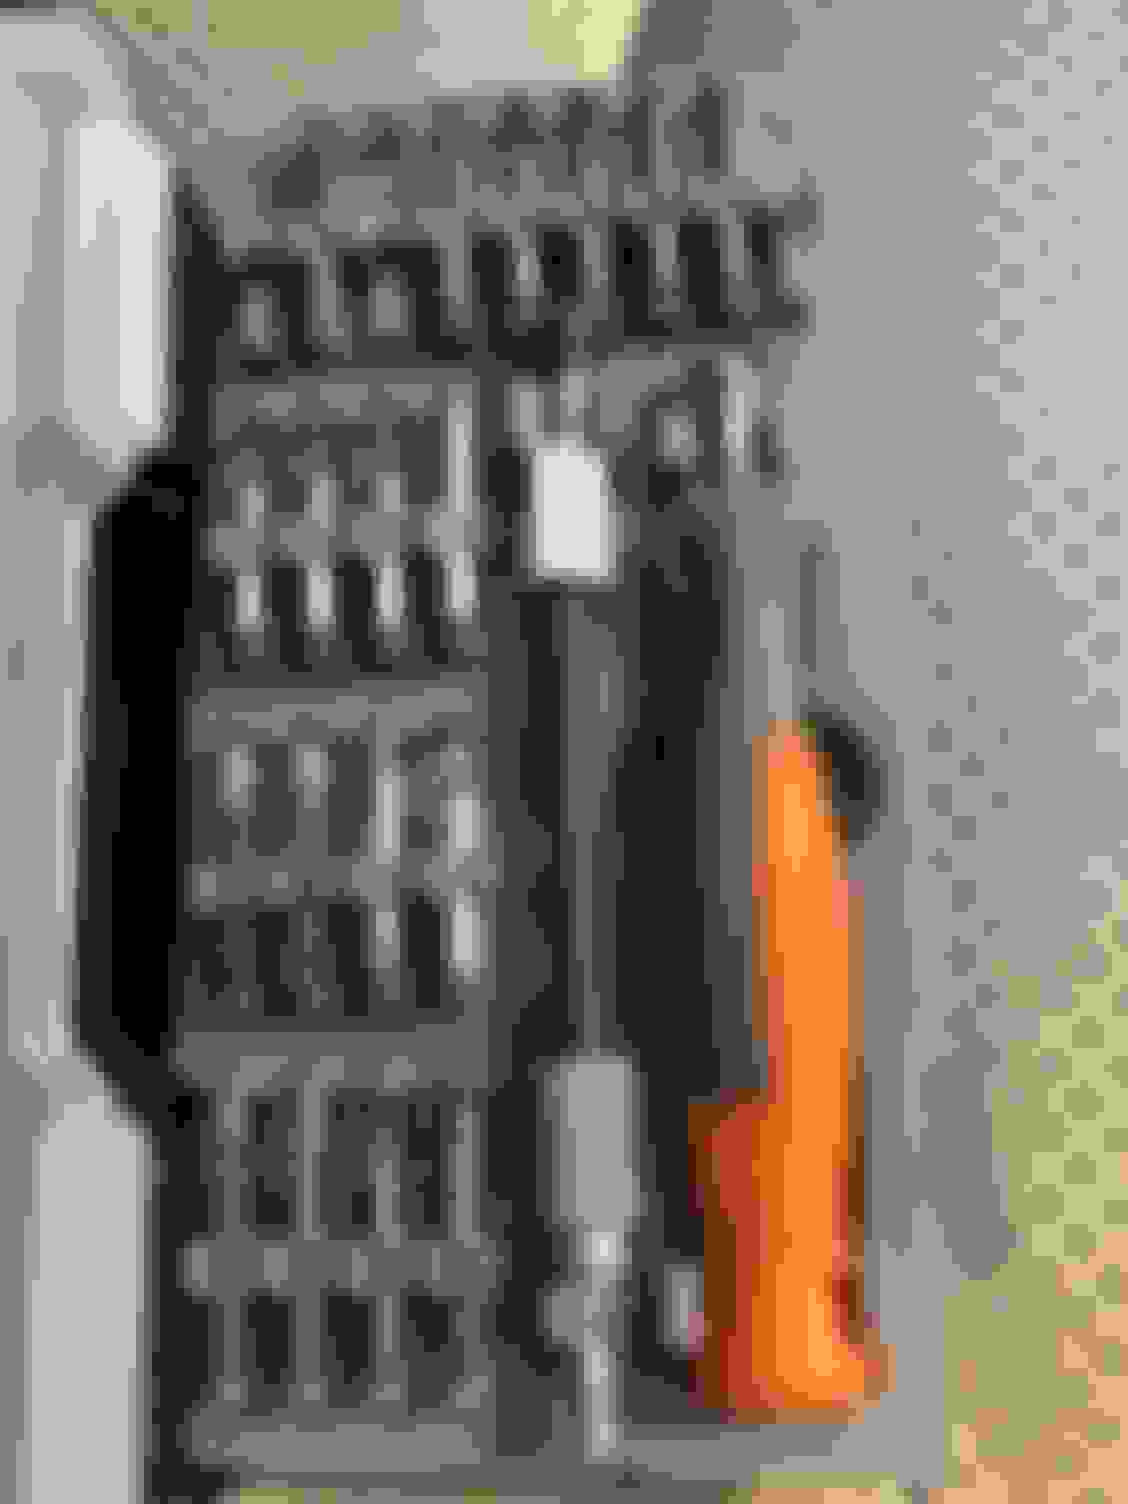
You will need basics tools.... Make sure you have plastic prying tools to not mess up the sides. You will need a phillips and flathead also. DON'T USE A DRILL. and make sure you hold on to all the screws so they don't fall in the pit cause you won't be able to get it back. You will also need star keys! I'm not sure what size but I'm gonna post the little set I have it cost like $10. Don't start the install until you have all the tools I mentioned.
Okay so here we go.
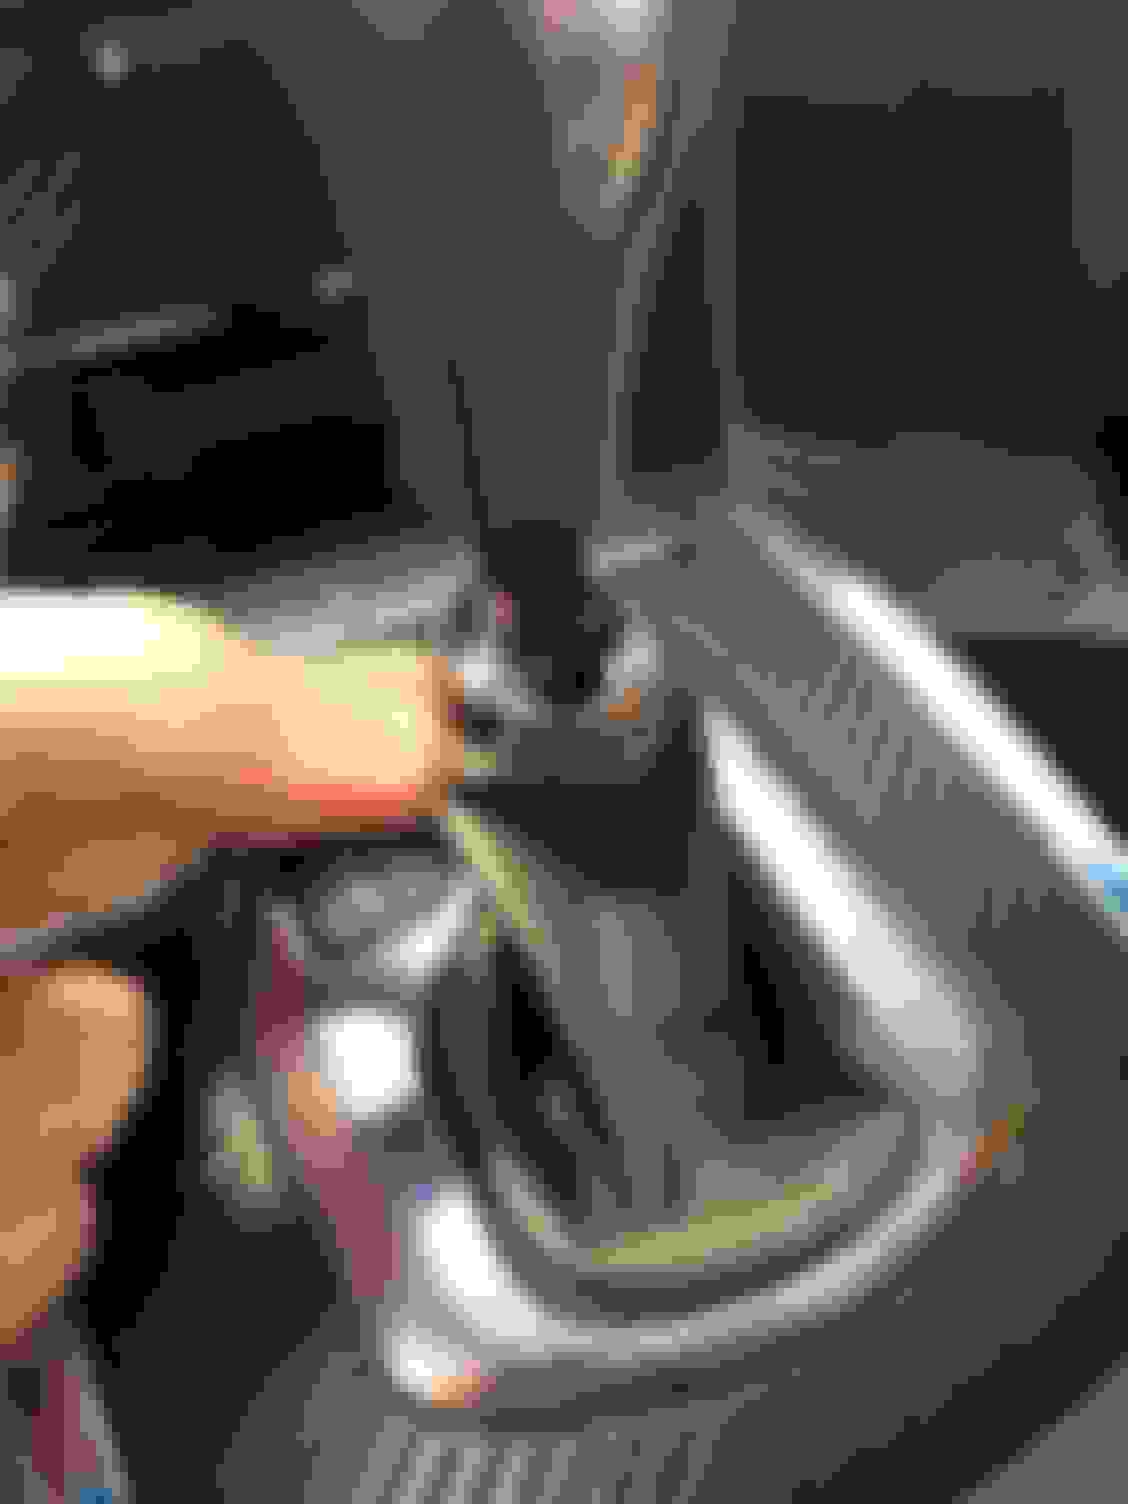
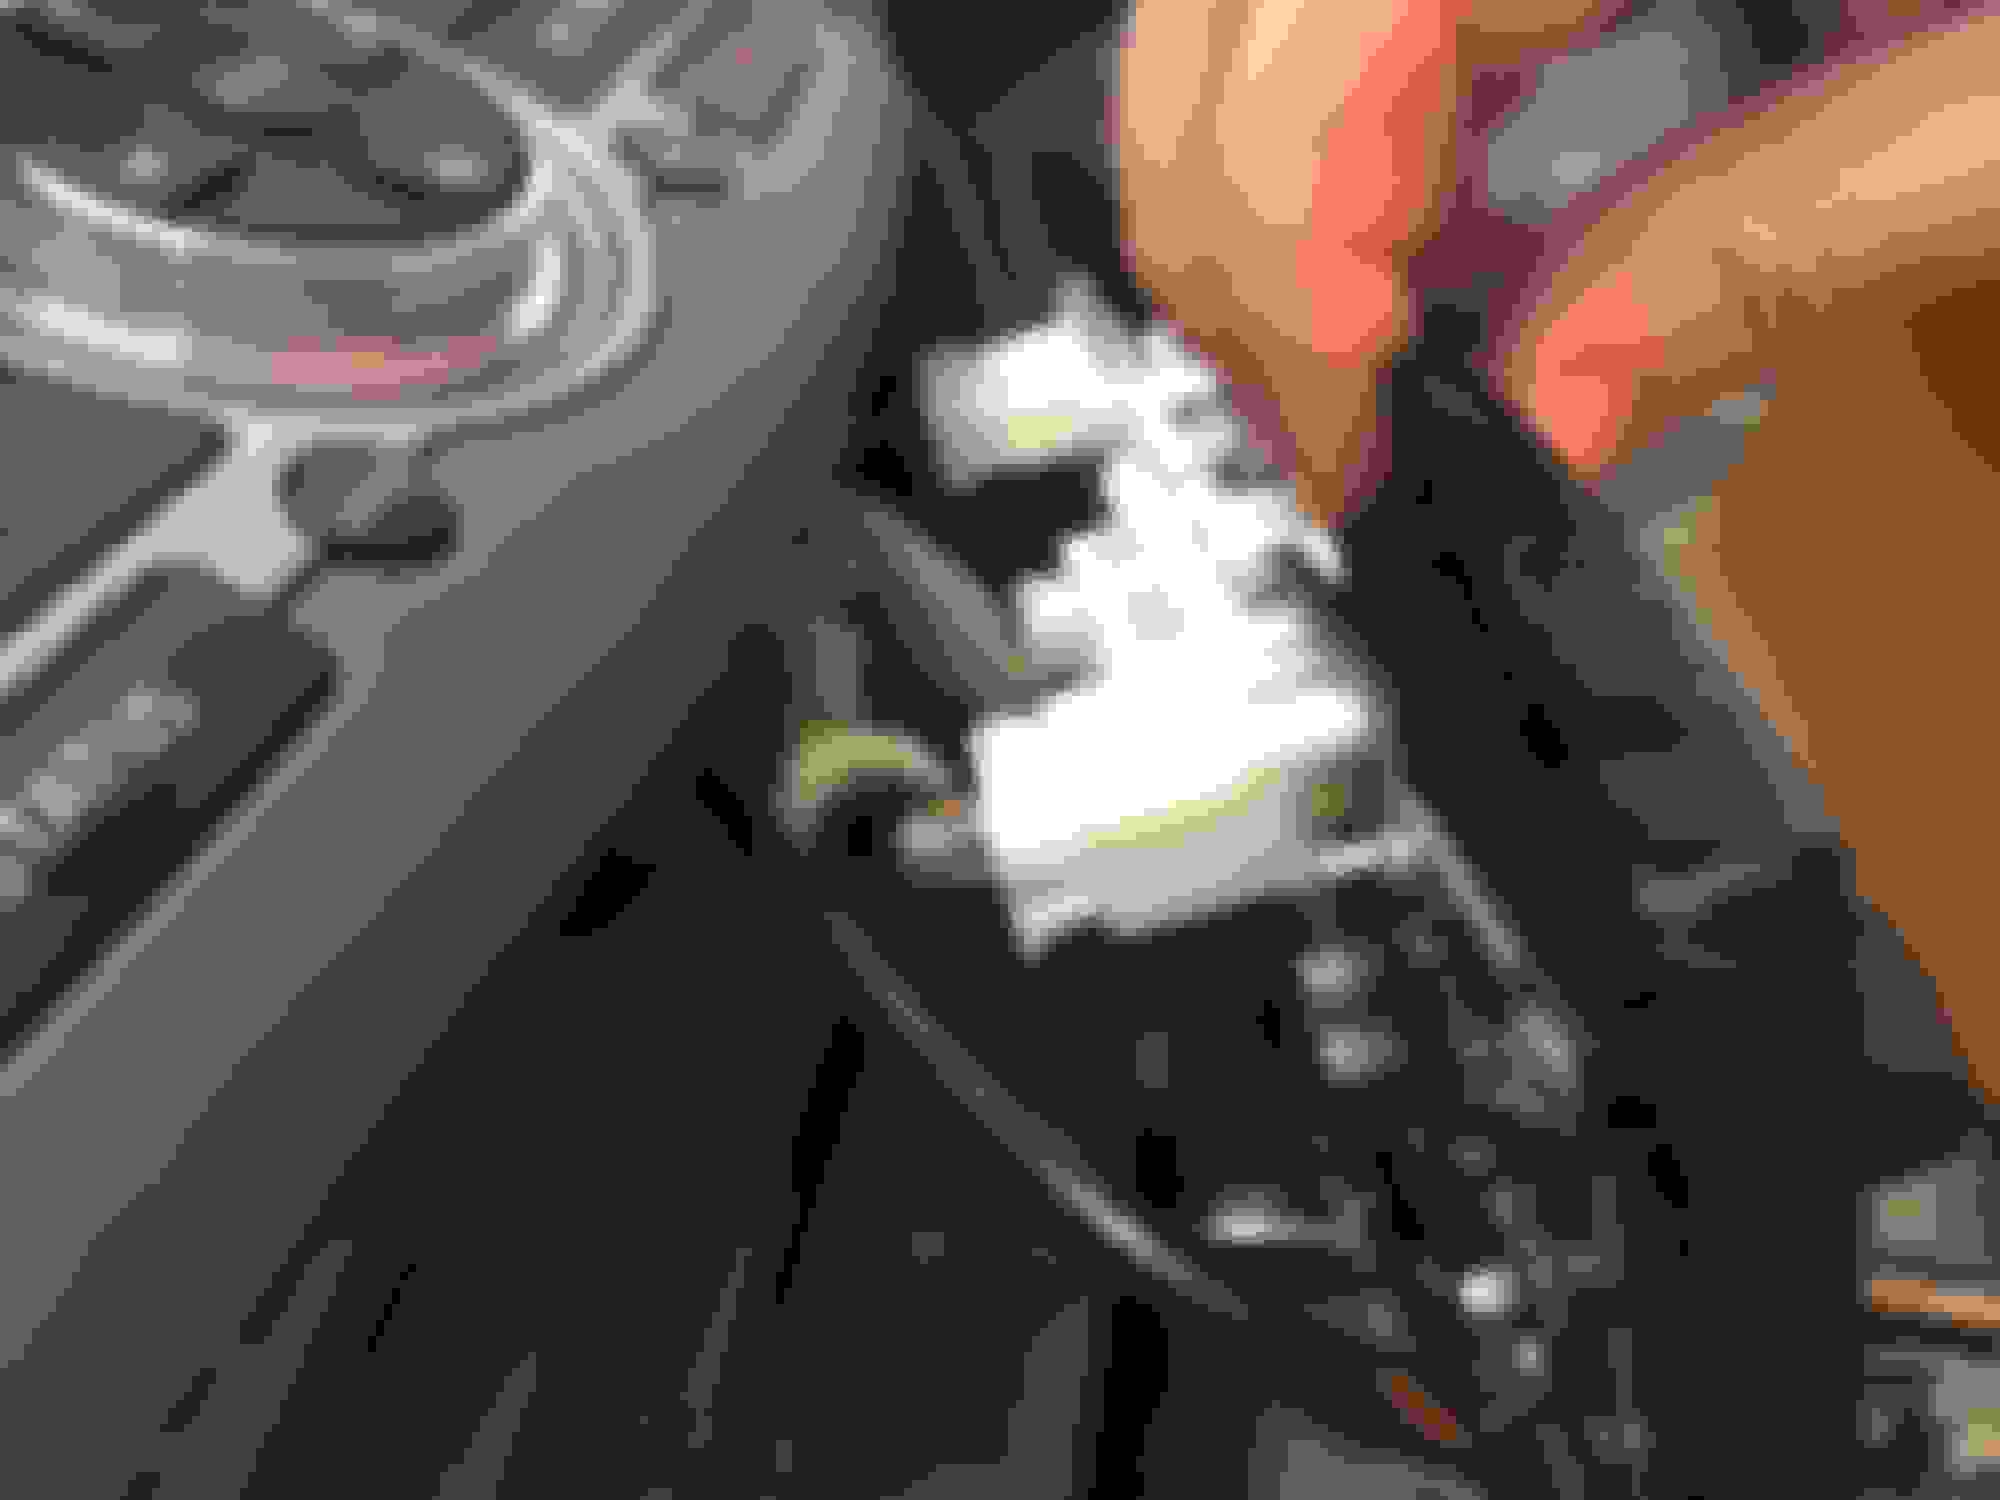
I'm gonna post a pic first and then description after. this is the set I have for all the screws DISCONNECT YOUR BATTERY BEFORE ANYTHING. MAKE SURE YOU ARE IN A WELL LIT ENVIRONMENT Pop open the plastic cap under the AC controls and take out the two screws you see on each side Push leather cap down, remove the pin, and slide out the **** (Theres videos on youtube to help you with this if you don't know how to do it) Pop open the shifter panel (Technically you don't have to remove this, but I did it so I have more space to work on the dash I highly recommend doing this) Disconnect the two plugs (white and brown) you'll need a flathead to push the pin in the middle, 99% of plugs further on will be this way) pop your center console off (should come out pretty easy) DON'T yank it out, theres a bunch of things you gotta disconnect on the backside. disconnect all the plugs. all of them should come out pretty easy except for the one with the black wire. this is the other end of the black wire, you gotta unscrew where my screwdriver is pointing to get it out. PS that whole black wire will be coming out after the install. theres two more plugs under shifter panel DONT UNPLUG THESE slide your shifter panel to the side (you won't be touching this until its time to put everything back together once the center console is out, you will need to tae out the two black screws on both sides right under the screen panel. also take out that black wire in the middle. You won't need it for the rest of the instal. Dont throw it out though its always good to hold on to stock parts pop open the screen panel and vents. take out the screen and unplug the back. This plug will stay unplugged so dont worry about it under the disc drive BEHIND the plastic frame, there are two more silver screws you gotta take out to take out the disc drive. This was pretty challenging for me, I tried taking out the black frame but it was too complicated, I managed to get a longer screwdriver and take out the screws through the holes of the black frame. YOU WILL NEED THIS WHITE BOX this is the back of the disc drive, unplug everything and be gentle. to take out the white box on top of the disc drive youll need a star tipped screwdriver. the black screws will be enough to take out the white box but youre gonna need to take out the 4 silver ones too on each side because you will need the metal frame to put back in the car to hold the white box and the rest of the system. all screws are the same size plug the white box back in with the OG plugs. cant really mix these up they're different sizes . put the metal brackets back on so it can hold the white box. I didn't do this until the end cause I didn't know I had to. Ok so this looks complicated but it's easy just be patient with everything. this is one side of the harness. on the harness all female ports should be connected. and the smallest make one will also be plugged in where you see the black wire I have a close up on that on the next pic. EXCLUDING the small male plug, you should have 7 total things plugged in at this point. 5 of these 7 are white plugs, one is gray, and the other black (blck is not part of the harness that was shipped separately) This is the small male plug I was talking about. this is where that black wire went when we originally removed it this is the grey plug (5 white 1 gray 1 black) this is the back plug (5 white 1 grey 1 black) this part comes with the android system. its the USB system of the car. you plug one end there and the other end is a female usb port. with the android set you also get another wire which has 3 ends, one is a male port which will get attached to the wire in the pic above, the other is a brown port which will attach to the new system, one is another female which is an extra port for yourself, most ppl wire that to the glove compartment
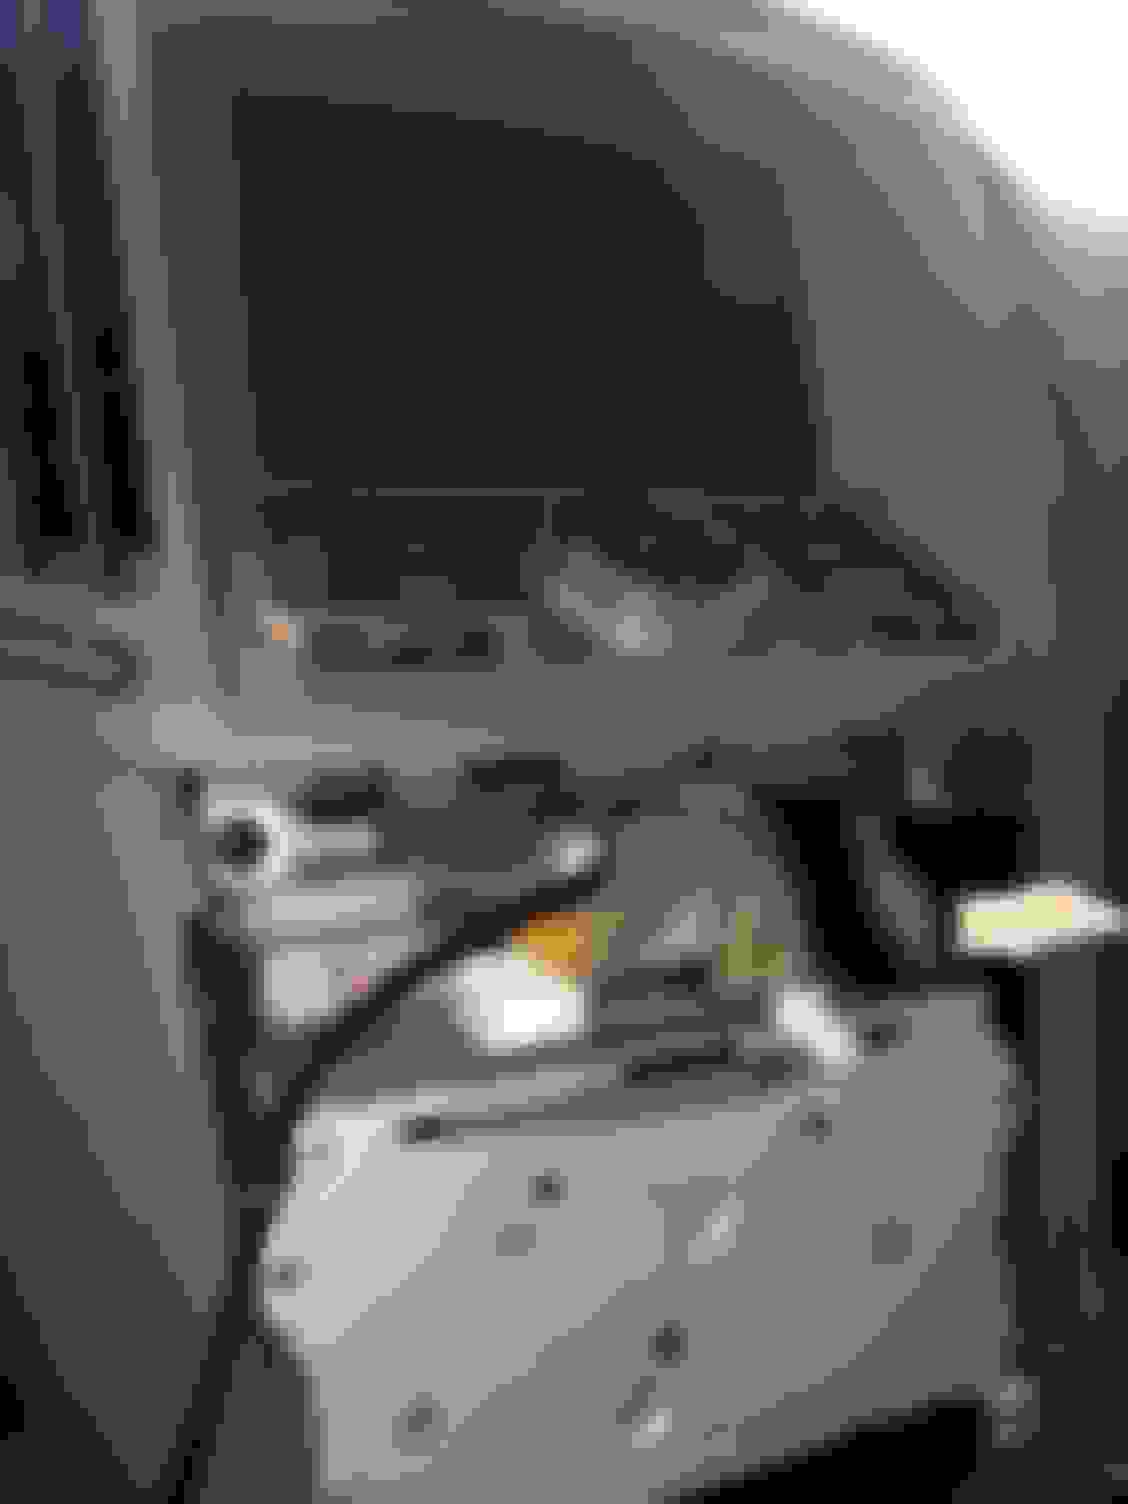
REFER TO LAST PIC ON PART 1 FOR THIS DESCRIPTION these are all the wires that came with the system. The black port at the very end on the left gets attached to the black plug on the harness. on the right side you have the radio antenna and blue GPS antenna, the other end of the gps wire is a router whihc you have to stick anywhere in the inside of the hole in the center console. the green one you won't need, the yellow one you also won't need if you have BOSE. the black one wiht a bunch of wires is the connection for the camera, and mic. The brown one is the USB connection I was talking about, the one right under the brown one is the aux connection. the hole on the bottom right is were the radio plug on the harness will go. THERE IS A BLACK PORT RIGHT BEHIND THE SCREEN AS WELL WHICH YOU WILL SEE LATER IN THE THREAD, thats the AC connection at this point the harness is attached to the car. the yellow plug on the left is for the BOSE system. If there are wires from the car that are unplugged, you don't need them. there will be 2 or 3 of those. remember, there is 7 total plugs attached to the car EXCLUDING THE SMALL MALE PLUG WHERE THE OG BLACK WIRE WENT unclip the AC vents from the stock display panel Clip them on the new console, should be a perfect fit. At this point, you need to attach console with harness and all plugs and push all the wires back and fit the console to the car. putting everything back together should be easy. okay so here are all the connections you must make sure are connected, the top female AC port connects to the white male port on the harness. the camera connection is a yellow plug on the black wire, it should be labeled as "stock camera" on the harness there is a male yelow port with the same label, if you chose to do an external mix, its a black female port on the same bunch of wires where the camera port is. make sure aux R and L are connected (red and white femal WITH LABELS on devise, and red and whire MALE WITH LABELS on the harness, make sure the USB (brown end), BOSE (yellow end on harness) Radio (black male on harness), GPS (blue female which you get with the android) and WIFI antenna are all connected. finally connect the brain (Black male long plug on harness and black femal port on android in the corner. and connect the AC line. once all that is connected you are all set, now you need to figure out a way to fit all that **** behind the screen and fit the screen to the car. Dont be too rough you don't wanna break any lines.
Finally, plug your battery back on and it should turn on on its own.
the green and yellow wires I told you that you don't need are just for external audio and video input. for example if you wanna put a nitendo or a dvd player or some ****.
after all this youre gonna have to reset your windows. the wheel buttons won't work, you gotta set it up in the settings and assign a button to each control.
LMK if you guys run into any issues and I'll try to help. Heres a Sh*%ty video Phoenix put out that helped me figure out what plugs where
When you say "end the harness " your saying to call them n cancel the harness so they can send the correct 1. N thanks for all the info your putting together. Big help.
My bad that was a type o. remind them to SEND the harness. When I got my system I emailed them for tracking info on the harness and theyre like "oh we're gonna ship it out today". Like I wonder if I hadn't said anything if they would send it at all. but no they make you take a pic of your car and want all info they will send you the right harness.
I wired it to the BOSE amp but I left the other audio output plugged into the android as well for some reason but then I had no sound. When I unplugged the audio output I had got sound back so that was the issue.
Okay cool. I had read where some people lost sound quality because they didn't wire it to the Bose amp. How does it sound and how is everything functioning so far? Is the interface smooth, glitch free?
Okay cool. I had read where some people lost sound quality because they didn't wire it to the Bose amp. How does it sound and how is everything functioning so far? Is the interface smooth, glitch free?
It's surprisingly smooth. tbh the price is cheap for what you get. I had no issues with sound quality. Bluetooth is on point. connects to my hotspot and everything. the only thing I gotta get now is a carplay dongler and I'm all set..
The only thing not so great about it is the mic. its pretty weak. But I've heard that carplay fixes that. not a bid deal to me though.
okay so i installed my unit following their instructions. from my current state, what exactly do i need to do to have the system running through the stock bose amp???
okay so i installed my unit following their instructions. from my current state, what exactly do i need to do to have the system running through the stock bose amp???
You just need to make sure only the harness is connected to the unit. The unit comes with another wire with a cream yellow end which is for extrenal sound systems. Make sure thats unplugged. otherwise you should be running Bose. If thats the only thing plugged and the sound is not right contact phoenix maybe you blew a fuse. Ive heard some ppl messed up and lost their back speakers.
You just need to make sure only the harness is connected to the unit. The unit comes with another wire with a cream yellow end which is for extrenal sound systems. Make sure thats unplugged. otherwise you should be running Bose. If thats the only thing plugged and the sound is not right contact phoenix maybe you blew a fuse. Ive heard some ppl messed up and lost their back speakers.
i have two tan connectors, one solely with rca's and one that has a pin connector. i currently have the tan/pin connector going from the unit into what seems like the car. i have audio in all speakers it just sounds like crap when i turn it up around 35-40
It's surprisingly smooth. tbh the price is cheap for what you get. I had no issues with sound quality. Bluetooth is on point. connects to my hotspot and everything. the only thing I gotta get now is a carplay dongler and I'm all set..
The only thing not so great about it is the mic. its pretty weak. But I've heard that carplay fixes that. not a bid deal to me though.
Hey, mikluhin97 wow what an amazing how to, I appreciate the time you took to do this.
As for your Carplay comment, I have a Vline same concept with Andriod 8.1 and Carplay, the mic is useless I can barely hear the people I call without raising my system volume really high and the people I call say it sounds like a jet engine in my car, also Carplay convos are delayed by about 2 seconds so if the person is talking and you interject they don't hear you until 2 seconds later and vice-versa. I use a Bluetooth earpiece for calls.
Other then that Carplay is amazing and I don't even use the Andriod built-in system, I will be buying one of these when the new processors arrive hopefully this year at that point I may move to the base Android system as it has far more features in the way of cameras and tire pressure systems.
Made sure to clearly plug the two correct wires back into the white box. Booted everything up, car was locked (wouldn't start), coolant fans were running. Isolated a connector that came with the screen once that was unplugged everything but the climate controls work. Now it's stuck on low fan speed and cold air.Any ideas?
has there been any updates? I have a subscription to XM/sirius and want to retain is there a clear cut way to plug up my back camer I have 2013 IPL 6MT
has there been any updates? I have a subscription to XM/sirius and want to retain is there a clear cut way to plug up my back camer I have 2013 IPL 6MT
No the only way I see it is you have two options. Download the XM sirius app on the screen and stream XM that way, or buy a stand alone xm/sirisu radio and run it through the aux input of the tesla screen
i have two tan connectors, one solely with rca's and one that has a pin connector. i currently have the tan/pin connector going from the unit into what seems like the car. i have audio in all speakers it just sounds like crap when i turn it up around 35-40
In that case I would contact Phoenix and ask if the unit is defective because I've done exactly the same and the sound is still good. Did tou get the right harness for your G?
 04-07-2019, 01:36 AM