$275 for HFC install?


 08-08-2016, 08:37 PM
#35
I think you're right. I started prepping the bolts today. PB Blasters this time around, the acetone/brake fluid next time around. Will do this twice more later in the week and once Sunday overnight. Will start with the demon bolt first and if I can get that off, I'll do the rest and install them myself.
08-13-2016, 03:15 PM
#36
I did my first application of PB Blasters and the bolts actually look spanking clean now. Still, doing the acetone/brake fluid tomorrow evening and tackling the installation on Monday when, fortuitously, the temperatures will drop from the low 100's to the high 80's with rain likely. That alone will make it so much easier as the heat can be really debilitating not to mention dehydration.
I also "invested" in this puppy:
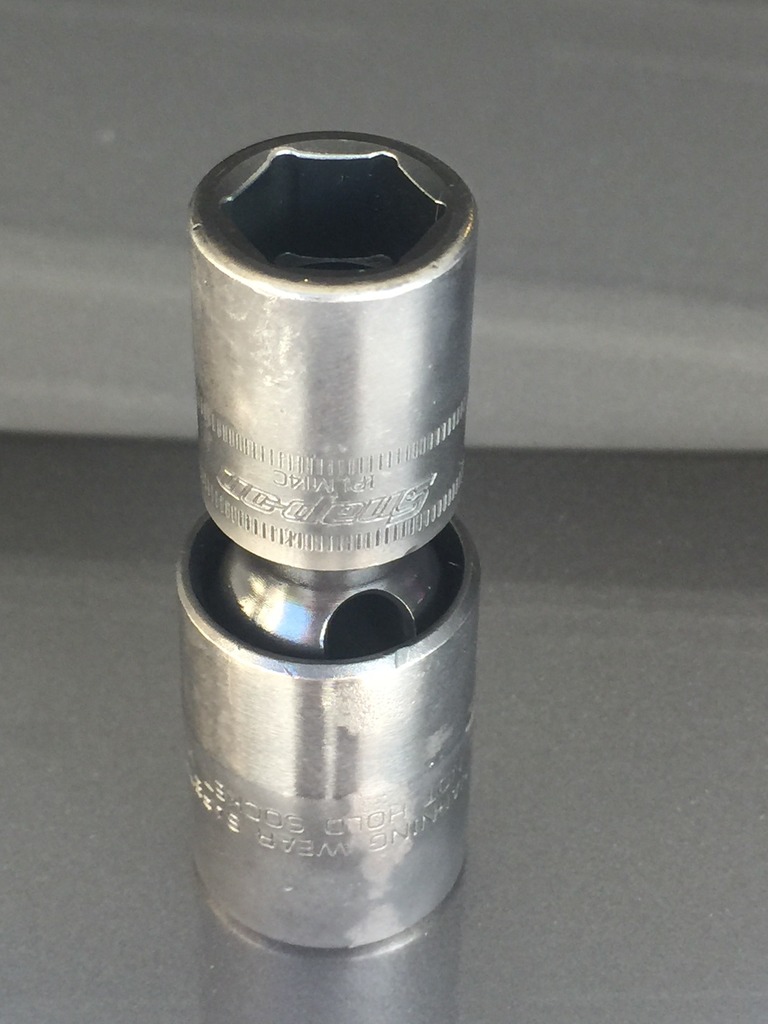
Snap-on 14mm six sided swivel impact socket. That should do the trick and not break apart. I have several inexpensive 14mm sockets as backup in addition to what I already owned as well as a bunch of wrenches.
I know some questioned how to get PB Blasters or the rust concoction on to the top bolt. Instead of a spray bottle, mix it up in a plastic container. Use a long piece of rigid metal, like an antenna. Lay down some rags or paper towels over the more sensitive parts in the engine bay, poke the top demon bolt with the rod so the tip of the rod is sitting on where the bolt mates to the flange surface. Now take your concoction on a brush and "run it down" the piece of metal. It'll slide down and run off at the very tip and onto the bolt. I actually used a flat piece of aluminum stock that was about 3ft long by 1" wide. I'd used it to make brackets for my Nismo intake and I had a big piece leftover. Worked like a charm. The PB just ran down the aluminum stock and coated the bolt, flange, everything down there. Did this on both sides naturally.
Alternatively, you could get some clear vacuum hose and strategically tape it to the side of a metal rod. That way the hose is rigid and you can place the end at the bolt head. Spray or use a baster to inject the vacuum tube with enough of the solvent to run down inside and treat the bolts as required. I may actually do this for the acetone/brake fluid combo as it'll prevent drips on places you would not want them. Hope that helps!
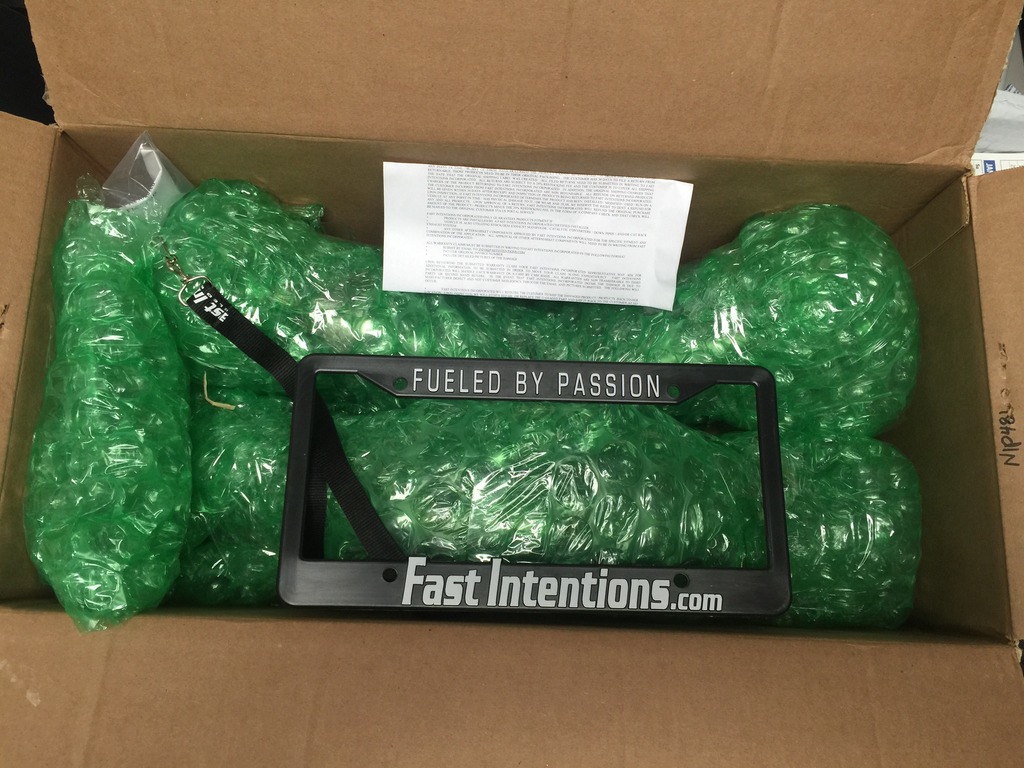
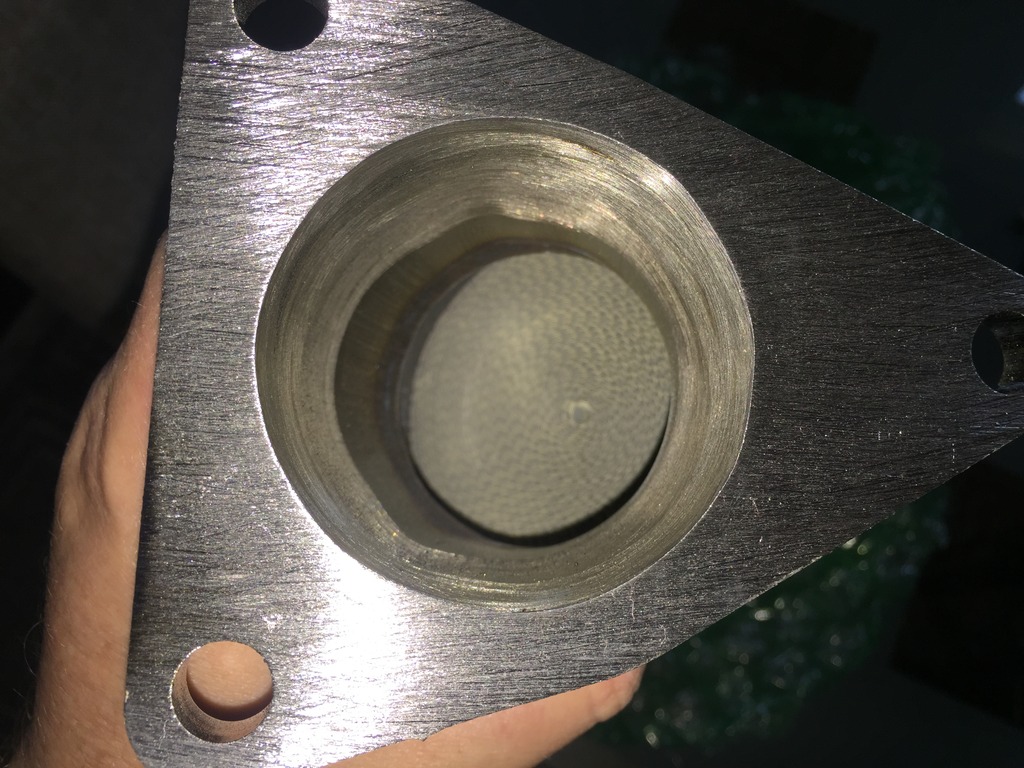
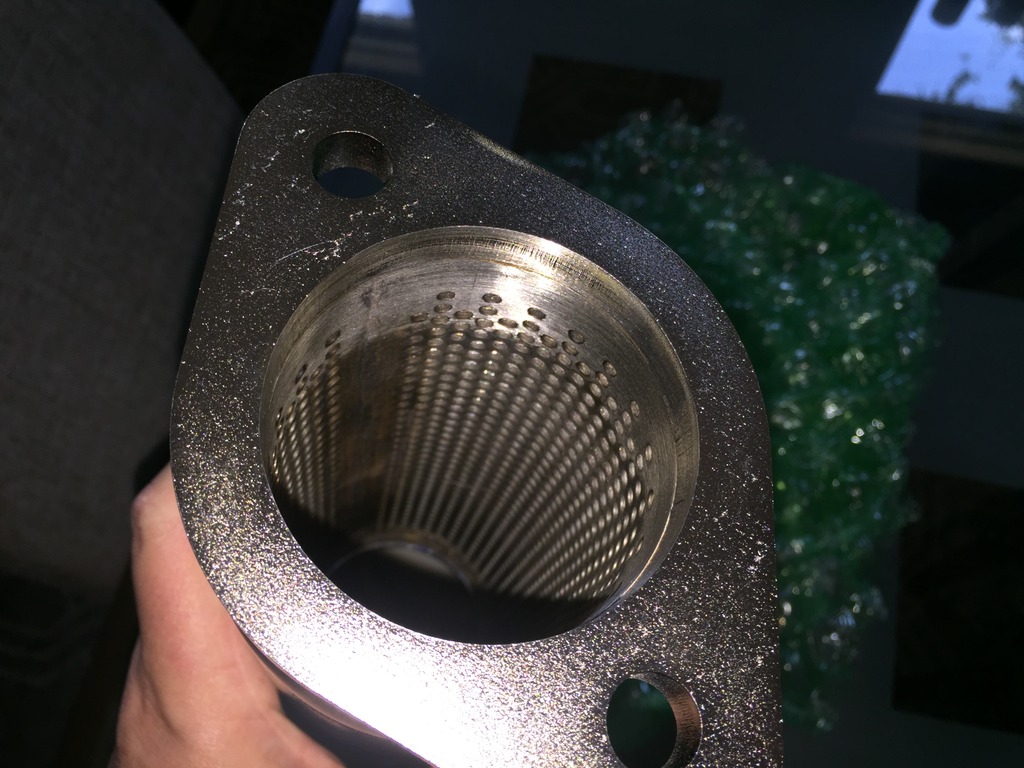
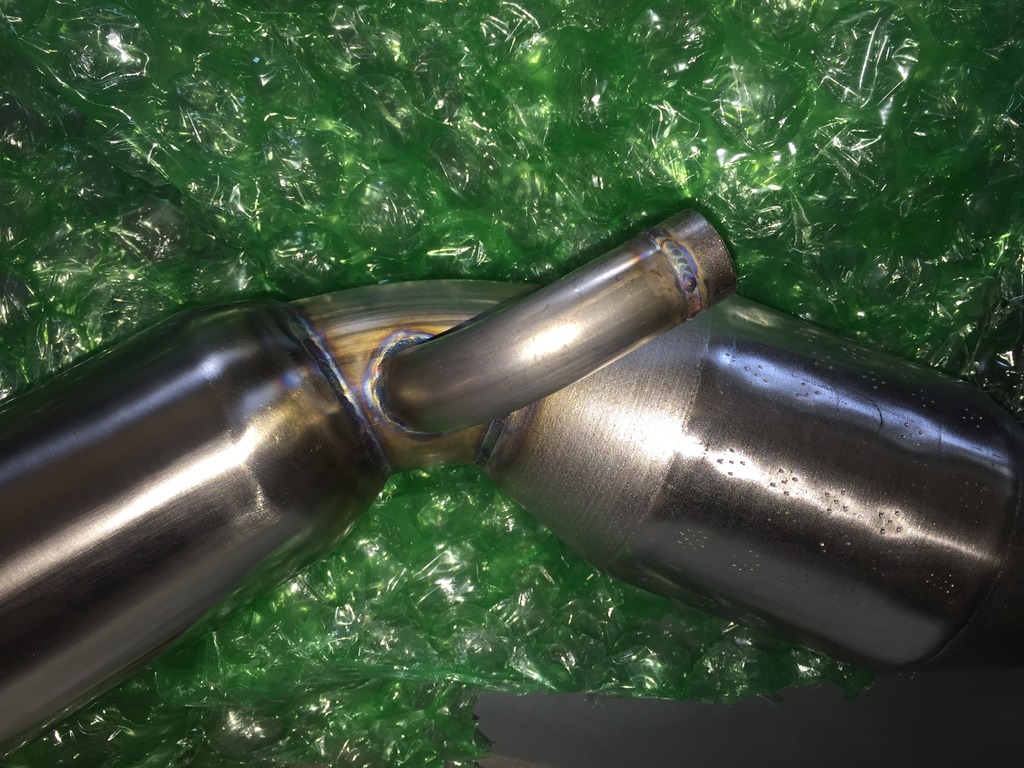
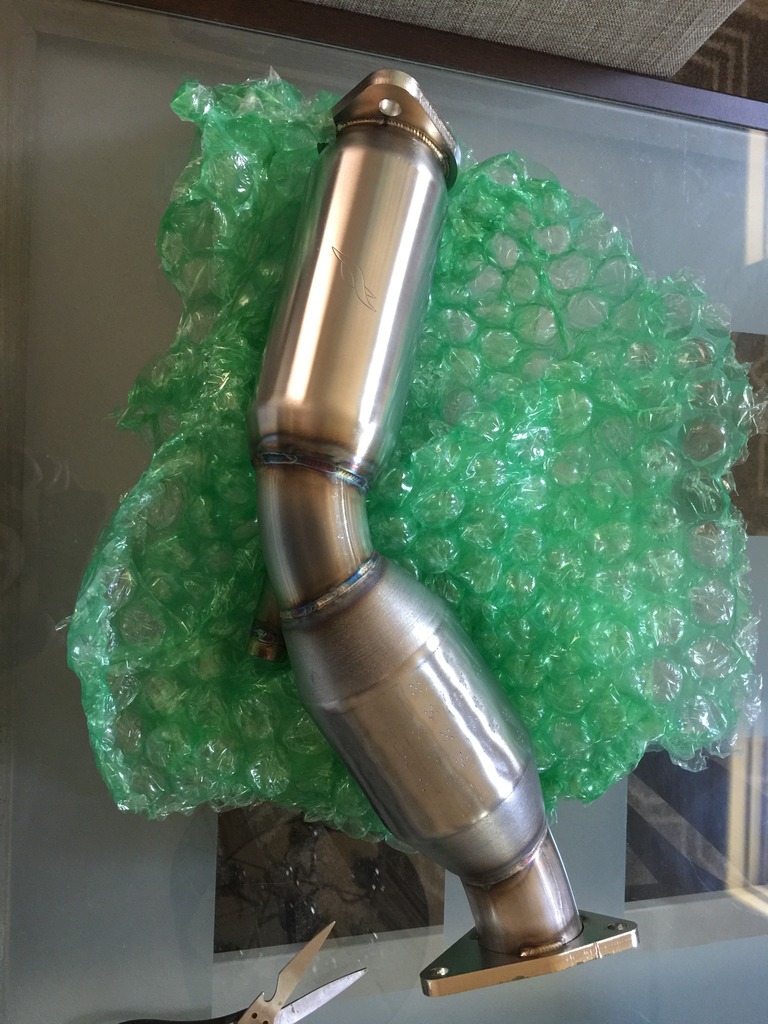
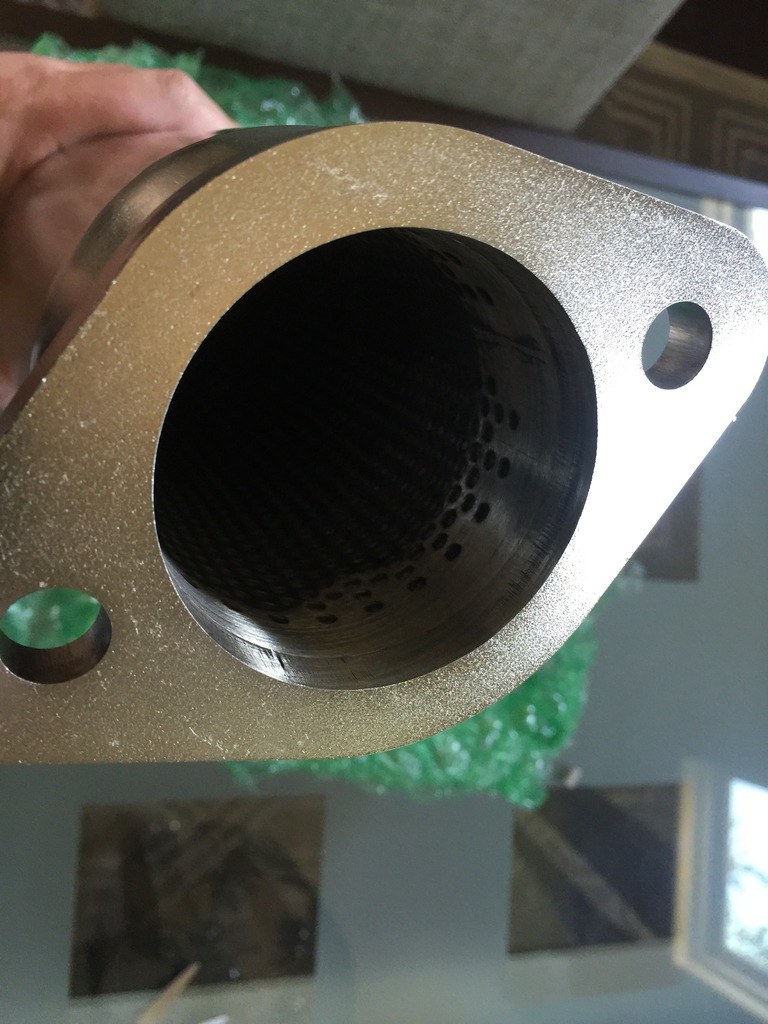
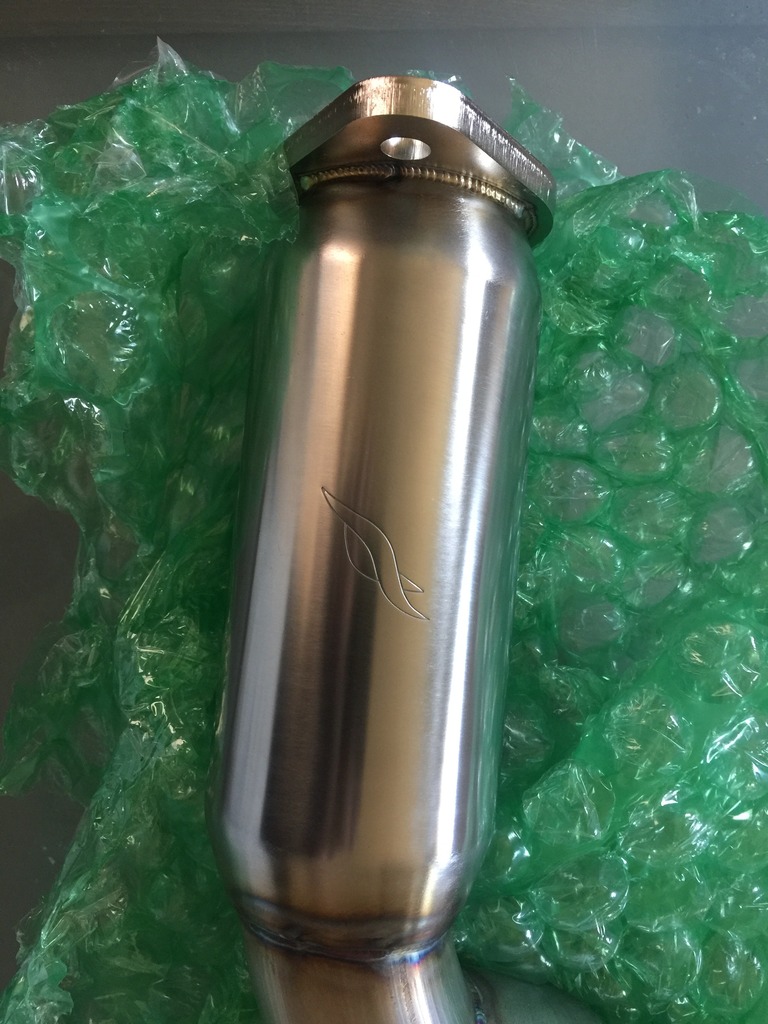
A few shots of the Fast Intentions resonated high flow cats. I'm going to bite the bullet and have brackets installed at some point in the not too distant future. I may make them myself out of stainless stock and then take them to be welded somewhere. Still really disappointed Fast Intentions didn't do this themselves. They did clean the RHFC's well inside where the flange meets the tubing. Nice and smooth and you can see someone went through with a grinder to remove any lips that would impede flow.
I also "invested" in this puppy:
Snap-on 14mm six sided swivel impact socket. That should do the trick and not break apart. I have several inexpensive 14mm sockets as backup in addition to what I already owned as well as a bunch of wrenches.
I know some questioned how to get PB Blasters or the rust concoction on to the top bolt. Instead of a spray bottle, mix it up in a plastic container. Use a long piece of rigid metal, like an antenna. Lay down some rags or paper towels over the more sensitive parts in the engine bay, poke the top demon bolt with the rod so the tip of the rod is sitting on where the bolt mates to the flange surface. Now take your concoction on a brush and "run it down" the piece of metal. It'll slide down and run off at the very tip and onto the bolt. I actually used a flat piece of aluminum stock that was about 3ft long by 1" wide. I'd used it to make brackets for my Nismo intake and I had a big piece leftover. Worked like a charm. The PB just ran down the aluminum stock and coated the bolt, flange, everything down there. Did this on both sides naturally.
Alternatively, you could get some clear vacuum hose and strategically tape it to the side of a metal rod. That way the hose is rigid and you can place the end at the bolt head. Spray or use a baster to inject the vacuum tube with enough of the solvent to run down inside and treat the bolts as required. I may actually do this for the acetone/brake fluid combo as it'll prevent drips on places you would not want them. Hope that helps!
A few shots of the Fast Intentions resonated high flow cats. I'm going to bite the bullet and have brackets installed at some point in the not too distant future. I may make them myself out of stainless stock and then take them to be welded somewhere. Still really disappointed Fast Intentions didn't do this themselves. They did clean the RHFC's well inside where the flange meets the tubing. Nice and smooth and you can see someone went through with a grinder to remove any lips that would impede flow.
The following users liked this post:
kennyz424 (08-13-2016)
 08-14-2016, 10:41 AM
#42
Ha! I mean I want to fit in round these parts. I'm going to pick up some stainless rod and plate material as well and cut/shape them then try to find someone who will actually weld them in place. Such a pain! I like Rochester's bracket too and it's simplicity.
08-15-2016, 02:01 PM
#43
I'm just about done with the installation. Got the demon bolts out without incident, one bolt snapped but after the threaded portion into the header so the cat came right out. No major issues so far (knock on wood). One thing, I'm not seeing the torque specs for the header to cat nuts/bolts anywhere. Can't find it in the FSM either. Anyone know off hand?
08-15-2016, 03:46 PM
#44
Done. No leaks that I can tell, haven't taken the car for an extended run yet as it's raining cats and dogs. Torqued the cat to header bolts to 48ft. lbs. l will say these things DEFINITELY need a hanger. There's basically no support until you get to the rear exhaust section. So from the headers on to the rear section, there's not a single bracket. Feels solid but that has to put a lot of stress on the welds. Will have stainless steel zip ties some time this week as a temporary measure. I'll post a more in-depth writeup in either the review or the exhaust section.
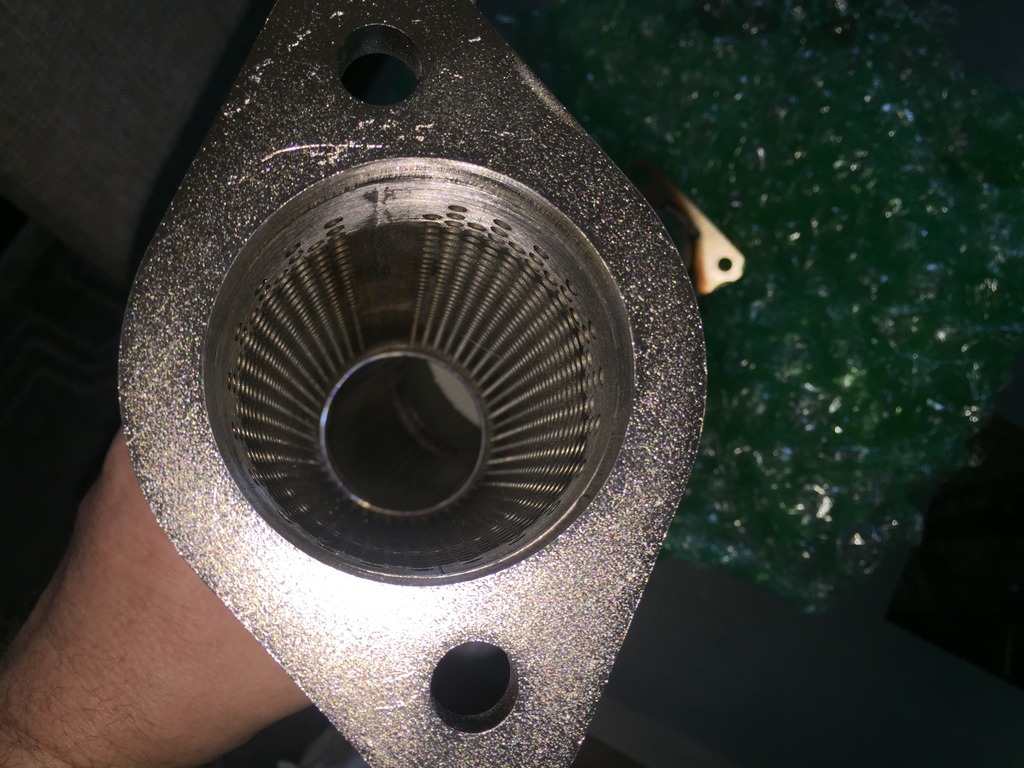
Edit: I'm pretty sure I know what causes the hiss. Need to take a pic and post with an explanation but basically the stock cats, where the attach to the headers, the inner flange has about an 1/8" extension which fits inside the header collector (like an o-ring but made of metal) to help seal. The FI's and others as far as I can tell, do not have this lip.
Edit: I'm pretty sure I know what causes the hiss. Need to take a pic and post with an explanation but basically the stock cats, where the attach to the headers, the inner flange has about an 1/8" extension which fits inside the header collector (like an o-ring but made of metal) to help seal. The FI's and others as far as I can tell, do not have this lip.
08-15-2016, 06:54 PM
#45
Awesome!
I knew you could go all Ape on those bolts. A nice sense of accomplishment and a bit of coin saved is never a bad thing.
I torqued mine to 45 ft lbs, IIRC I saw that torque listed somewhere (???)
One good thing regarding that bracket or lackthereof is there are a decent # of rubber hangers to take some of the shock from the system. Don't think that hiss is a leak, my RTPs have it too, but only when cold, I think it comes from a slight mismatch in piping along the way. Although that elongated flange that you mention may have a purpose to smooth that exhaust flow transition perhaps.