Show me your Graphite Shadow G37
 06-16-2015, 01:48 AM
#31
Registered User

Thanks for the compliments guys!
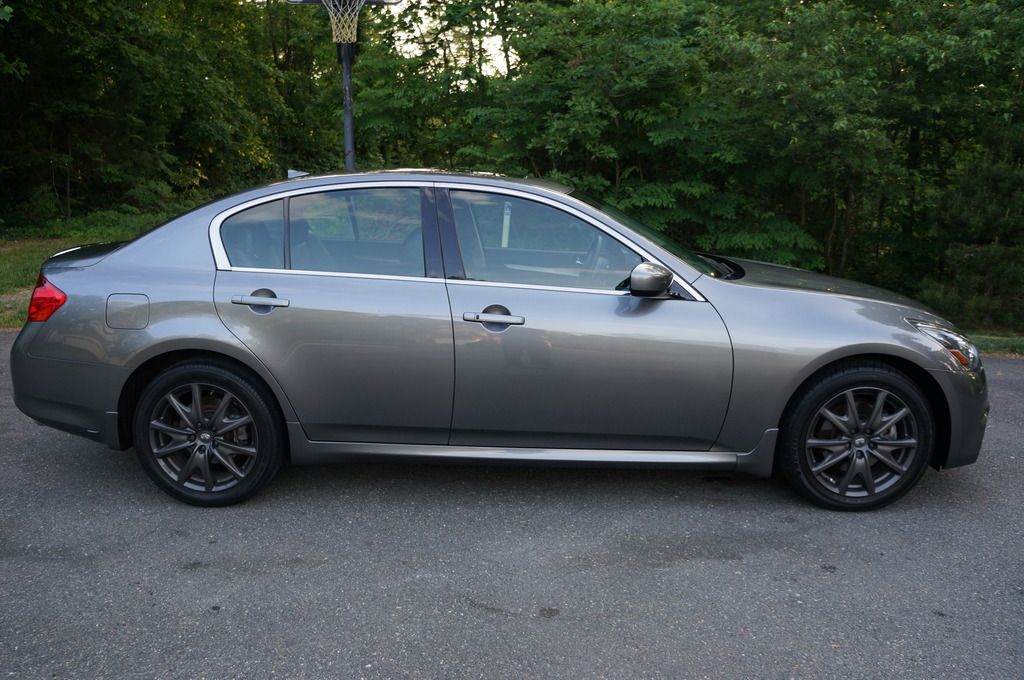
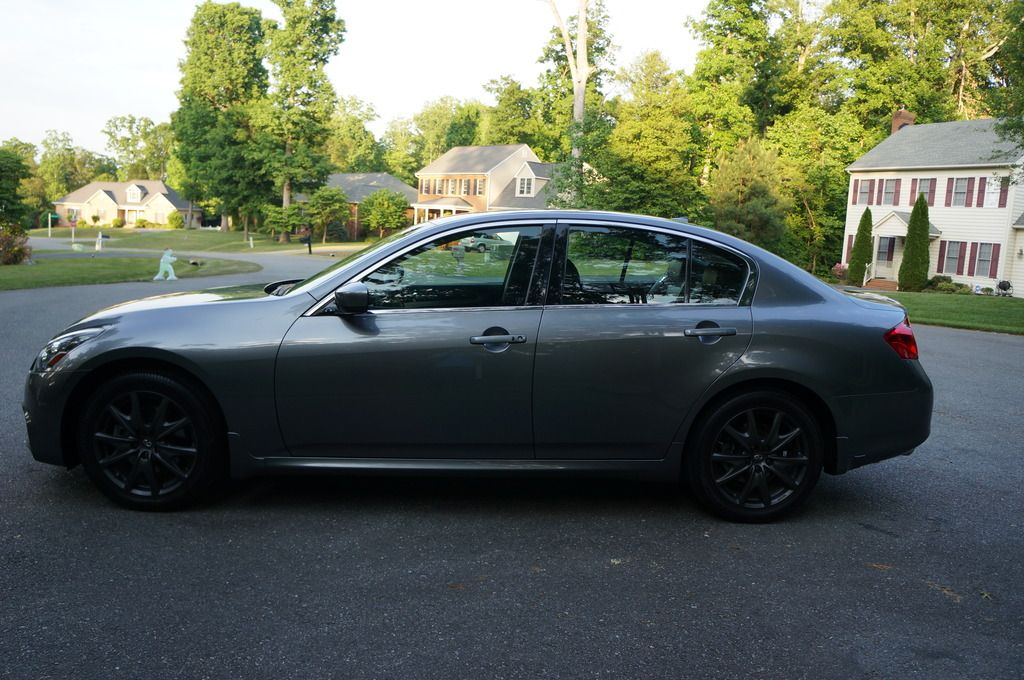
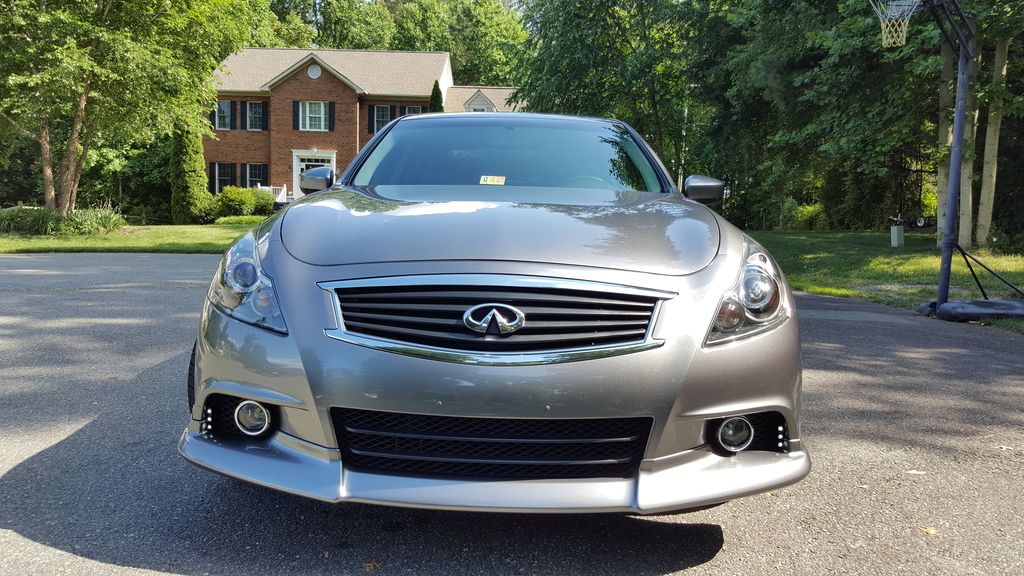
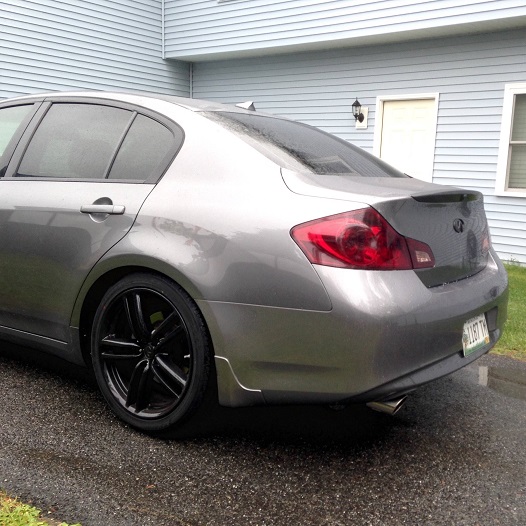
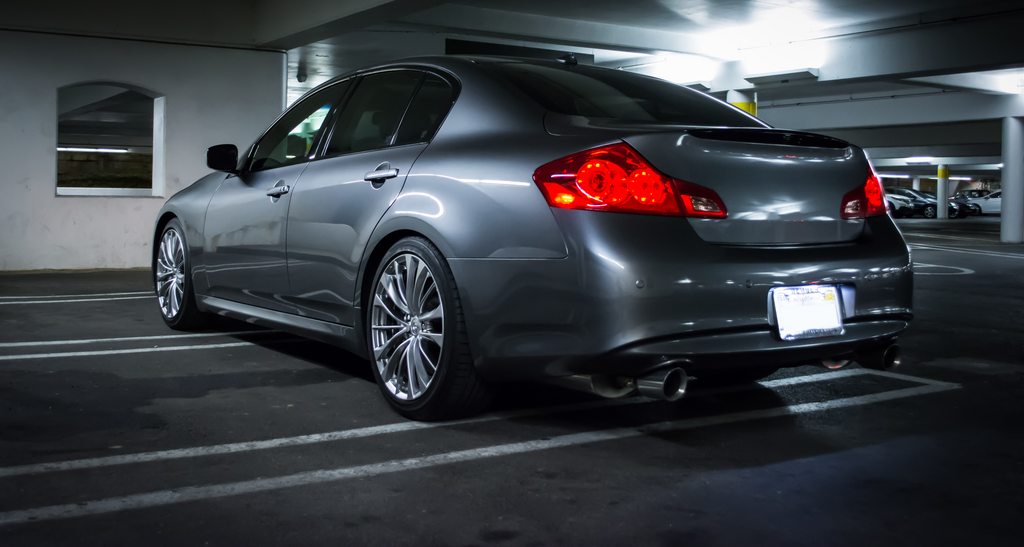
These are the best side pictures I have showing the anthracite in a lighter and in a shaded area. My windows weren't tinted and lip was off in the first 2 pics. It's an amazing color to me and a must do for the infiniti sports rims. I'm going to redo them with a thicker coat and finish my left over anthracite dip. Once I get new tires I assume my dip will get messed up so from then on out I will paint them black with graphite metalizer, which will give it the same appeal and look, but be much cheaper. I put about 4 coats of glossifier on these. It's very important that you lay on the colored dip smoothly so the glossifier can do it's job correctly. I didn't lay it as smoothly as I could and didn't get full coverage the way I want it, but good enough to keep on.
Not sure what color I should paint my calipers??? Either silver or dark red...even thought of a gold color. The taillights are so red that it's hard for me to picture the side of my car with gold calipers and red tails.
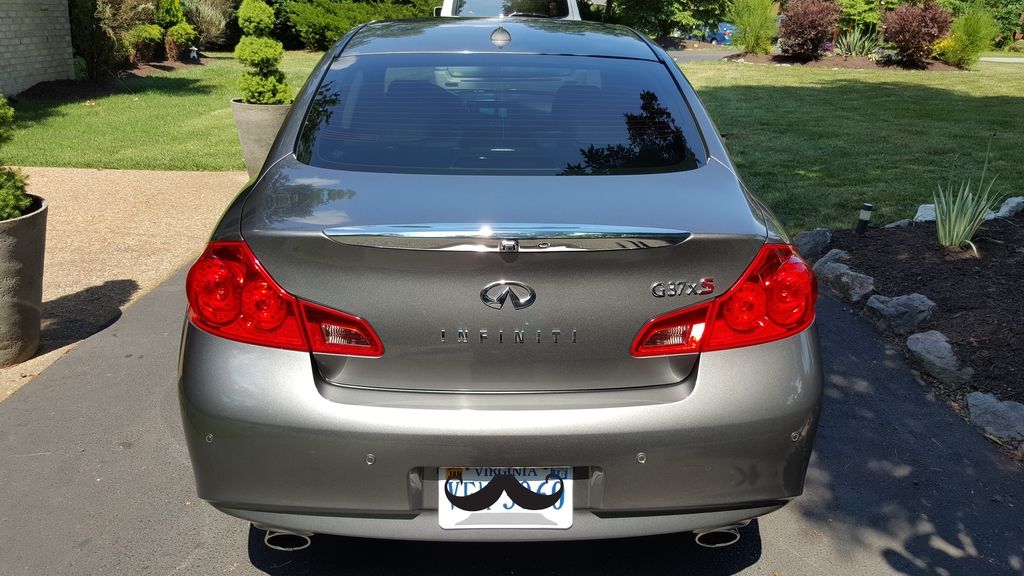
What should I do with my rear? I'm thinking of dipping the diffuser black and tinting the taillights a 60% tint which should keep an OEM look.
Thinking of dipping the middle of my lip anthracite or black as well.


These are the best side pictures I have showing the anthracite in a lighter and in a shaded area. My windows weren't tinted and lip was off in the first 2 pics. It's an amazing color to me and a must do for the infiniti sports rims. I'm going to redo them with a thicker coat and finish my left over anthracite dip. Once I get new tires I assume my dip will get messed up so from then on out I will paint them black with graphite metalizer, which will give it the same appeal and look, but be much cheaper. I put about 4 coats of glossifier on these. It's very important that you lay on the colored dip smoothly so the glossifier can do it's job correctly. I didn't lay it as smoothly as I could and didn't get full coverage the way I want it, but good enough to keep on.
Not sure what color I should paint my calipers??? Either silver or dark red...even thought of a gold color. The taillights are so red that it's hard for me to picture the side of my car with gold calipers and red tails.
What should I do with my rear? I'm thinking of dipping the diffuser black and tinting the taillights a 60% tint which should keep an OEM look.

Thinking of dipping the middle of my lip anthracite or black as well.


The following users liked this post:
SheLLz (06-16-2015)


 06-26-2015, 12:08 PM
#34


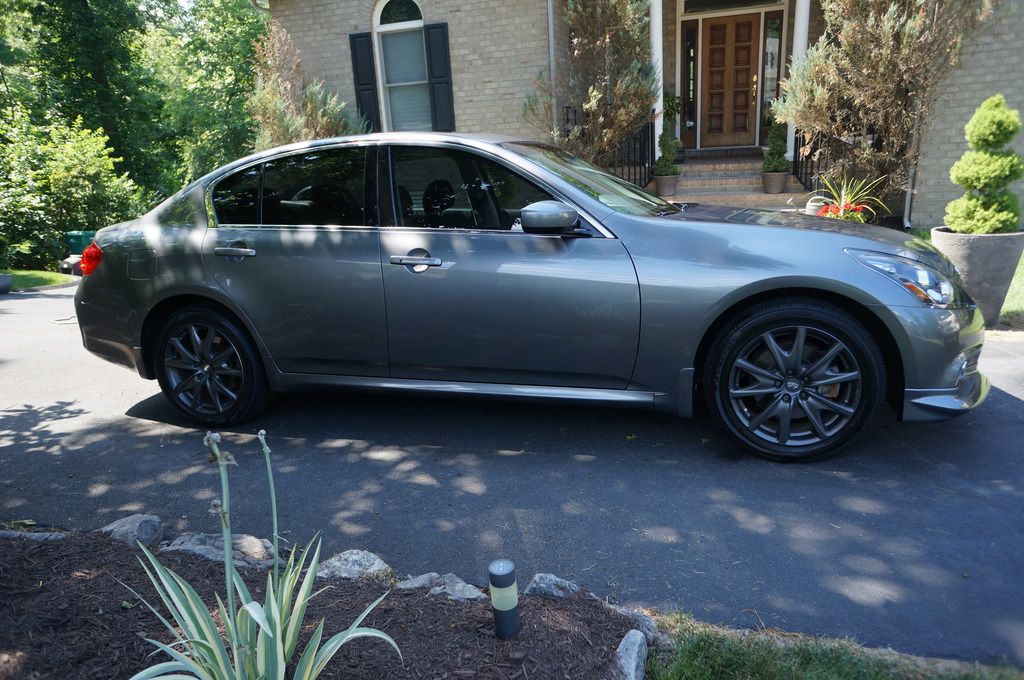
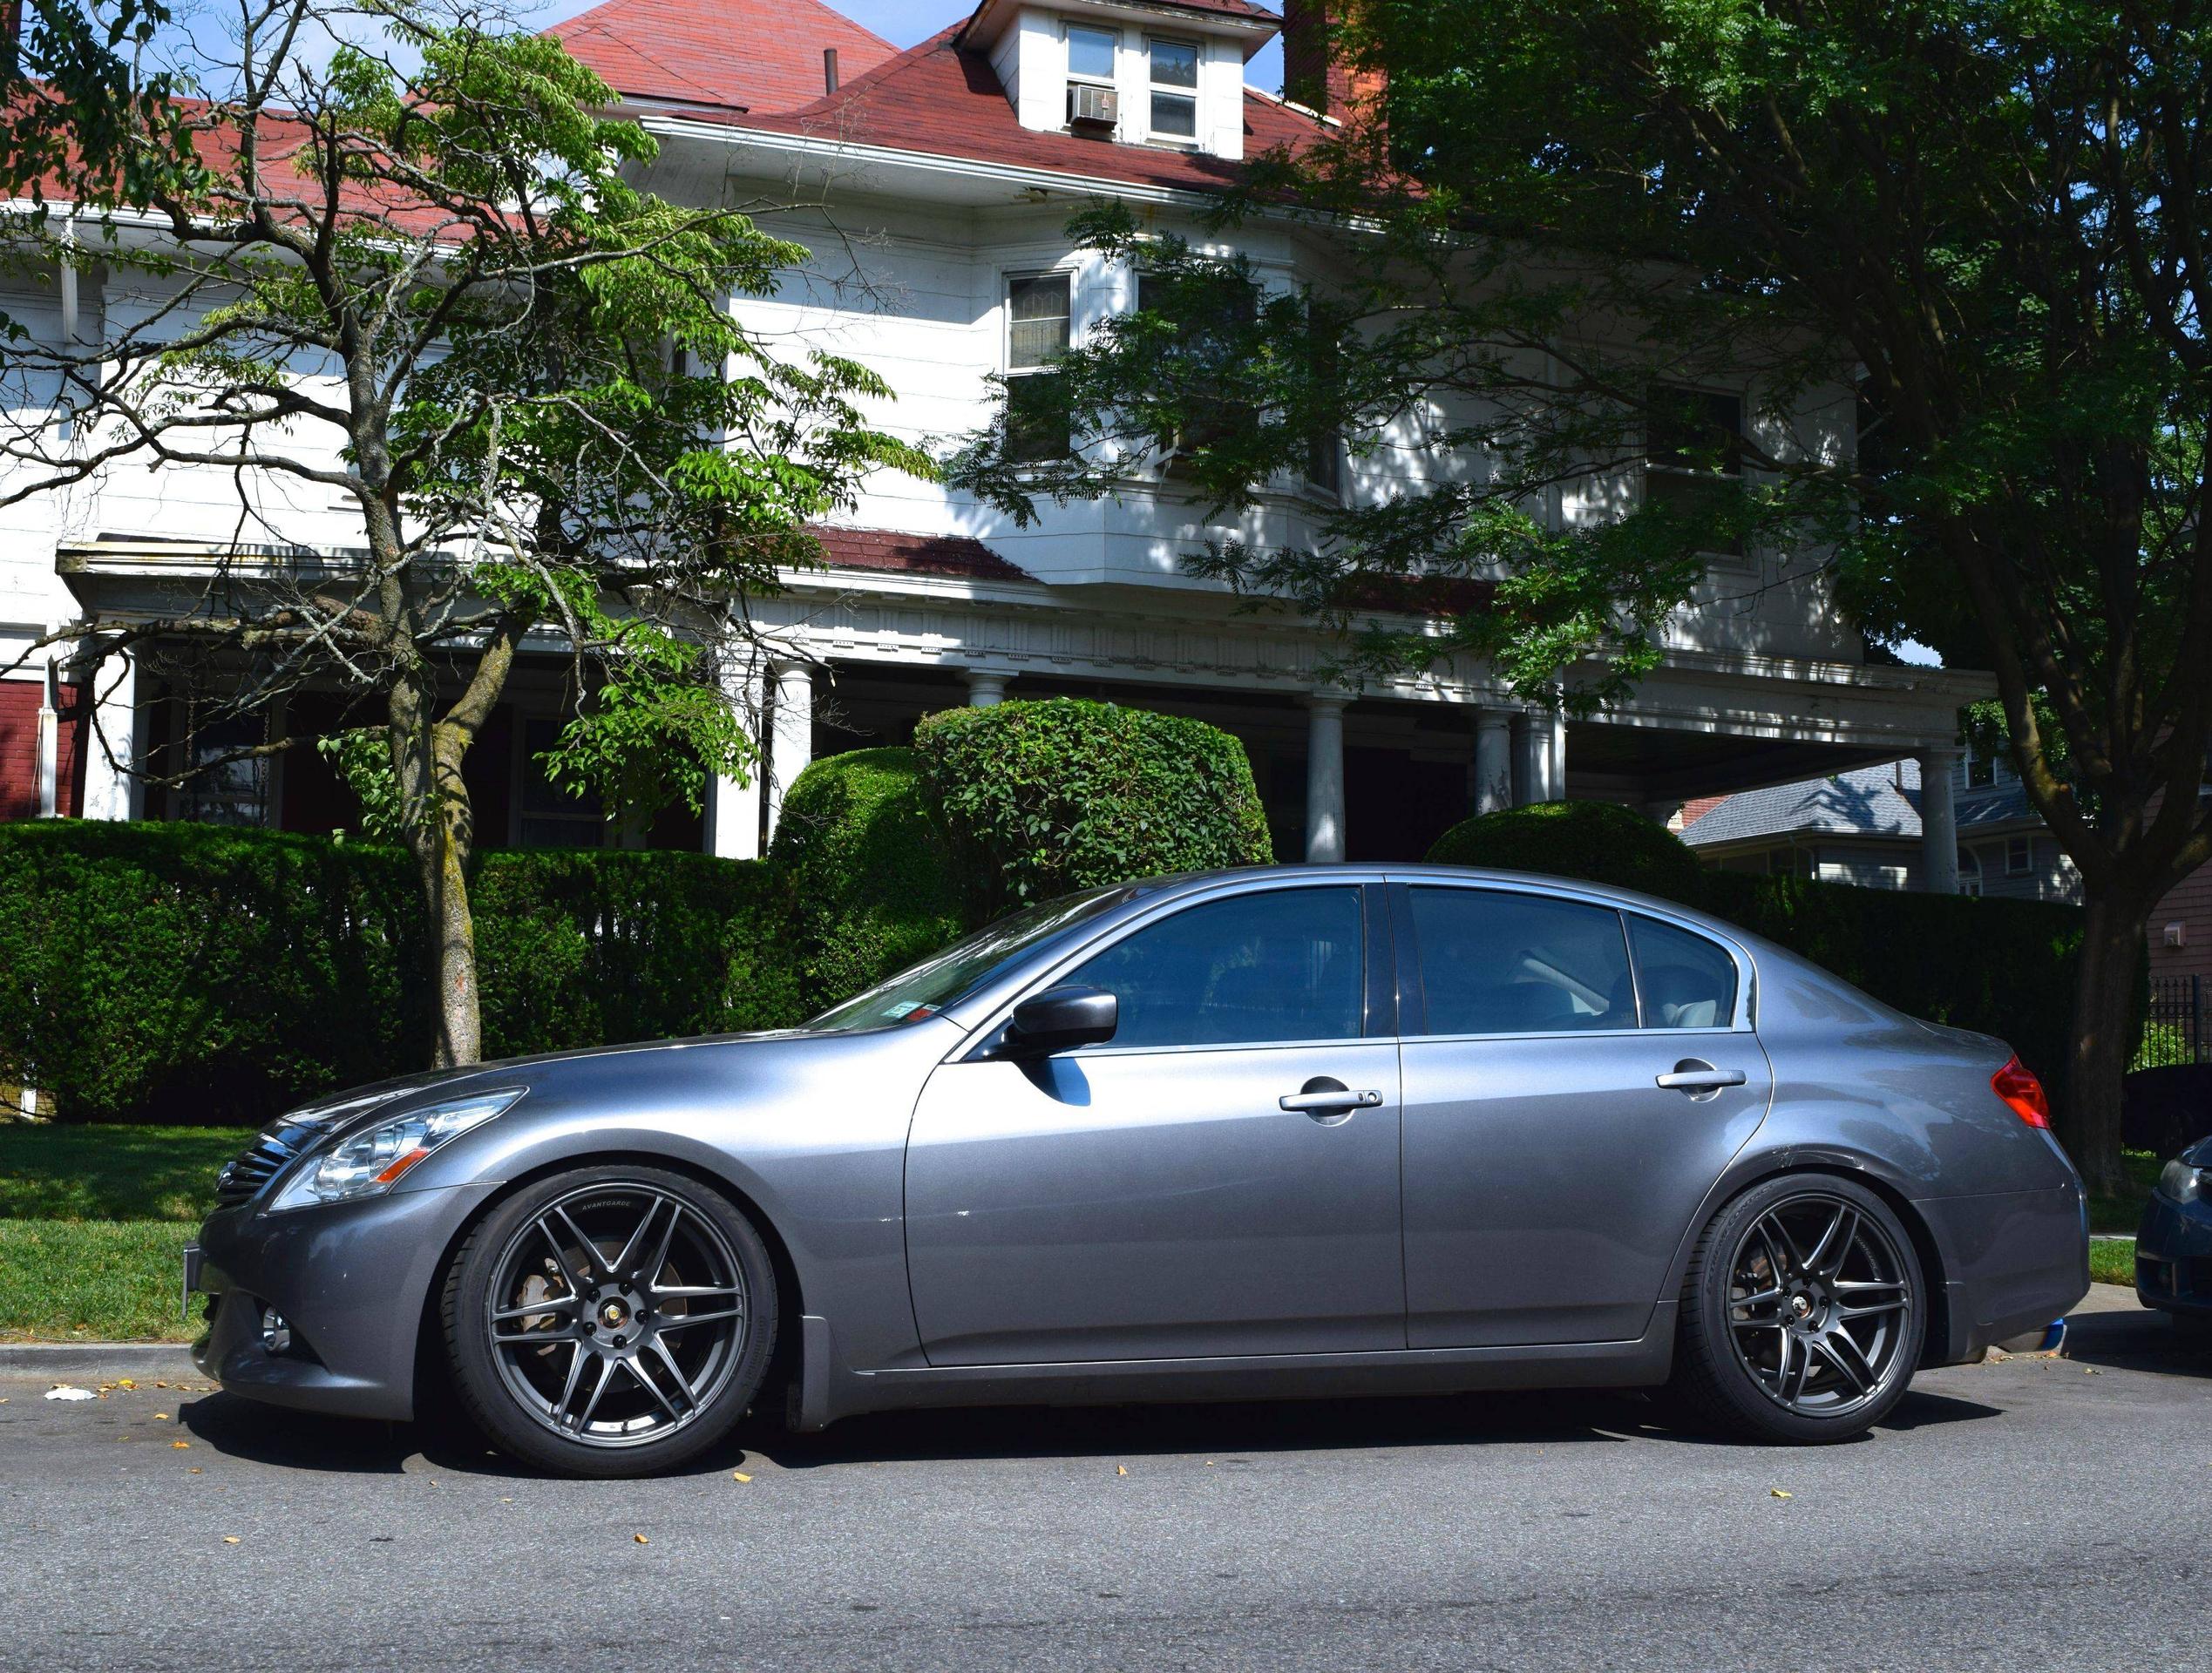
So I need to paint my calipers, new rotors, and redo my rims. Currently they're plastidipped in Anthracite. Stock height, I'm not lowering, would like to clear bumps without the need of being so conscious of them.
35% tint on sides 20%in rear. Plastidipped my grill. My own DRLs, similar to the OEM ones but less bulky and only like $30 if that. I wanted to make her sporty/luxury so I mixed it up with the darkness I added and chrome accents. I plan on adding some custom turn signals to the sideview mirrors soon. They should be one of a kind!

Any chance you could link to a DIY for those DRLs? I have the exact same G as you (color, year, and everything. Just 20% tint all around). I'd love to do that DRL Mod.
Thanks!
06-28-2015, 03:26 AM
#35
Registered Member

These are the LEDs I used...
Here is the DRL kit I installed it with...
http://www.ebay.com/itm/LED-Daytime-Running-Light-DRL-Relay-Harness-Automatic-Control-On-Off-Switch-kit-/281483424958?var=&hash=item4189b834be
Make identical markings on each side where you would like to fish the wire through. I made mine as far on the outside as possible to keep everything as discrete and clean as possible (as u can see in the pics).
Lower the front bumper by following the headlight removal guide on here. Will be nerve wrecking at first if you haven't done it, but after doing it once you will be able to knock it out in less than 15mins easily.
Once lowered, you will have access to the fogs and the back of the panels you made your markings on. Remove the back cover and replace your fogs if you haven't already unless you're satisfied with the ugly yellow.
Now puncture the panels where the markings were made with a dremel or sharp pointy object and fish the wire through.
Connect it to the DRL Kit I mentioned earlier. The purpose of this kit is for the DRL to automatically come on when you start the car and automatically cut off when the car is turned off. Instead of tapping into other wires, all you have to do is connect these to the battery and let the DRL module do it's thing. It's actually pretty cool because they turn on whenever the module gets any type of power signal, so for example I would lock/unlock my car and they would turn on.
So anyways, once you connect the DRLs to the module and make everything look nice and clean by using some zip ties to keep the wires from hanging everywhere, TEST THEM, raise the bumper back up and put everything back together. I used double side tape to keep them on the sides. They're not going anywhere.
You're Done...
Looks waaay better than those $700 OEM ones IMO. Good luck!

The following users liked this post:
Andyrd504 (06-07-2021)


 06-28-2015, 07:45 PM
#38
Registered Member
Nice Roxx.
How did you go about painting your diffuser? Im in the process of doing mine but haven't came around to it yet. I was going to plastidip it black or anthracite. I feel like masking the top part is critical in making it perfectly straight.


How did you go about painting your diffuser? Im in the process of doing mine but haven't came around to it yet. I was going to plastidip it black or anthracite. I feel like masking the top part is critical in making it perfectly straight.
06-28-2015, 08:44 PM
#39
Registered User

Fine line tape and plasti dip. Not my first car using dip though, I'd recommend getting the hang of it on something else if it's your first time, sprays a little different than normal paint, almost like its shooting the little rubber flecks out


The following 2 users liked this post by lobuzz311:
ColumbiaSkinny (07-13-2015),
oct6454 (04-26-2019)

 08-11-2015, 11:45 AM
#45

