Installed LED Fog lights/DRLs in bumper
 08-20-2012, 12:33 AM
#1
Installed LED Fog lights/DRLs in bumper
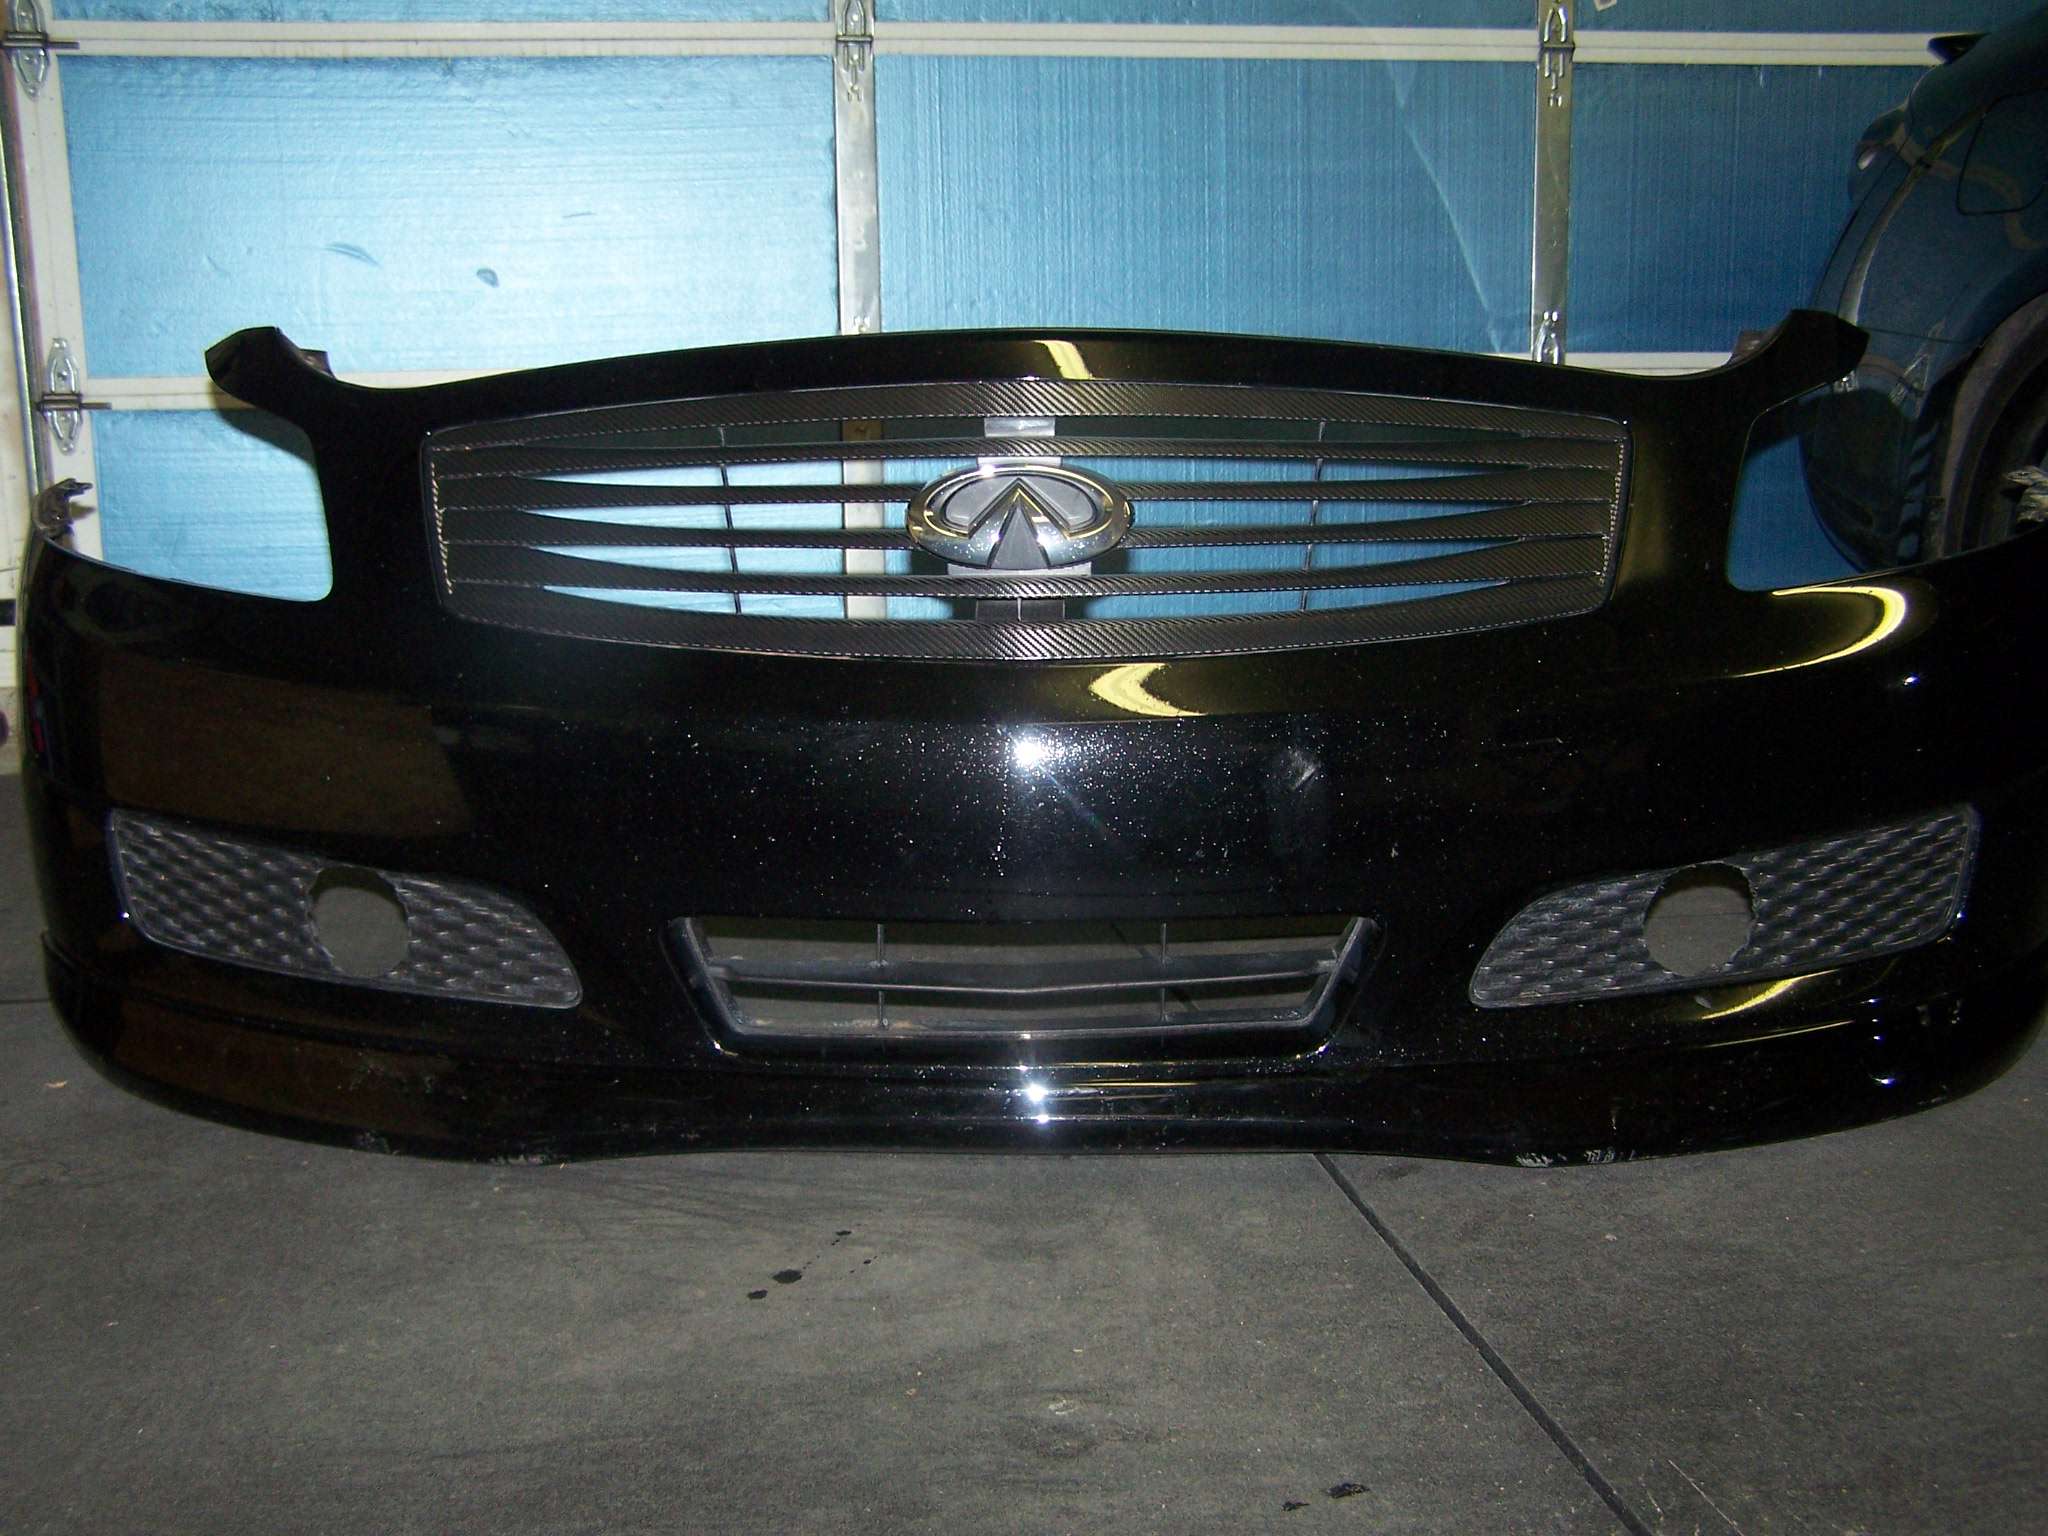
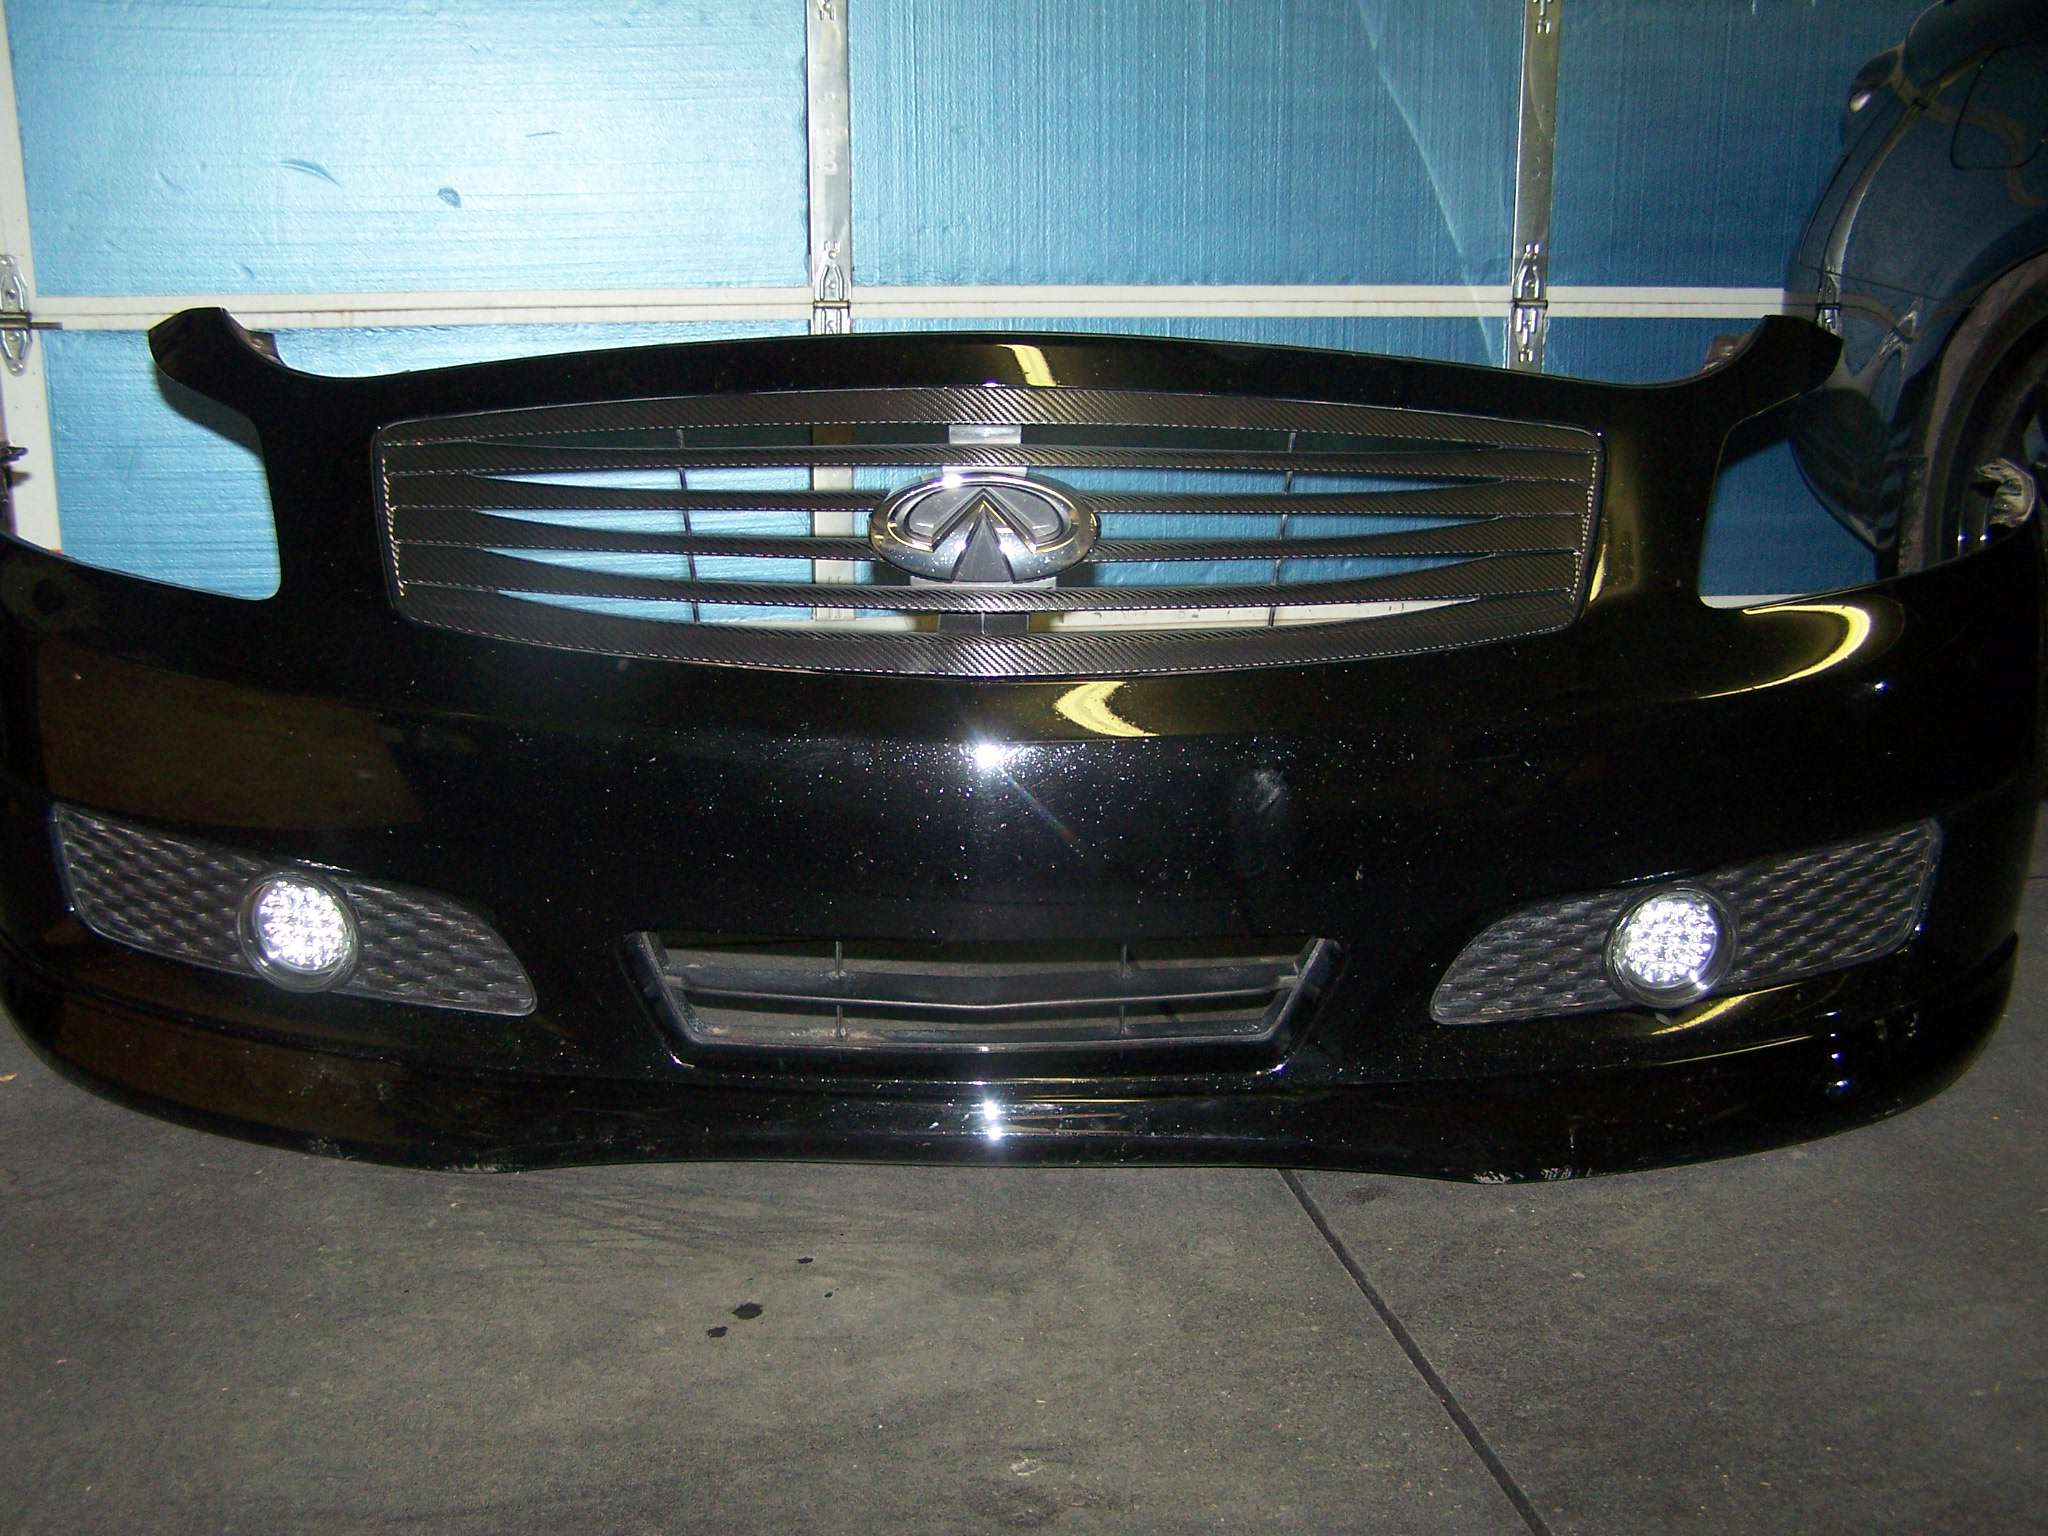
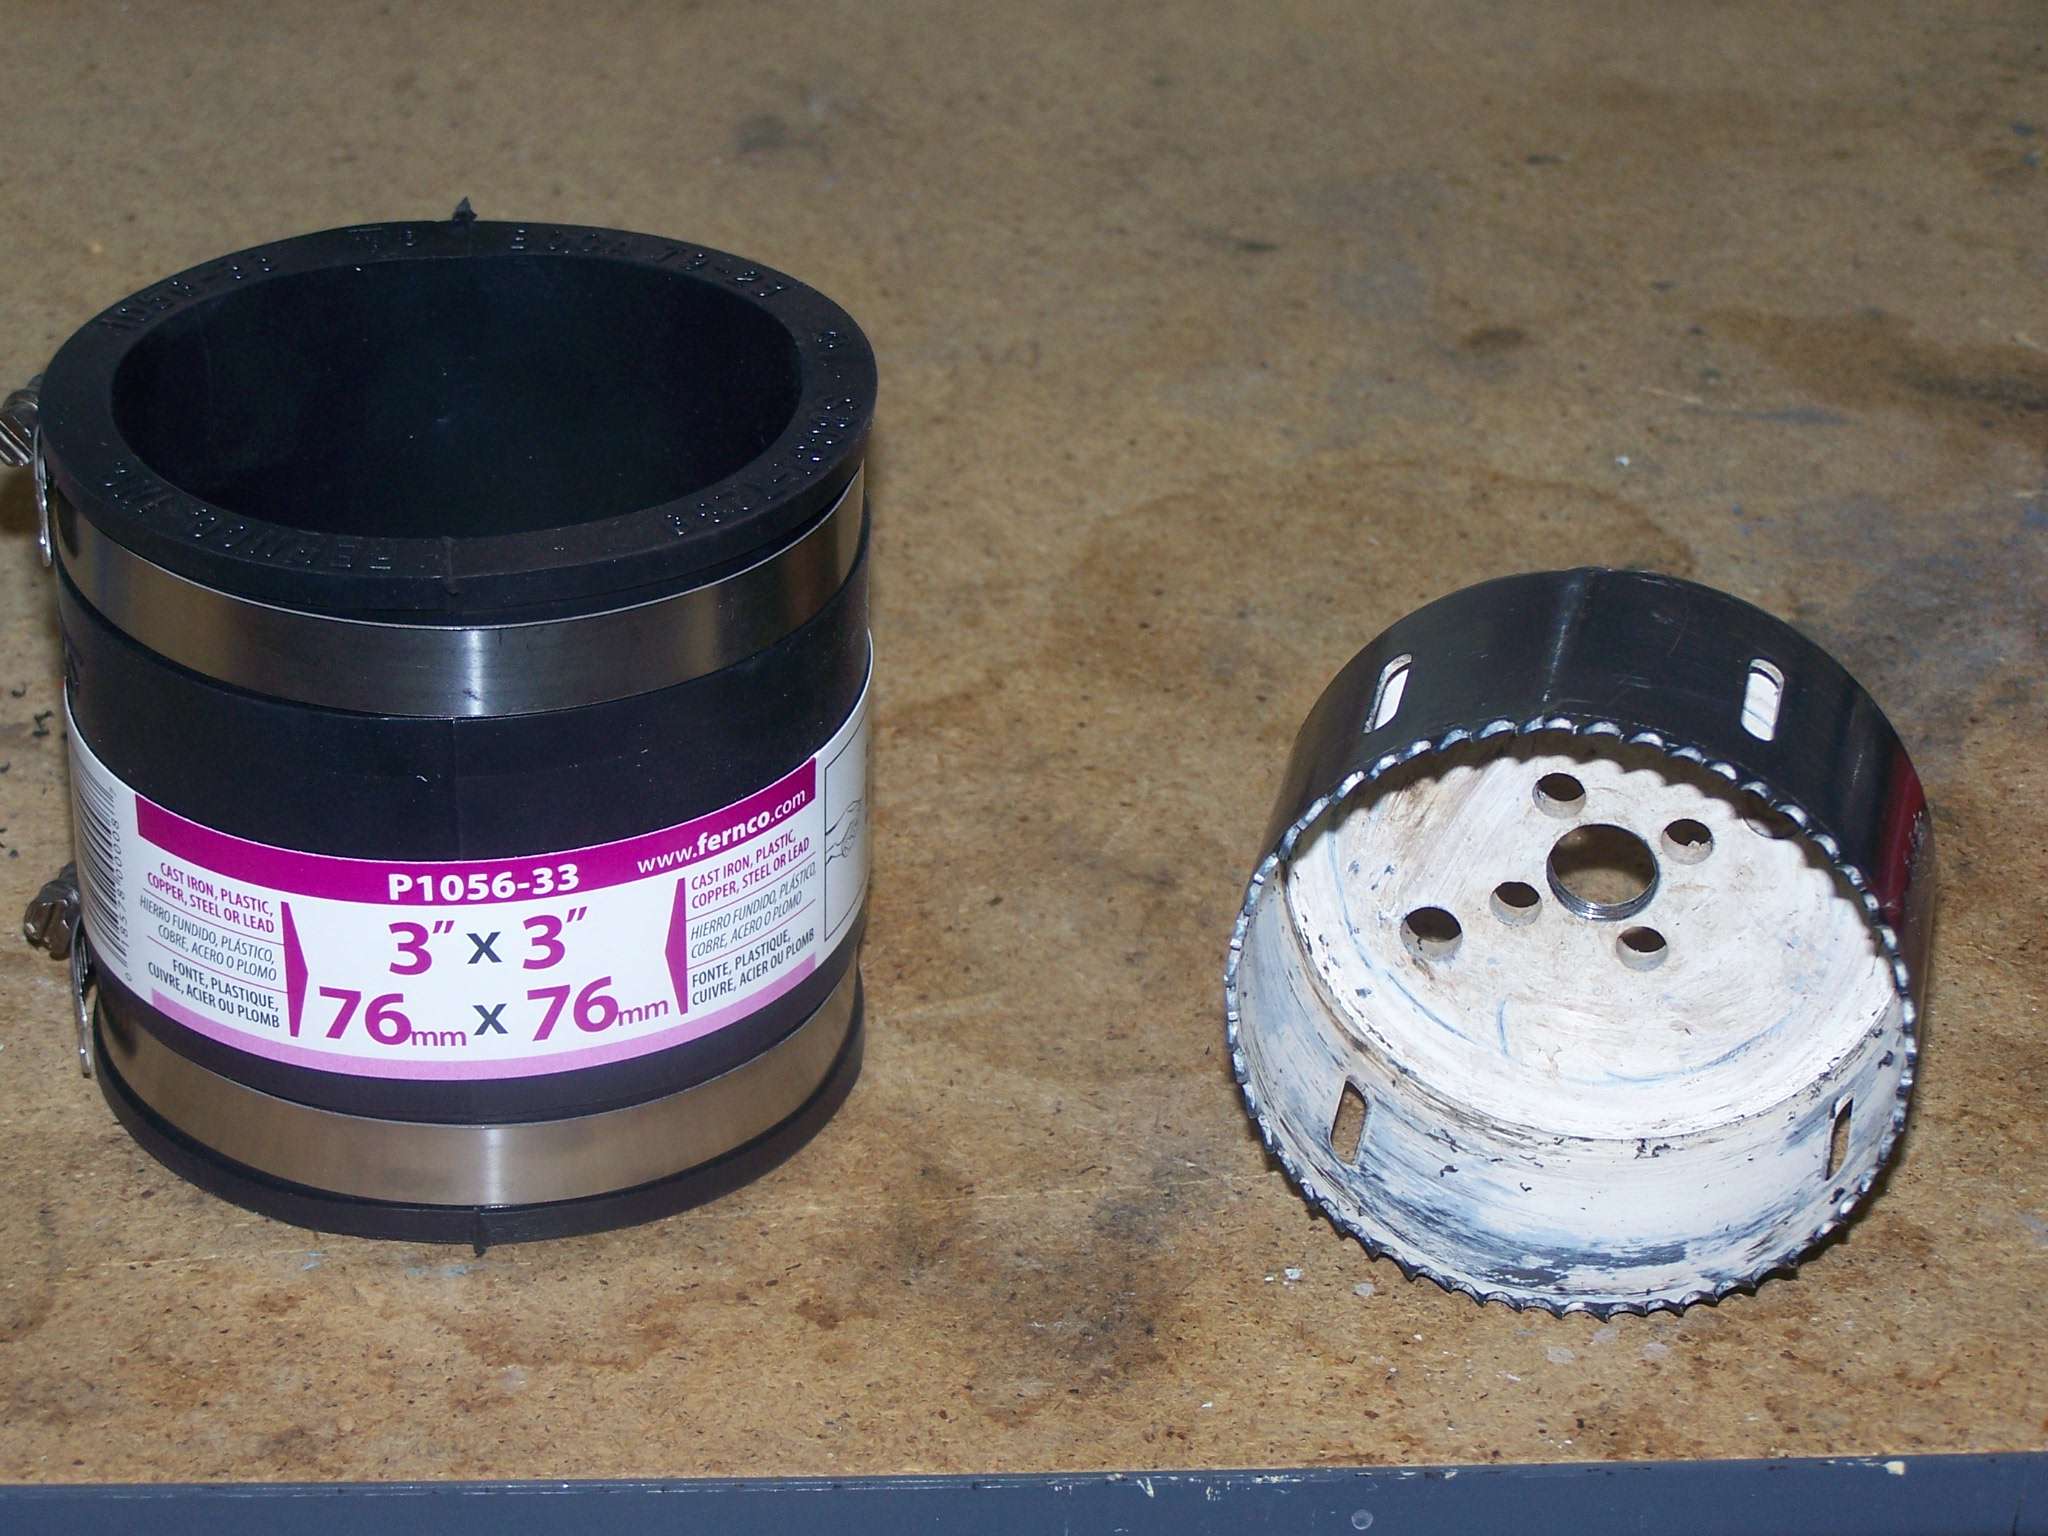
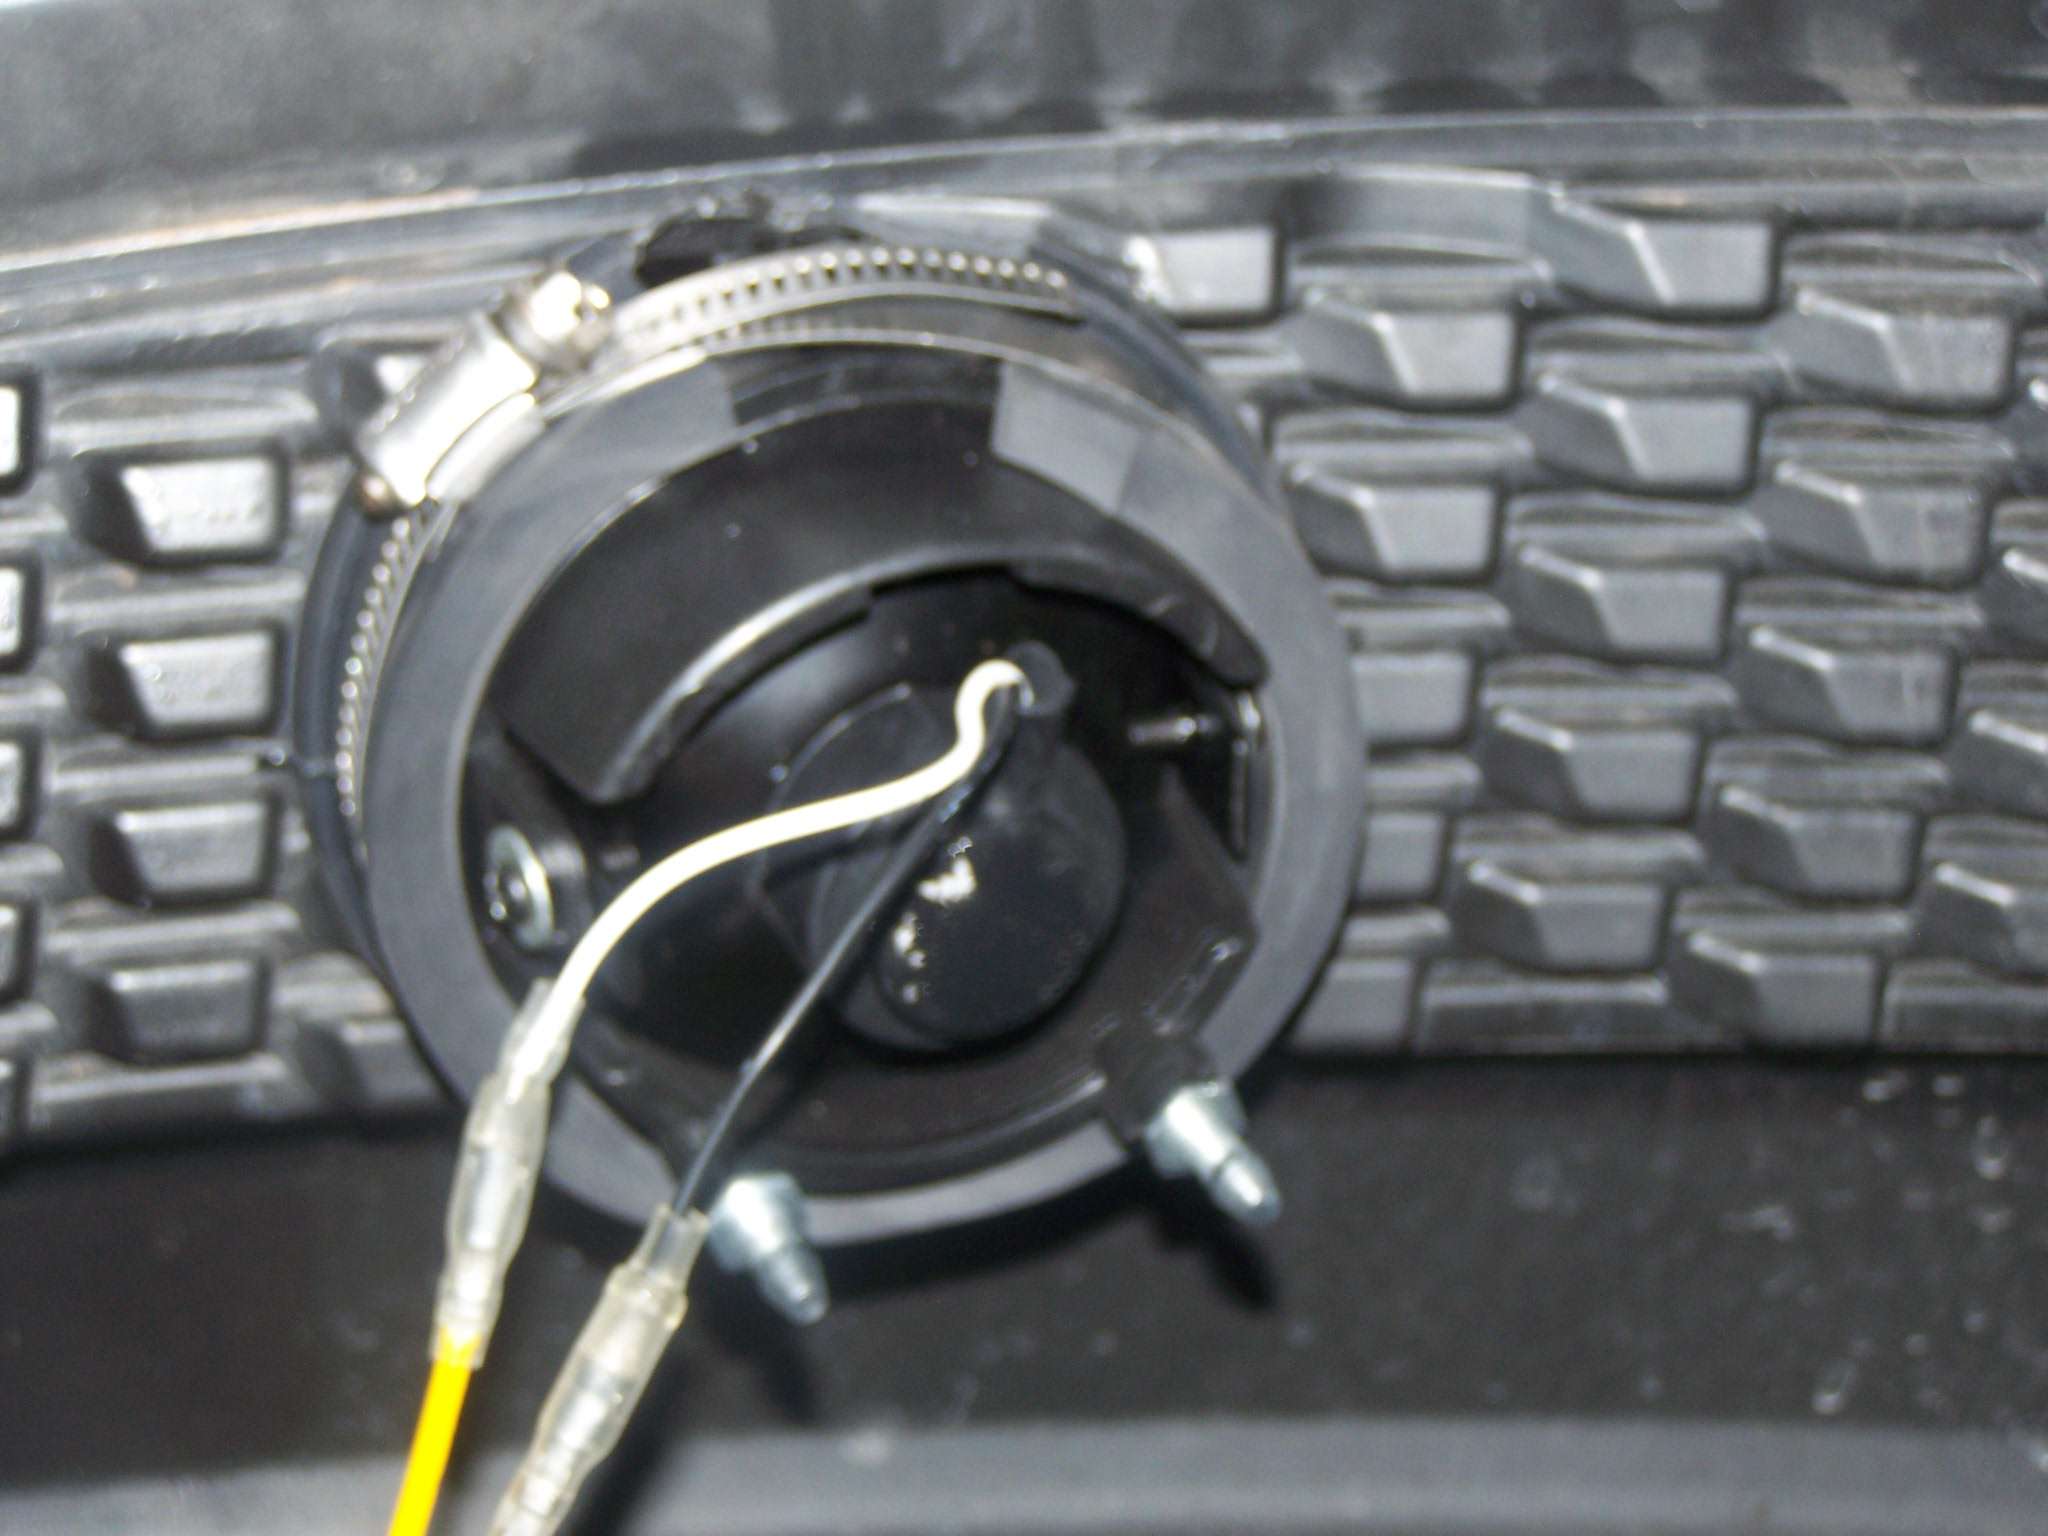
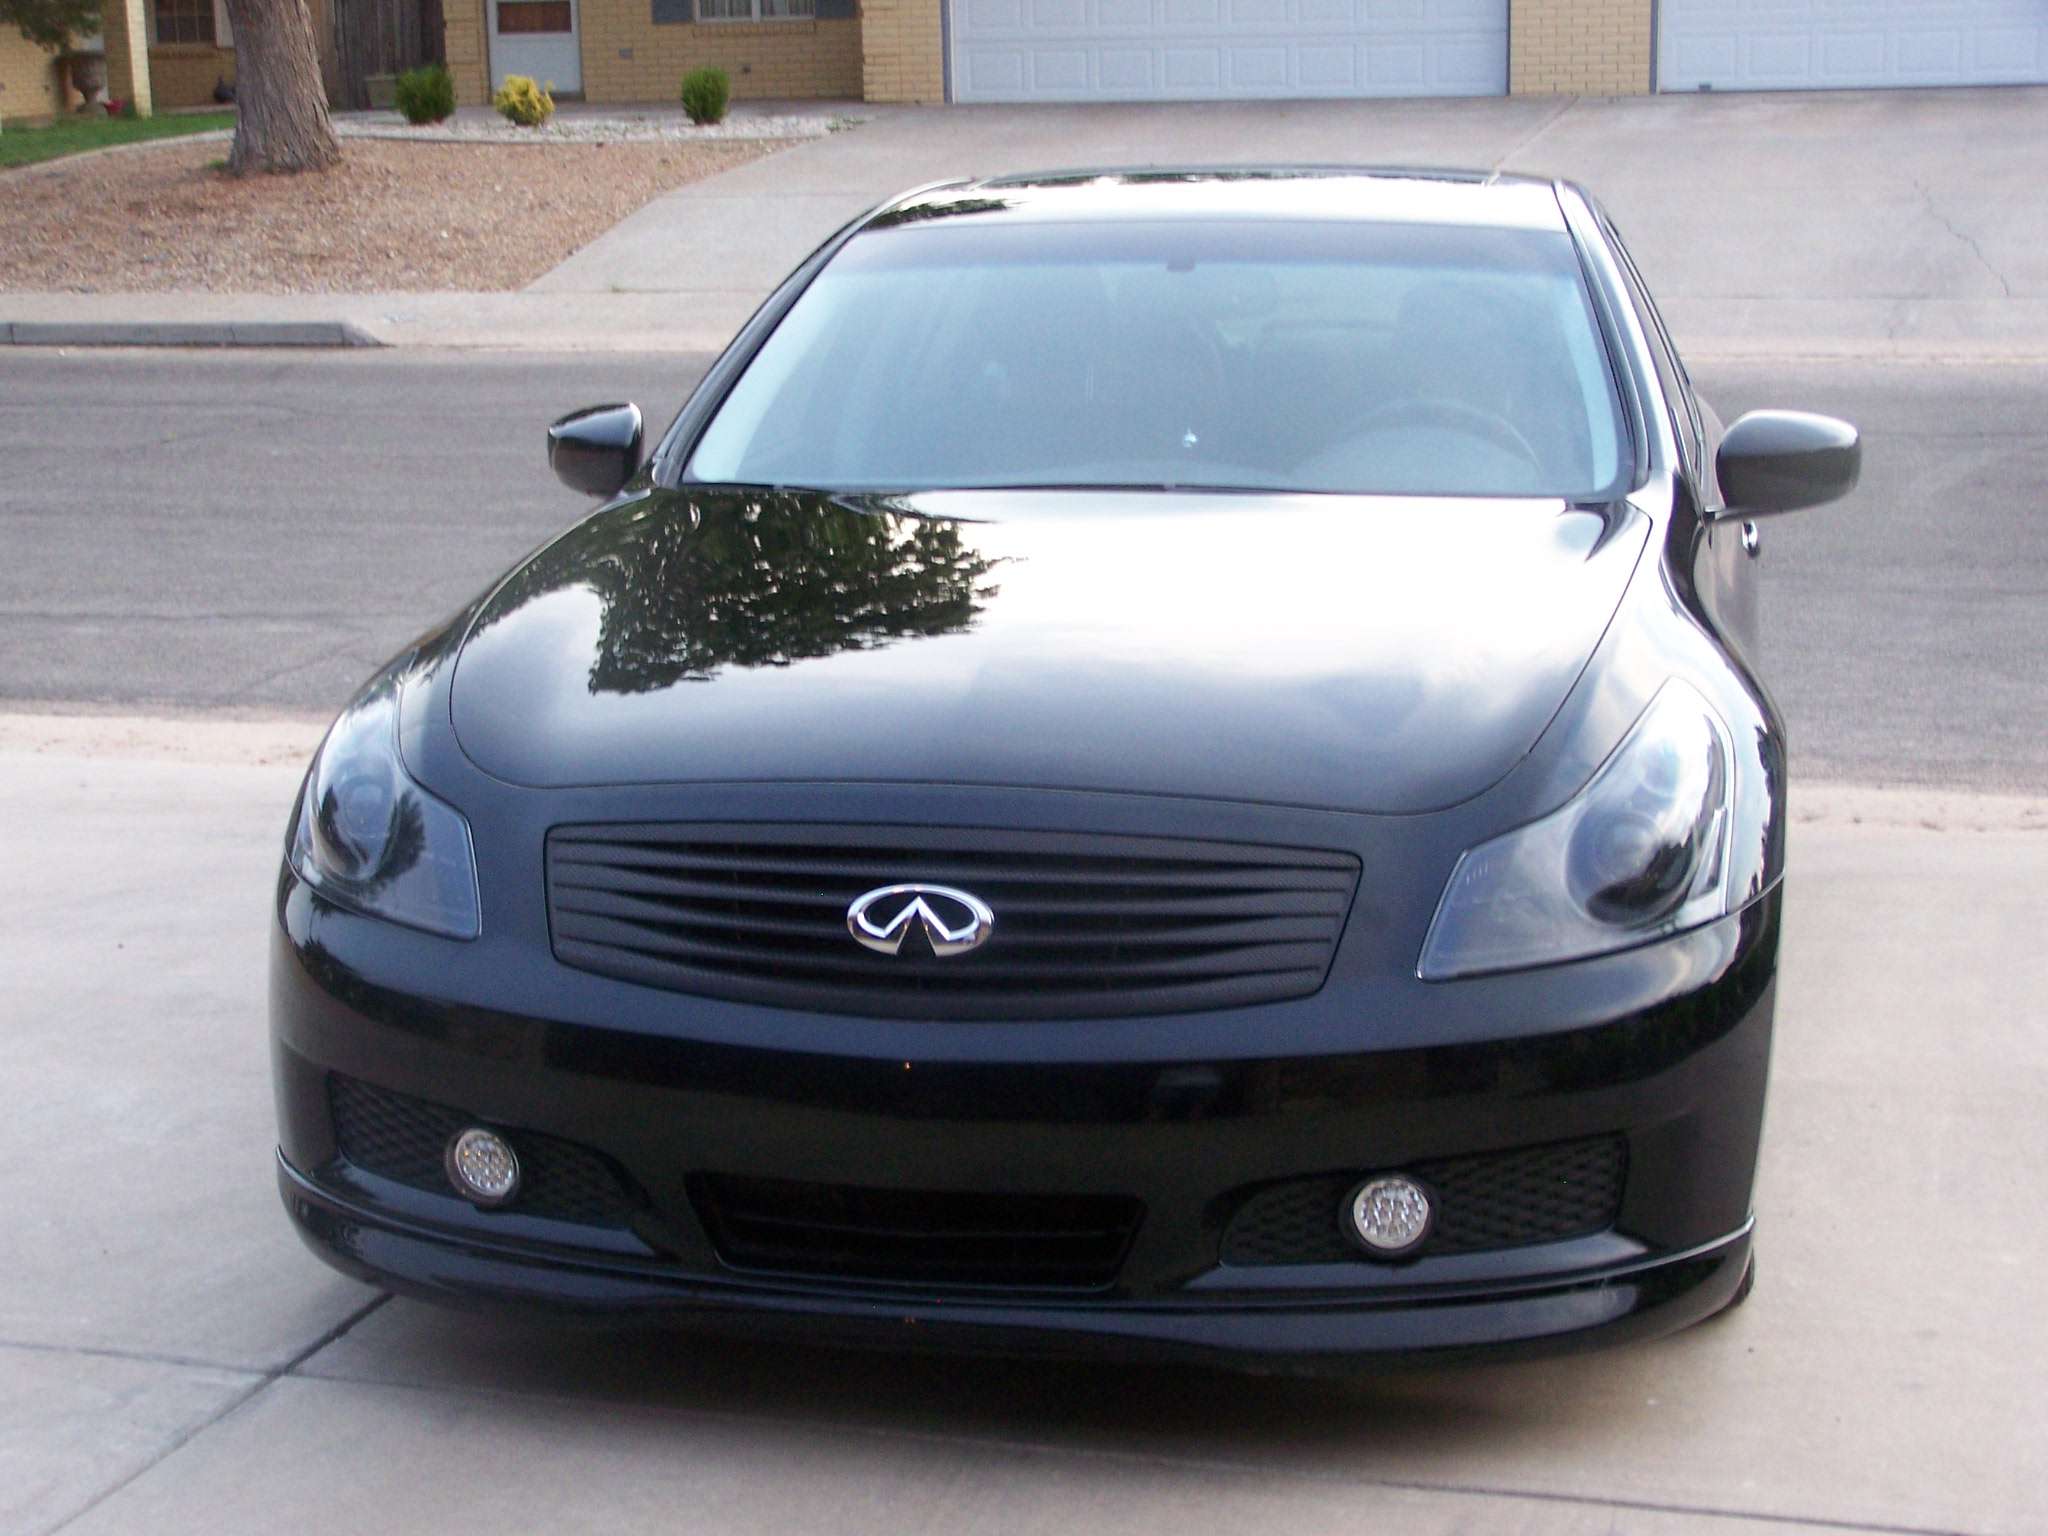
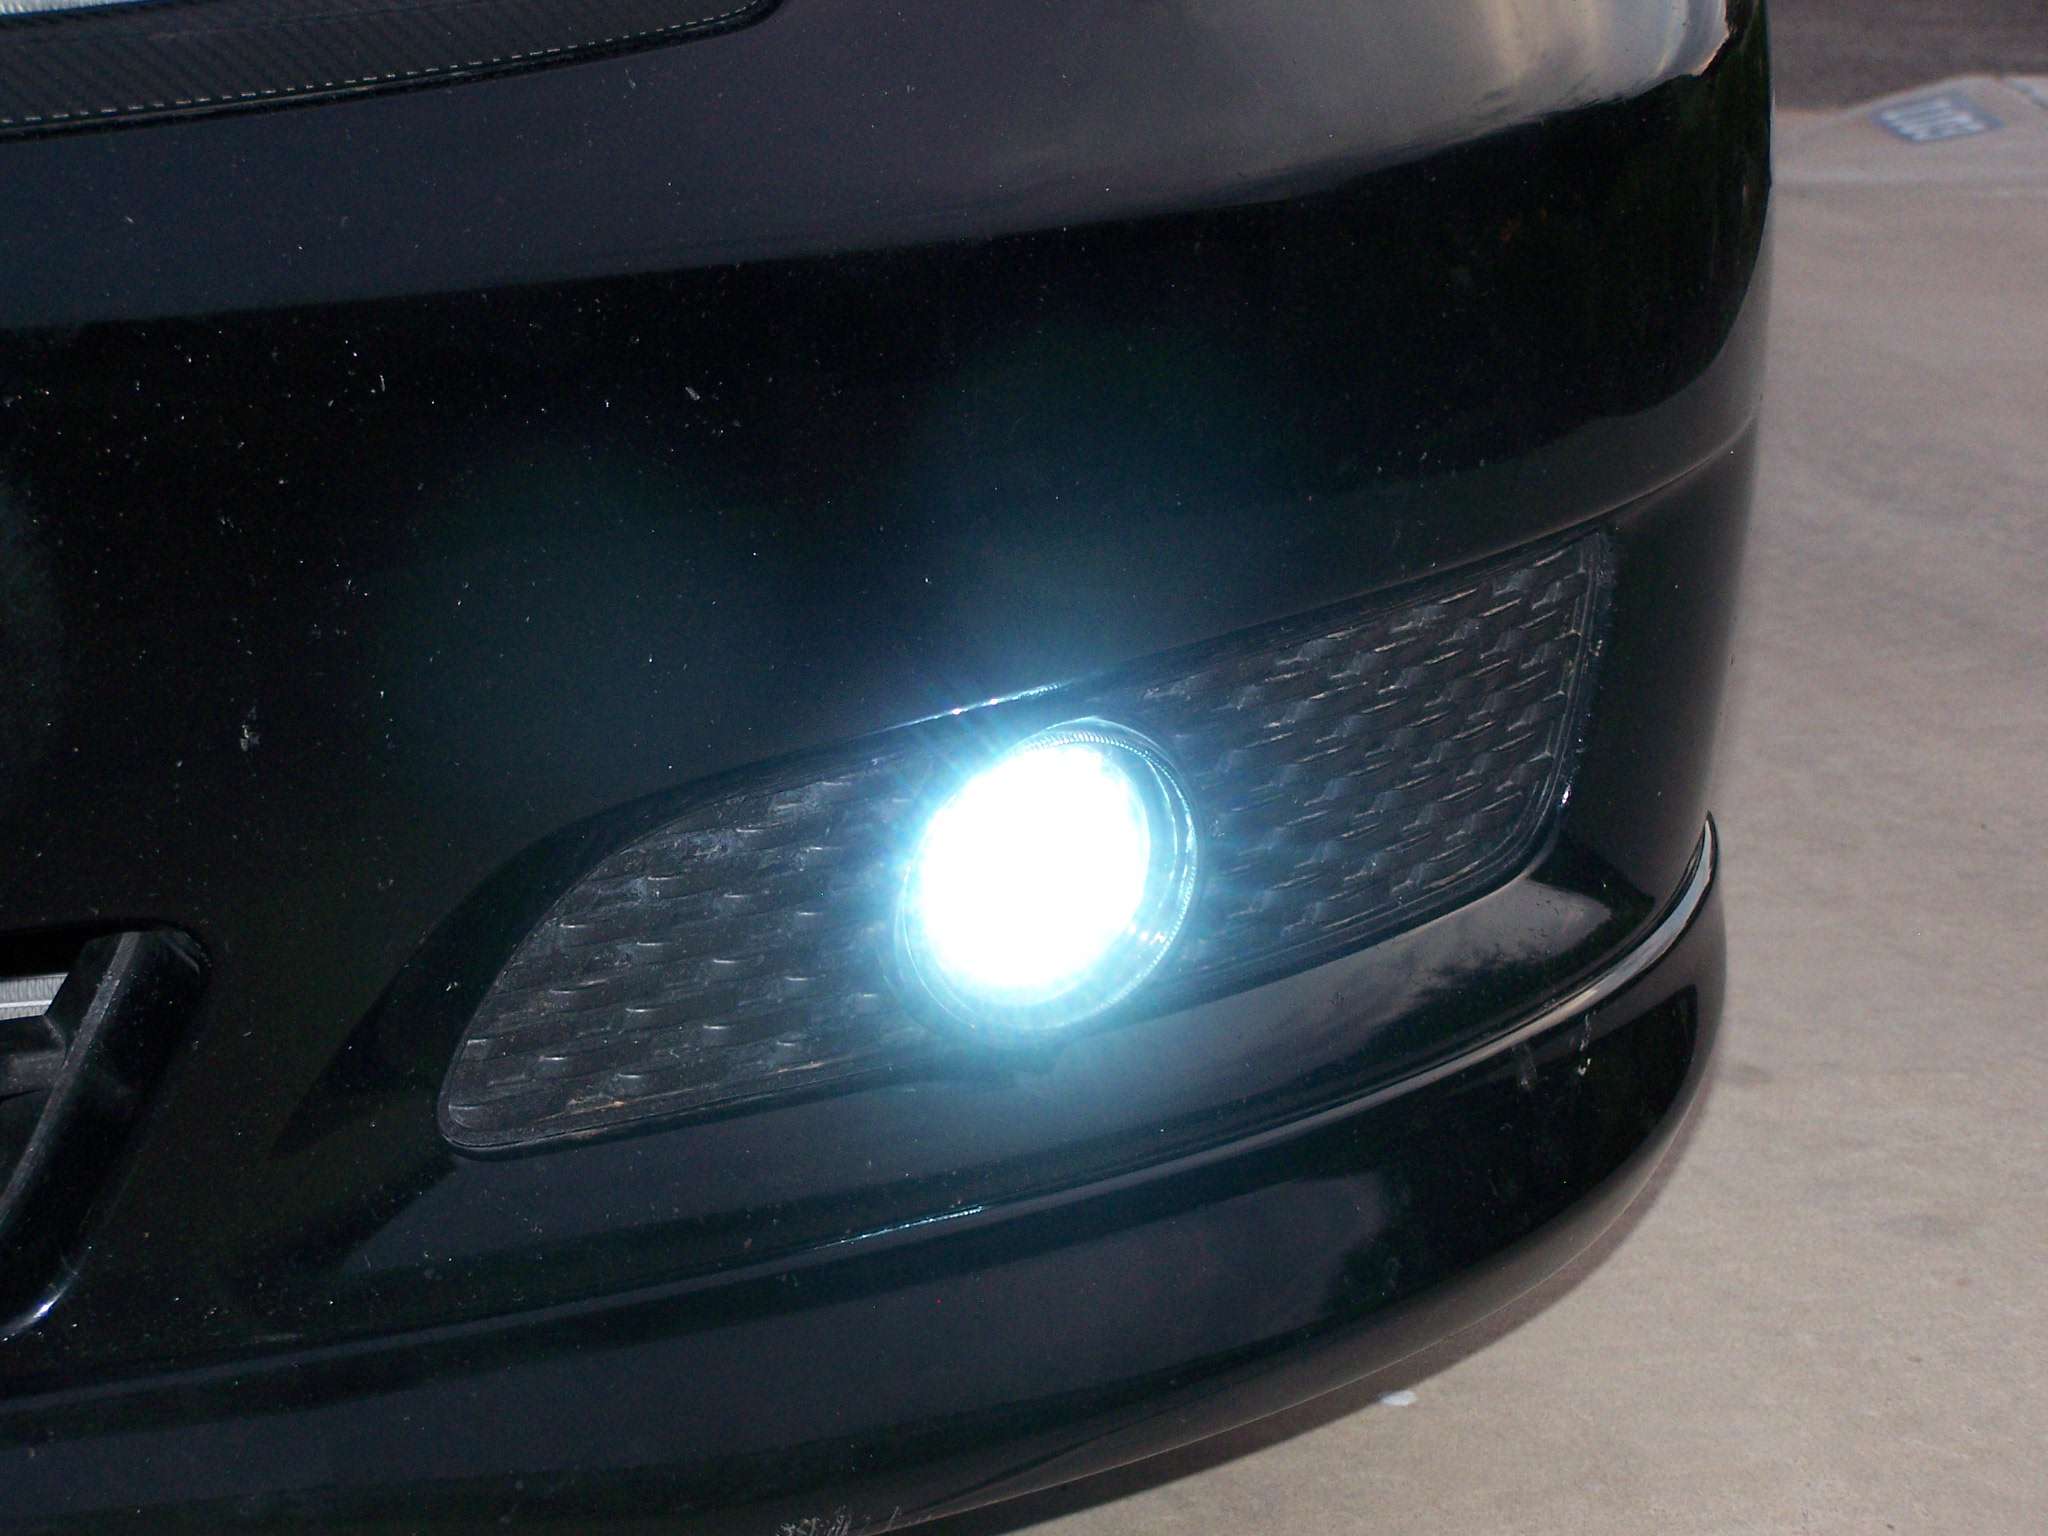
Just put these in today, simple install and they are lightweight & run cool so I was able to mount them to the bumper. Only tools needed are a 3.5" hole saw and a 3" rubber pipe sleeve w/ included clamps. I looked all over for fog lights that would work as DRLs and these seemed to fit the bill. The Infiniti FX 35 lights I found seemed to have a similar bumper angle and the diameter would be perfect in the grill mesh. Luckily they did fit like I had hoped, here's the best source I found for these lights, quick free shipping to, got them in 4 days 
2003-2006 Infiniti FX35 LED Fog Light Chrome
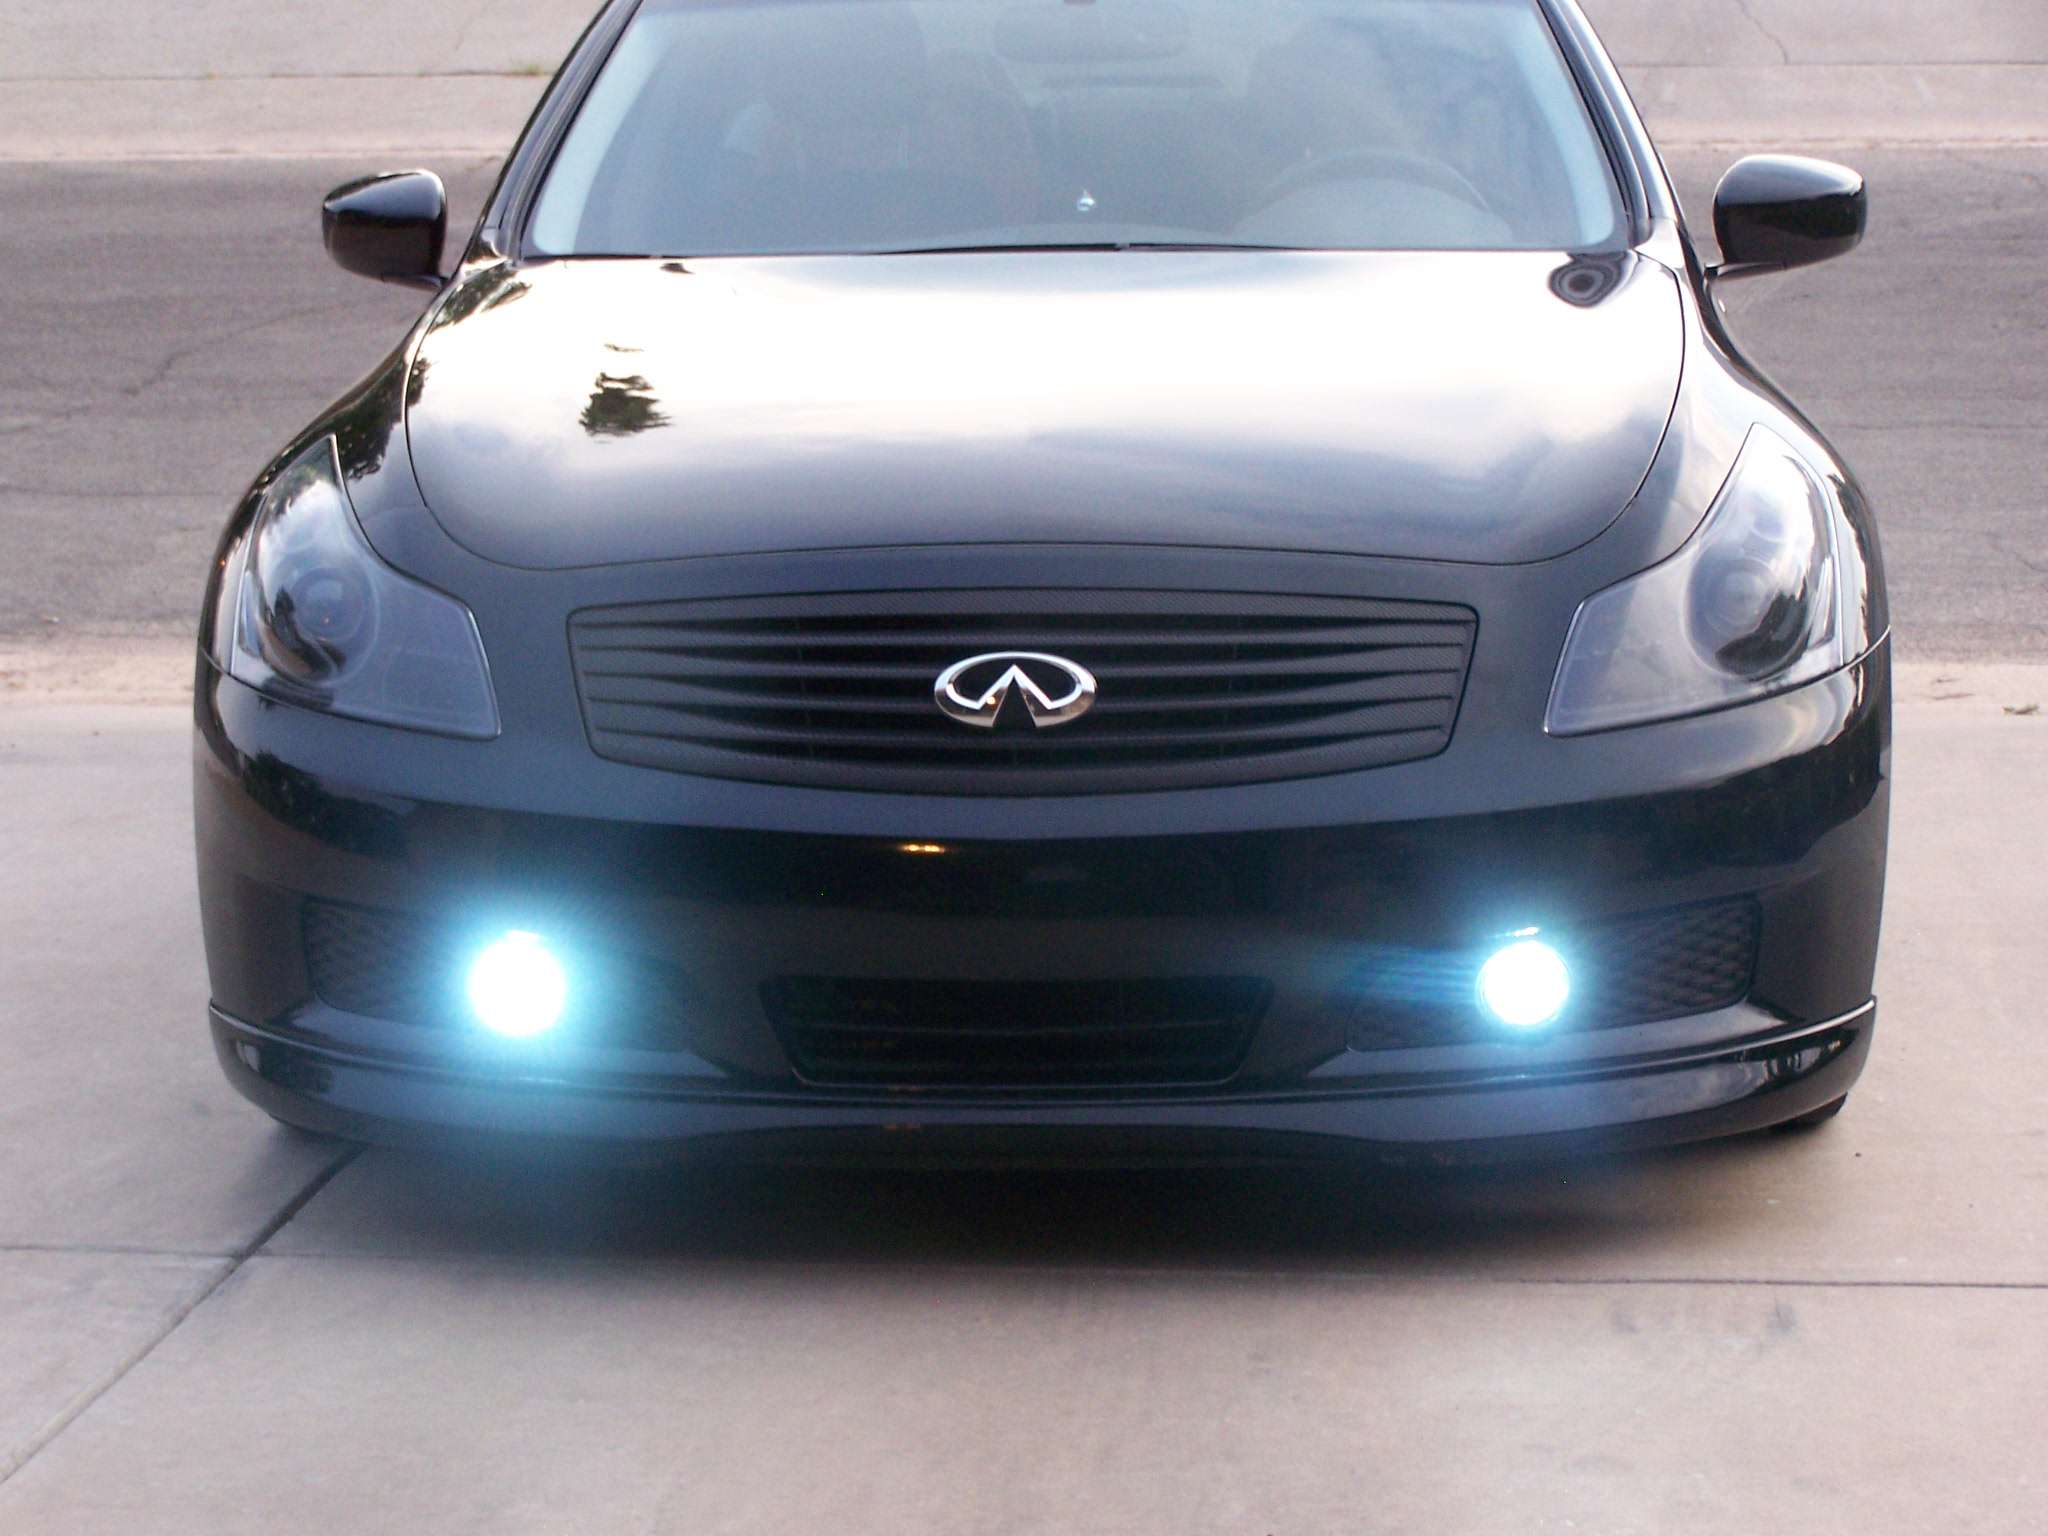
I haven't wired them yet (just wired across the battery to show pics of them lit up), if anyone out there knows the easiest wire to splice into and the best place to come through the firewall I'd appreciate it. The lights come w/ relay, fuse and a dual LED switch, so I just want to hook up to a hot lead that only comes on when the engine is running, nothing hooked to a light switch etc.
I'll get a DIY thread when I get them hard wired in a week or two.
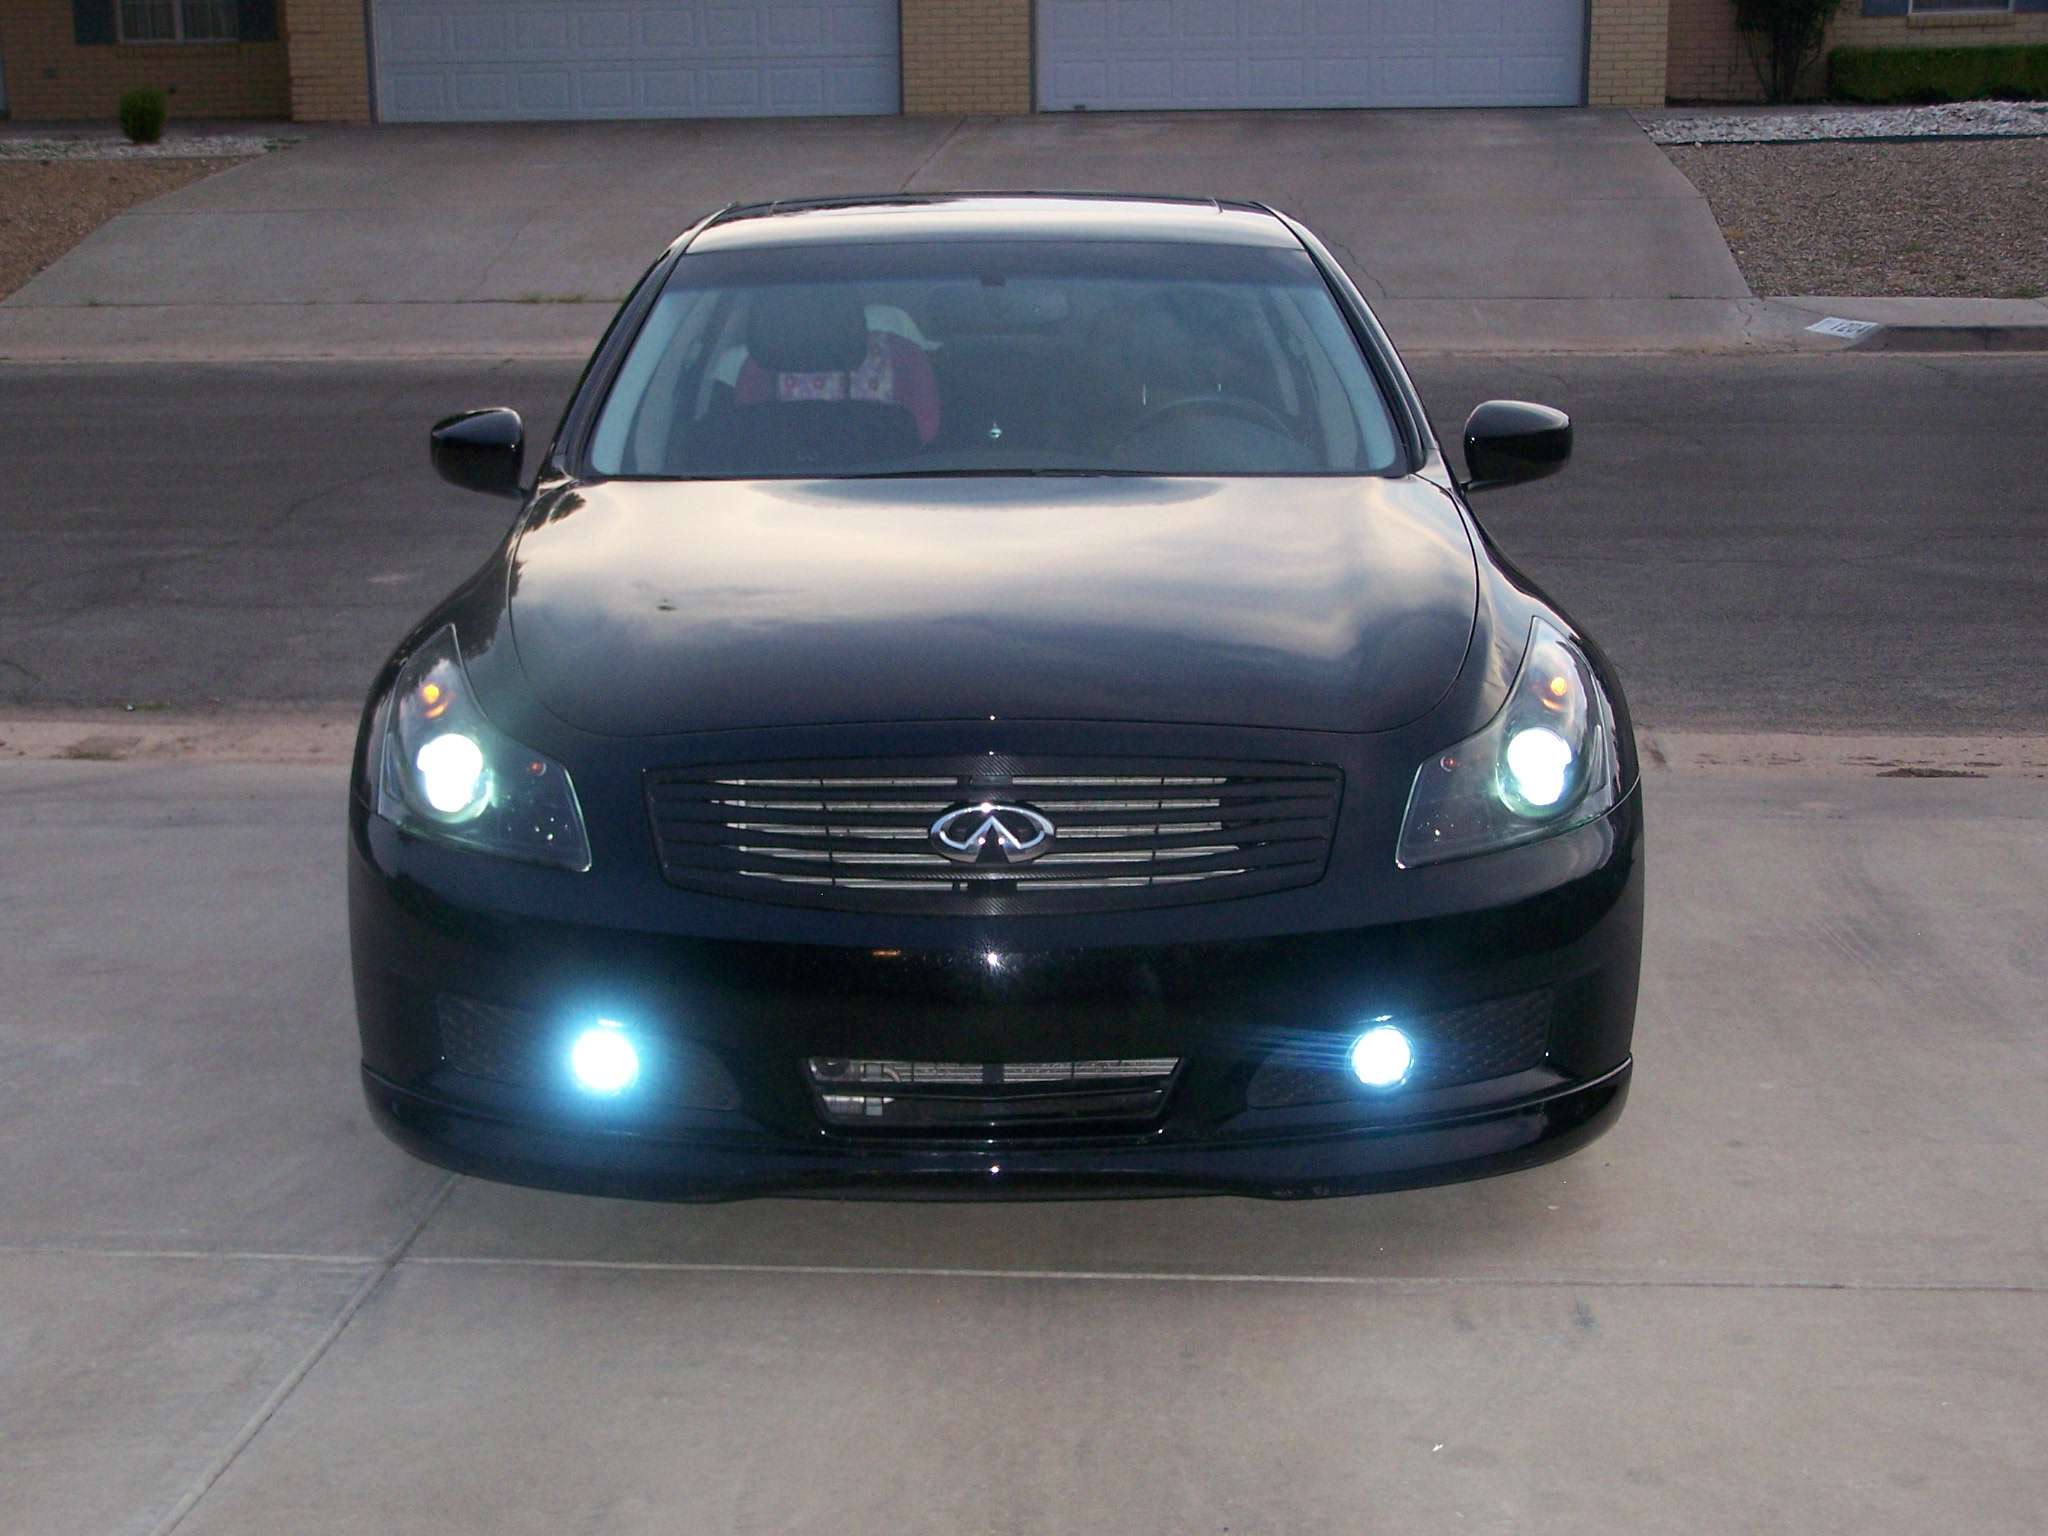
The lights are 6000k so they emit a slight blue tint, perfect for DRLs and probably intense enough for light fog, not sure how well they'll cut through the heavy stuff, but we rarely have fog, lol.
I'm really satisfied w/ the results, the overall fit, look, and light output exceeded my expectations. Hope you like them~
2003-2006 Infiniti FX35 LED Fog Light Chrome
I haven't wired them yet (just wired across the battery to show pics of them lit up), if anyone out there knows the easiest wire to splice into and the best place to come through the firewall I'd appreciate it. The lights come w/ relay, fuse and a dual LED switch, so I just want to hook up to a hot lead that only comes on when the engine is running, nothing hooked to a light switch etc.
I'll get a DIY thread when I get them hard wired in a week or two.
The lights are 6000k so they emit a slight blue tint, perfect for DRLs and probably intense enough for light fog, not sure how well they'll cut through the heavy stuff, but we rarely have fog, lol.
I'm really satisfied w/ the results, the overall fit, look, and light output exceeded my expectations. Hope you like them~
 08-20-2012, 12:44 AM
#2

Looks like you did a good job making it clean. But are you intended to use these as fogs? How bright are they, they look like they could blind all sorts of people.
For some odd reason I tend to like the bottom fogs faced further away from each other to where they're further than the head lights. I find it weird when fogs are positioned in between the headlights (not even sure if you could understand this).
For some odd reason I tend to like the bottom fogs faced further away from each other to where they're further than the head lights. I find it weird when fogs are positioned in between the headlights (not even sure if you could understand this).
 08-20-2012, 09:06 AM
#4
Looks like you did a good job making it clean. But are you intended to use these as fogs? How bright are they, they look like they could blind all sorts of people.
For some odd reason I tend to like the bottom fogs faced further away from each other to where they're further than the head lights. I find it weird when fogs are positioned in between the headlights (not even sure if you could understand this).
For some odd reason I tend to like the bottom fogs faced further away from each other to where they're further than the head lights. I find it weird when fogs are positioned in between the headlights (not even sure if you could understand this).
Thanks a lot


 08-20-2012, 09:23 AM
#5
Administrator

iTrader: (8)
You did it! And look how comfortable you are removing that front bumper. Pretty impressive work, Newt.
From these pictures, I like it. As for position of the fogs, look at this picture here:
Look at how the inside line of the headlight assembly draws the eye down over the bumper, to where the fog light is aligned just on the outside of that line.
Whether intentional or otherwise, it's a very good look. Well done, Newt.
08-20-2012, 11:17 AM
#6

Wow nicely done. Can't wait for the DIY. Is there a way to remove the lower grill without having to completely remove the bumper (don't have a garage so would like to mount the lights first then taking the entire bumper off for final assembly . I have an 09 Sedan). Looking to do something like this http://m.g35driver.com/forums/showth...=247092&page=5
08-20-2012, 11:18 AM
#7

it does look good newt, did you want to hook them up as DRL's? seems several people have used these ebay modules with success:
http://www.ebay.com/itm/LED-Daytime-...sories&vxp=mtr
http://www.ebay.com/itm/LED-Daytime-...sories&vxp=mtr
Last edited by BLamb; 08-20-2012 at 11:23 AM.
Trending Topics
08-20-2012, 11:54 AM
#8
Here are some links. Hopefully it helps, its beyond my level so hope when you write up the DIY, its dummy edition.
https://www.myg37.com/forums/body-interior-exterior-lighting/238639-what-is-the-simplest-way-to-control-fog-lights-separate.html
https://www.myg37.com/forums/d-i-y-installations-modifications/230543-2011-non-sport-fogs-on-2008-2010-sport-bumper.html
https://www.myg37.com/forums/body-interior-exterior-lighting/238639-what-is-the-simplest-way-to-control-fog-lights-separate.html
https://www.myg37.com/forums/d-i-y-installations-modifications/230543-2011-non-sport-fogs-on-2008-2010-sport-bumper.html

 08-20-2012, 02:18 PM
#11
You did it! And look how comfortable you are removing that front bumper. Pretty impressive work, Newt.
From these pictures, I like it. As for position of the fogs, look at this picture here:
Look at how the inside line of the headlight assembly draws the eye down over the bumper, to where the fog light is aligned just on the outside of that line.
Whether intentional or otherwise, it's a very good look. Well done, Newt.
From these pictures, I like it. As for position of the fogs, look at this picture here:
Look at how the inside line of the headlight assembly draws the eye down over the bumper, to where the fog light is aligned just on the outside of that line.
Whether intentional or otherwise, it's a very good look. Well done, Newt.
It was the furthest out I could go without losing the mounting angle but still able to fit the light in the mesh.
Wow nicely done. Can't wait for the DIY. Is there a way to remove the lower grill without having to completely remove the bumper (don't have a garage so would like to mount the lights first then taking the entire bumper off for final assembly . I have an 09 Sedan). Looking to do something like this Teaser Project - True 3K HID Fog Kit - Page 5 - G35Driver
Here are some links. Hopefully it helps, its beyond my level so hope when you write up the DIY, its dummy edition.
What is the simplest way to control fog lights separate? - MyG37
2011 Non Sport Fogs on 2008-2010 Sport Bumper - MyG37
What is the simplest way to control fog lights separate? - MyG37
2011 Non Sport Fogs on 2008-2010 Sport Bumper - MyG37
appreciate the kind words Mike
Thanks a bunch Rick, this was a simple DIY, you DO have the skills


 08-20-2012, 09:34 PM
#15
Thanks for the compliments! Actually you leave the bumper on and align your holesaw to get a true drill axis (keeping the drill level and using a staight edge to follow the light beam). Once you get the holes drilled then you pull the bumper & snug the lights up & re-install. Takes a couple hours start to finish~removing & re-installing the bumper is the biggest time consumer. This is assuming you also have the 07-09 journey bumper, any other bumper setup may result in other obstacles that I'm unaware of and you'd need to pull the bumper & make sure everything will clear.
 I have 09xs. Gonna bite my lips and hold off my questions till you write your DIY.

