When you click on links to various merchants on this site and make a purchase, this can result in this site earning a commission. Affiliate programs and affiliations include, but are not limited to, the eBay Partner Network.
Hey everyone. There have been a lot of posts about people complaining about the roof leaking. Most of these deal with leaks from the A pillar. If this is the case then go ahead and follow the ITB 10-070a:
If you are like me and had a leak coming from the rear then I have documented my fix for you. It took me a long time to properly diagnose where it was leaking from. Watering my car in the California drought, not even cleaning it, just watering it until it leaked/drying it/opening the roof halfway and trying to find what was and wasn't wet haha. Long story short, you can follow the procedures in the ITB above and apply them to a different seal.
In the attached photos I have pointed out what I believe to be the cause of the problem, where the leak was inside the car and how it got there, and a couple other things of interest.
My car was leaking, a lot, during a heavy rain storm. Now I have reduced the leak to one or two drops (even during a heavy storm) and the drops are on that soft plastic dashboard material in the back so it's not the end of the world if that gets wet. I think that if you really tried, and were good with a caulk gun, you could completely stop the leak and have less excess silicon sealant. But even with my so-so job it's really imperceivable.
It's held up for a few months now, albeit it doesn't rain in Cali that much and it's only been a few months. However, it's way cheaper to do this than it is to have the seals replaced, and people say sometimes that doesn't even work.
I hope this helps, good luck everyone!
My car leaked on both sides, this is the passenger's side (the rest of my photos focus on the driver's side, but it was identical)
This is the seal that was giving me trouble
This is the rubber seal that I needed to repair
Displaying the area which I sealed and the excess sealant which ran onto the rubber seal
Displaying how you can check if the seal is pulling off of the metal
This is the front of the car, but in this photo you can see the spongy area which I believe is supposed to be glued to the metal
When I applied the sealant I would run my thumb next to it which helped me expose the seam I was trying to seal.
How the excess sealant looked with the roof closed
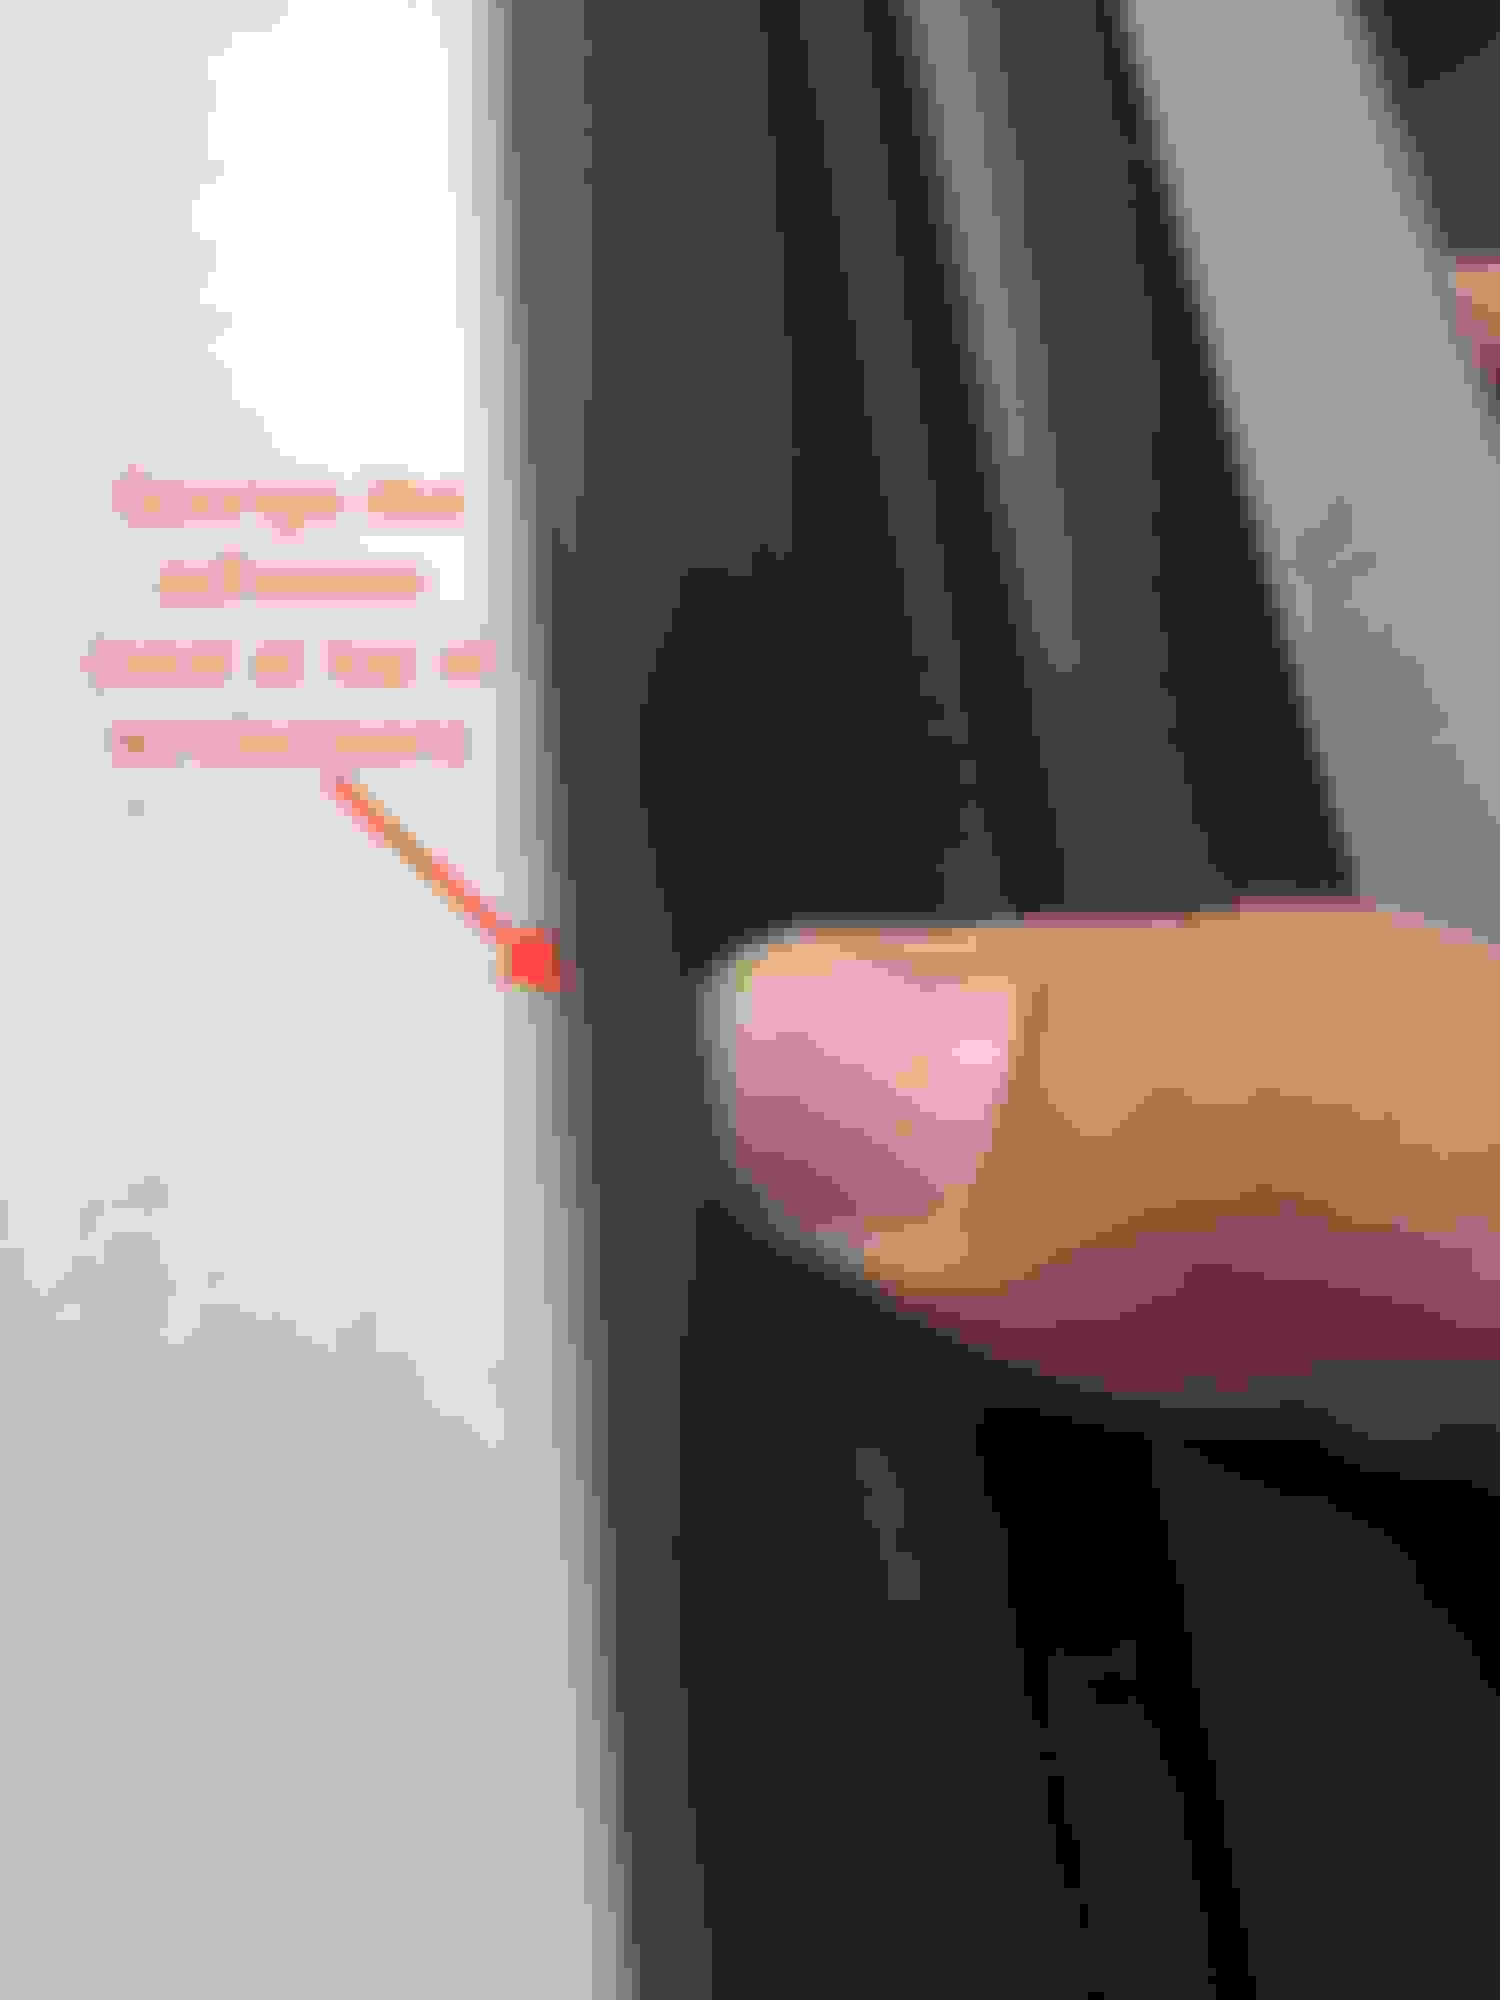
This photo helps show you where the zoomed-in photo (with the path of the leak) is on the car
This is how I believe the water traveled inside of the car before it got to the headliner. Meaning that the leak you see isn't where the leak originated
Although my top has not leaked from that rear seal, I had to do the exact same fix on the front seal at the windshield. It was leaking when I bought it used and the original owner had replaced it under warranty. After caulking it the leak stopped. I do have one question about stopping the top halfway open. Do you stop it when it is opening or when it is closing and do you keep the engine running until you finish caulking or can you kill the engine and restart to finish the top movement. Thanks
Honestly, and I know it's probably bad practice to do this, but I stopped the roof in every direction, opening and closing, small increments to big ones. This was during the trouble shooting phase when I was trying to trace the path of the leak. I never turned the engine off and did all of this outside (carbon monoxide is bad for your health haha). I have the car CPO with the extended warranty so I figured I would be covered if I pissed something off mechanically (may or may not be correct). I wouldn't advise that but I never had a problem. I never stopped the roof for very long, and I never stopped the engine.
Bottom line: In my not so expert opinion I would stop it while you're opening it, leave the engine on, apply the sealant, then continue to open the roof (so it ends up in the trunk). That's what I did. I then popped the truck to allow more airflow while the silicon sealant cured (the roof was fully stowed, I just opened the trunk from the rear).
Well, I finally got around to doing mine. I was nervous about stopping the roof in mid open position but it wasn't a problem. The only hassle was trying to reach to the center of the roof even on a ladder. My arms are short. The only test I've done was this morning rinsed the pollen off before going to work and it did NOT leak! So, hoping it's fixed now. I will update after the next rain...
Well, last weekend I caulked mine and then it rained last night. When I went out to my car both sides were dry so I was excited that it worked. Well, as I was driving in to work, it started to leak on one side. Now, it was not raining anymore, so the water that was leaking was already in the roof. I guess the movement of the roof while driving allowed it to make its way down to the exit spot in the car. I will check my caulk job and do a little more investigating. I was really hoping this would have been all to fix it. I was wondering about the seal that is directly above the leak point at the top of the back glass and whether that may be a leak source also. I will keep posting as I go...
After still having a leak on one side, I rechecked it and the side that was leaking was not the best job. So I caulked it more in hopes to finally stop it from leaking. Hope it works now. I'll update when I've been able to test it.
Hey Matt, here is an update. I re-caulked the seam and it is still leaking in the back after washing my car. I does not leak until the car is moving. So today I got a water hose and ran water ONLY at the REAR seam above the BACK GLASS and it did not leak at first. So I got in the car and drove it around the subdivision and it started leaking!! SO, the leak is NOT coming from the middle seal that you said to caulk because I did not run any water on that seal. I left it totaly dry. In the G37 repair manual it said if a leak appeared where our leak is to caulk the rear seal right above the back window. It appears that it might be kinda tricky but I'm going to attempt to do it soon. I live in Louisiana and we typically get tons of rain!
Ok, it's been raining here and my roof is still leaking! So this is NOT a fix for the leak in this area. According to the Infiniti repair manual the joint right above the leak is the culprit and I believe it. The dealer said the seal would need to be replaced but I'm not giving up yet. I'm going to try to see if there is any other fix for it.
 02-26-2016, 09:55 PM