When you click on links to various merchants on this site and make a purchase, this can result in this site earning a commission. Affiliate programs and affiliations include, but are not limited to, the eBay Partner Network.
This weekend, I decided to refinish my old 19" sport wheels since they had some curb rash from the previous owner. I used ChrisFix's video as a reference guide. If you're bored of your current wheel's color or have too many scratches, I highly suggest DIY-ing above powdercoating since materials only cost about $100 total, as opposed to $100/wheel.
So I started out by washing the wheel from top to bottom. I used dish soap since you need a degreaser and there's no need to worry about the clearcoat that's going to be painted over. Instead of a microfiber, I also used a Scotch Brite dish sponge. This provides the appropriate abrasiveness to get rid of all the contaminants that are embedded on the wheel. Finish off by claying every inch of the wheel to ensure that the surface is completely clean.
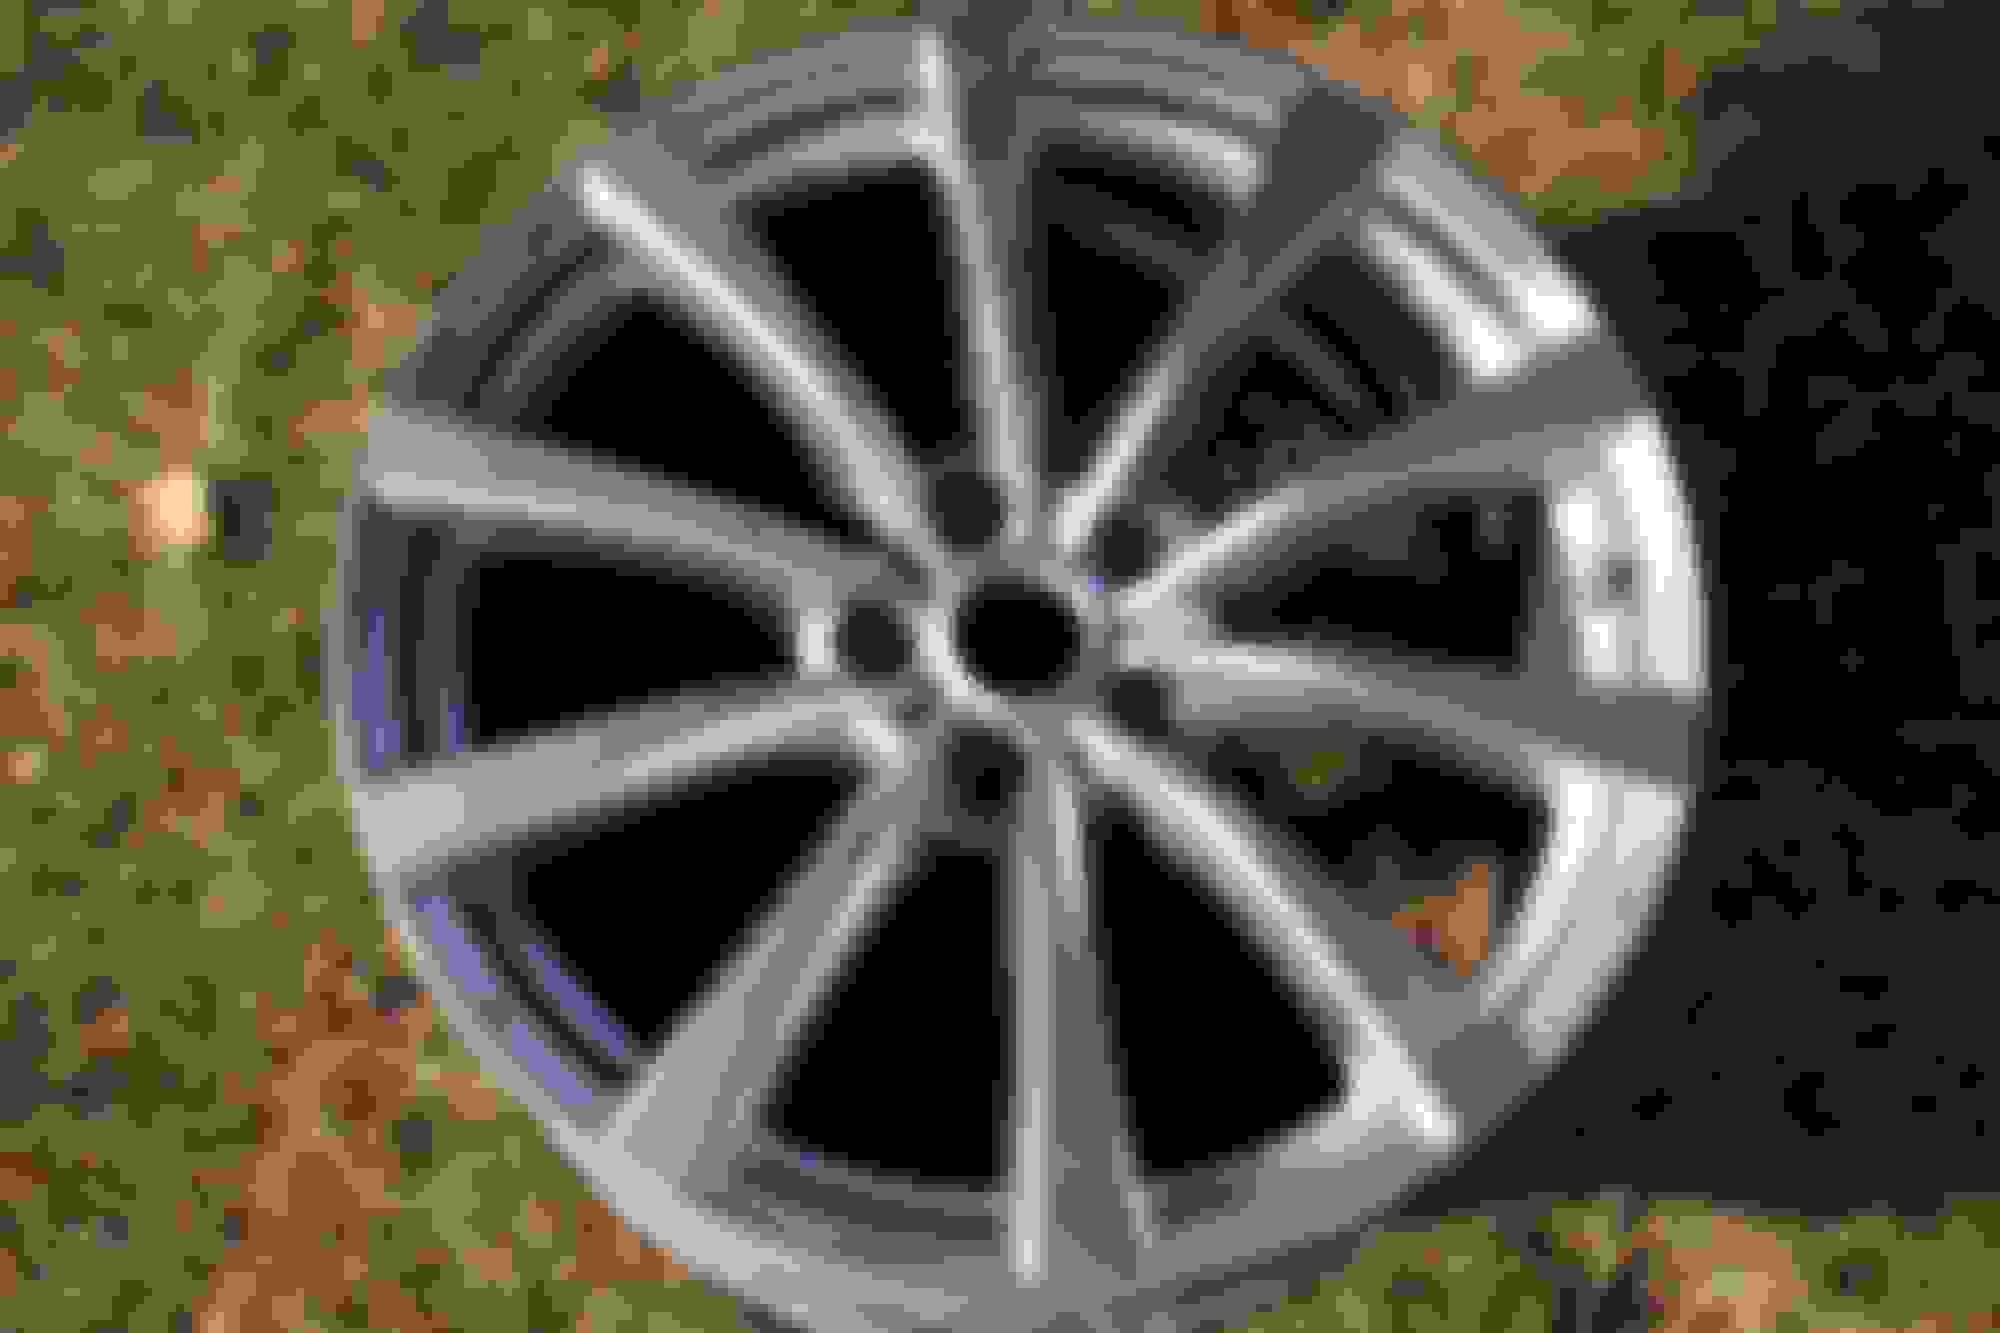
As you can see, the wheel has clearcoat failure in some areas and some curb rash on the rim.
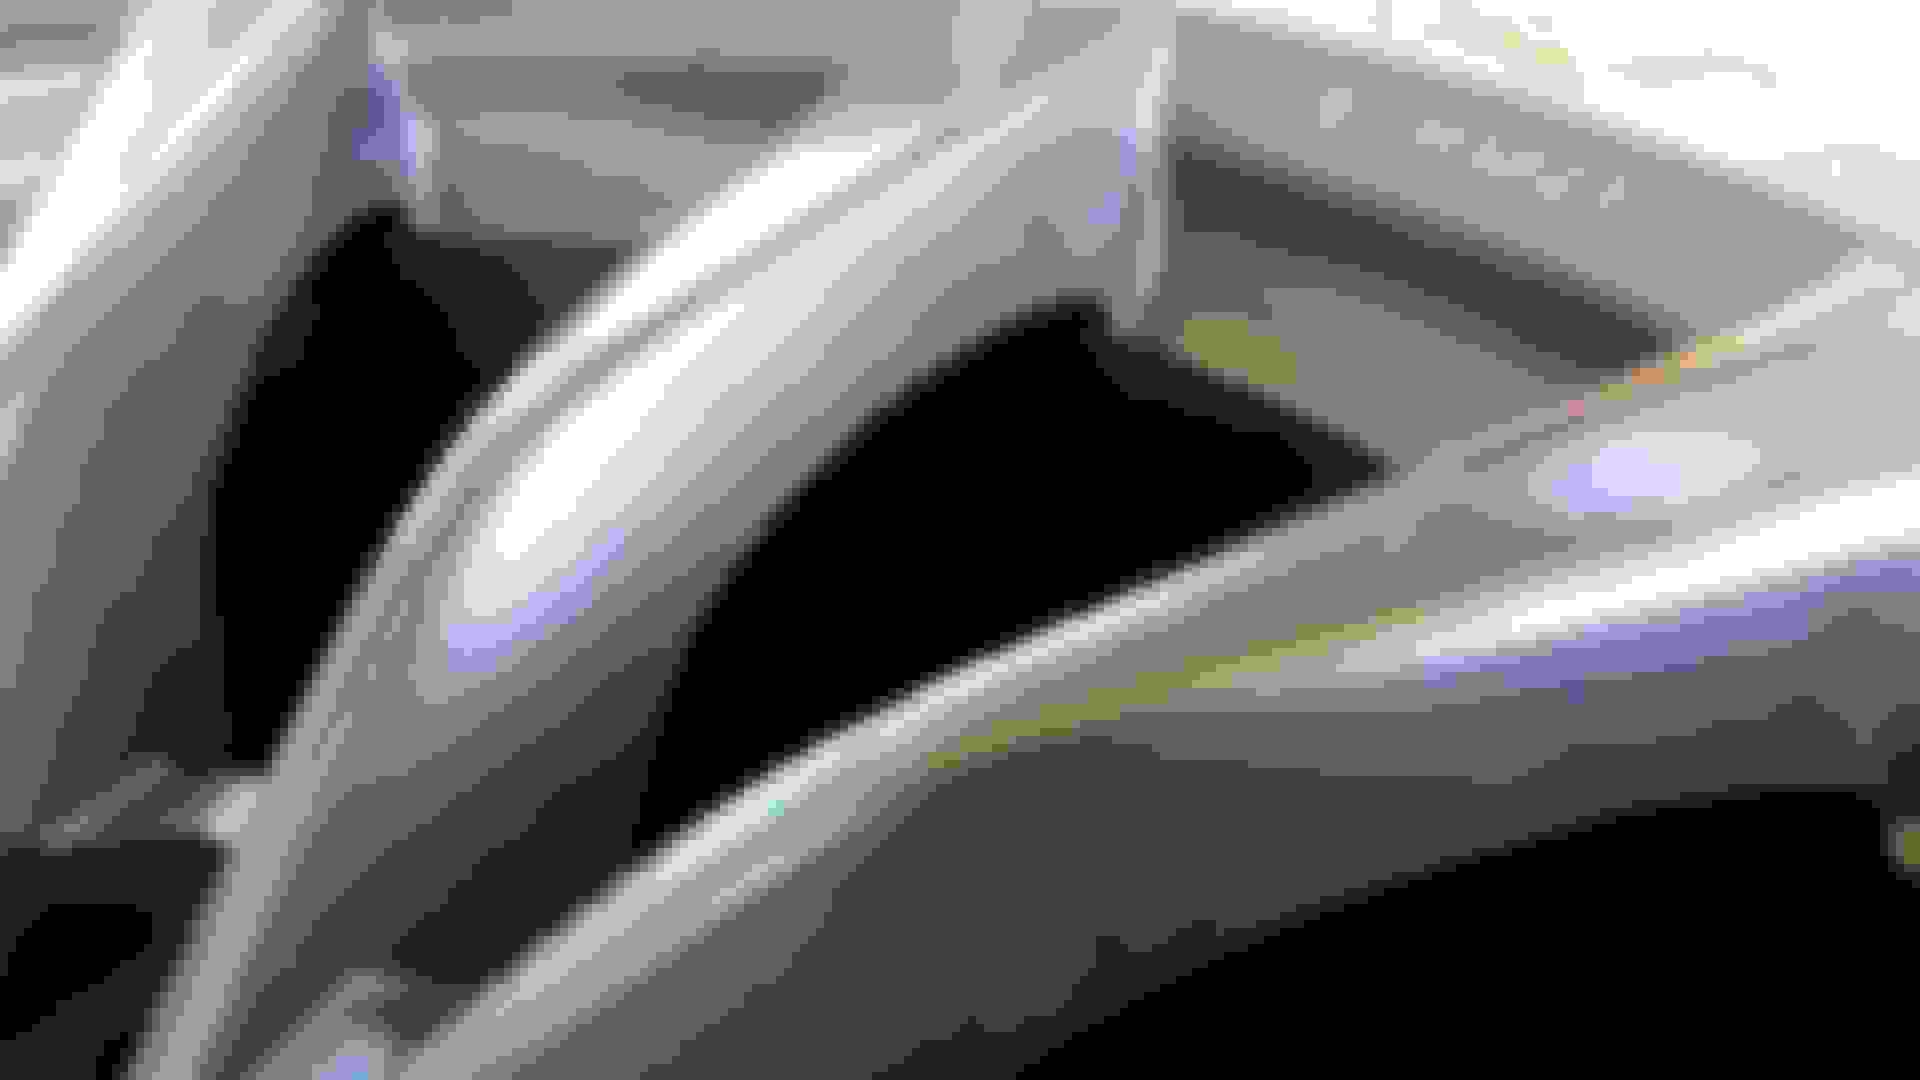
I used the 80 grit only for the deep gouges on the rim. Be sure to keep rinsing the wheel since you'll be sanding off chunks of the wheel with each pass of the sandpaper. Progress to higher grades of sandpaper as the scratches disappear and your wheel should look something like this.
Wash, dry, and make sure that the entire surface of the wheel is smooth. Preparation is 90% of the work so don't skimp on the details. Tape up the valve stem and move onto priming the wheel. I would suggest flipping the wheel on its face (use cardboard!) and first apply primer on the inner barrel. If you do the reverse, the face will catch contaminants in the paint and your work will be ruined. So finish the barrel first, then the face/spokes. Be sure to allow at least 1-2 minutes between each before you apply the next coat.
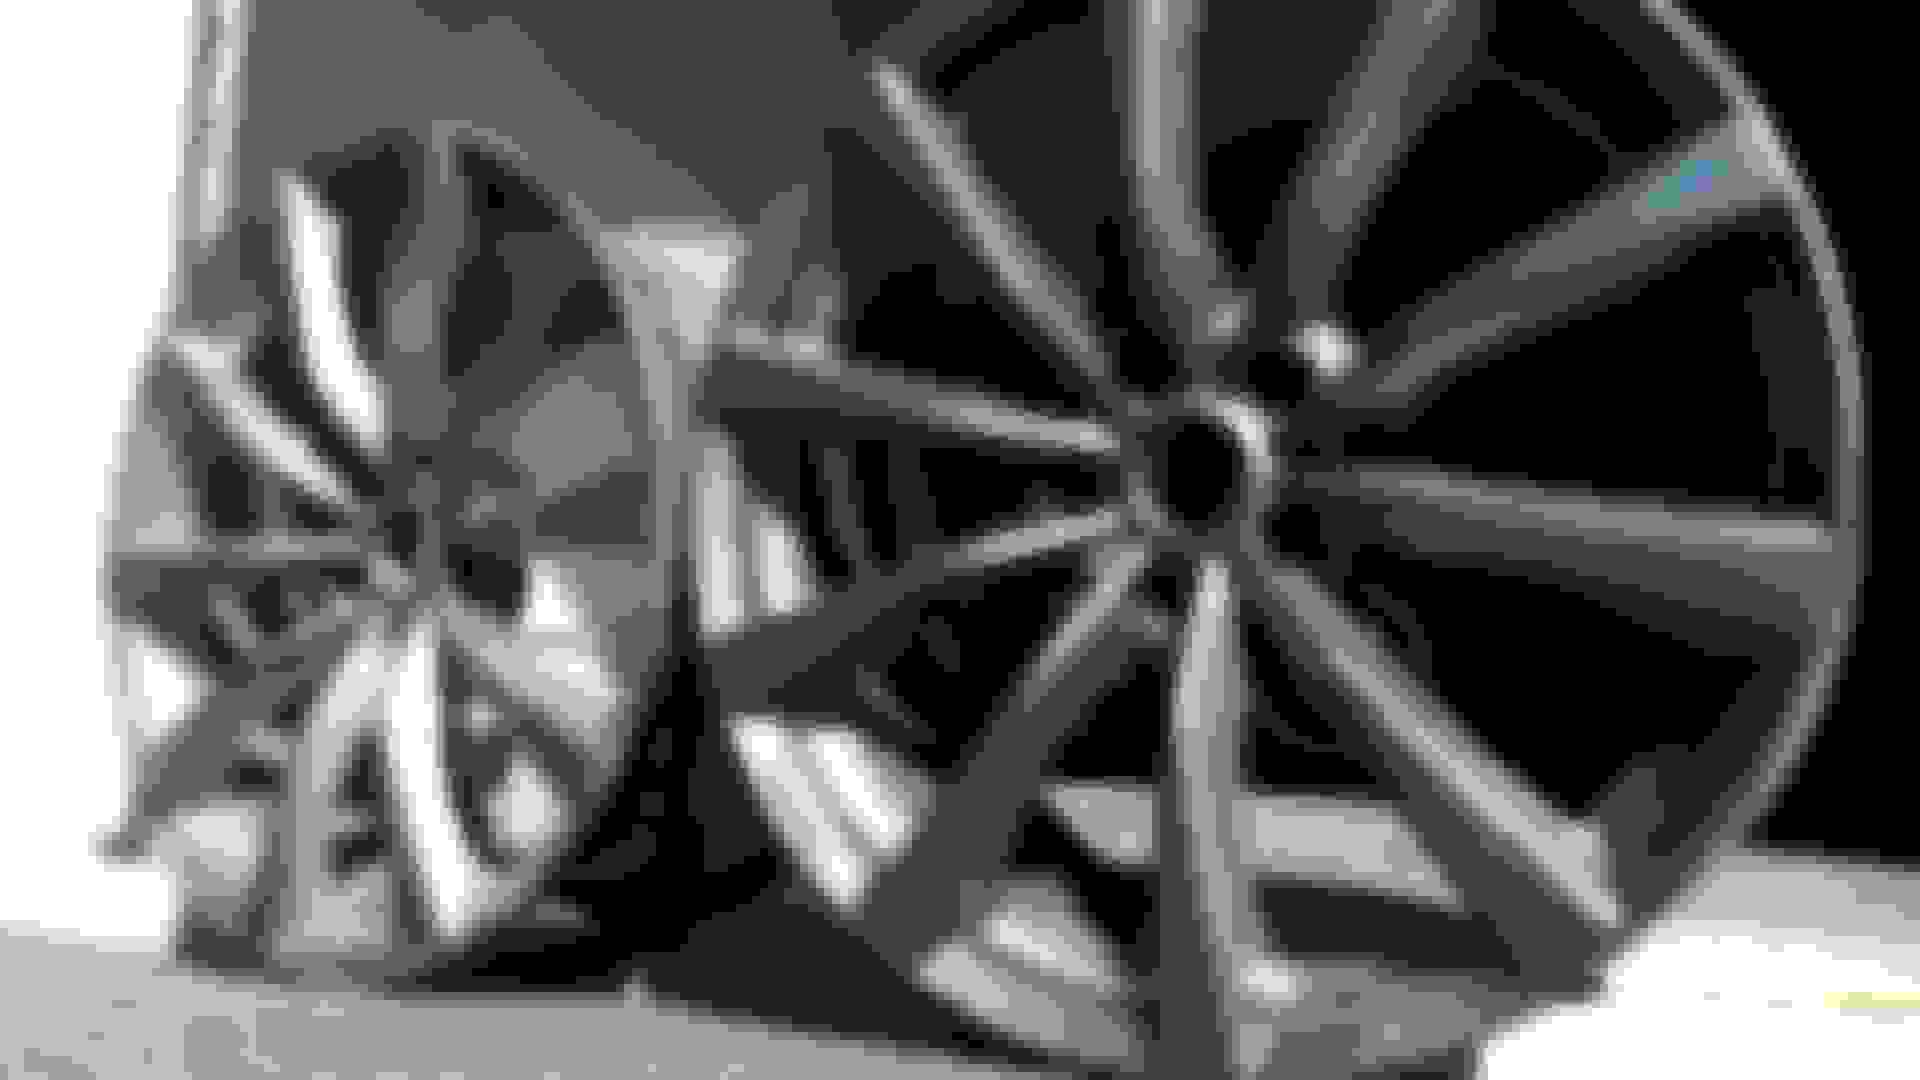
3 coats of primer, 3 coats of paint, and 3 coats of clearcoat later, you will get something like this:
Overall, I'm pretty pleased with the results. It took about 1.5hrs for each wheel but I definitely saved some cash that I could put towards other mods. Besides, these are going to be my winter wheels so I'd rather invest in better tires.
If you have any suggestions regarding the process, feel free to share what you've done in the past to get even better results. Happy modding!
*I didn't have to use Bondo/putty for these wheels since the gashes weren't as intense. I'll update this thread once I get to my other 2 wheels that look like a bear tried to attack them.
I just refinished the lips of my GT30s from curb rash...depending on deep they are it will take quite a bit of time even with the dremel.
I can't remember the exact bits I used but the main one was a green cone shaped followed by the sanding wheel and then hit it with some steel wool.
Nice job there. Instead of using Bondo might want to look at JB Weld Steelstick, this should allow you to powdercoat them if you ever wanted to since it's metal reinforced.
Think I'll post this thread as a sticky Here's the JB Weld info SteelStik Epoxy Putty Stick | J-B Weld
Nice work! Mine is going back to the dealer I got it from to have the wheels re-painted since someone apparently poured acetone on them and stripped the finish. I'm anxious to see how good a job they do. If it sucks I will defiantly be referring back to this and re-painting them after winter.
Nice work! Mine is going back to the dealer I got it from to have the wheels re-painted since someone apparently poured acetone on them and stripped the finish. I'm anxious to see how good a job they do. If it sucks I will defiantly be referring back to this and re-painting them after winter.
The best part about doing this is that you have infinite (or infiniti?) colors to choose from
Nice job. Im going to have to give this a try. I have a few very minor scratches on my rims which I tried to fix with touch up paint. It wasnt a 100% perfect match so OCD me would prefer to re-paint.
Did you have to do anything to remove the clear coat or did the sanding everything provide a surface for good adhesion for the primer? For the surfaces which are not scratched, did you still sand them all down with a lighter grit sand paper?
The best part about doing this is that you have infinite (or infiniti?) colors to choose from
Well, they looked after I picked it up in September but I noticed they are bubbling/peeling already! I'll take a good look after a wash this weekend but I might be doing this sooner than later. Should have known 4 wheels refinished in 1 day was a rattle can job. Oh well, I still think body color (Graphite Shadow) will look good! Thanks again for the great write-up, this will come in handy!
So I did this last weekend, took a few hours. I didnt have any deep scratches, just some minor wear and tear which came out with 400 grit sandpaper. The bondo primer spray filled in any small dings.
I chose a lighter spray paint, I went with a lighter silver metallic as my winter rims are gunmetal so I wanted something with more contrast to my black car. I bought everything at Autozone, the spray paint was half the price from Amazon.
5 bucks for a pack of assorted grit sandpaper, 6 bucks for the can of bondo primer, 6 bucks each (12 total) for 2 cans of spraypaint, and 7 bucks for the large can of clear coat. Pretty darn cheap for a DIY for 4 rims which look brand spanking new.
 09-25-2016, 05:20 PM


 Here's the JB Weld info

