When you click on links to various merchants on this site and make a purchase, this can result in this site earning a commission. Affiliate programs and affiliations include, but are not limited to, the eBay Partner Network.
Step 16: Clean vigilantly in the gap under your A pillars where it meets the window. This is where the wrap will most likely lift due to grime and dust! I went through 2 microfiber towels and 1/5 bottle of isopropyl alcohol before continuing.
Step 17: With the help of a friend, lay the vinyl down onto your fender and C pillar. You should be able to create "glass" on the first or second try since this is a relatively flat surface. Use your squeegee and press down on the anchor point. Then slowly squeegee starting from the middle of the pillar towards the edges where it meets the roof and window. Use your glove when needed to smooth out the curved edge of the pillar and to press down on any remaining bubbles.
Step 18: Make your initial cut where the A pillar meets the C pillar. This will be a cut with normal length. Then start working at the gap by your roof. This cut will be shorter in length, depending if you removed the rubber seal. I didn't so I had to make sure that the vinyl wasn't long enough to warrant tucking it under the seal. Work your way down to the fender - I highly recommend resting your hand (with a microfiber underneath) planted on the car to ensure a clean cut.
Then make your cut by the window. Depending on how much work you want to put in and how long you want the vinyl to last, length will vary. For the driver's side, I went with a longer cut and took an extra 15 minutes tucking the vinyl beneath the window seal. My rationale was that I constantly get in and out of the car so that side may wear faster. The passenger side hardly gets used so I made it short enough so tucking was not needed. Again, plant your hand on the car and run your razor blade down, making sure that the edge of the blade never touches the window.
Step 19: Lock in the vinyl with your heat gun, especially at the edges, and use the plastic end of your squeegee to tuck.
Last edited by kickintheglass; 06-24-2016 at 10:10 AM.
I have to be honest, this was by far the hardest piece to wrap that I've encountered so far. Although it's not 100% perfect, I'm pretty happy with it. If anyone has a better technique of wrapping the mirrors, please feel free to leave a comment! I may just follow your advice and re-wrap them after everything is done
Step 20: Clean the mirror cover and fold it into the car so the inner edge is easier to work with. This should be your starting point since it has the highest tendency to wrinkle and lift. Lightly stretch the vinyl in directions away from the angled portion of the cover. It's perfectly normal when you start getting fold lines in those directions. Simply lift the vinyl until the lines come off and use the triangles method in small areas to smooth out the edges.
Step 21: The problem area is at the end of the cover where the most amount of vinyl builds up due to stretching. I used the heat gun and let the vinyl shrink back to size. Then I pulled it over, again using the triangles method.
Disclaimer: At no point should you revert to using a heat gun during the installation. This was a special case because the surface is extremely hard to work with and wrinkles were impossibly hard to smooth without heat.
Step 22: Make your first cut where you started wrapping (inner edge) and run your knife along where the paint used to be. The very edges of the mirror covers are black plastic, so I opted to not cover them since 1) it's easier to cut, 2) it probably helps the vinyl last longer, and 3) black trim looks cooler.
Step 23: Make your cuts along the entire cover and carefully tear the excess vinyl off. Heat the middle of the cover and work your way to the edges of the vinyl. Tuck them in with your microsqueegee as best as you can. Since the knife ran right on the crease, there won't be much to material to press in.
Thanks for the kind comments guys! I'm going to try to tackle the quarter panel this weekend with my buddy. And if I can figure out how to take these door handles off, I should be on track to finish the project within the next 2 weeks
Step 24: Use magnets to position your vinyl on the quarter panels. Make sure that the entire panel is covered before you pull of the backing. I made the mistake of not covering a small corner by the door so I'll have to be creative later and wrap a trim piece.
Step 25: Create relief cuts by the wheel well, rear window, and trunk. This will allow you to more easily stretch the vinyl and create glass with little effort. With the help of your friend, peel off the backing paper and stretch in all 4 corners, placing the vinyl down starting with the center of the panel. Take your squeegee and anchor at the indicated area.
Step 26: Squeegee in 45 degree angles away from the anchor and make your way down to the side skirts and rear bumper. You may want to make a small relief cut by the door handle so the vinyl can lay completely flat with no stretch at the edge. This will make life easier because stretching will affect the rest of the wrap that is not already placed on the panel.
Step 27: Use your glove and smooth out a few millimeters at a time towards the rear window. Our fenders have a large recessed area so you may want to apply the vinyl while it's lifted in the air. I would advise against stretching it in this area because it may affect the longevity of the vinyl or discolor it. Make your way up to the C pillar and press down on any remaining air bubbles.
Step 28: Make your cuts near the roof as directed in the section labeled "A Pillar." When you get to the rear window, there's a seal that doesn't lift easily. I made a cut so that the microsqueegee can fit right underneath the edge of the seal. You can leave much more material by the door since this will go onto the door jamb. Make your remaining cuts by the rear bumper (this is a tight fit so cut directly on the crease to avoid scratching your clearcoat) and wheel wells (give just enough material to tuck under the fender).
Step 29: Use your exacto knife and make your cut on the gas cap cover. The blade should run about on center of the crease, but favoring the side towards the cap ever so slightly. This is to ensure that enough material can cover the inside of the well and a bystander cannot tell that the entire area was not covered.
*If you're adamant about covering your entire car, you can take the cover off and "punch" the vinyl inwards. Then put the cover back on and wrap it separately. However, this will add another 15-30 minutes onto installation time.
Step 30: Squeegee and heat the entire panel, especially edges, as directed in previous sections.
Gotta be one of the best, longest and detailed DIY I've seen yet and he's only about halfway (maybe a little more) done lol. Keep it up glass! It's looking awesome!
I've done a few of those mirrors (in CF) and they are deceptively difficult since you have such a change in direction on all sides. I think I've got that aspect of the wrap down, lol now for the rest of it
Hats off as you continue leading all of us down this DIY road. Looks like you're really taking your time to do it right, and also how much are you paying your buddy, or is he just drinking a lot of free beer???
Gotta be one of the best, longest and detailed DIY I've seen yet and he's only about halfway (maybe a little more) done lol. Keep it up glass! It's looking awesome!
Thanks Ken, these comments only push me to be more detailed about my process and reviews!
Originally Posted by Whitevanman
Loving that colour.....are you going to do the roof or leaving it black?
I'm going to leave it black for now, but I might wrap it gloss black to make it match down the road. We'll see how the paint contrasts the vinyl after I'm done with all the panels.
Originally Posted by blnewt
Looks like you're really taking your time to do it right, and also how much are you paying your buddy, or is he just drinking a lot of free beer???
Oh, and how much wrap did you buy for this DIY?
I helped my friend wrap his GTI in matte black and he's just helping out. It's funny because we're getting so good at this that we may start a small business together.
I bought 25 yards of vinyl for about $650 from Fellers. The extra vinyl was in case I screwed up or needed to re-wrap a panel down road. I'd like to see how this material holds up during a harsh NJ winter.
Step 31: Clean the skirts thoroughly, paying special attention near the wheel wells and the underside of the car. I used car shampoo three times, and went over it with isopropyl alcohol until I couldn't see dirt on my microfiber towel. I gave special attention to these areas because it comes into contact with the most amount of road grime.
Step 32: Anchor the vinyl towards the edge of side skirt. I have IPL skirts so they flare out quite dramatically. Use your glove and start smoothing out the vinyl away from the anchor. This part is almost purely a hand installation, and I only used the squeegee towards the front of the car (see diagram). Since there's quite a bit of an angle where the skirt meets the body, you'll need to pull off the top of the vinyl to relax the material, rather than trying to punch and stretch. Make sure that you give yourself enough material on the bottom to cover the visible area.
Step 33: Make your cuts starting on the vertical gaps by the wheel wells. Run your razor blade towards the door, where you should give much more material so the vinyl covers the area visible when the door is closed. Be sure not to put a gash in your door. I didn't mind making a free-hand cut on the bottom of the skirt, since 1) it's plastic and won't rust, 2) nobody will see a cut if I run the blade too deep, and 3) the bottom of the car will get beaten no matter what. I simply anchored my hand to the skirt and made a straight cut.
Tip: For those of you who may want a perfectly clean cut or if you're not comfortable with cutting into your clearcoat, you may opt to use knifeless tape. However, you'll most likely need to jack up the car so there's enough room to work with.
Step 34: Heat and tuck the edges. Open your door so you can easily apply the area with extra vinyl.
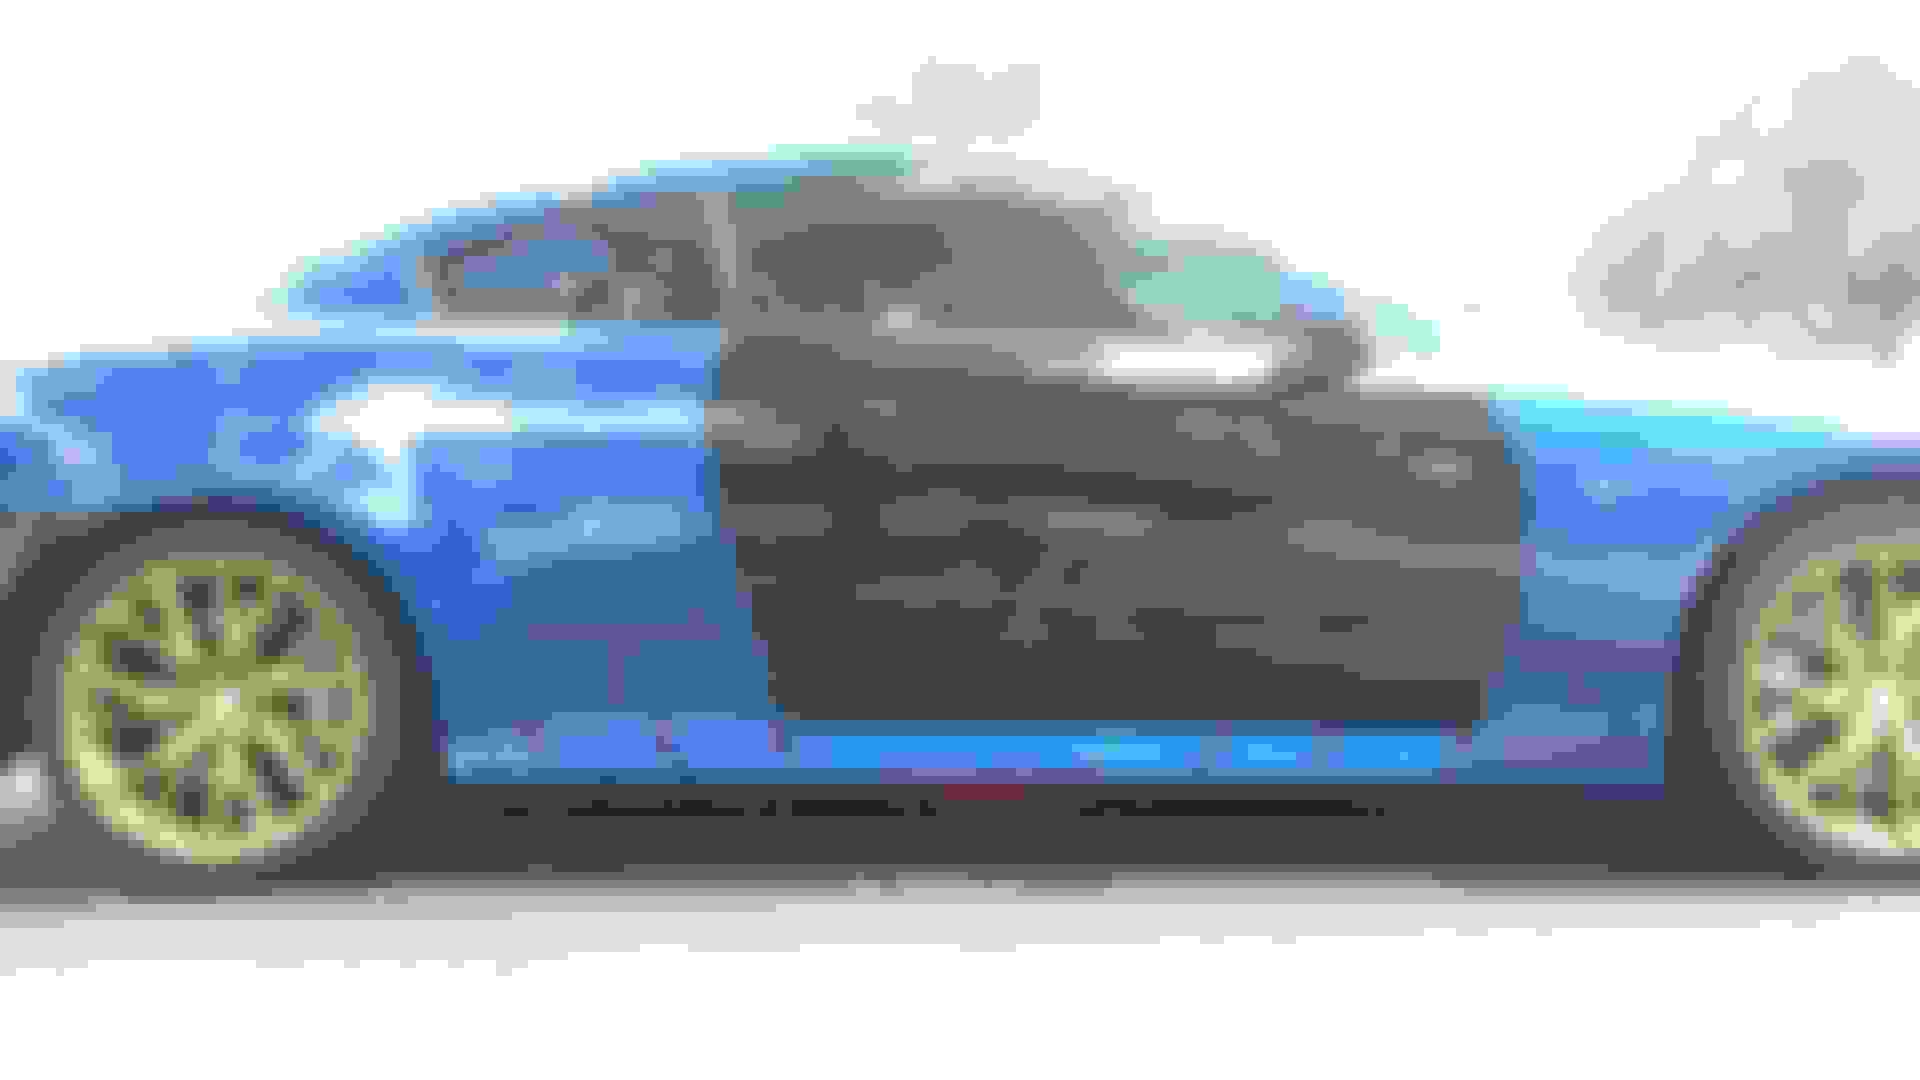
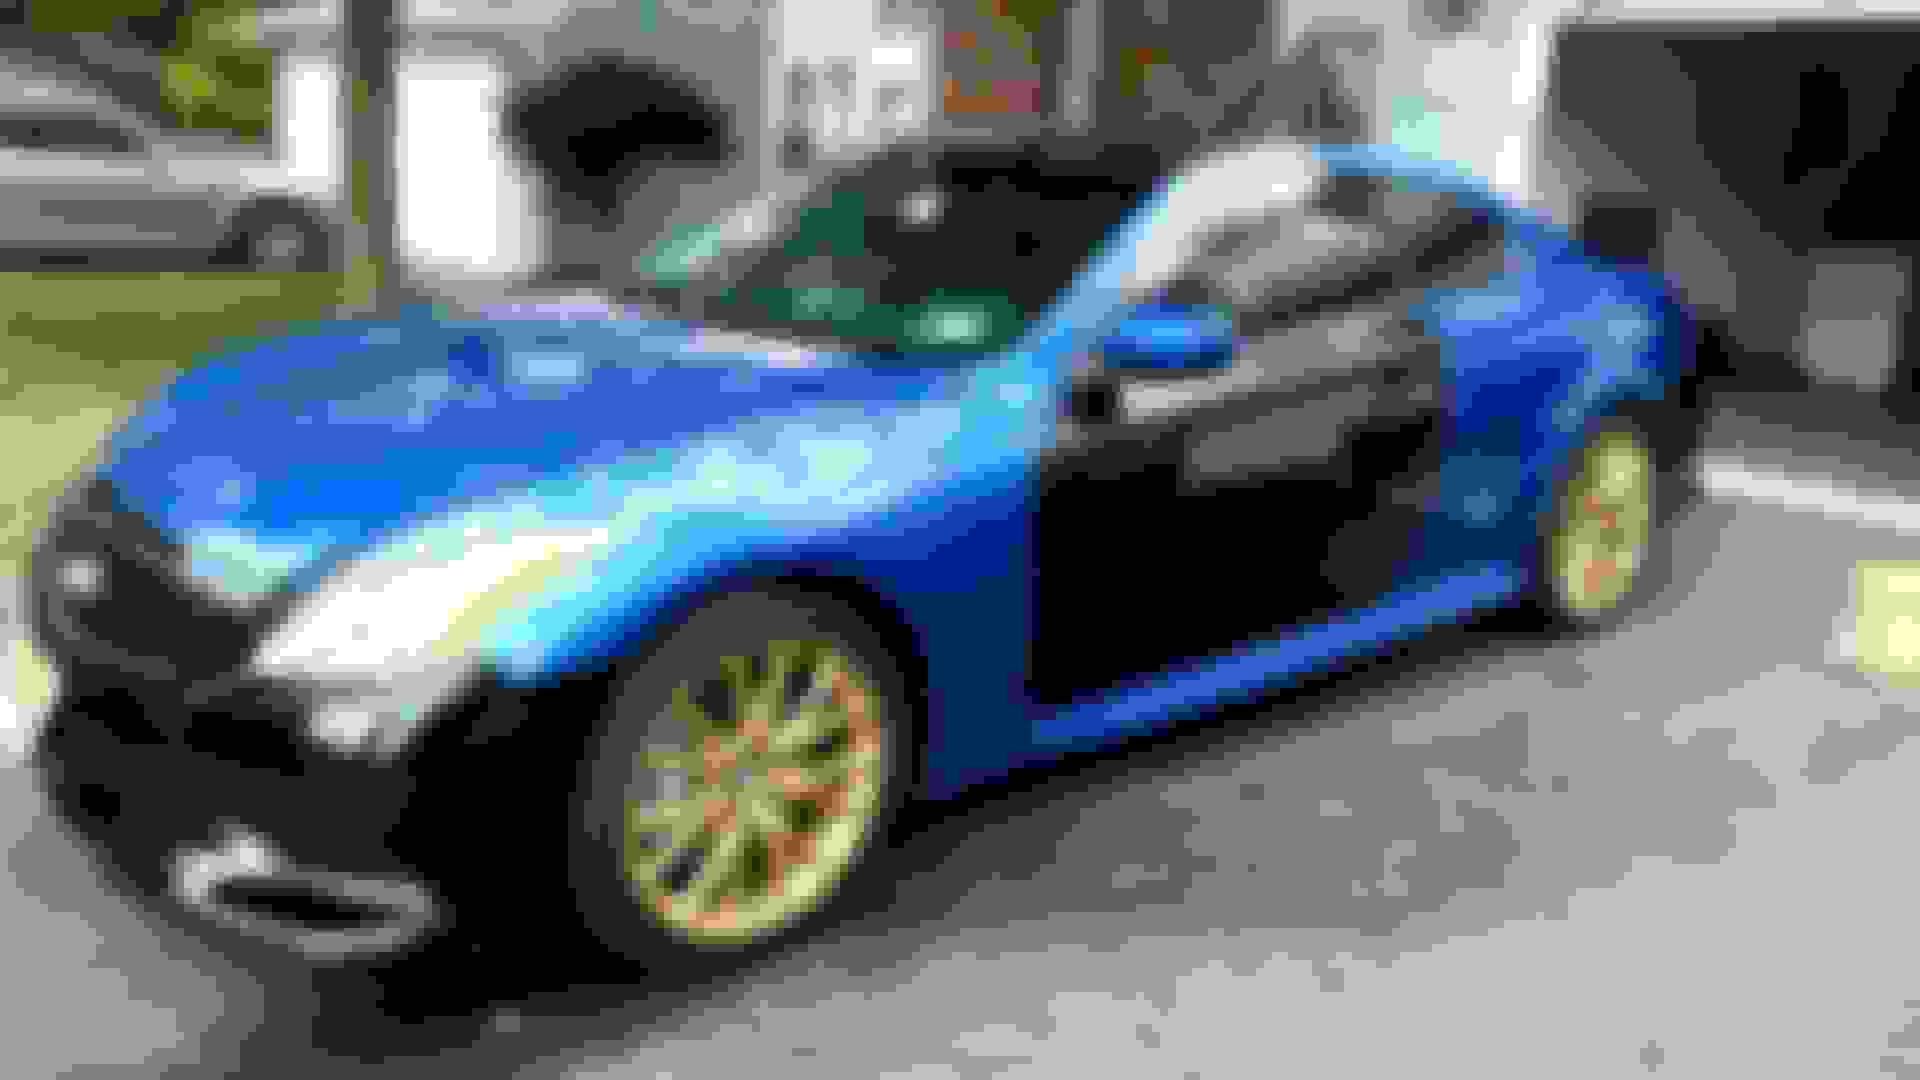
Sidenote: I took a drive to Philly last night and received numerous stares on the road. I might just leave the car half wrapped like this for the attention
 06-24-2016, 09:52 AM