DIY: Aero / IPL sideskirt install.
 08-27-2012, 04:54 PM
#1

Aero / IPL sideskirt install.
Alright, I've seen a few of you guys here looking for a DIY for these. So here's my little DIY contribution to this site. Thanks to our fellow member Mr. TwoThree for the guidance.
First off, this is a very easy install. I don't have access to any lifts and I didn't use any jacks to lift the car. It only took me about an hour to install all by myself.
Tools you need:
-10mm socket
-Phillips screw driver
-a towel or anything to place on the floor (must be long enough so you wont scratch the fresh new skirts)
-a mirror
-tall ice cold glass/bottle of the beverage of your choice (it was a HOT day)
*excuse the dirty pics, it's been raining all week.
1) Turn your wheels accordingly so you have space to remove (1) screw in the front wheel well.

2) Remove a similar screw in the rear wheel well (1). I didnt have to remove the wheels, I just used the phillips head that came with my socket set and was able to loosen it with my brute finger strength.

3) Now use the mirror to locate the bolts on the under side of the skirt. There are about 6 or 7 (sorry I forgot). YOU CAN USE YOUR NEW SKIRTS TO GET AN IDEA OF WHERE THE CLIPS AND THE BOLTS ARE.

4) Once all of the bolts and screws are removed, place your finger in between the skirt and the felt wheel well liner and pull away laterally (away from the car). You can either start from the front or the back. There will be about 2-3 clips from the front or back until you reach the door. (AGAIN,USE YOUR NEW SKIRT AS REFERENCE AS TO HOW MANY CLIPS THERE ARE) Yank carefully but firmly. It's ok of you break the clips, your new skirt comes with fresh new ones. I must've broken about 80% of mine. Must've gotten brittle from our weather here.

5) Open your door so you can pull the clips out there. There's a white clip (red arrow with sad face) that will be a bit of a PITA to pull. Just pull it! Again, don't be scared if you break it.


6) Now you can lay your towel or protective mat to protect your new skirt. Line up the clips (I started with the inside the door clips) snap them in place and work your way towards the front or back of the car. Replace all bolts using the mirror again and the screws in the wheel well.
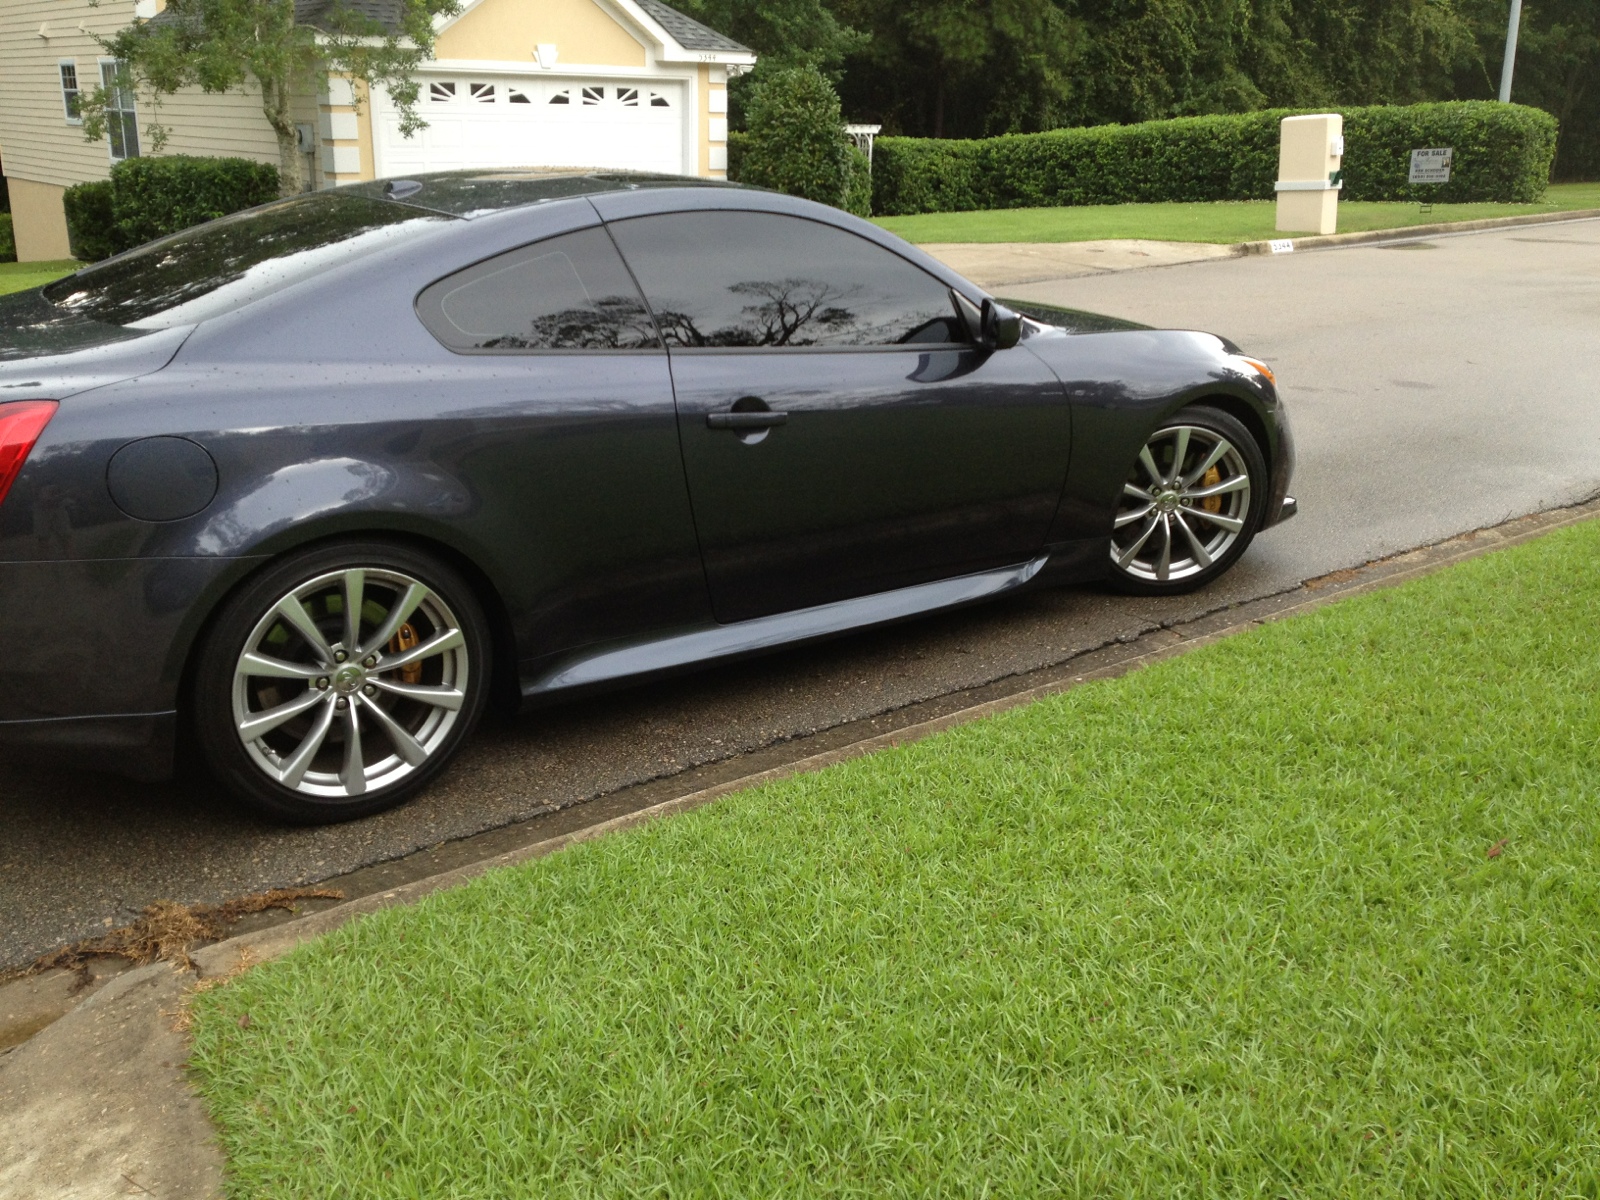
7) Now stand back and admire your work. Gotta love the factory fit and paint with these skirts. It gives the G a wider look, aggressive and yet, subtle.
Comparison pictures.
Stock

Aero

Stock

Aero

This is not my car but thanks to these pics, I decided on these skirts.


First off, this is a very easy install. I don't have access to any lifts and I didn't use any jacks to lift the car. It only took me about an hour to install all by myself.
Tools you need:
-10mm socket
-Phillips screw driver
-a towel or anything to place on the floor (must be long enough so you wont scratch the fresh new skirts)
-a mirror
-tall ice cold glass/bottle of the beverage of your choice (it was a HOT day)
*excuse the dirty pics, it's been raining all week.
1) Turn your wheels accordingly so you have space to remove (1) screw in the front wheel well.
2) Remove a similar screw in the rear wheel well (1). I didnt have to remove the wheels, I just used the phillips head that came with my socket set and was able to loosen it with my brute finger strength.
3) Now use the mirror to locate the bolts on the under side of the skirt. There are about 6 or 7 (sorry I forgot). YOU CAN USE YOUR NEW SKIRTS TO GET AN IDEA OF WHERE THE CLIPS AND THE BOLTS ARE.
4) Once all of the bolts and screws are removed, place your finger in between the skirt and the felt wheel well liner and pull away laterally (away from the car). You can either start from the front or the back. There will be about 2-3 clips from the front or back until you reach the door. (AGAIN,USE YOUR NEW SKIRT AS REFERENCE AS TO HOW MANY CLIPS THERE ARE) Yank carefully but firmly. It's ok of you break the clips, your new skirt comes with fresh new ones. I must've broken about 80% of mine. Must've gotten brittle from our weather here.
5) Open your door so you can pull the clips out there. There's a white clip (red arrow with sad face) that will be a bit of a PITA to pull. Just pull it! Again, don't be scared if you break it.
6) Now you can lay your towel or protective mat to protect your new skirt. Line up the clips (I started with the inside the door clips) snap them in place and work your way towards the front or back of the car. Replace all bolts using the mirror again and the screws in the wheel well.
7) Now stand back and admire your work. Gotta love the factory fit and paint with these skirts. It gives the G a wider look, aggressive and yet, subtle.
Comparison pictures.
Stock
Aero
Stock
Aero
This is not my car but thanks to these pics, I decided on these skirts.

The following users liked this post:
SlateBlueG (12-26-2013)


 09-02-2012, 10:57 PM
#7

How did you get off that screw near the back tire without taking off the wheel? I'm guessing you have a small enough screw driver or something?
I ended up having to remove the wheel just to get that screw off and back on, that was the most annoying part.
I ended up having to remove the wheel just to get that screw off and back on, that was the most annoying part.
Trending Topics
09-03-2012, 12:14 AM
#10
I tried to do that, but it was a no go. I haven't seen your car TwoThree, got a link?
09-03-2012, 12:37 AM
#11
Don't have any of the IPL rear yet..... Waiting on a spoiler, some coils and wheels lol.

When I first installed the IPL rear, with dumb plugs to fill my sonar sensor holes. Just waiting on Diego to get back to me with a part number so I can reorder another bumper without holes.
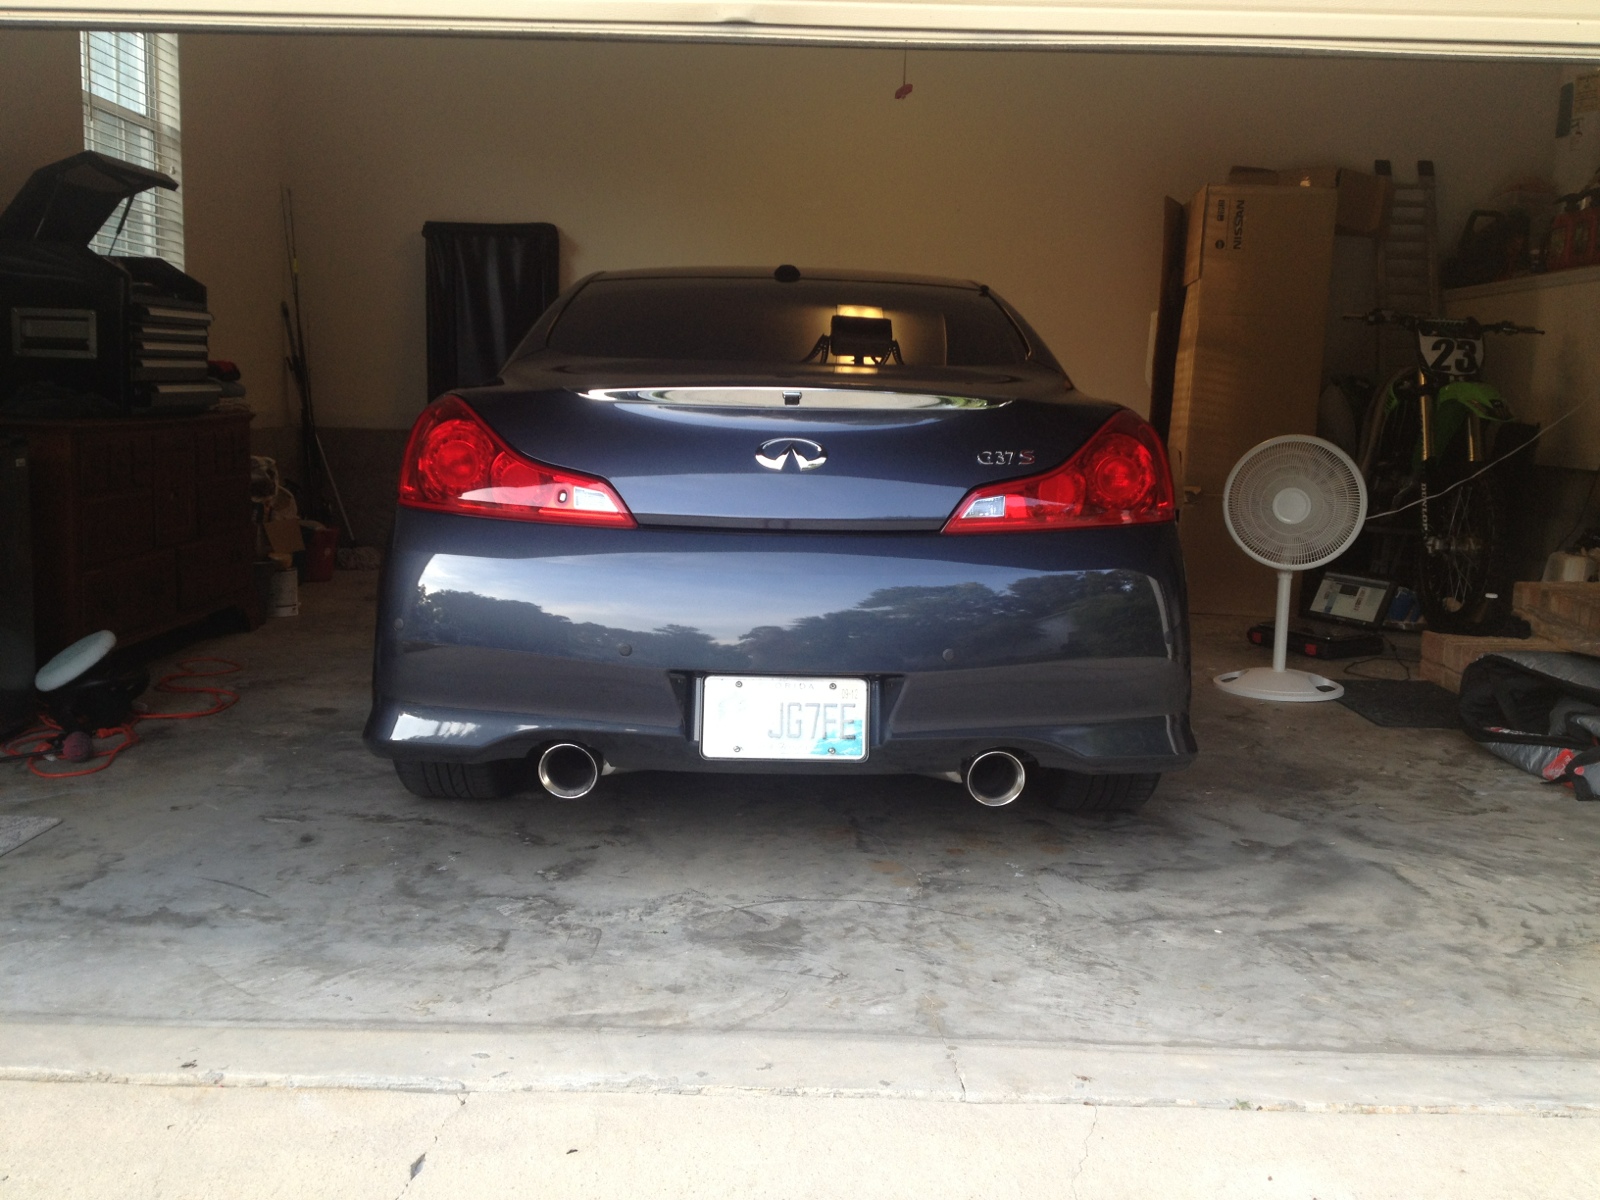
When I first installed the IPL rear, with dumb plugs to fill my sonar sensor holes. Just waiting on Diego to get back to me with a part number so I can reorder another bumper without holes.
09-03-2012, 01:33 AM
#13
Looks great, that rolling shot is clean!
I Installed yellow hid fogs, but thinking about switching to 6000 when bumper comes in.
I saw your other post about the holes on the rear, rough. Think I'm going to stick with regular rear, do the overlay or maybe a rear diffuser.
I Installed yellow hid fogs, but thinking about switching to 6000 when bumper comes in.
I saw your other post about the holes on the rear, rough. Think I'm going to stick with regular rear, do the overlay or maybe a rear diffuser.
09-03-2012, 04:13 AM
#14

Sweet write up. I managed to break total of 6 clips, two in the back each side and 1 on the front.
I'd take your hot day install with a cold beverage. Mine started out cloudy and then it poured like a mother. Needless to say I was soaking wet by the time I started admiring the sideskirts. LOL
I'd take your hot day install with a cold beverage. Mine started out cloudy and then it poured like a mother. Needless to say I was soaking wet by the time I started admiring the sideskirts. LOL