DIY: Serpentine belt change on an 09 G37
 08-03-2011, 01:22 PM
#1

Serpentine belt change on an 09 G37
as some of you know i bought my G used so i been doing some preventative maintenance. today i tackled the serpentine belt which by the owner's manual needs to be replaced every 30k miles or so i hear, i have ~31k miles in the clock. i ordered the belt from autozone and they took their sweet time getting it 
p.s. im not responsible if you ruin your car or yourself while attempting this
things you need
jack and jack stands (depending on how big you are)
zip ties (optional)
3/8" breaker bar (make sure it has a thin head less than 1.5" otherwise it may be difficult)
10mm socket and associated socket wrench
6mm allen wrench
serpentine belt ( )
so make sure u have all said equipment because you dont wanna drive the car at all before you start cuz ull burn yourself like i did.
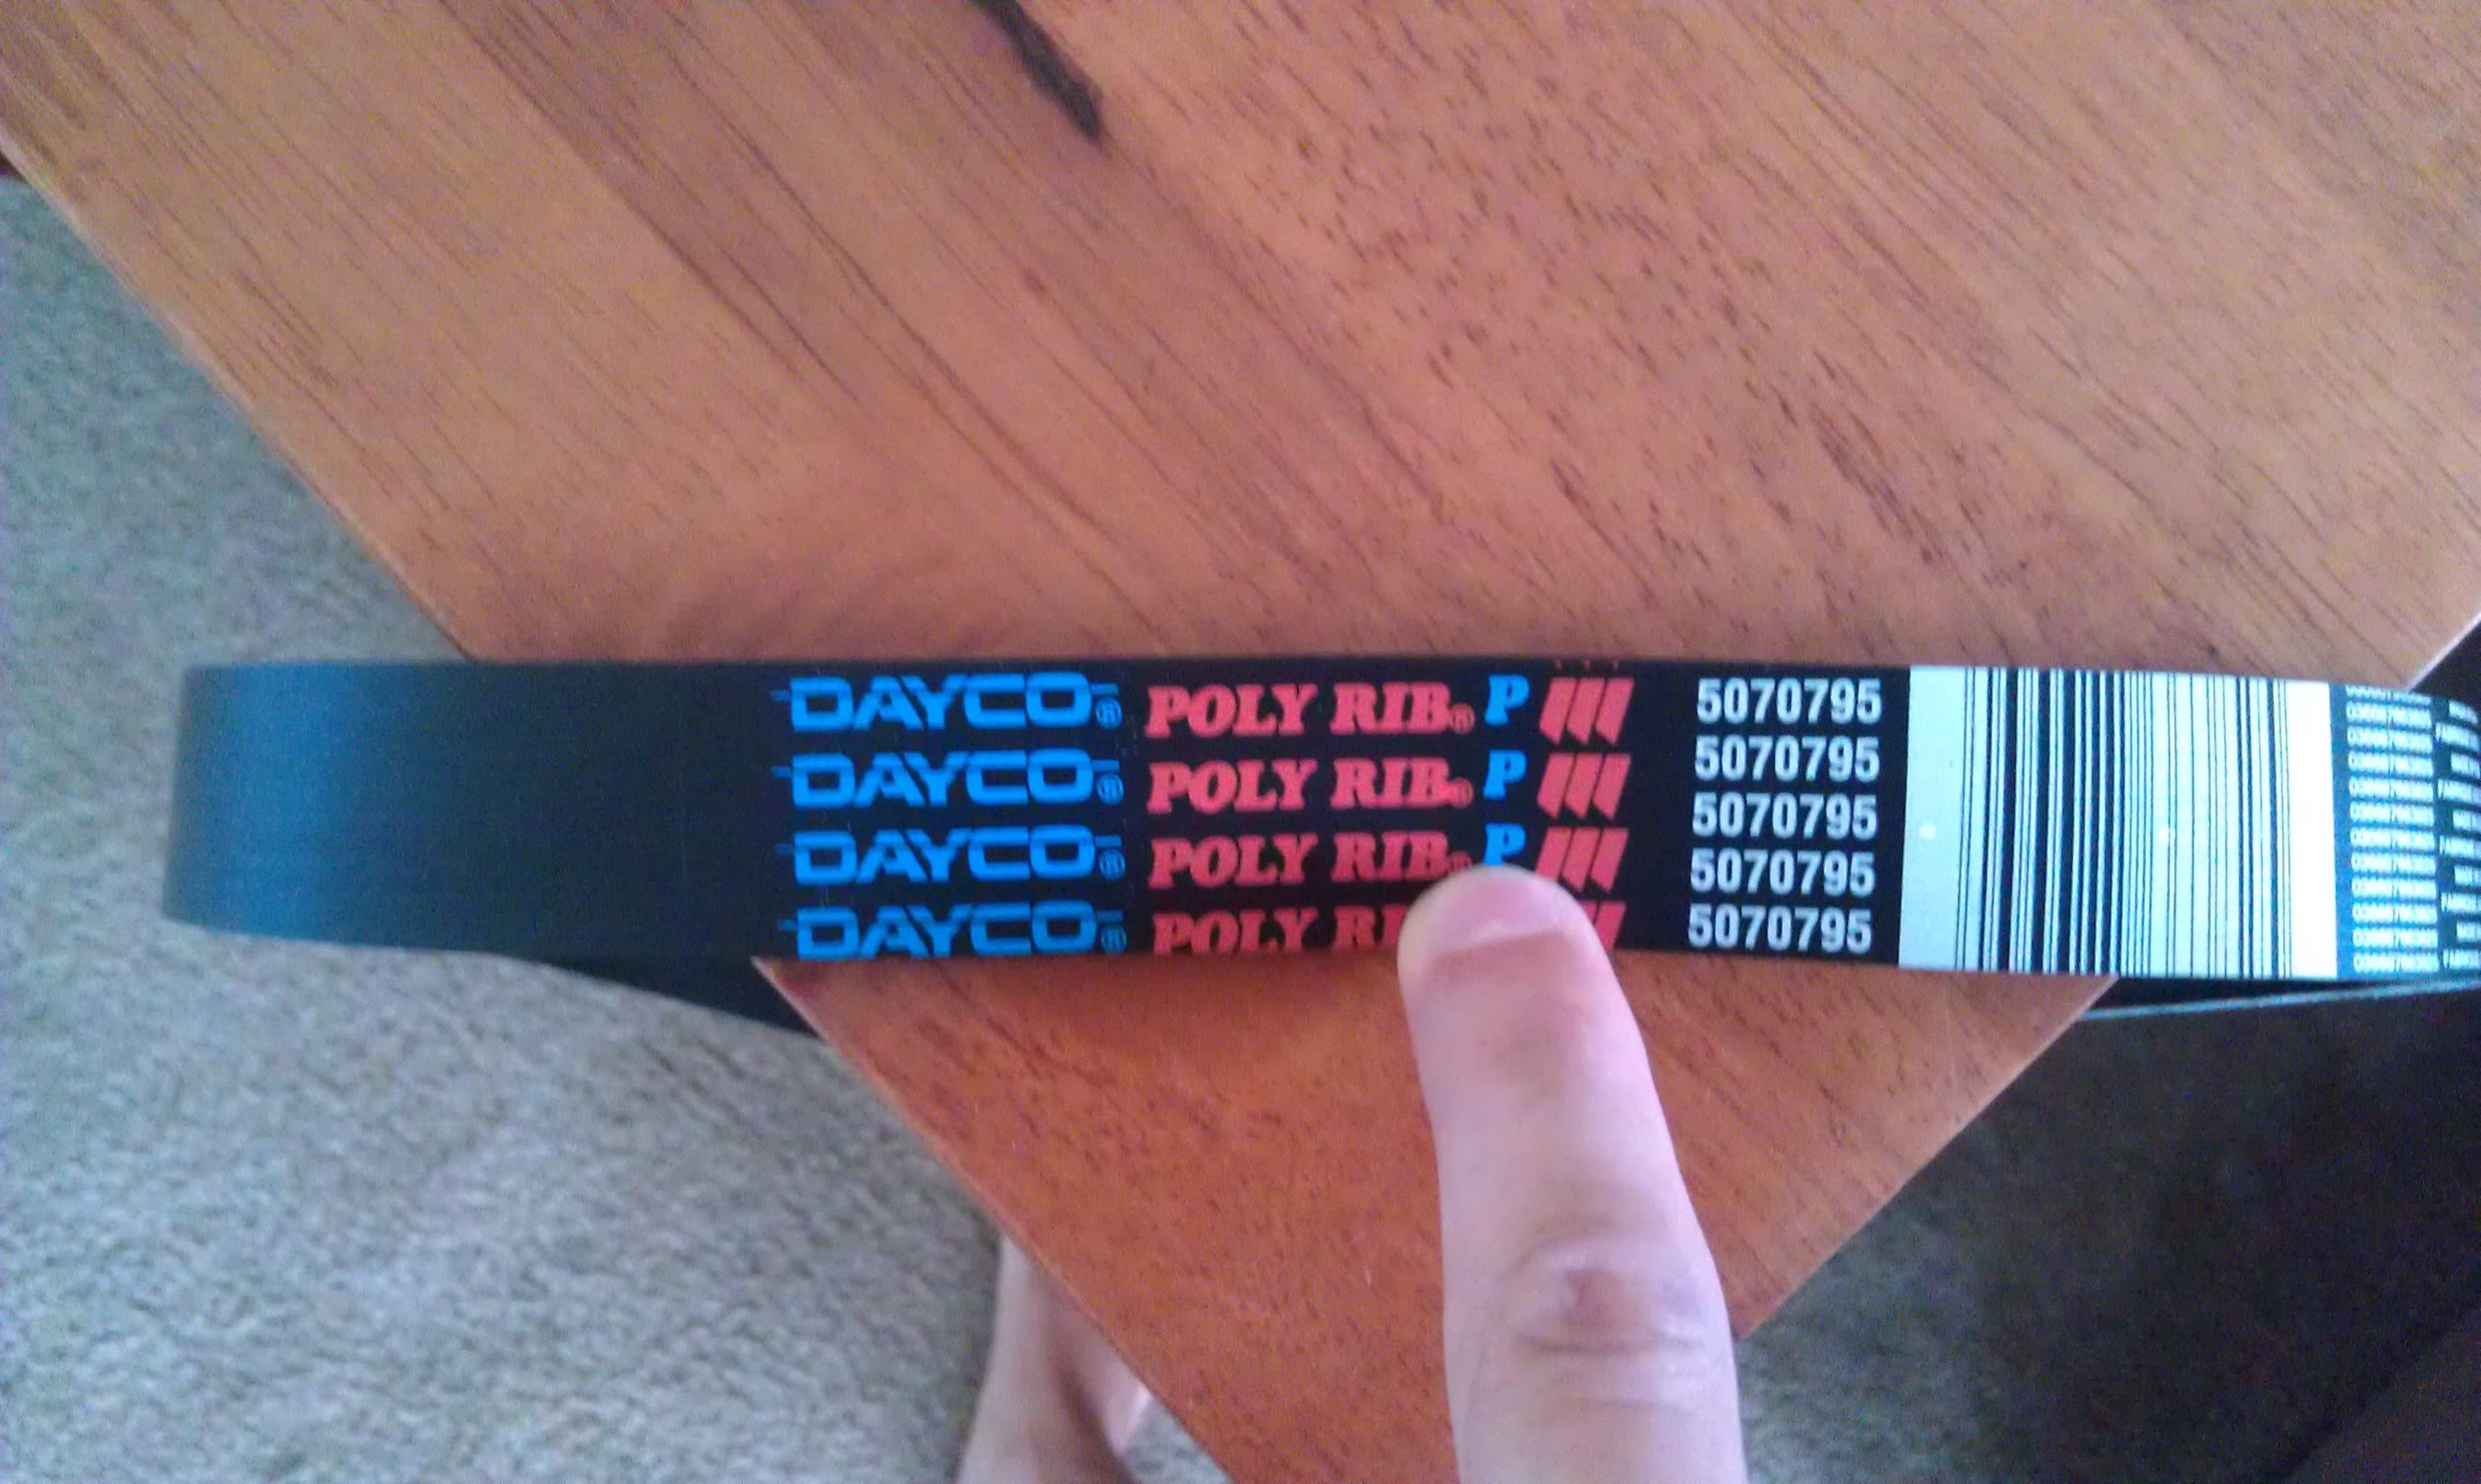
belt
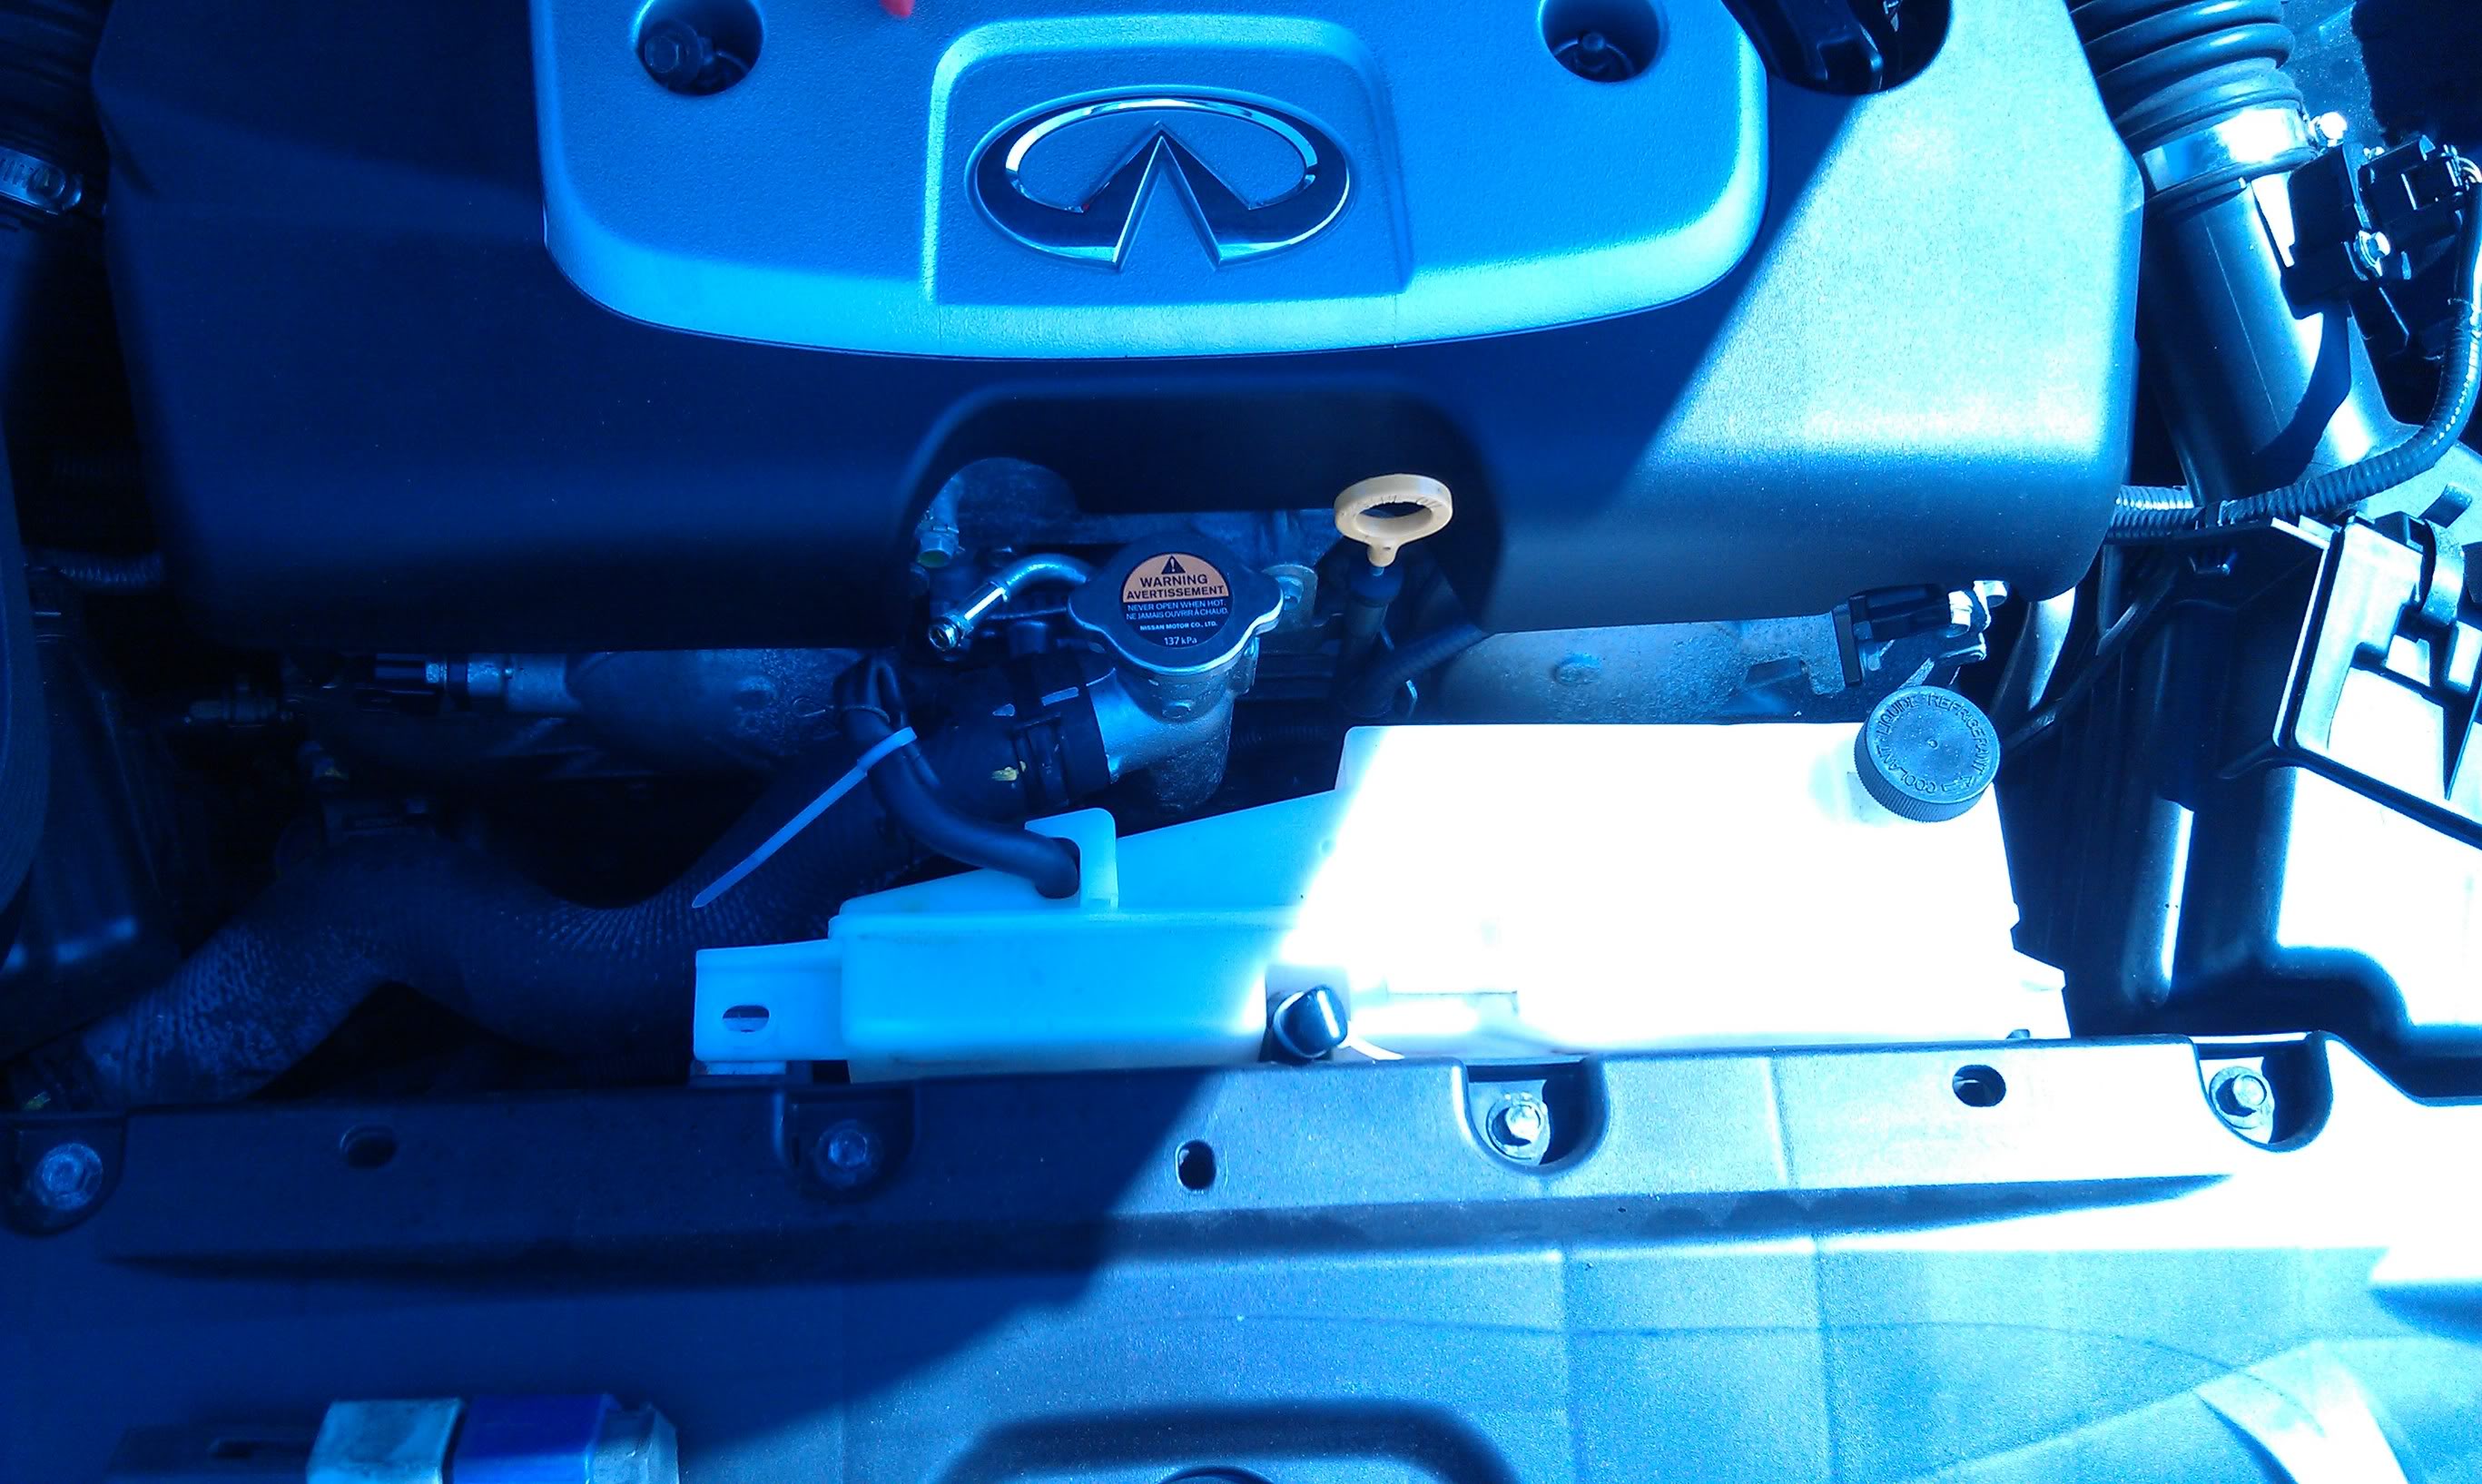
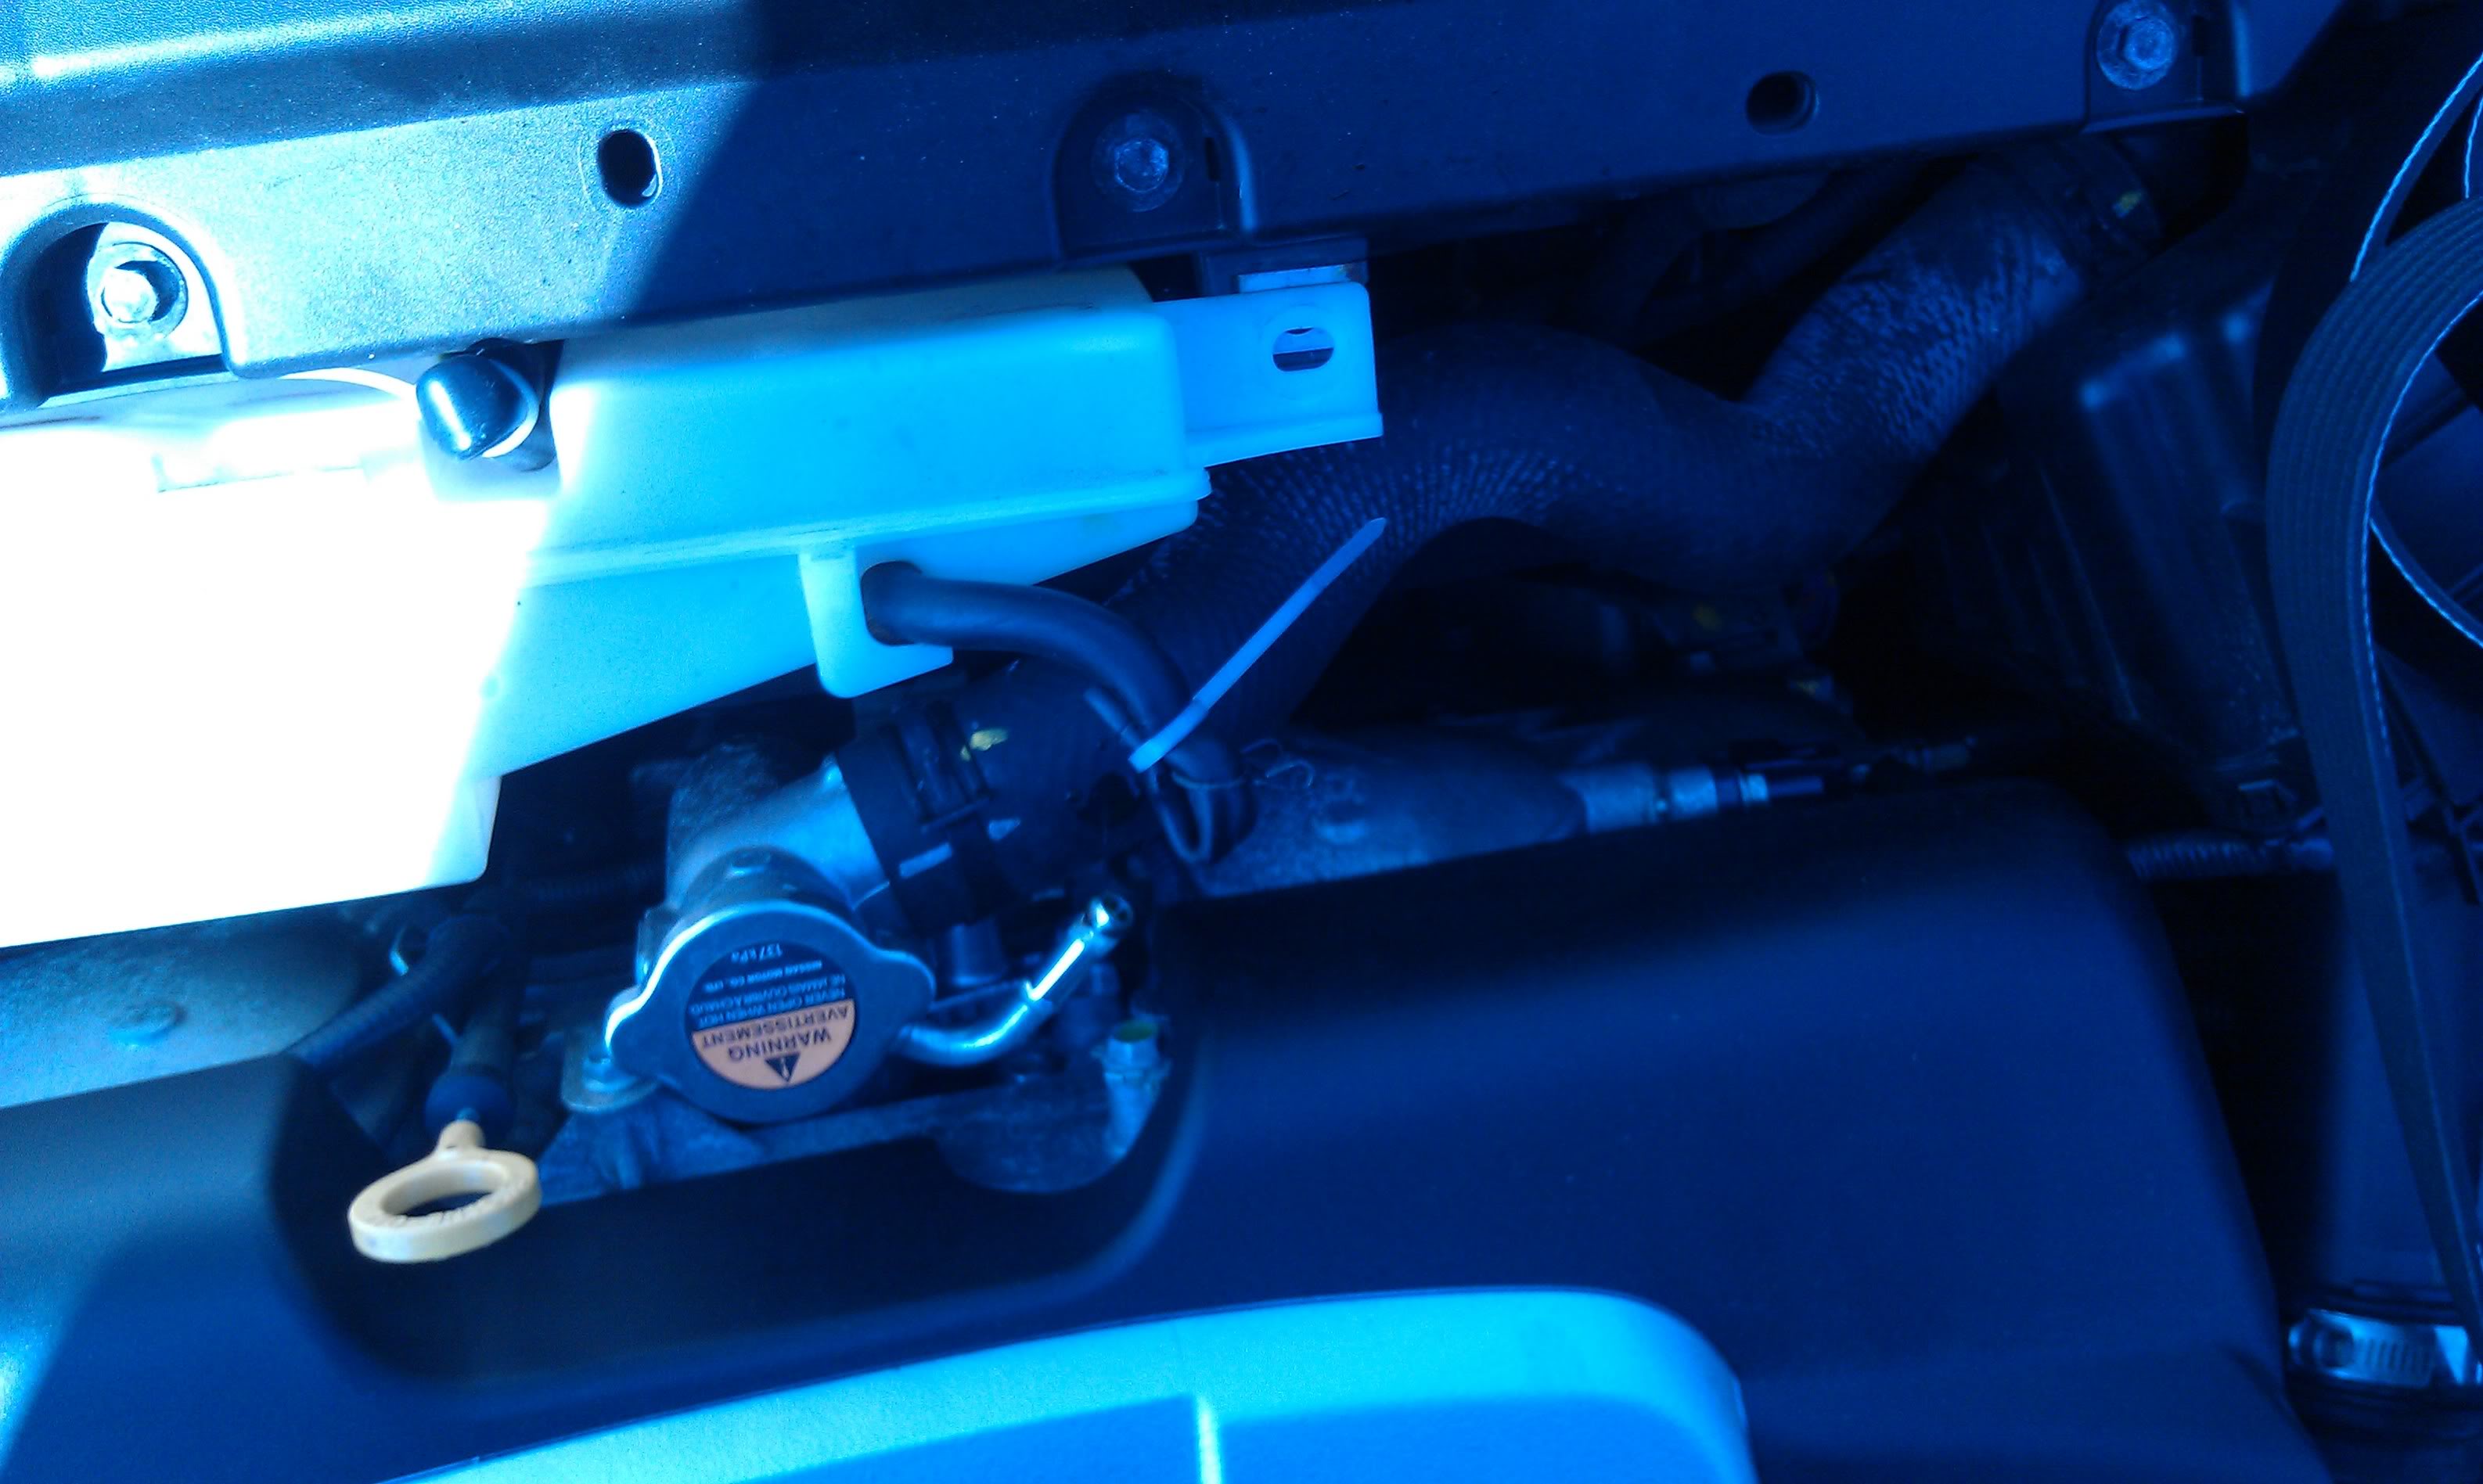
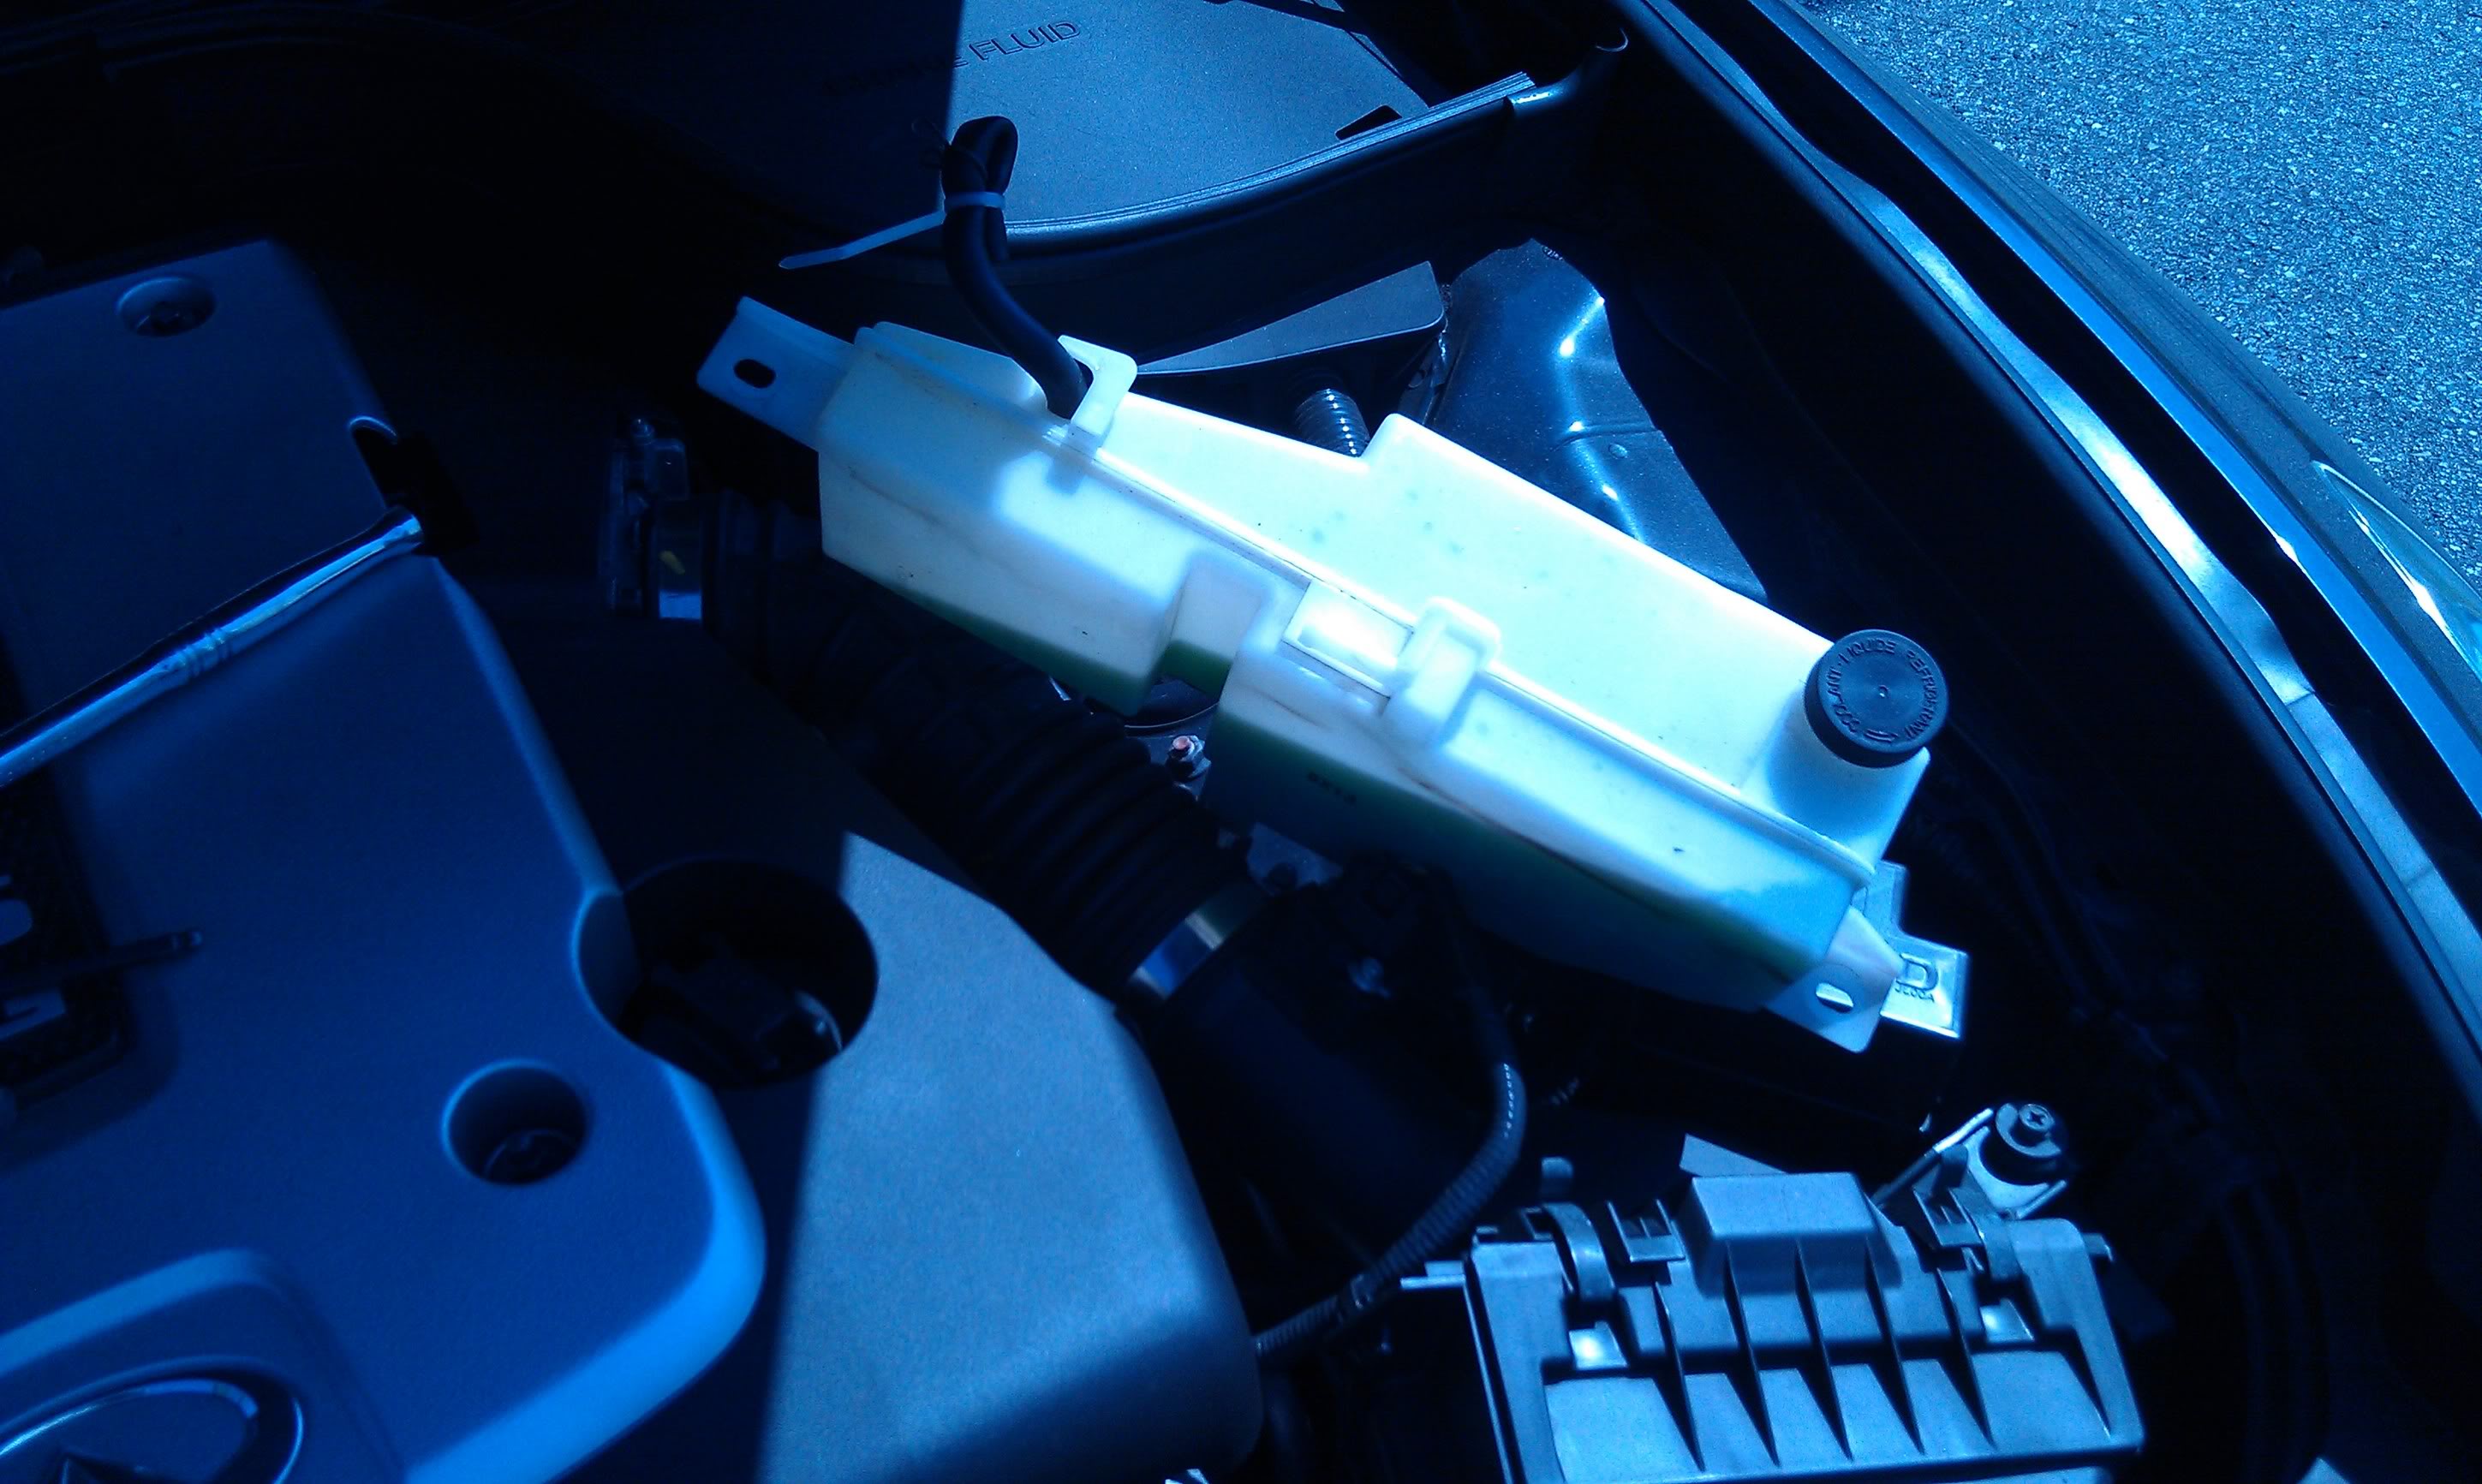
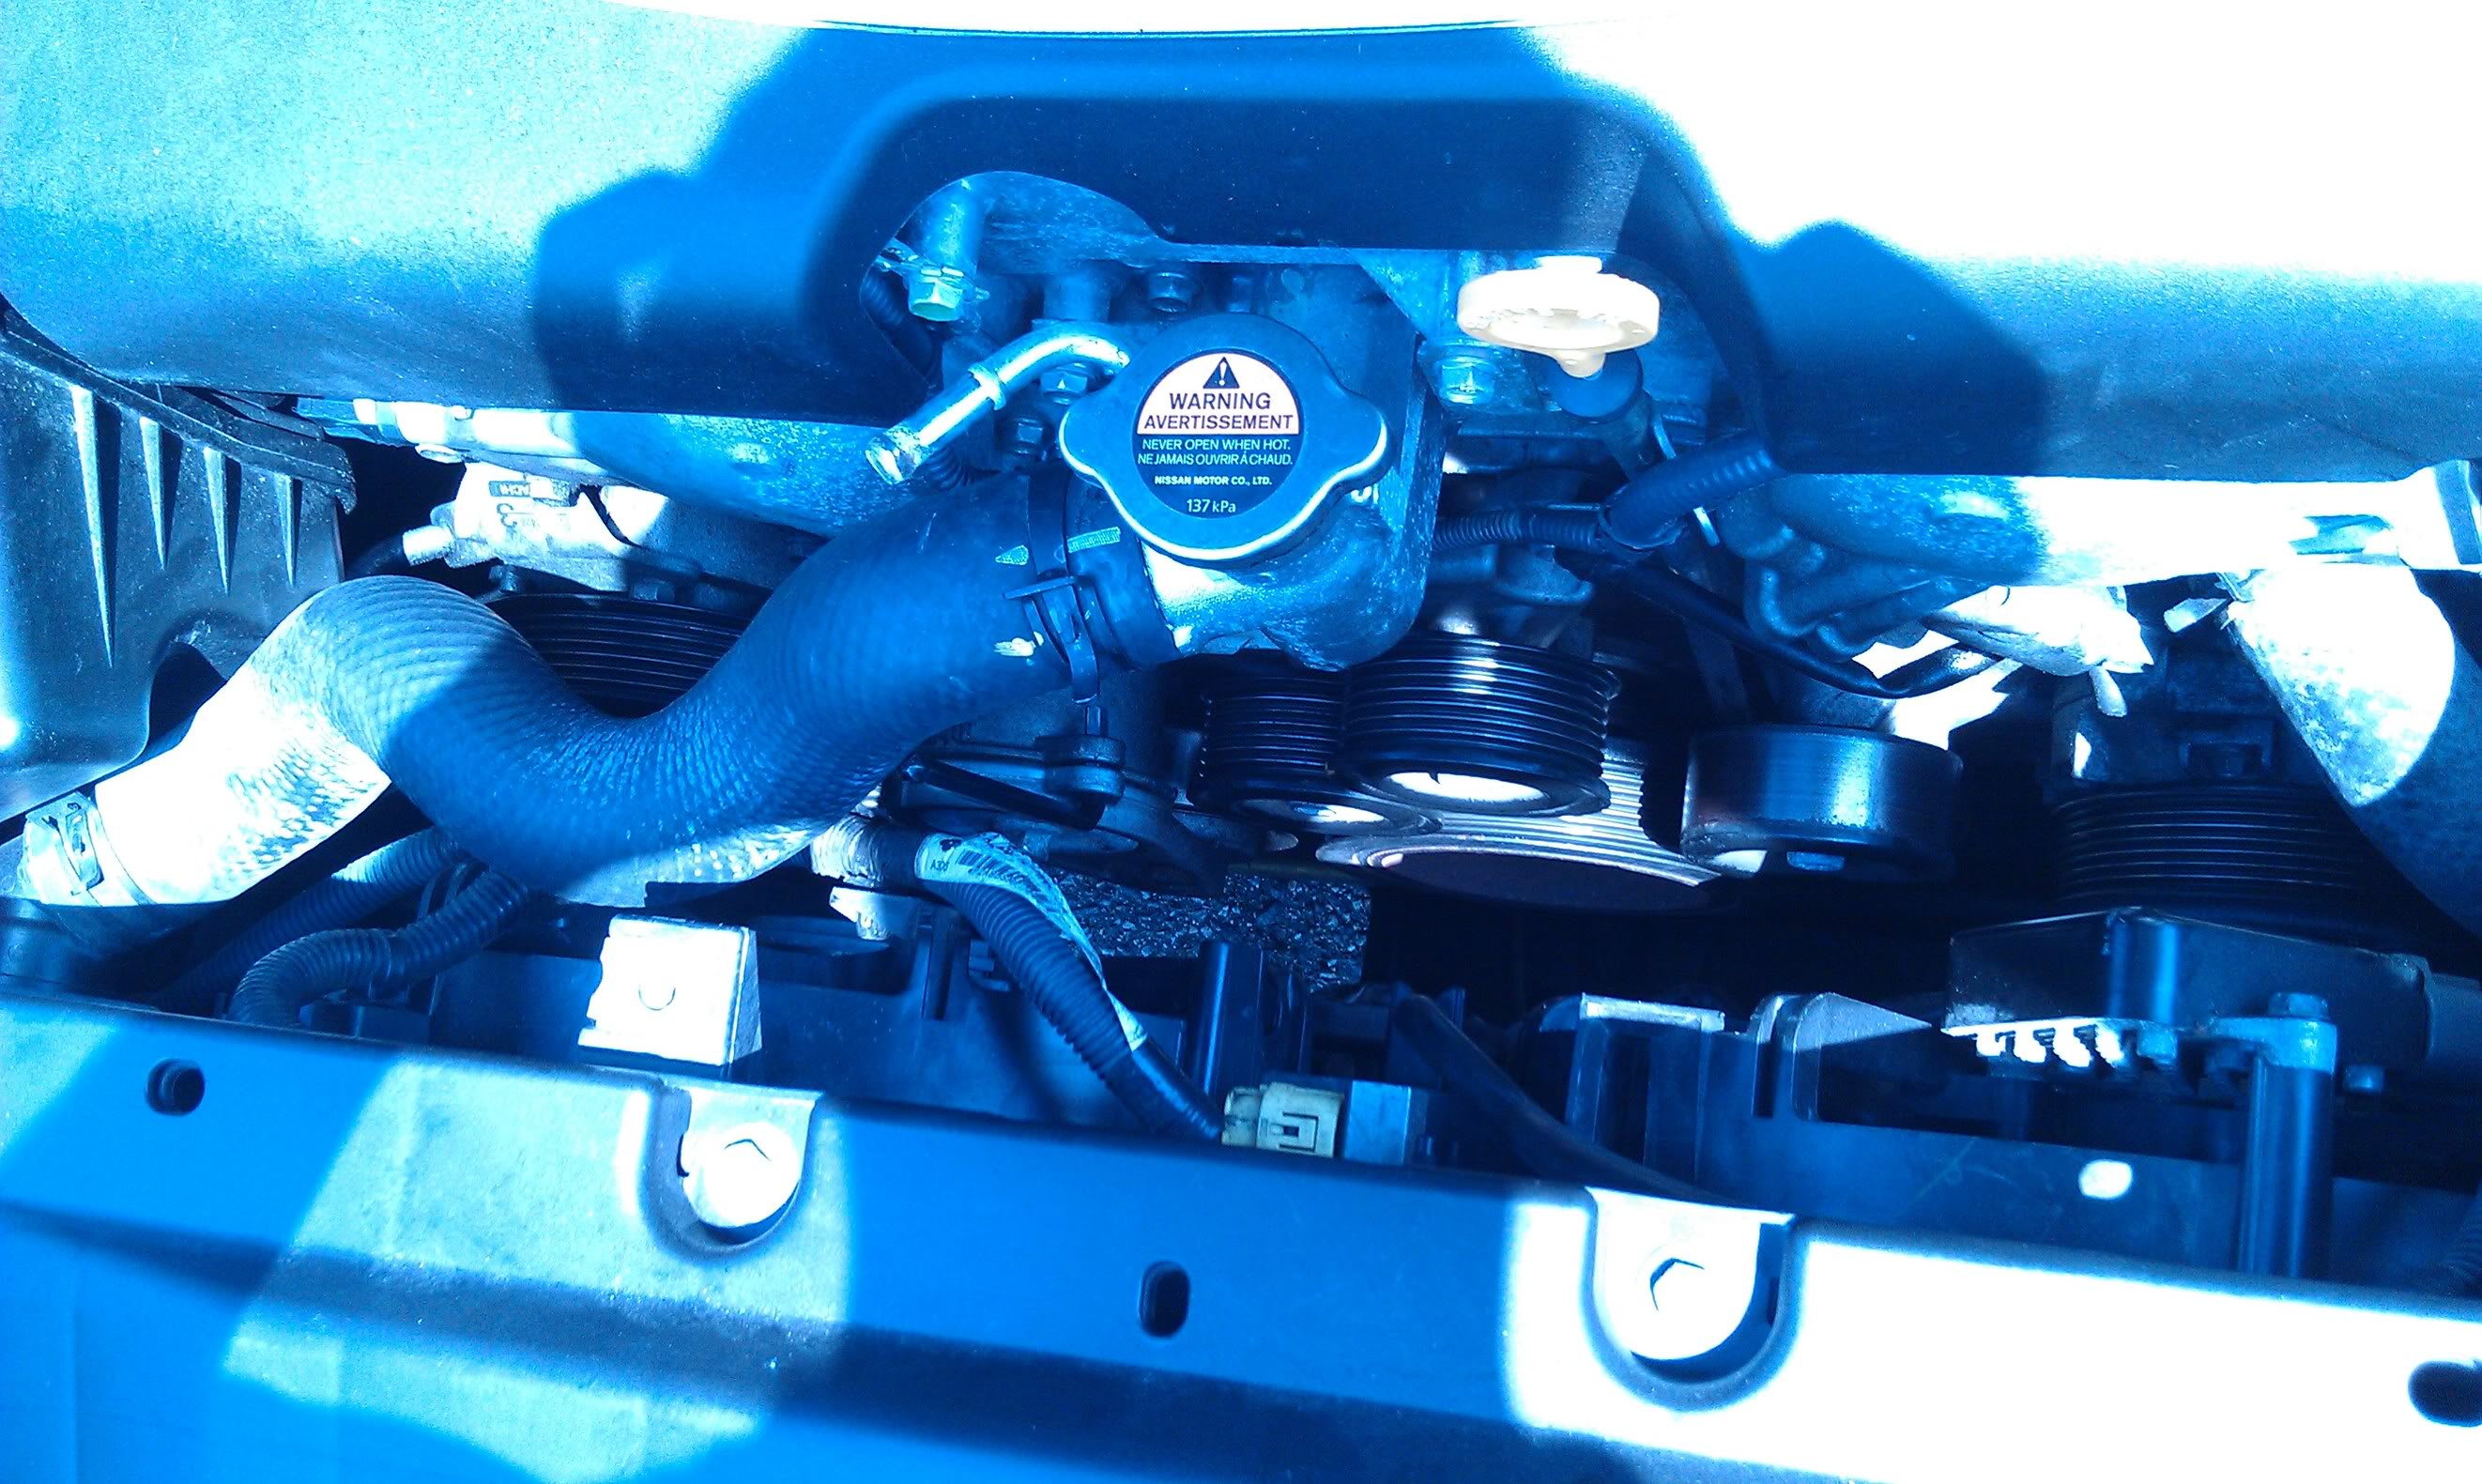
first thing to do is remove your coolant overflow tank and set it aside, i zip tied the lines shut just incase but you dont really need to do this.
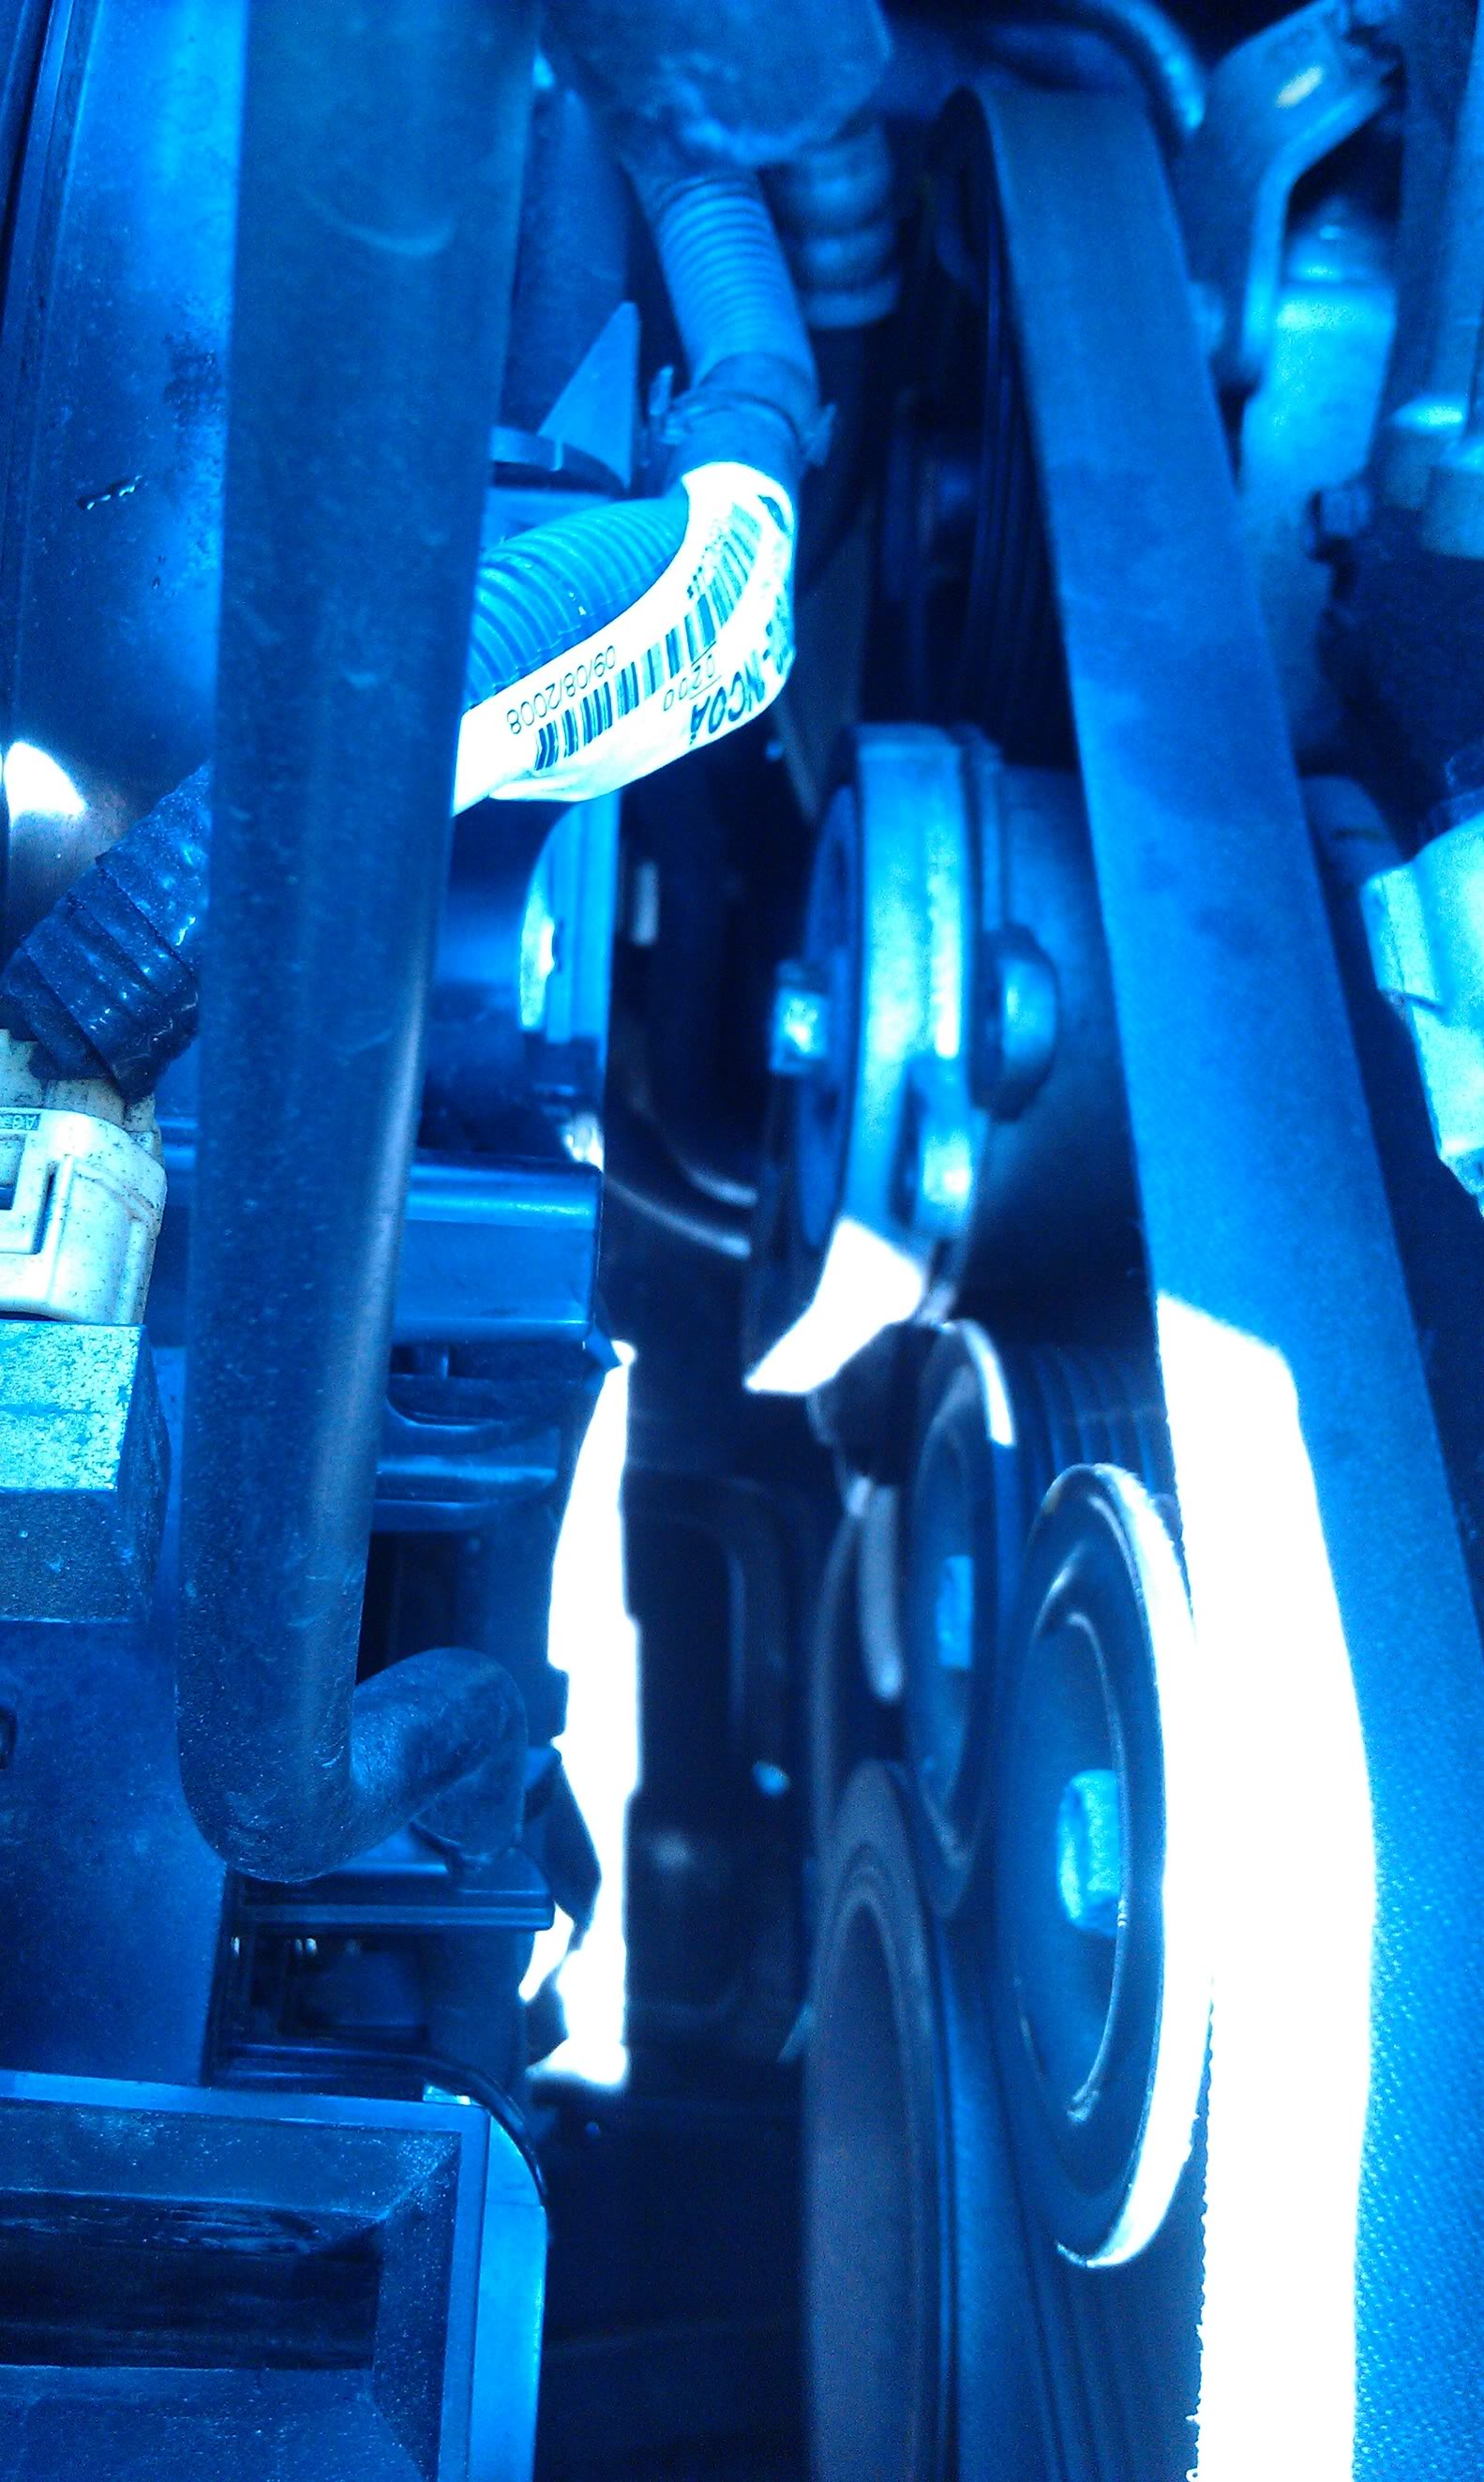


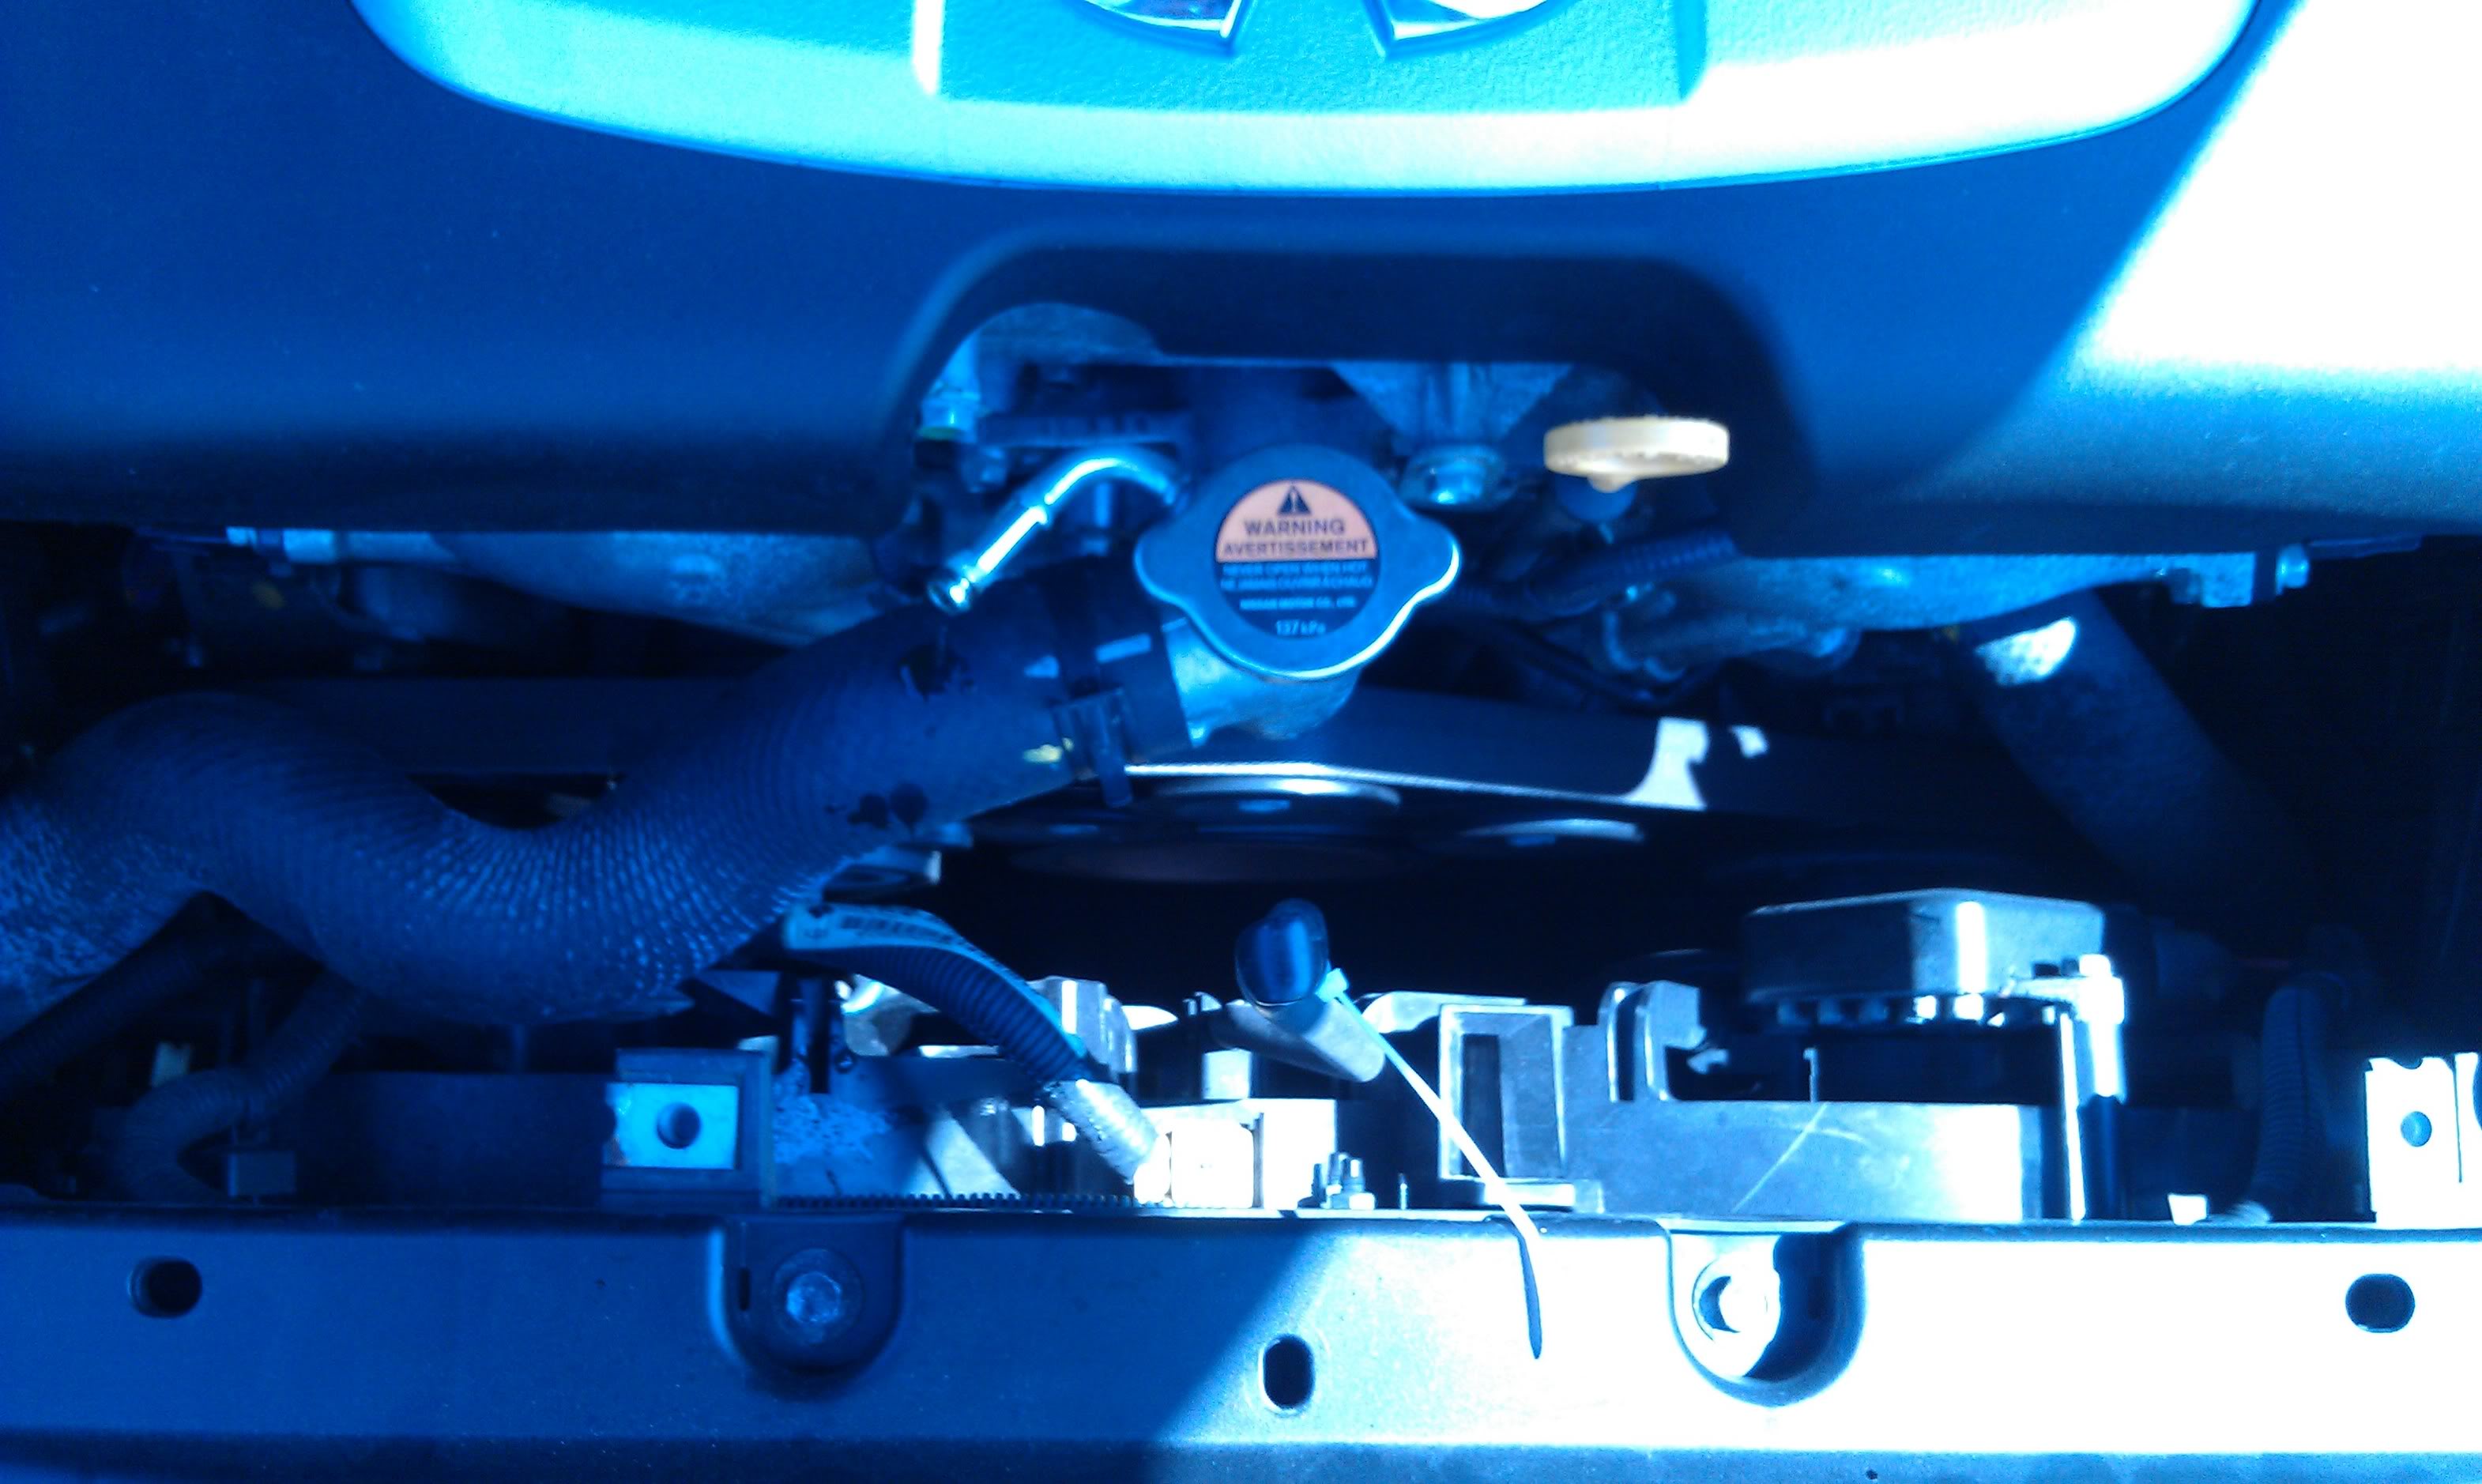
now the fun part once you locate the tensioner, there will be a 3/8" square on the other side of the pulley. stick the breaker bar in and have the allen wrench ready to stuff into the 2 holes on top. this was a little tricky using 1 hand and no breaker bar
  (i nearly got my fingers wedged and crushed by the tensioner cuz i barely had enough leverage
  )
)

now you have the tensioner locked open take the belt off, you will now notice an odd design to the belt routing since you can't simply pull it off. the belt is stuck behind the tensioner, best way to get it off is to climb under the car and remove 2-3 10mm bolts that keep that little window shut. this is where you may need to jack the car up, i didnt since im quite thin and i just barely fit, so if you're not skinny or consider yourself thin jack the car up before this step. stick your hand up and loosen the little sob.
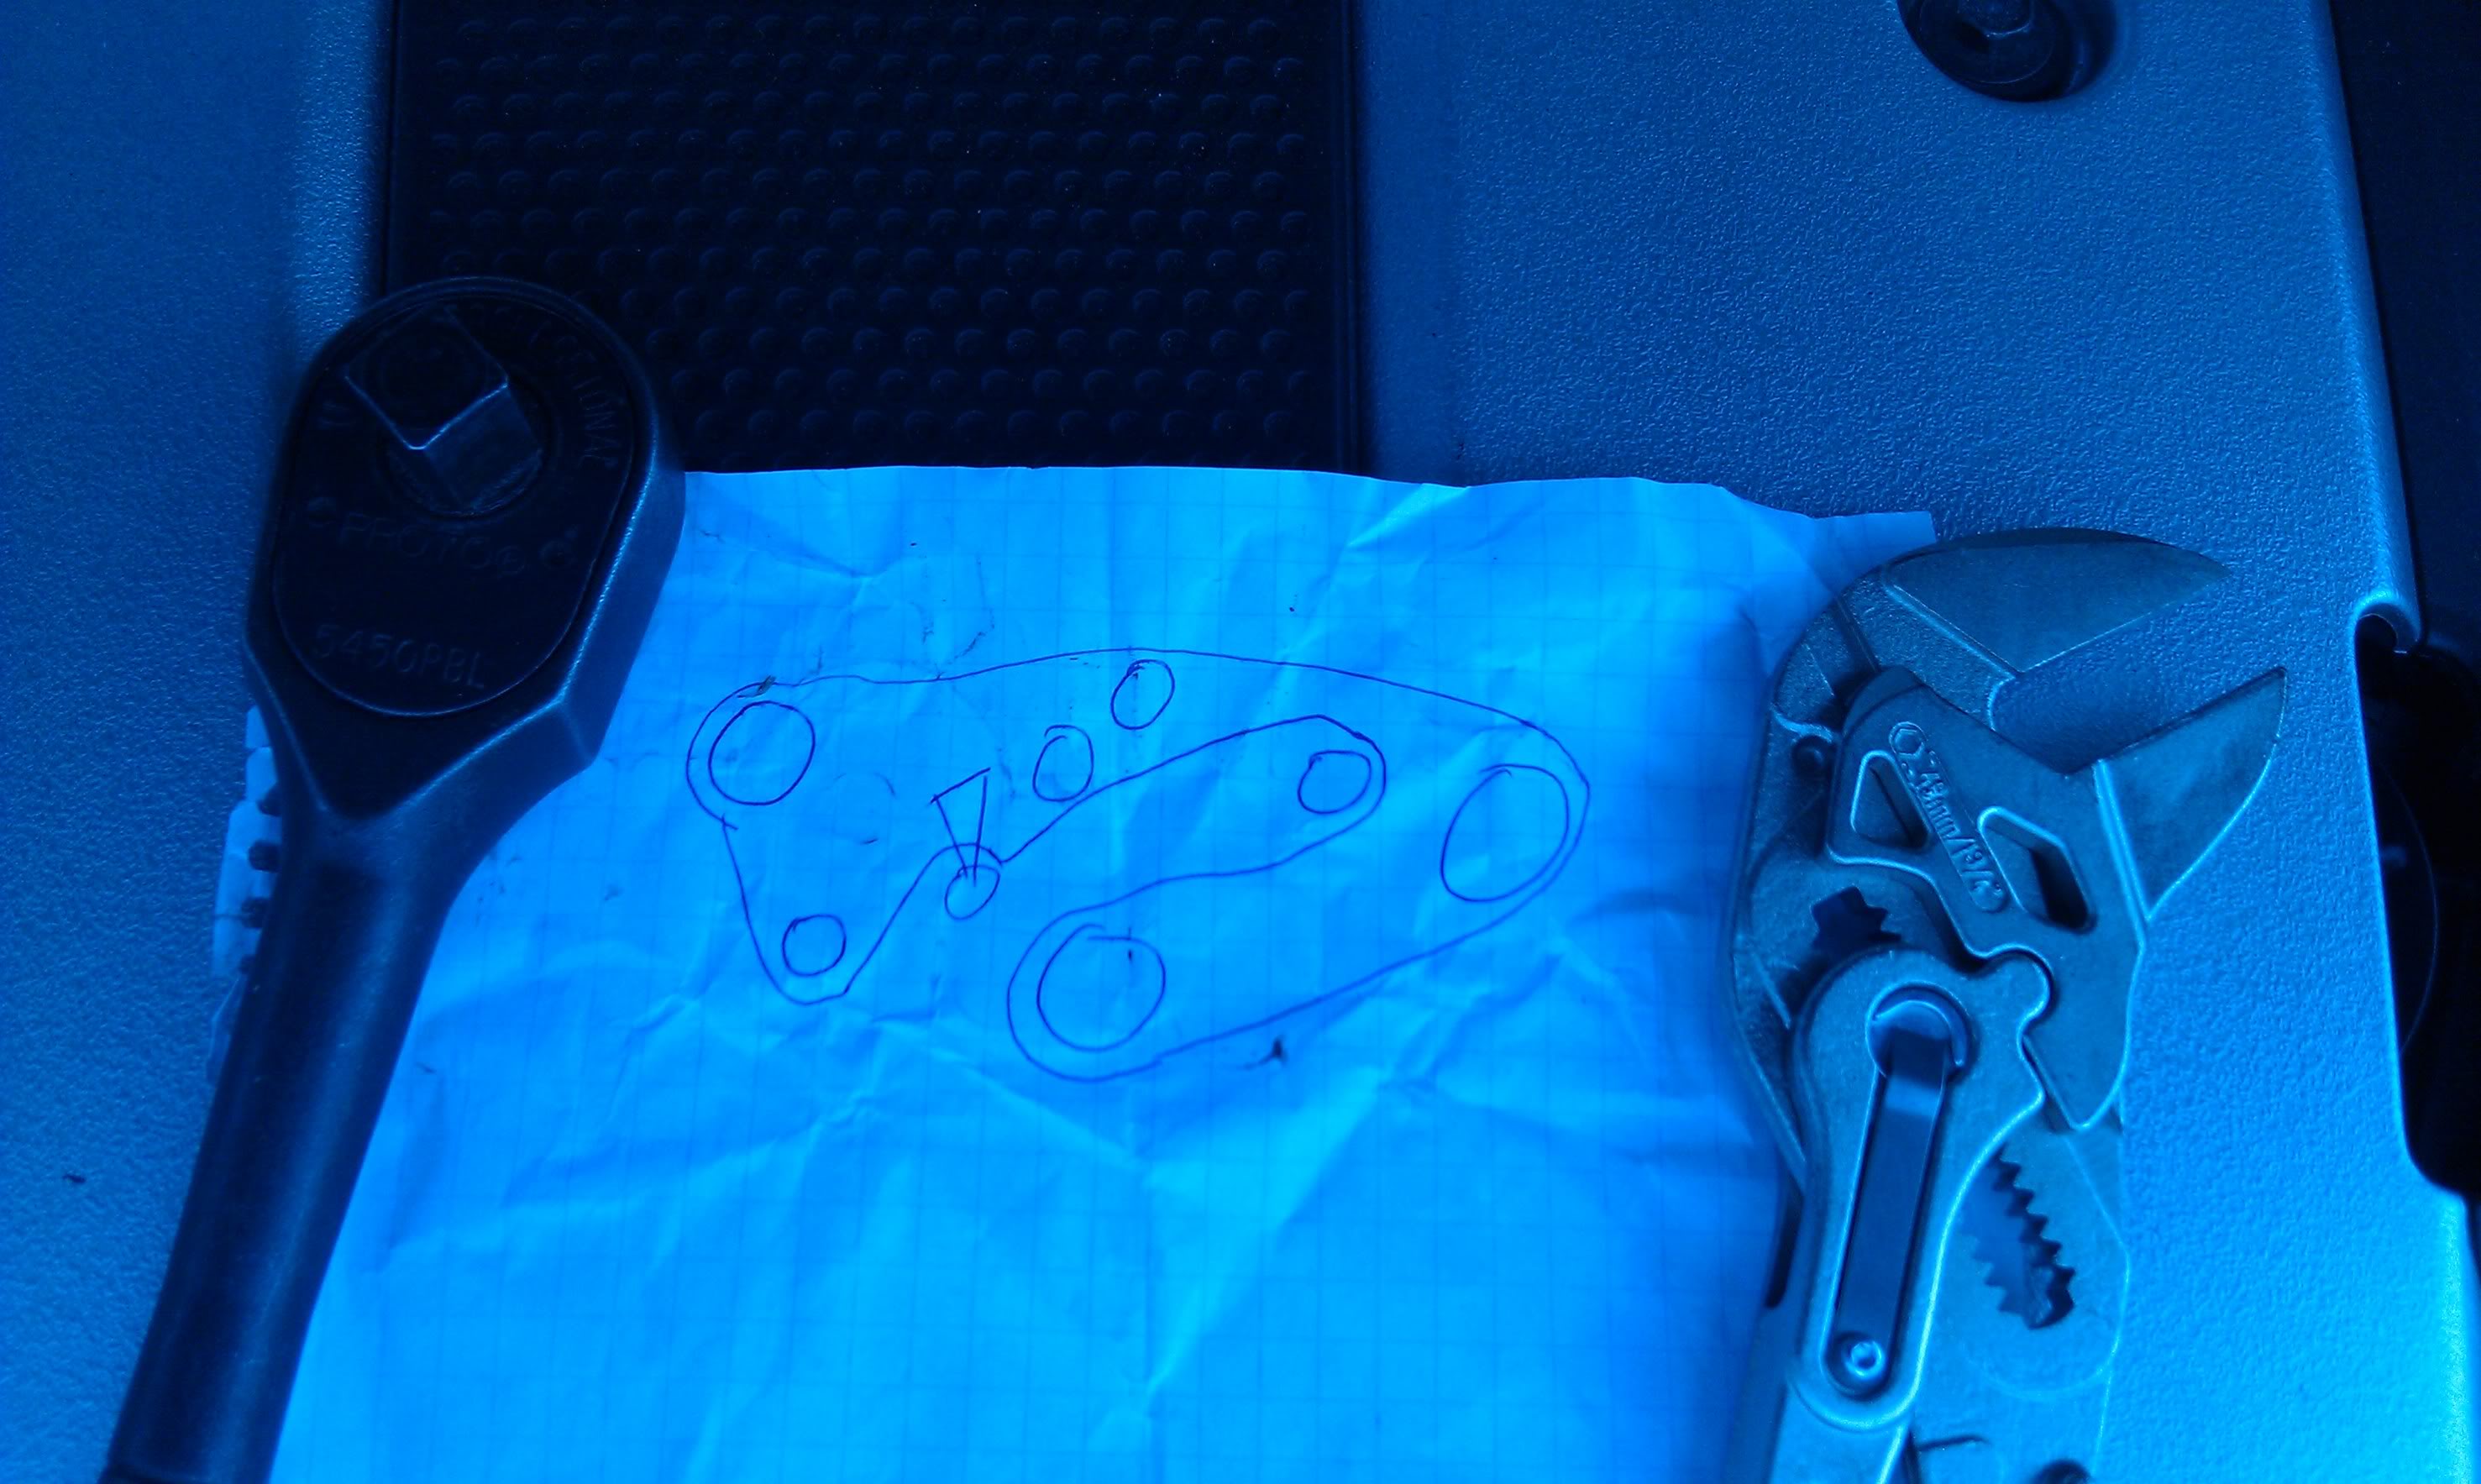
a little humor for you since i couldnt really find a good serpentine routing diagram for my car, didnt come with an owner's manual either its hand drawn and i am not now or ever an artist. the triangle thing is the tensioner.
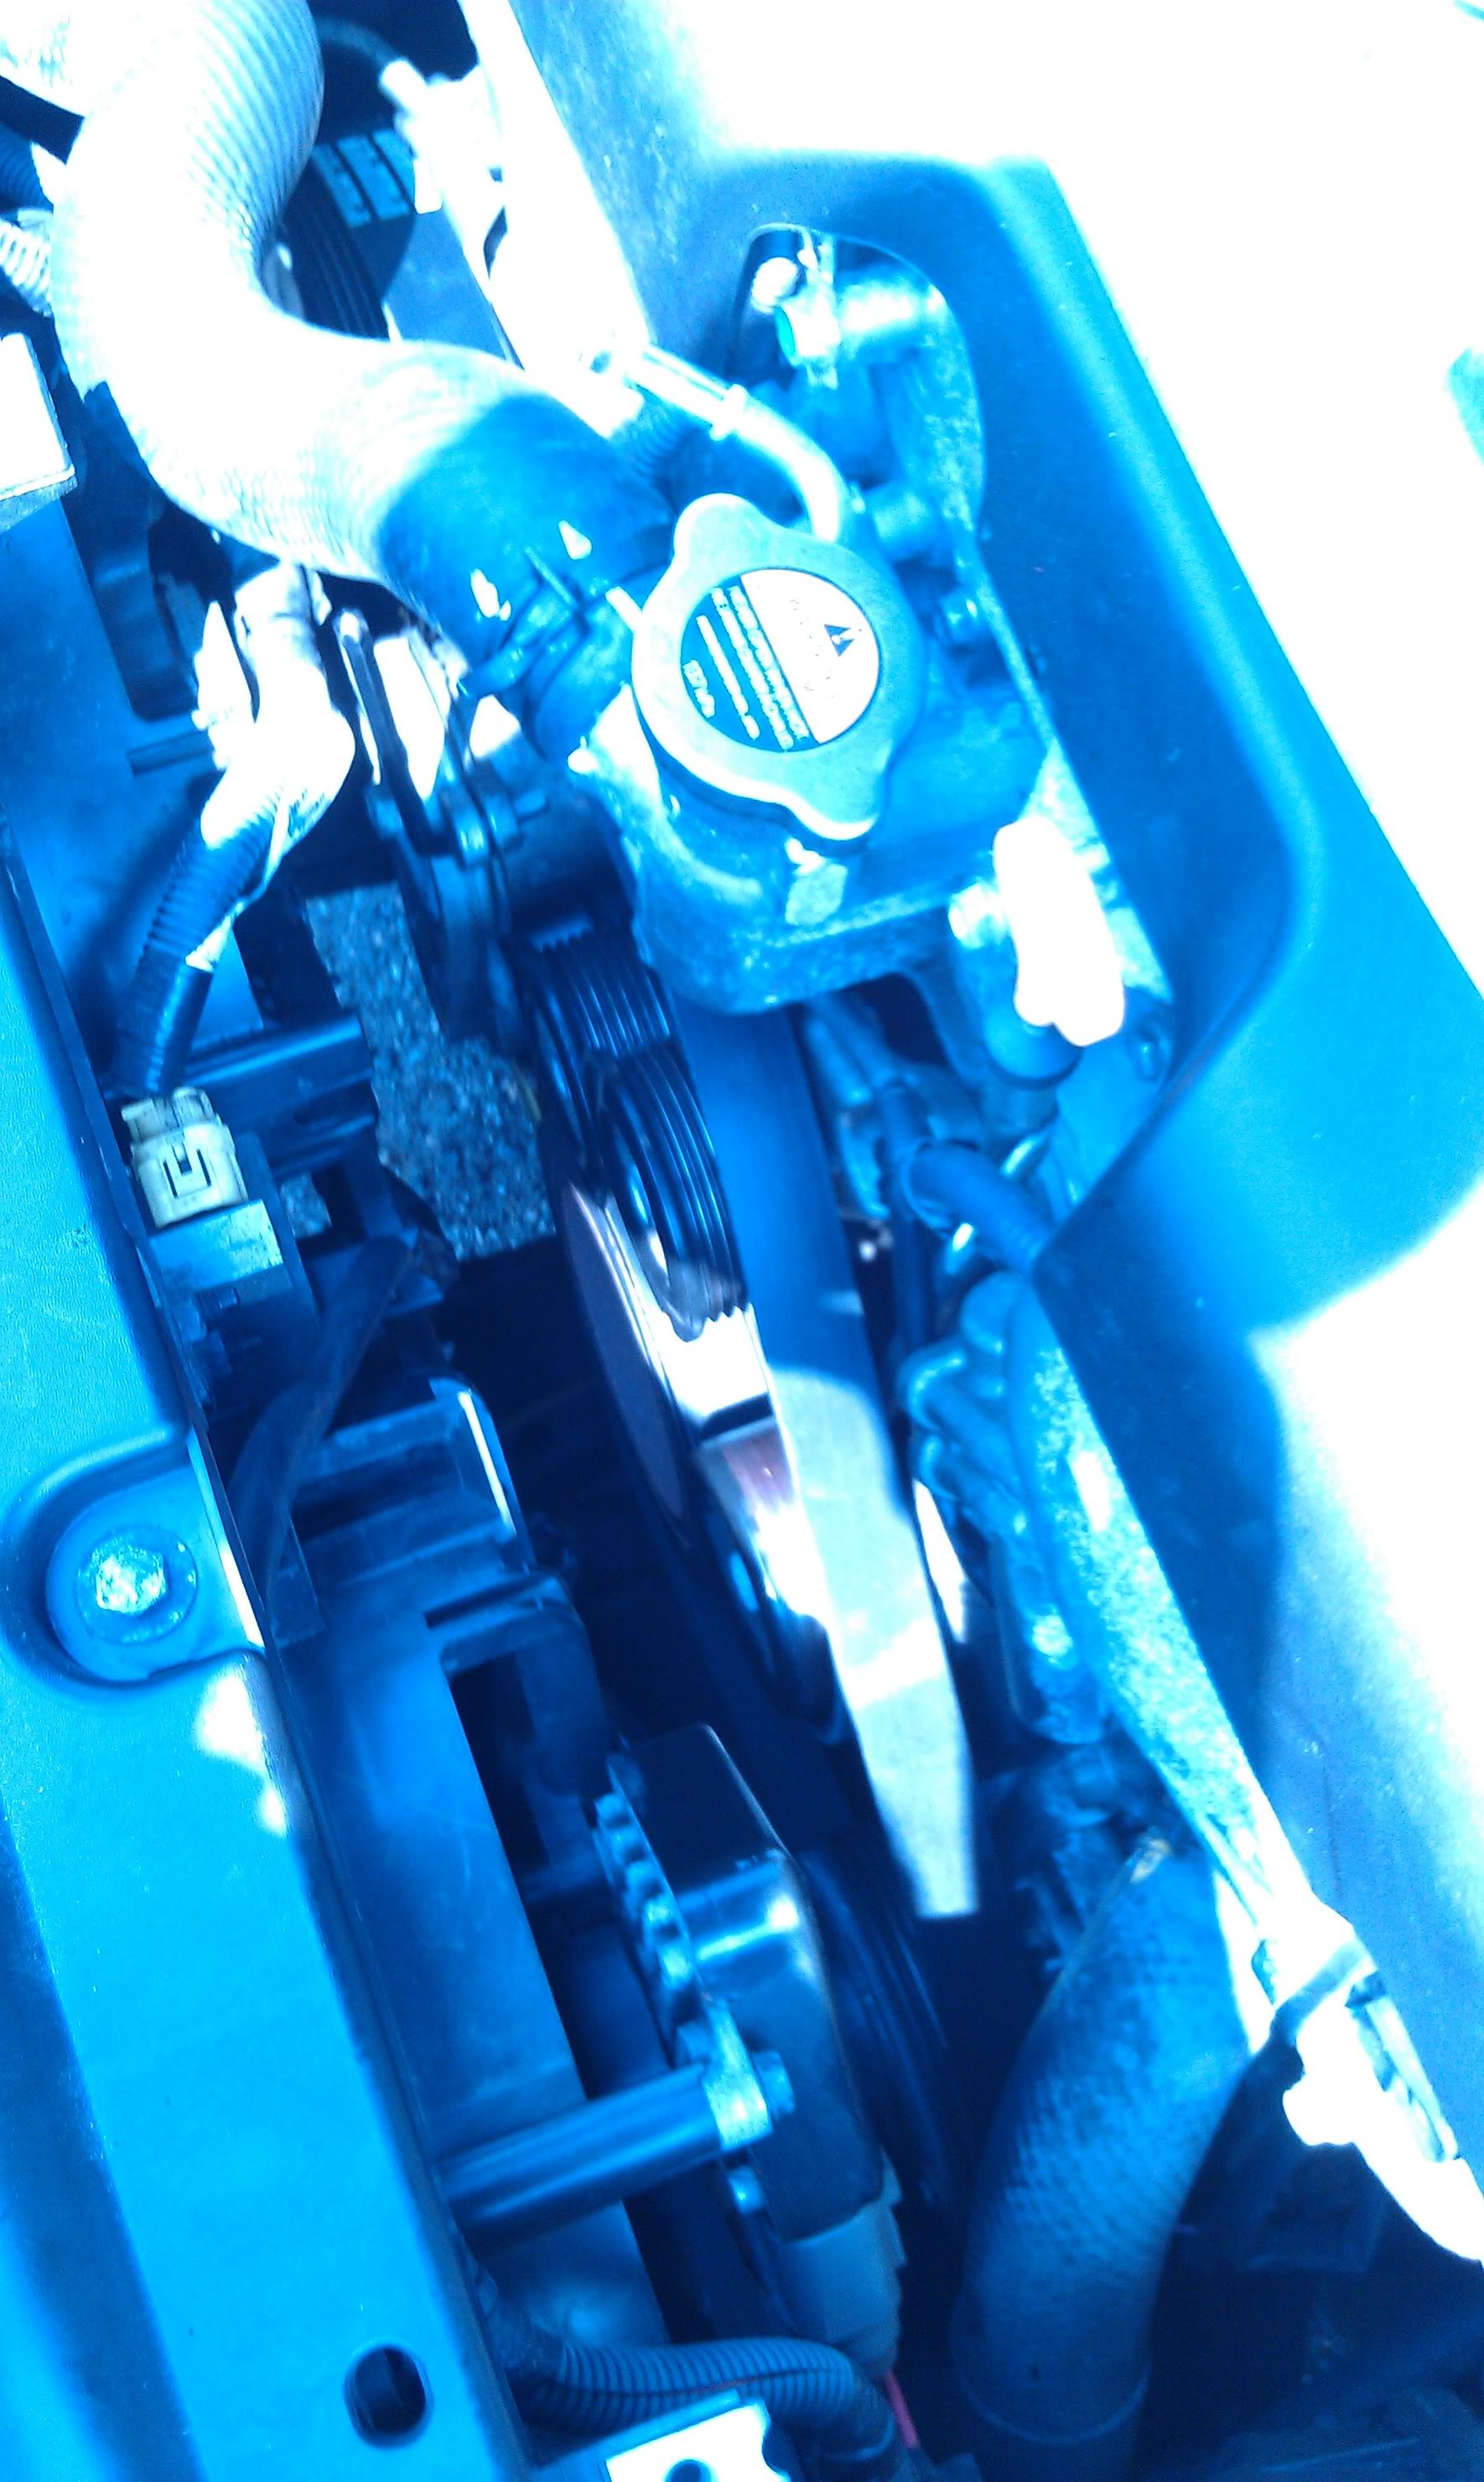
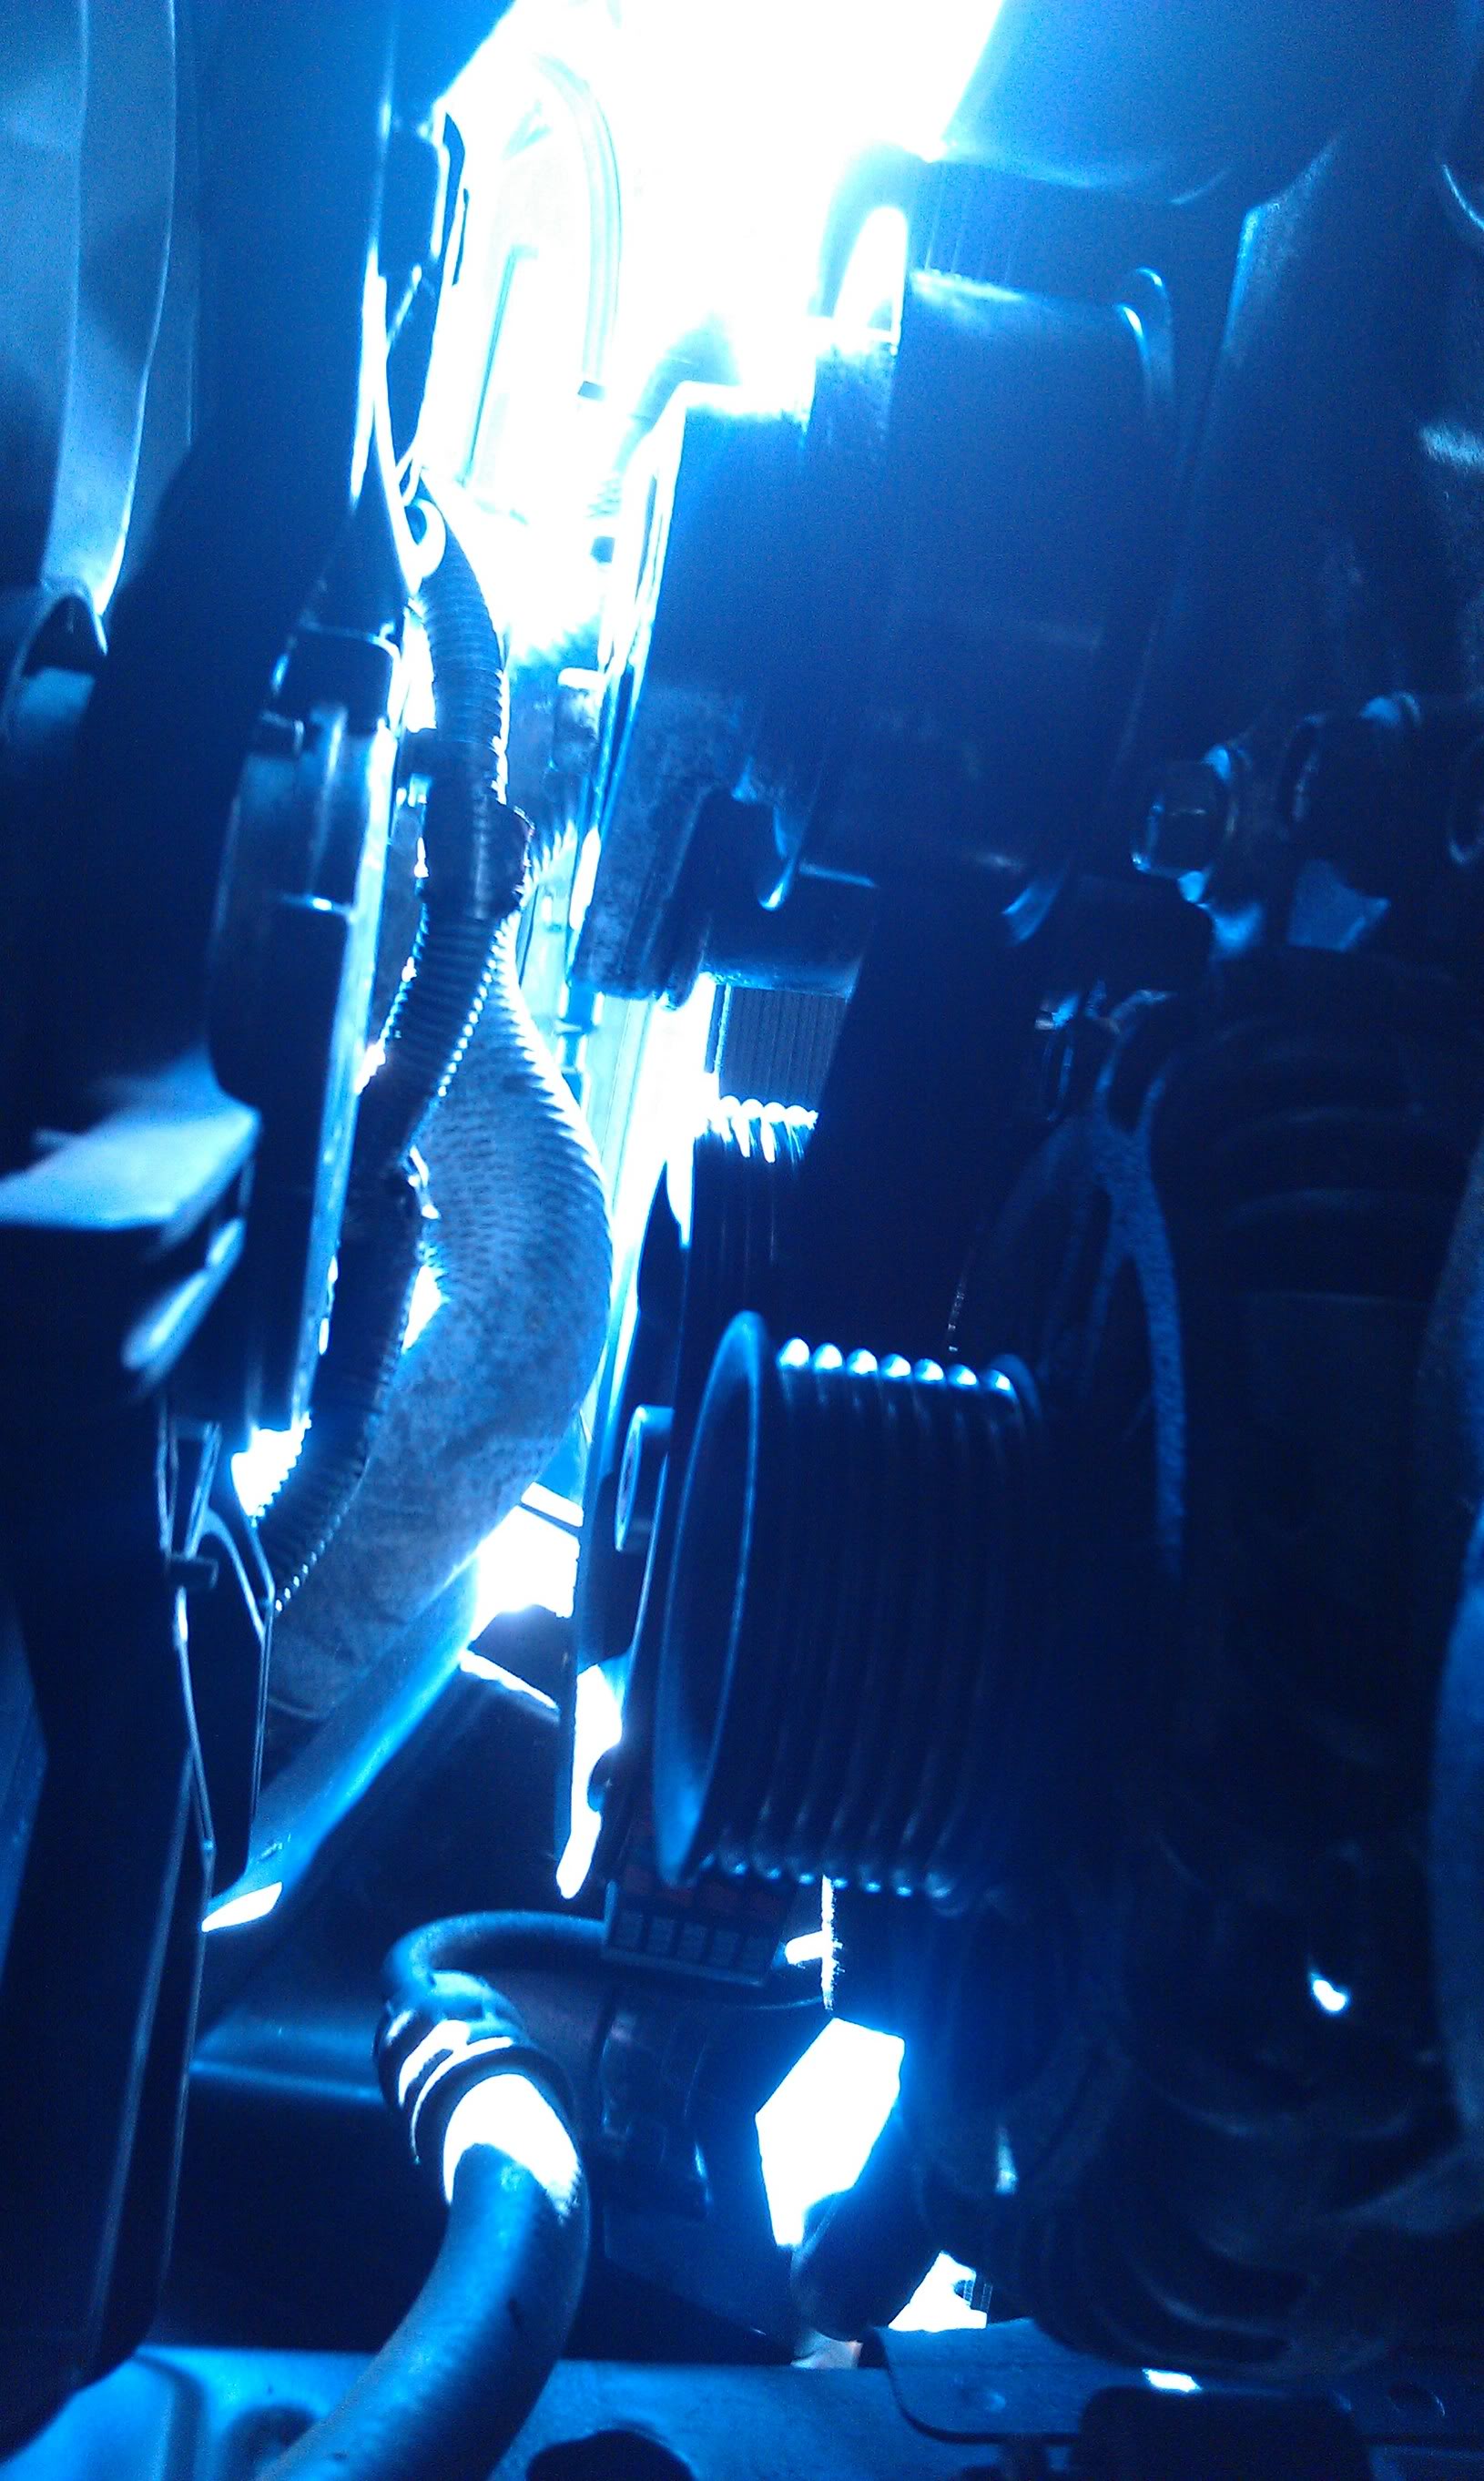
start routing that belt, you'll find it easier to climb under the car to get the belt under the bottom pullies.
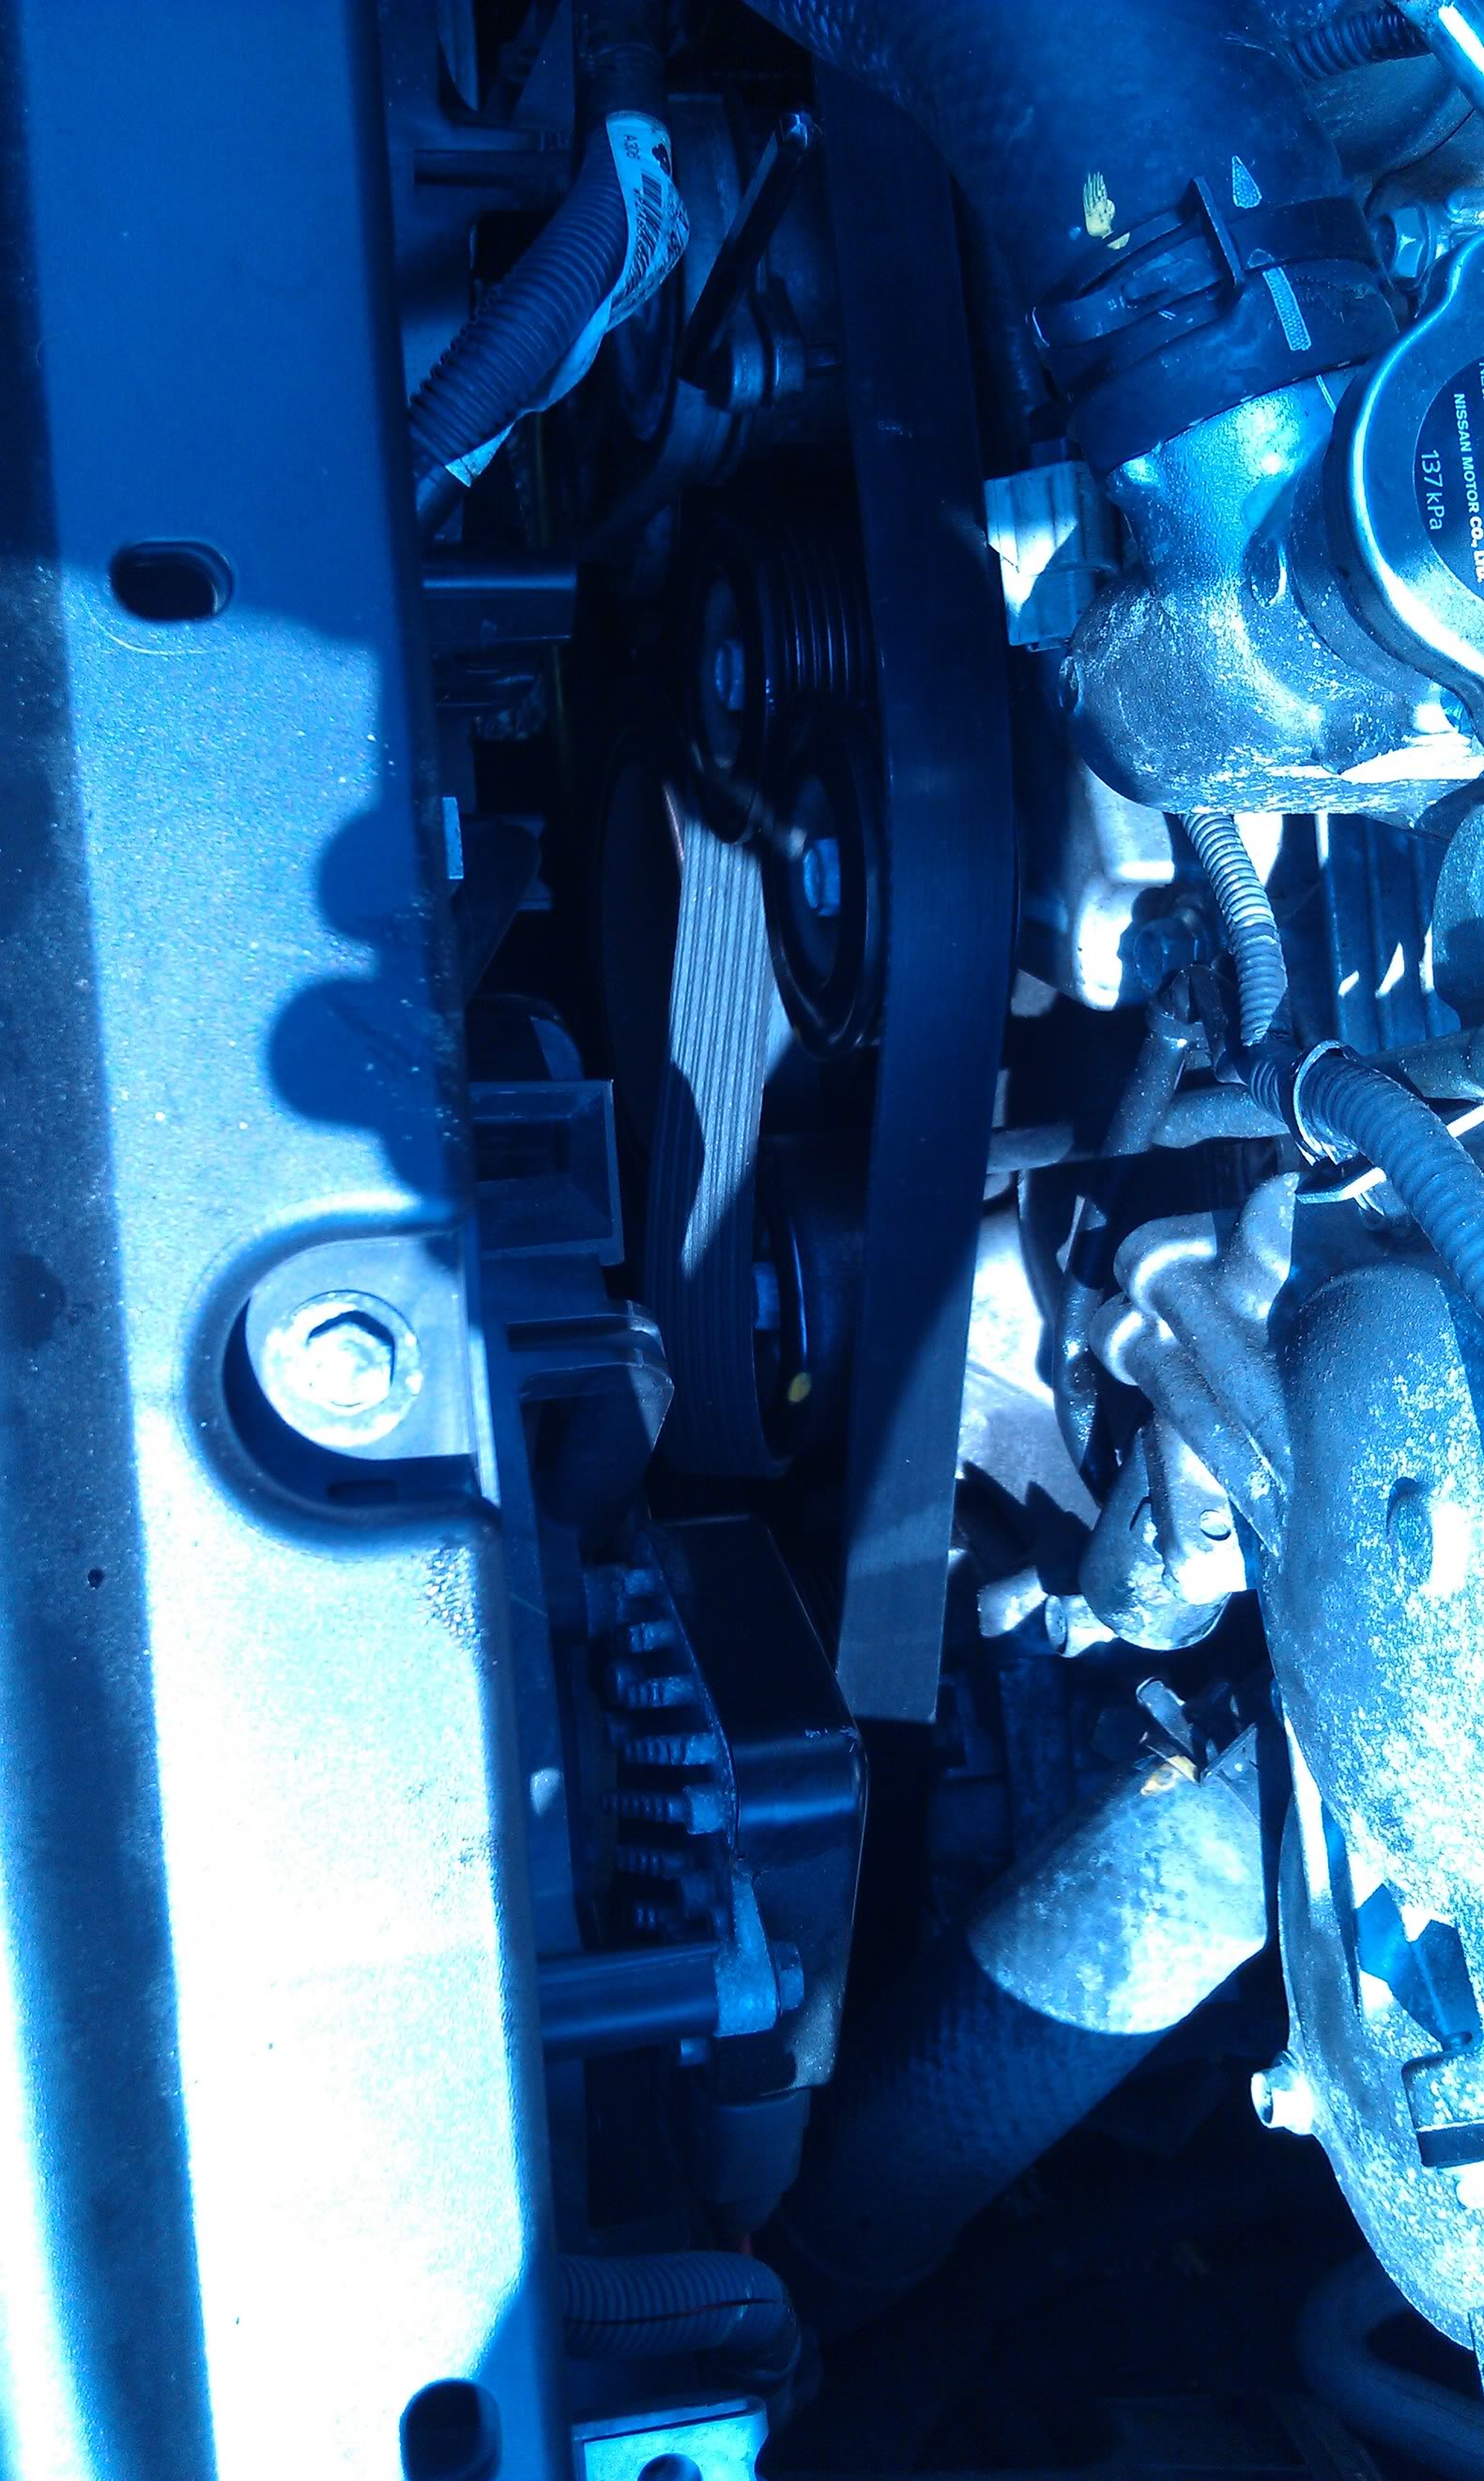
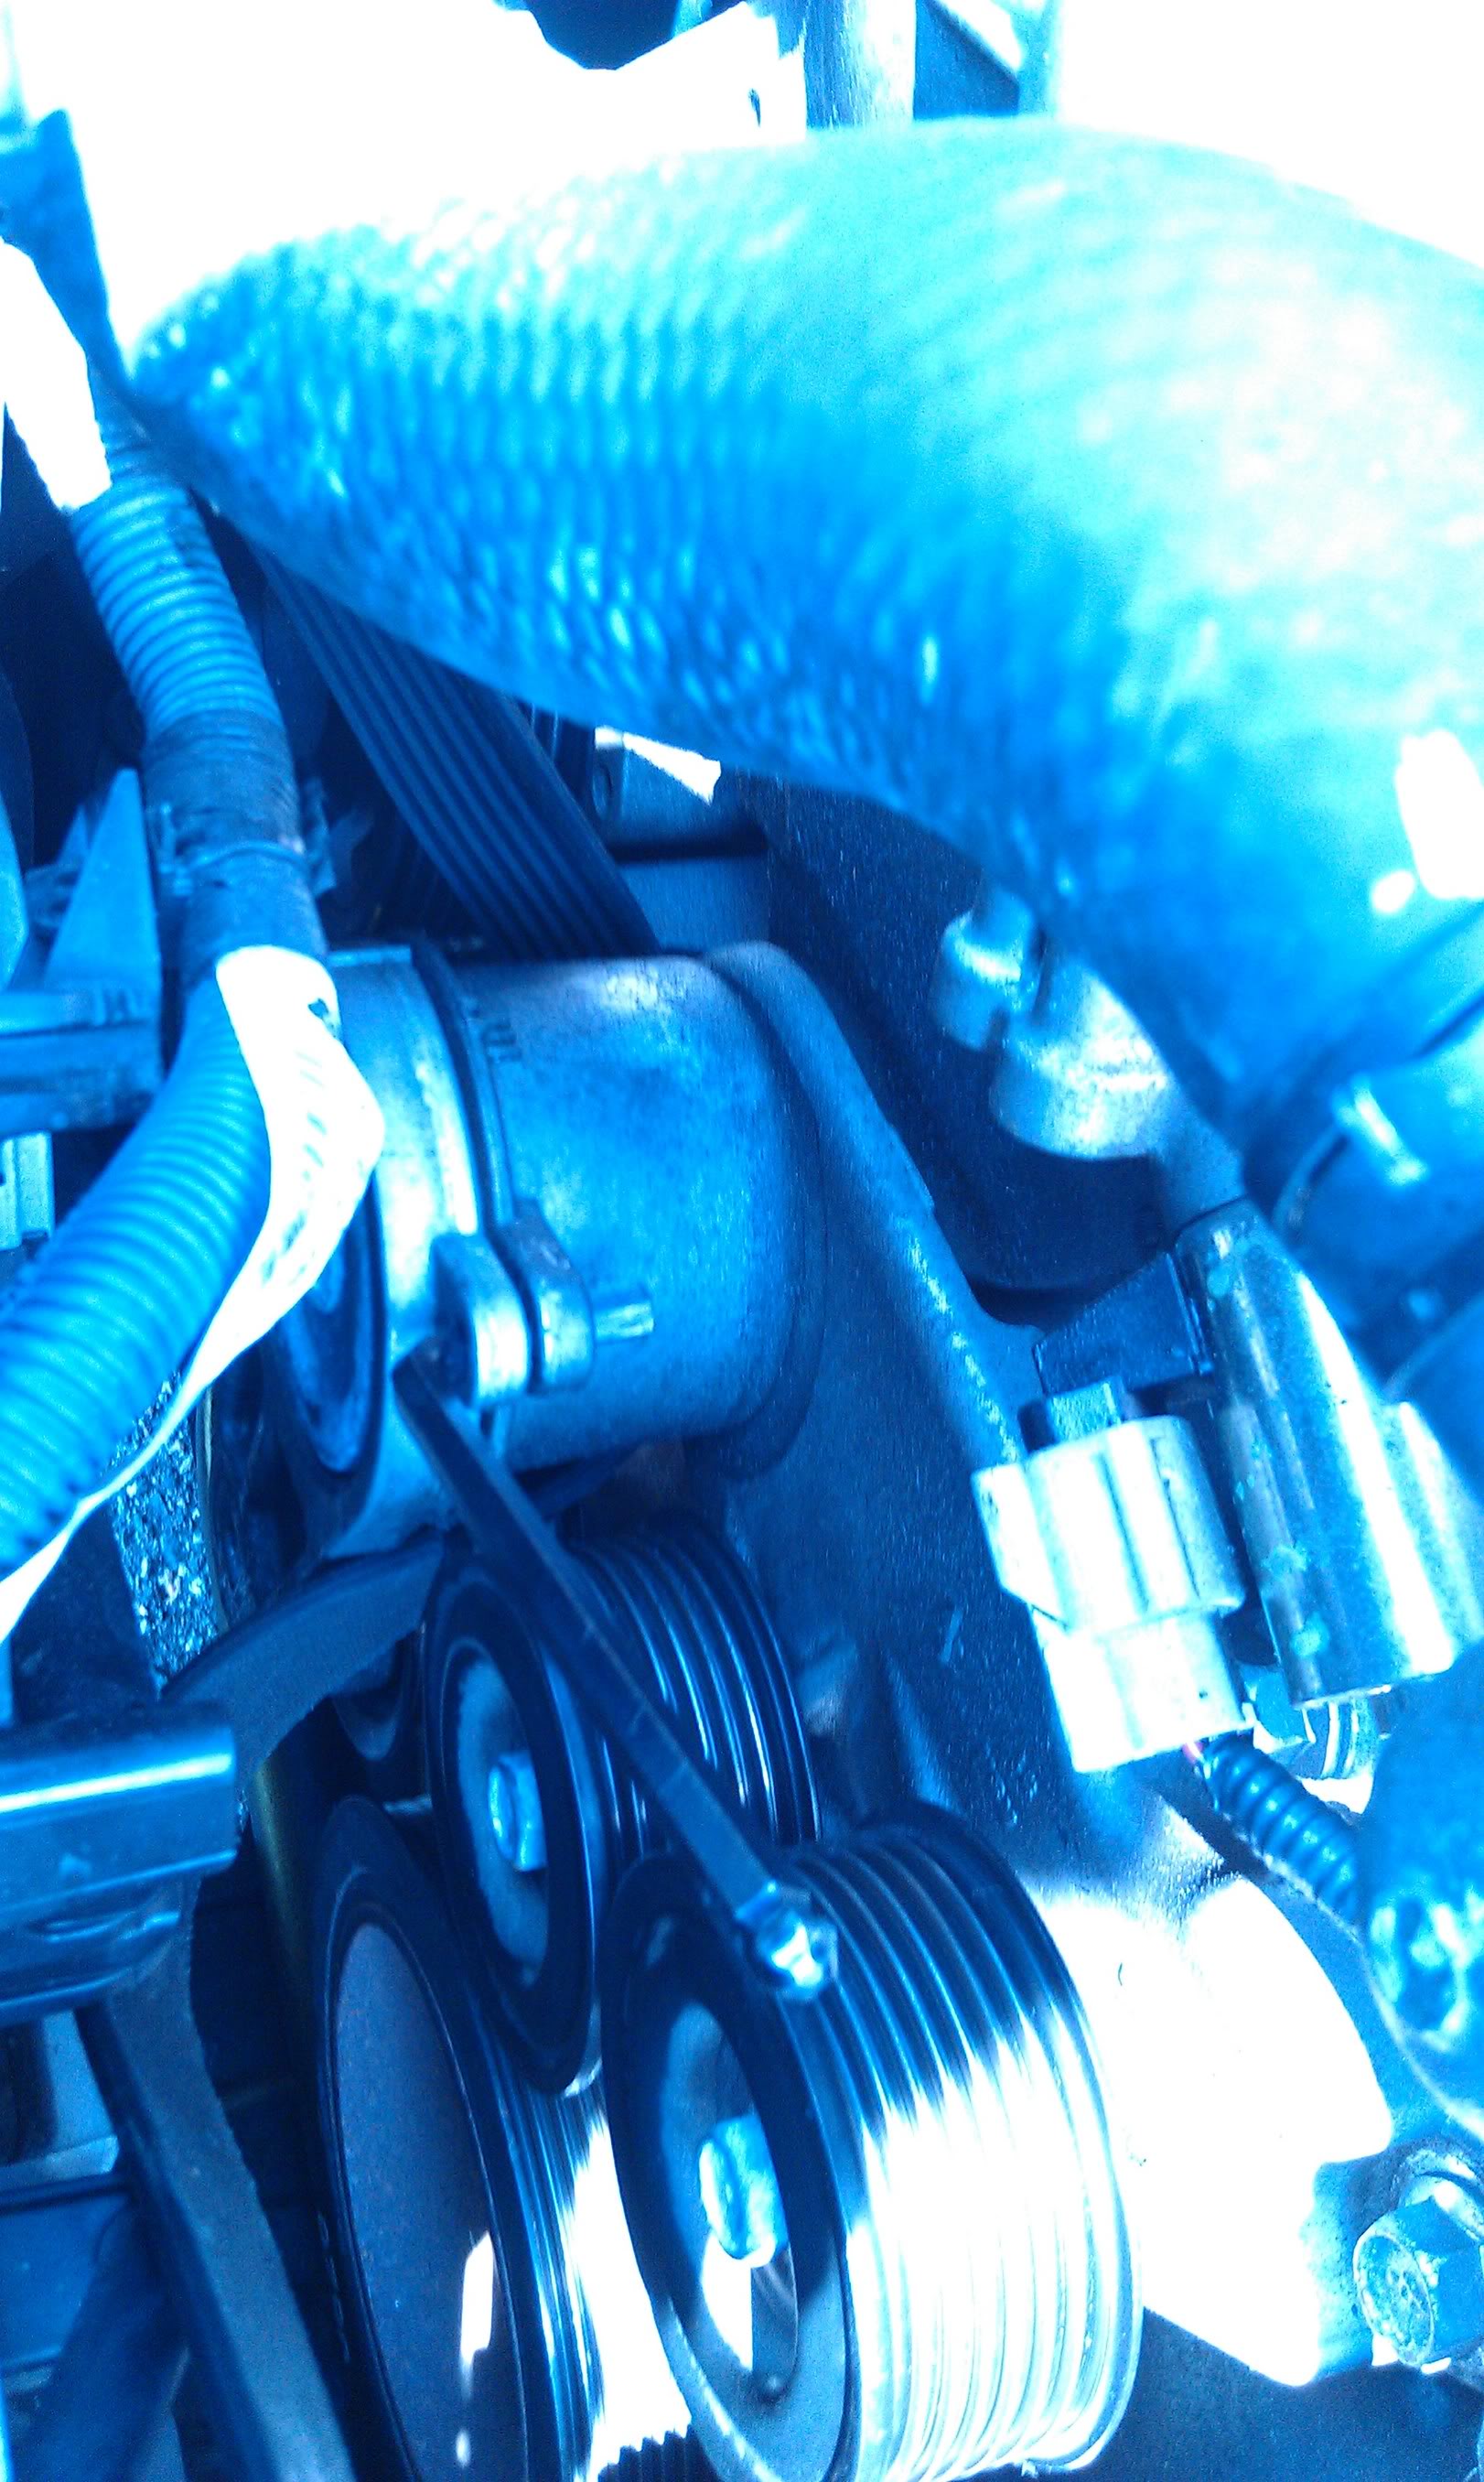
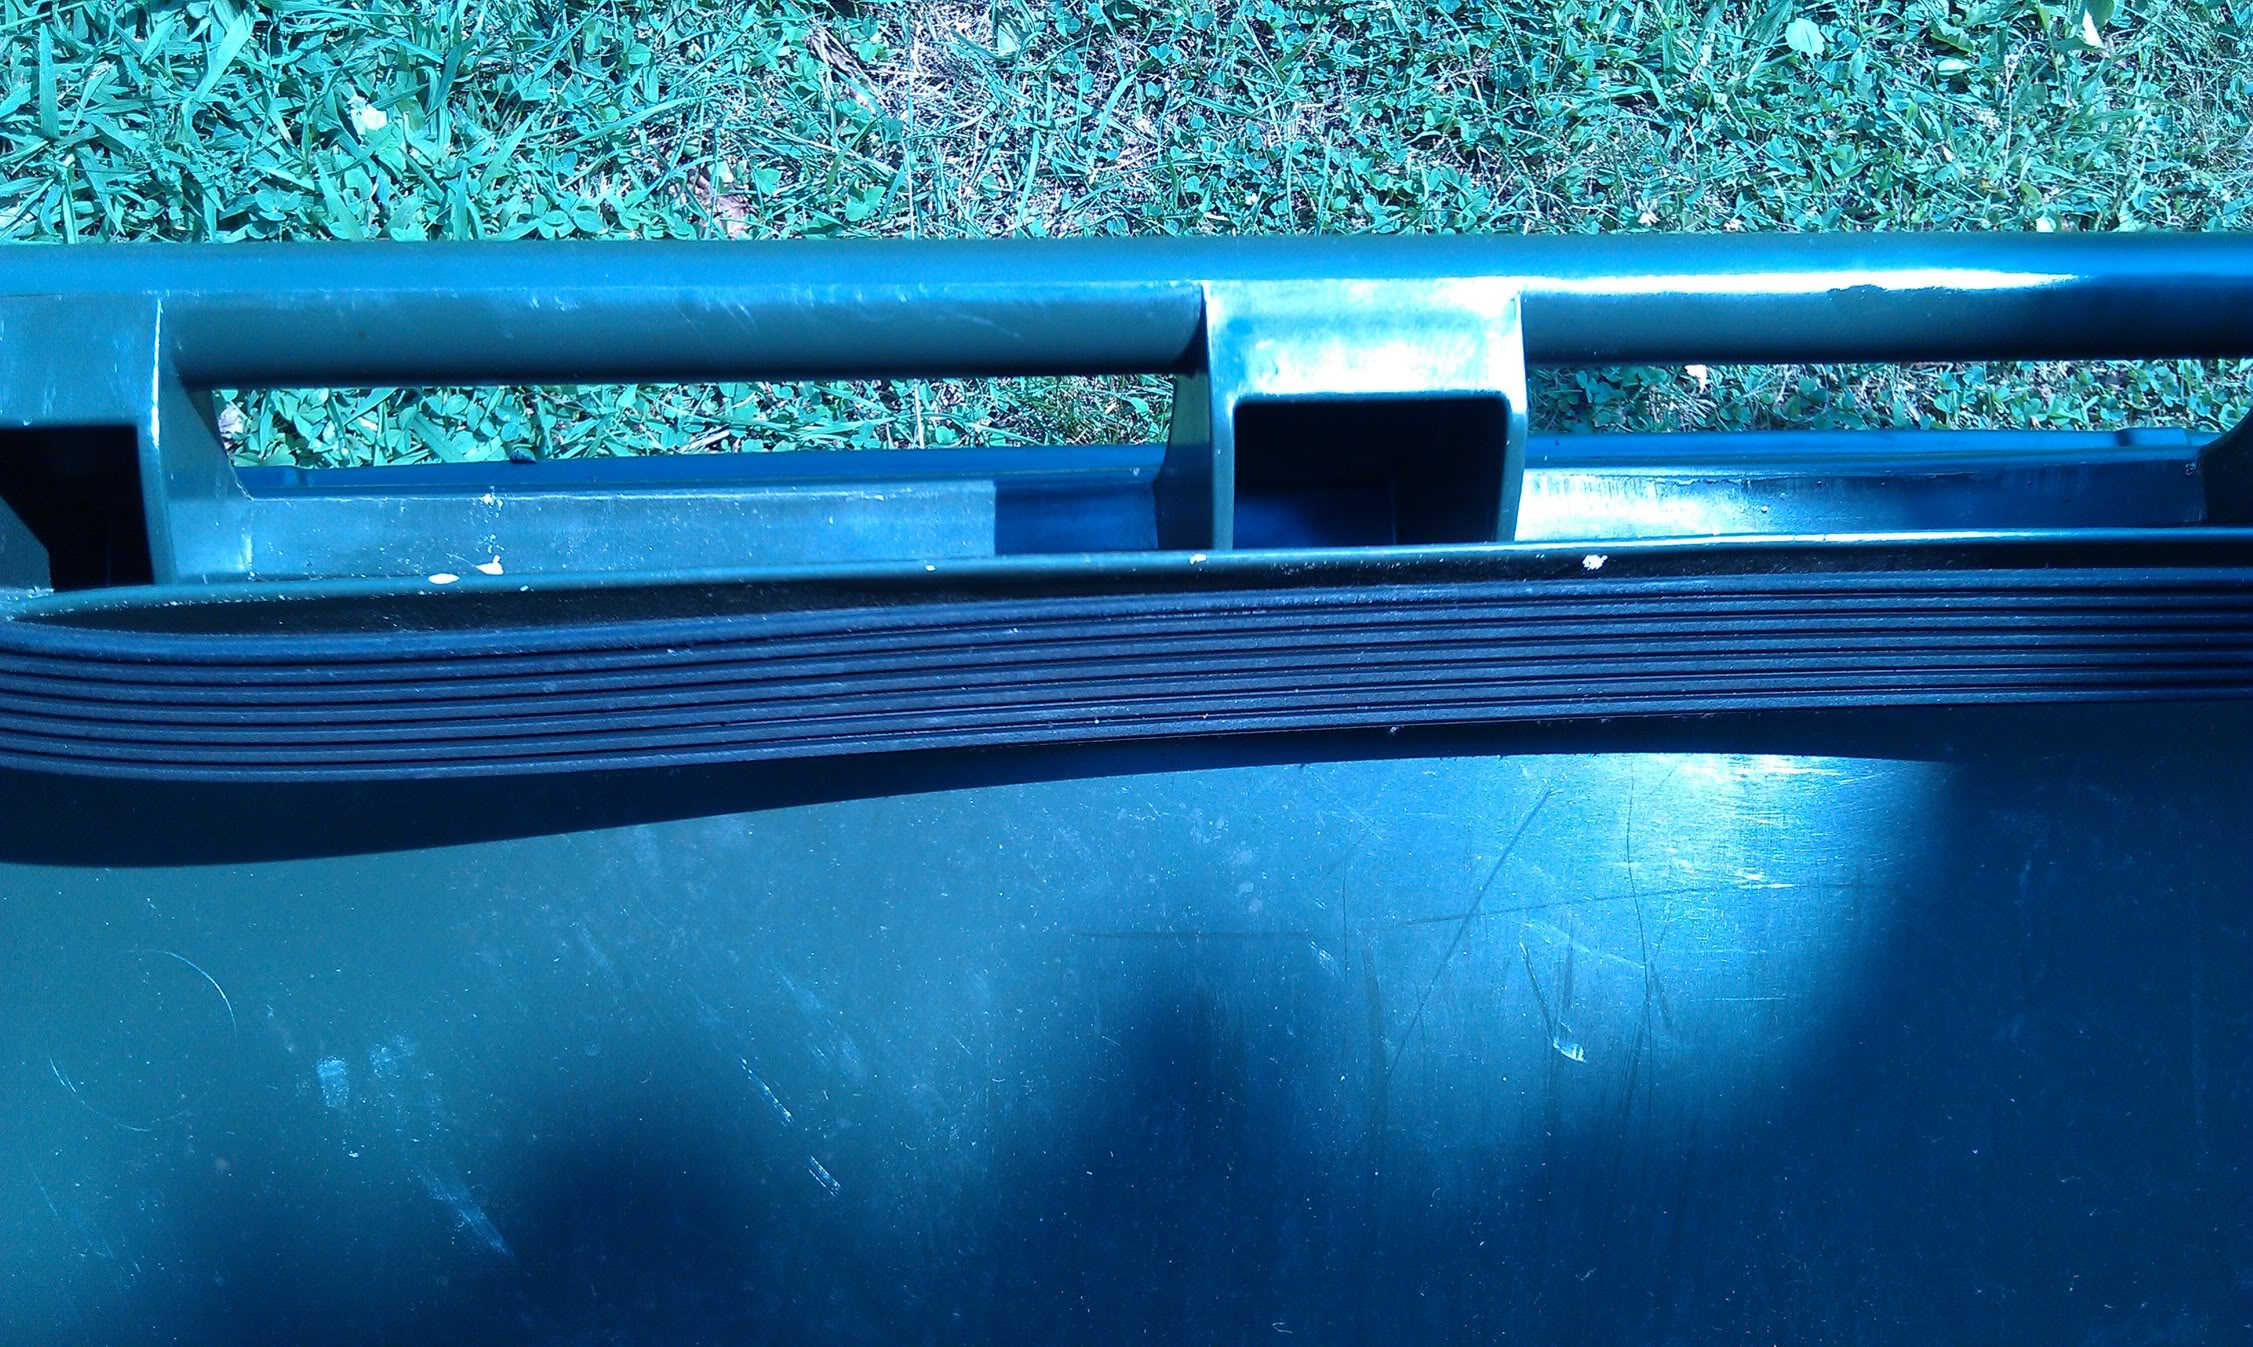
now you wanna do the smooth pulley to the right of the 2 grooved ones last, it'll make things a lot easier. i got that tidbit of knowledge from someone who wrote a diy for his g35. its dead center in the picture

the old belt looked pretty good when i took it off, oh well
p.s. im not responsible if you ruin your car or yourself while attempting this
things you need
jack and jack stands (depending on how big you are)
zip ties (optional)
3/8" breaker bar (make sure it has a thin head less than 1.5" otherwise it may be difficult)
10mm socket and associated socket wrench
6mm allen wrench
serpentine belt ( )
so make sure u have all said equipment because you dont wanna drive the car at all before you start cuz ull burn yourself like i did.
belt
first thing to do is remove your coolant overflow tank and set it aside, i zip tied the lines shut just incase but you dont really need to do this.
now the fun part
once you locate the tensioner, there will be a 3/8" square on the other side of the pulley. stick the breaker bar in and have the allen wrench ready to stuff into the 2 holes on top. this was a little tricky using 1 hand and no breaker bar (i nearly got my fingers wedged and crushed by the tensioner cuz i barely had enough leverage )now you have the tensioner locked open take the belt off, you will now notice an odd design to the belt routing since you can't simply pull it off. the belt is stuck behind the tensioner, best way to get it off is to climb under the car and remove 2-3 10mm bolts that keep that little window shut. this is where you may need to jack the car up, i didnt since im quite thin and i just barely fit, so if you're not skinny or consider yourself thin jack the car up before this step. stick your hand up and loosen the little sob.
a little humor for you since i couldnt really find a good serpentine routing diagram for my car, didnt come with an owner's manual either
its hand drawn and i am not now or ever an artist. the triangle thing is the tensioner.start routing that belt, you'll find it easier to climb under the car to get the belt under the bottom pullies.
now you wanna do the smooth pulley to the right of the 2 grooved ones last, it'll make things a lot easier. i got that tidbit of knowledge from someone who wrote a diy for his g35. its dead center in the picture
the old belt looked pretty good when i took it off, oh well
Last edited by Black Betty; 01-19-2016 at 07:35 PM. Reason: spaced photos


 08-03-2011, 04:27 PM
#5
woot stickied  don't make the mistake of trying to use a 1/2" breaker bar cuz its nvr gonna fit. I found out the hard way. so my hand drawn masterpiece isn't good enough? :P thx for the diagram
don't make the mistake of trying to use a 1/2" breaker bar cuz its nvr gonna fit. I found out the hard way. so my hand drawn masterpiece isn't good enough? :P thx for the diagram

Trending Topics
 08-07-2011, 01:51 AM
#11

Nice DIY!
Actually on page 21 of that Service Guide it says to change engine belts @ 30k for the premium service, however i agree with you and still do it old school, check the belt for cracks and deterioration and change when needed im yet to change at ~56k but im due as i can see some cracks now.
Actually on page 21 of that Service Guide it says to change engine belts @ 30k for the premium service, however i agree with you and still do it old school, check the belt for cracks and deterioration and change when needed im yet to change at ~56k but im due as i can see some cracks now.
 12-07-2011, 11:35 AM
#13
Registered Member

I changed mine at 30k miles at dealer and belt still looked good. So I decided to wait for at 65k miles to replace it, and it still looked good. So what now, do I wait for 125k miles for my next one.
08-25-2012, 03:12 PM
#15
Registered Member

I just did this job and i do not know how you got your breaker bar in there without removing the fan .After further research i found that there is a belt tensioner tool that makes this job a breeze

