DIY: Paint Your Calipers
 06-18-2011, 09:00 PM
#1

Paint Your Calipers
(Any added information from other members will be added at the bottom of this post. Please check there before starting.)
****IMPORTANT****
1. You must complete all steps before driving your vehicle. It is very important you bleed the brakes before driving your car otherwise you may have no braking power.
2. Doing this may take a while, so plan accordingly. If you are prepared and have the correct tools removing the calipers is very easy. The hardest part is waiting for the paint to dry.
3. While your vehicle is raised, make sure you have something in front of or behind your wheel to prevent any movement of the car.
Tools needed:
22mm socket/wrench (front caliper bolts)
19mm socket/wrench (rear caliper bolts)
12mm socket/wrench (bracket holding brake lines)
10mm line wrench (brake lines)
1/4 Vacuum hose (bleeding brakes)
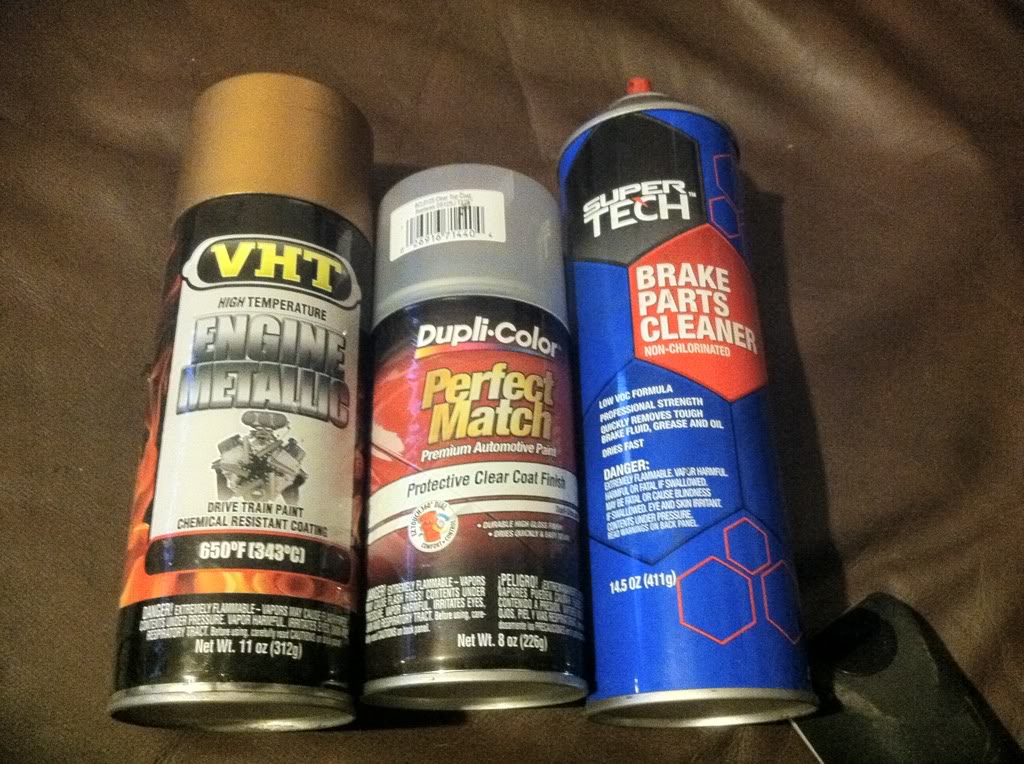
Products needed:
600 grit sandpaper.
Paint color of your choice.
Clear coat of your choice.
Decal of your choice.
Brake cleaner.
The proper way to do this would be to remove the brake pads and retainers. I chose not to do this to save some time. You can properly inspect your brake pads with the caliper off. If they need replacing, now would be a good time to do it.
Front.
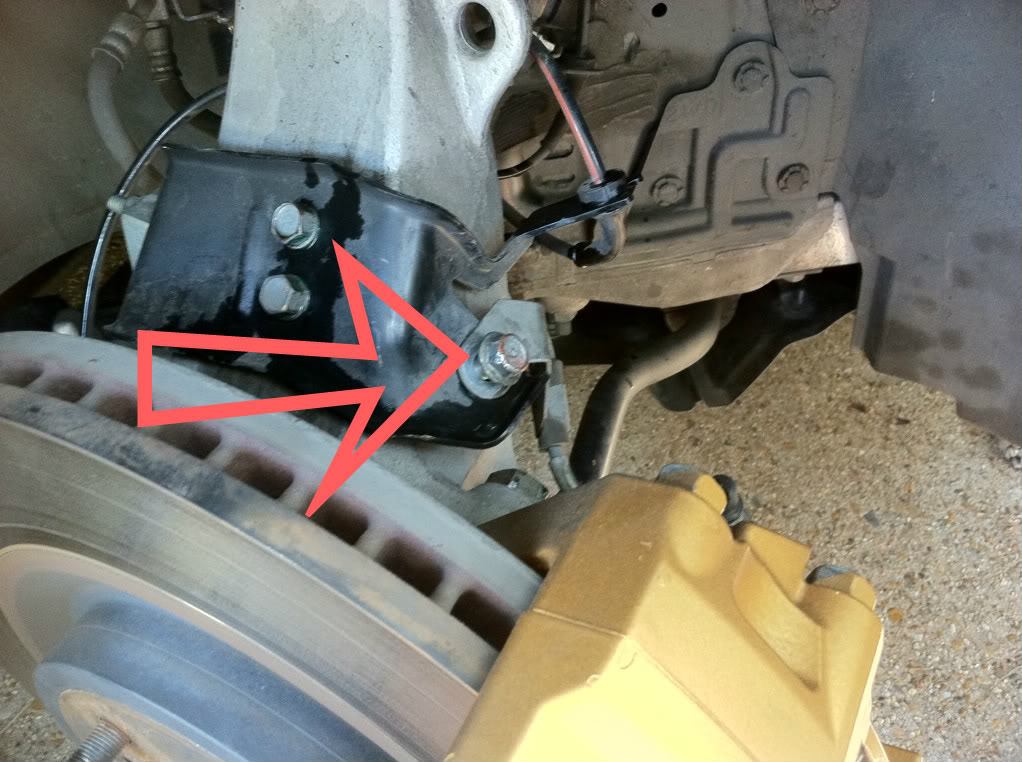
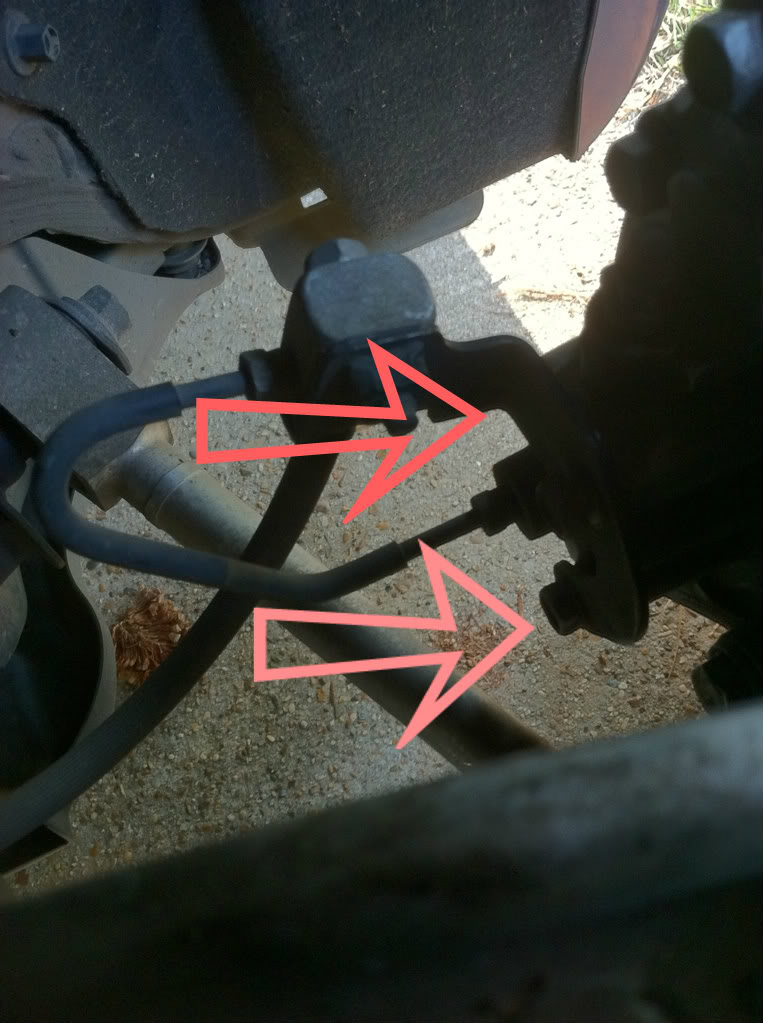
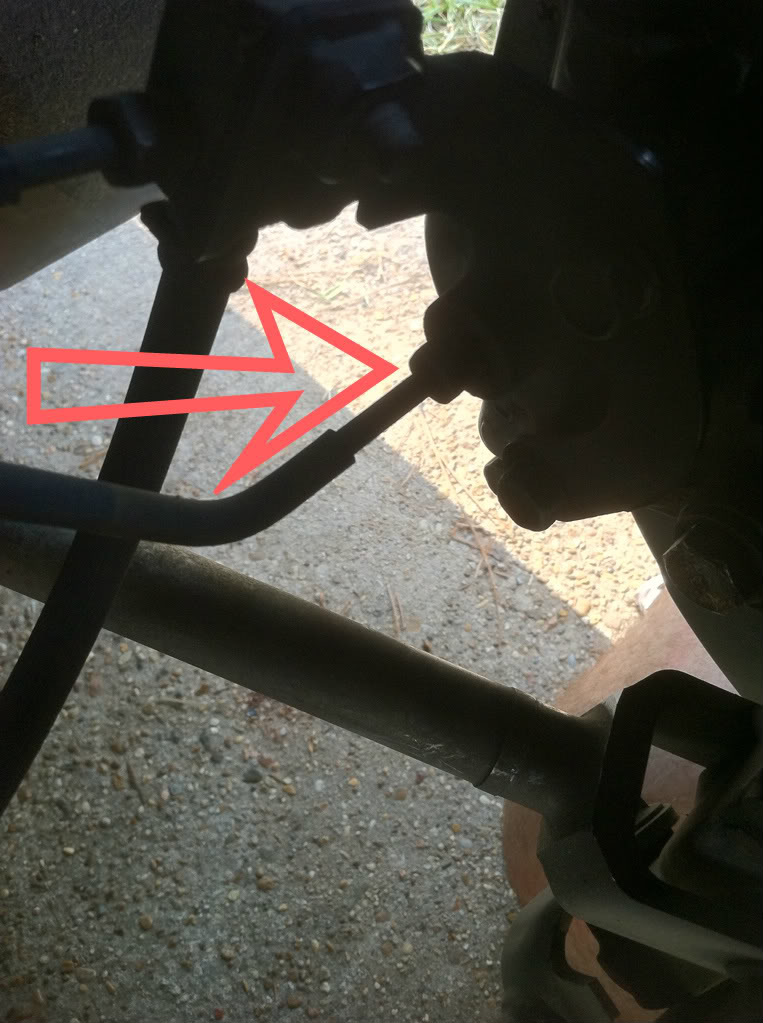
I started on the front. Remove the bracket that holds the brake line in place. This will allow you to get an impact wrench onto the caliper bolts.
Remove the brake line, and either let it drip onto a towel or container, or attach a plug to stop it dripping.
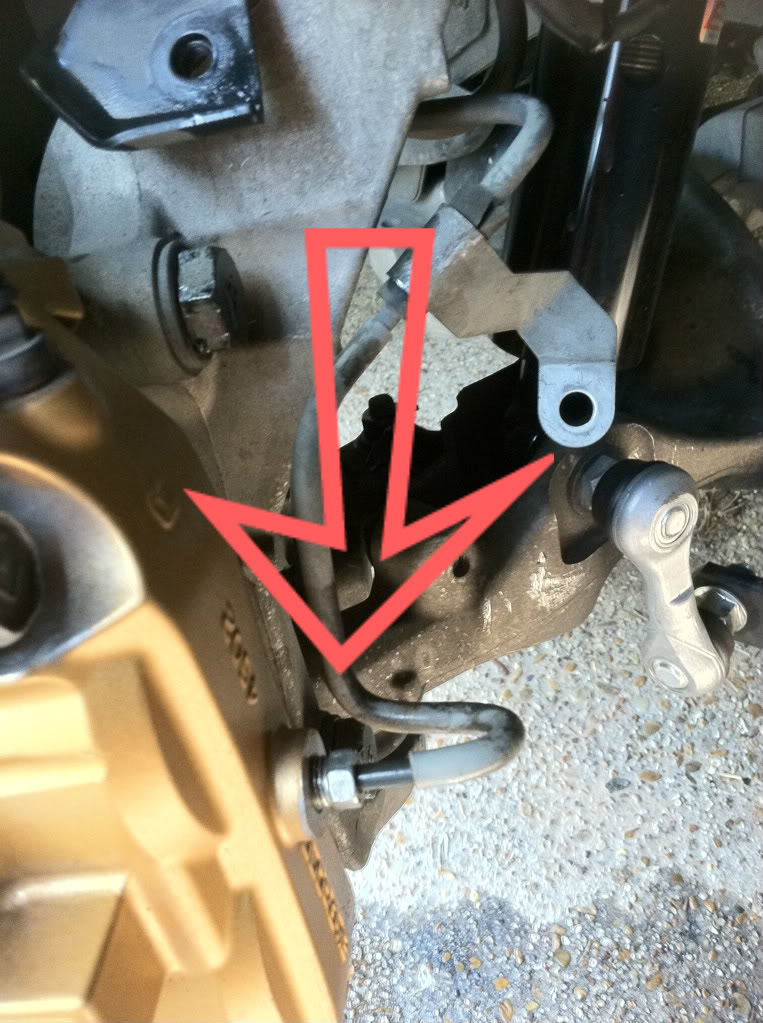
Loosen the front caliper bolts. Mine were very tight, so I used an impact and they broke loose easily.
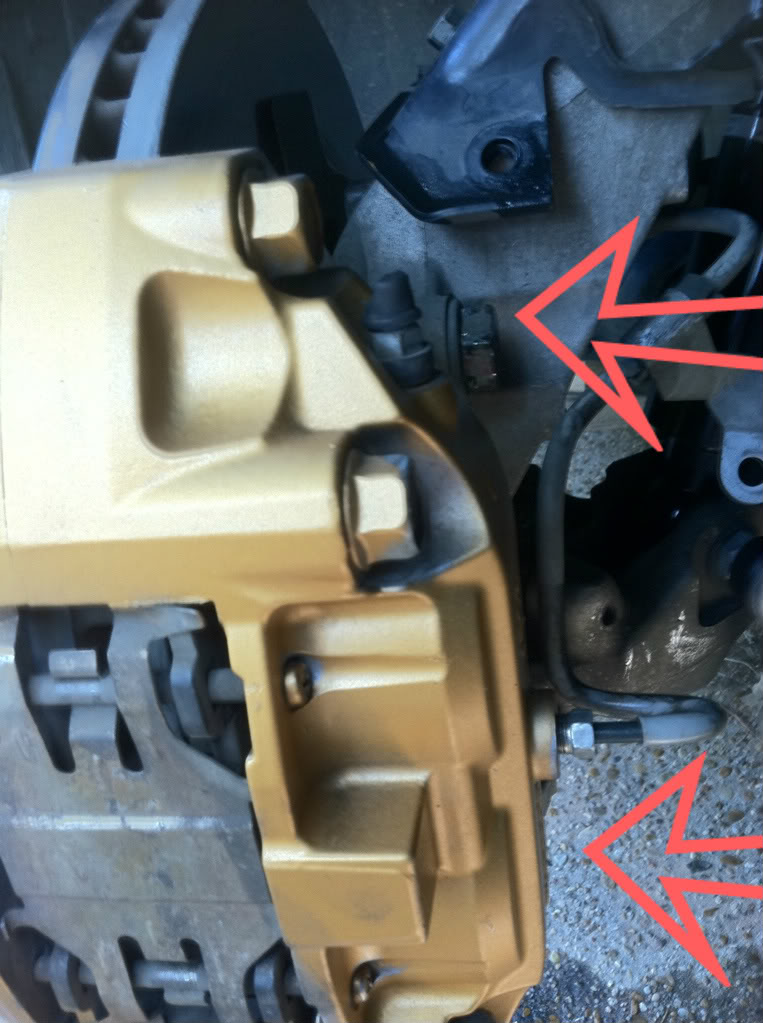
Now remove the caliper by wiggling it easily. It should slide right off since the brake line is removed.
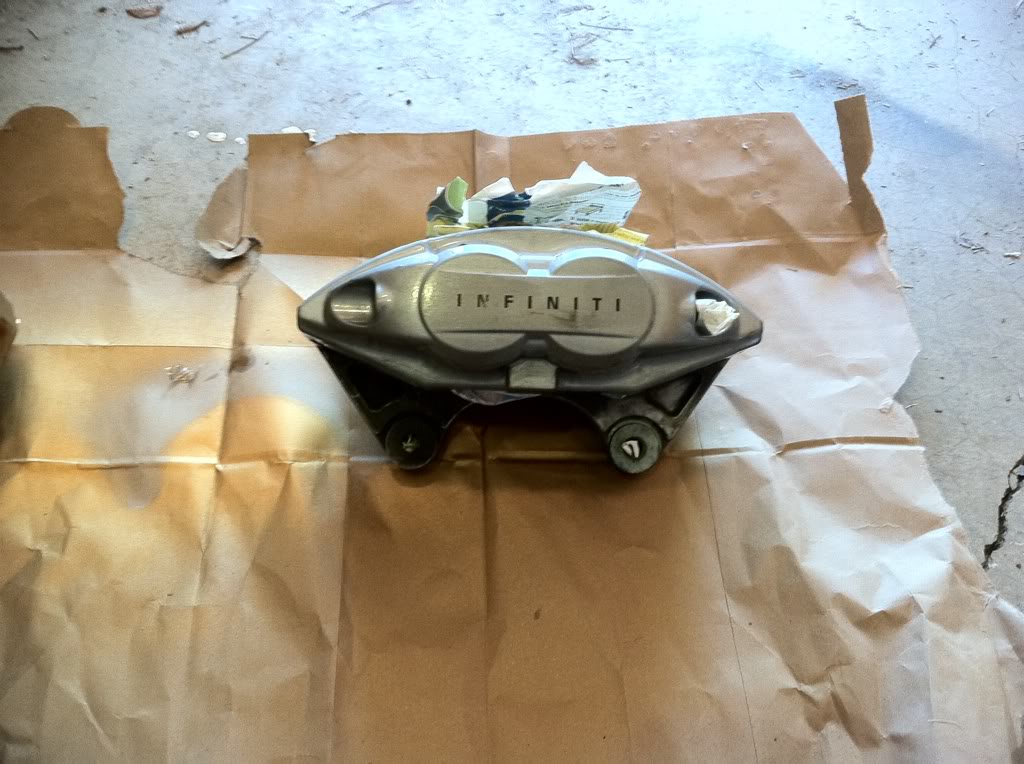
Soak both of the calipers in brake clean and clean them thoroughly. Once all of the dirt and grime is removed you may start sanding. (Remove the boots from the bleeder screws to avoid damaging them.)
If you chose to leave all of the bolts and screws in the caliper, cover them in masking tape, so that
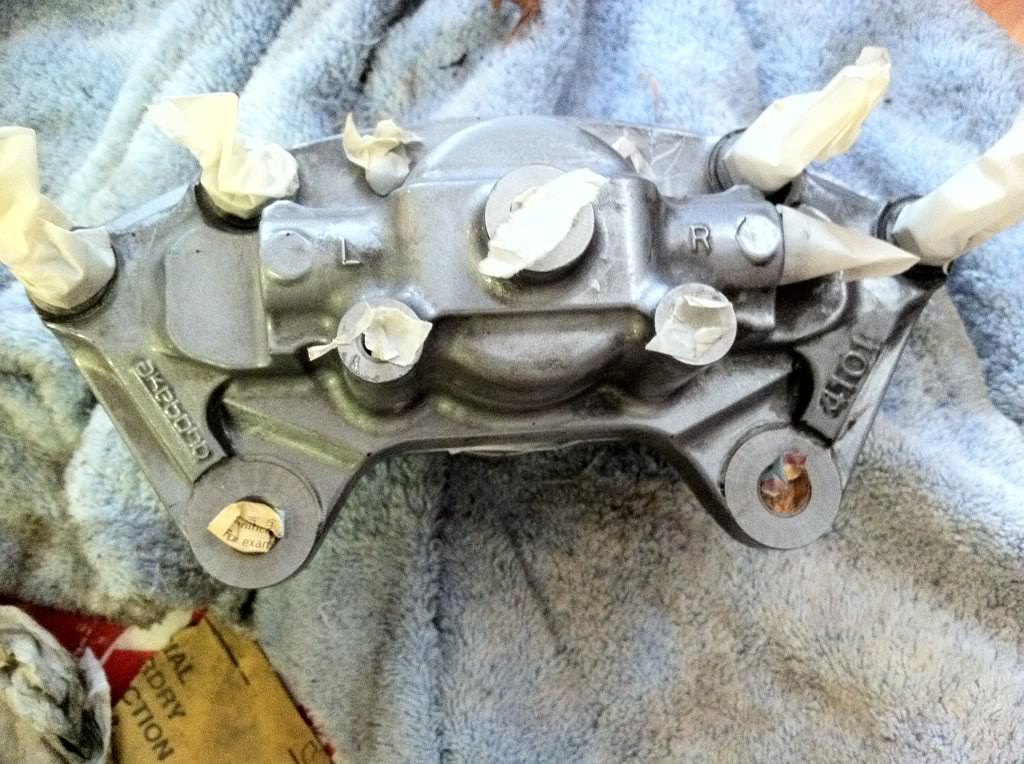
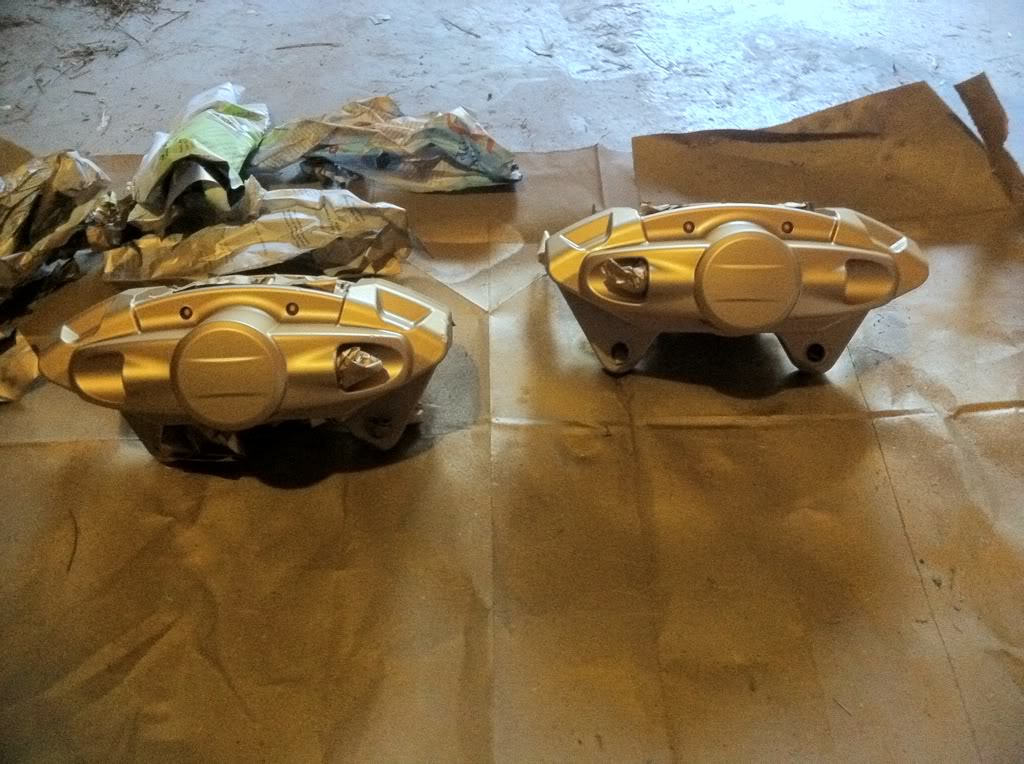
Once you have all of your bolts and holes masked, you may start to paint. Apply a generous first coat, and let it dry for at least 30 minutes before applying a second.
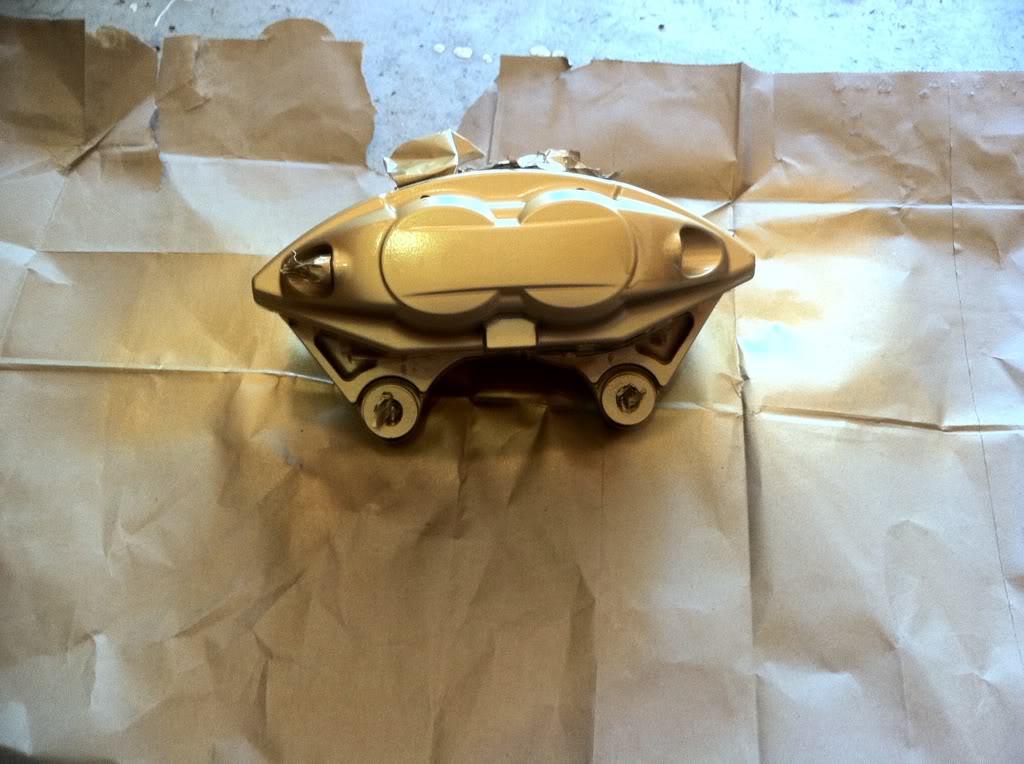
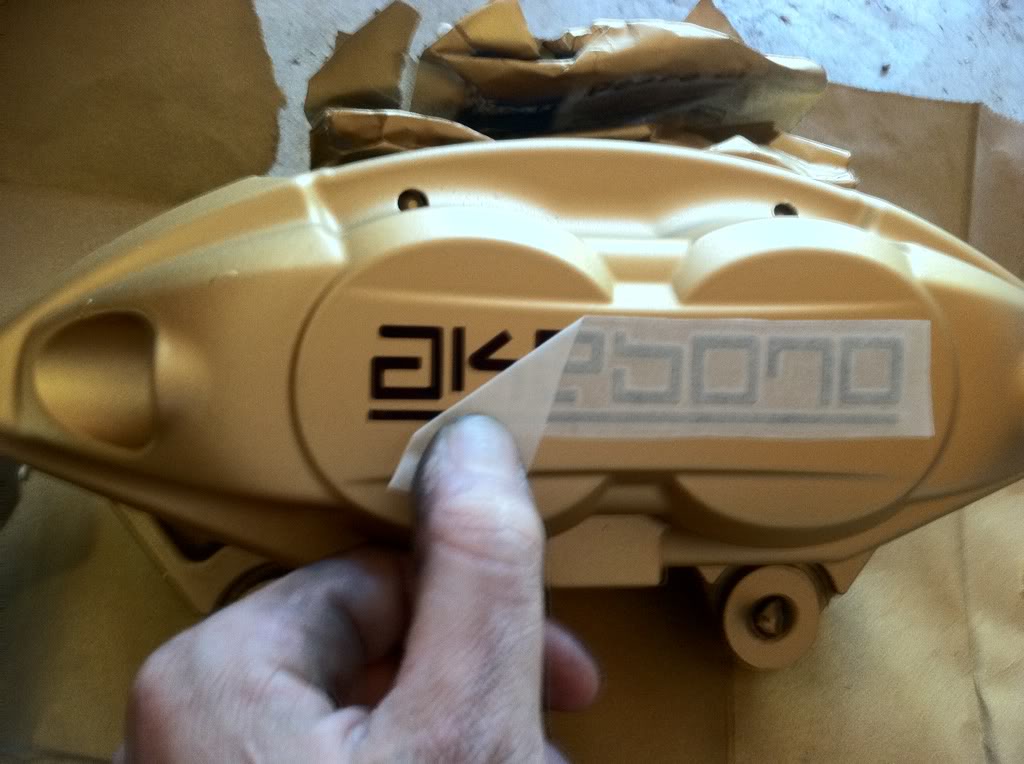
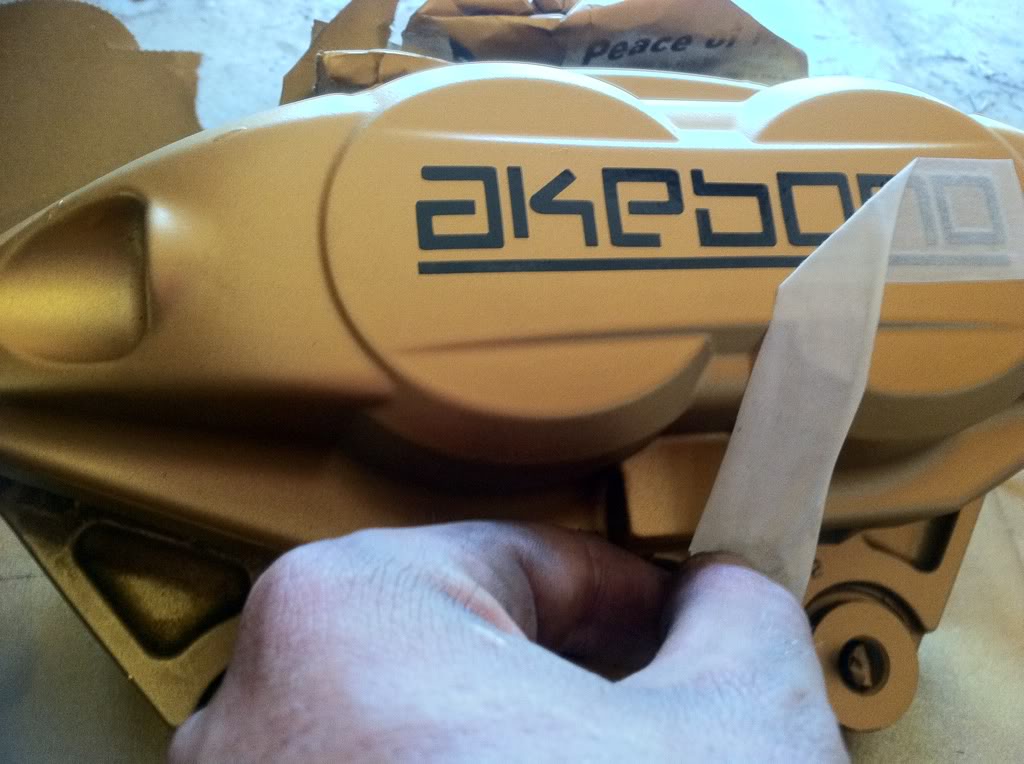
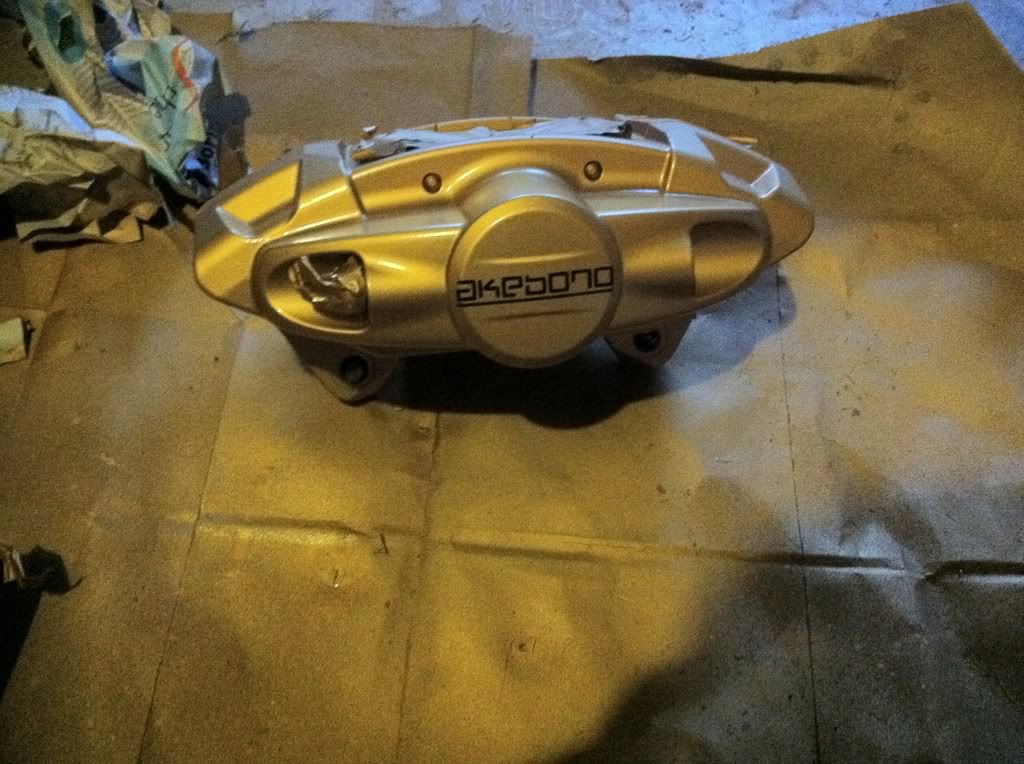
Let it sit another 30 minutes and apply your decal of choice.
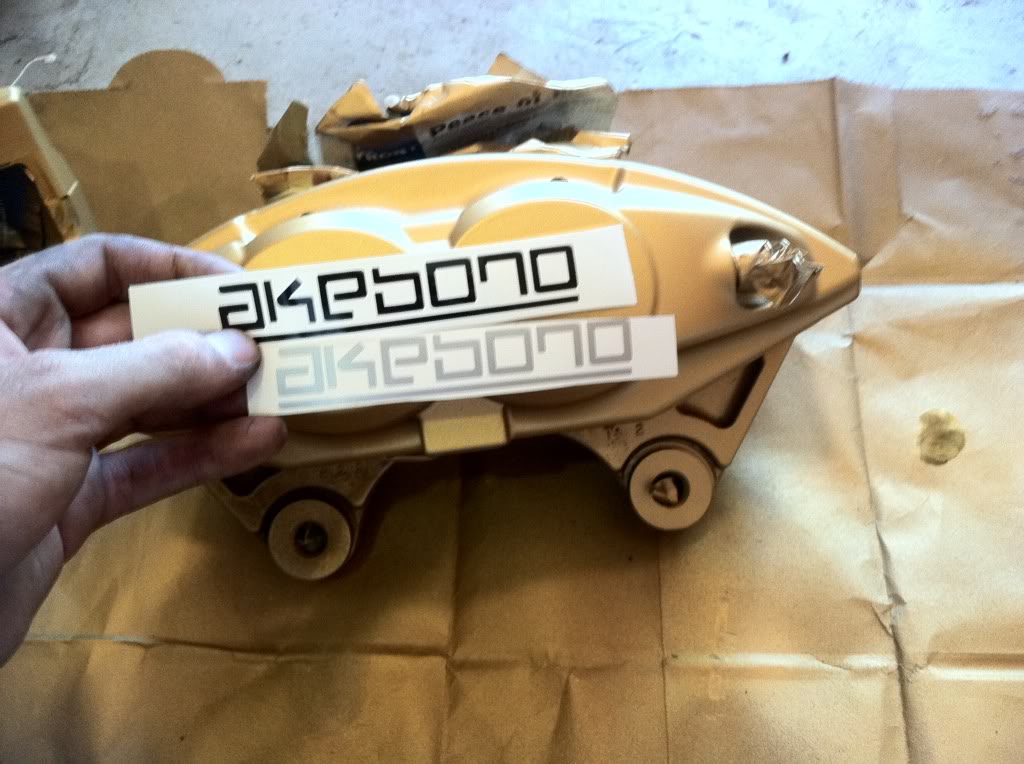
Once the decal is applied, be sure to peel the masking tape carefully and angle it so the masking tape is very tight. This way the decal should stick easily.
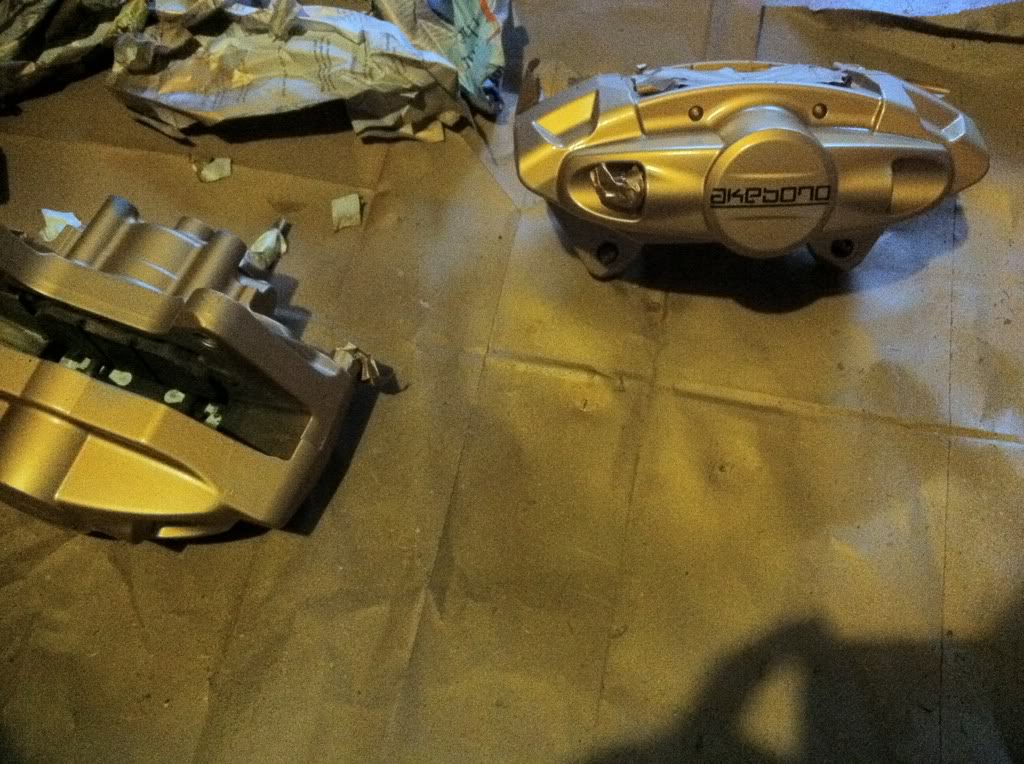
Once the decal is applied. Spray your clear coat. Let it sit for 15-20 minutes and apply another coat.
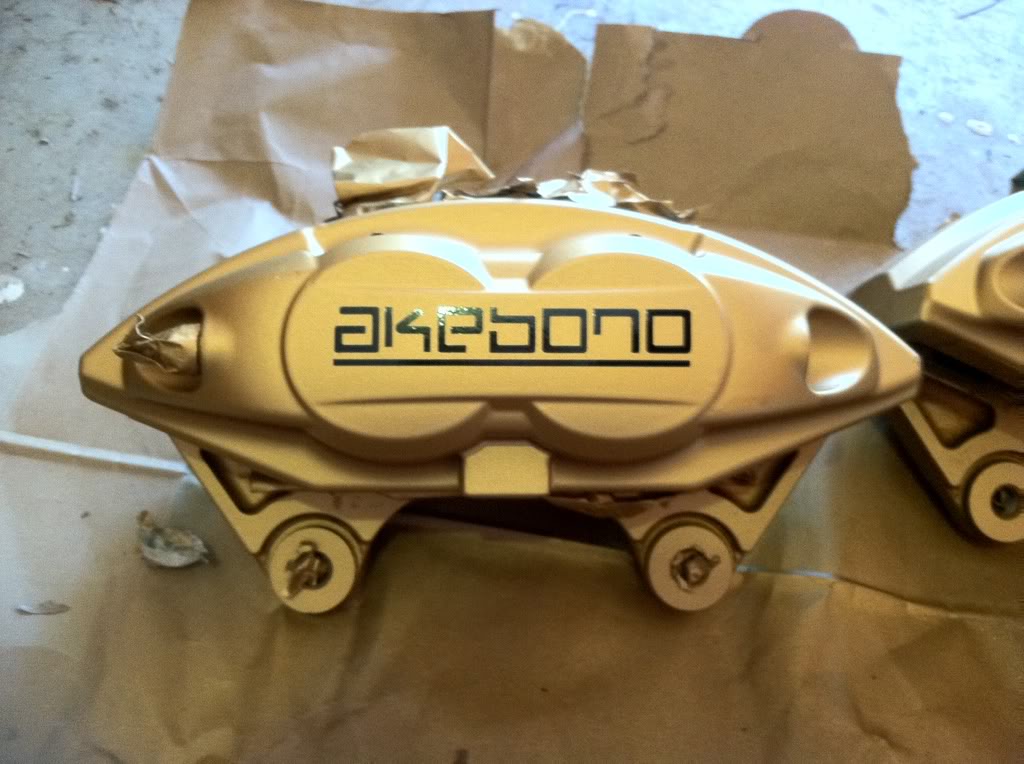
Once dry. Install the caliper on the car. The brake bleeder should point up if you forgot which goes where. Also if you need more room to get the caliper on the rotor, push on the pads and fluid will squirt out of the back. Try not to get this on your fresh paint as it will eat through quickly.
Rear.
The rear calipers are the tougher of the two because the camber arms and a bracket make it hard to fit an impact wrench in. I removed my camber arm from the vehicle side which allowed me to get a 19mm socket and an impact on. The bracket holding the brake line has 2 12mm bolts.
Now you may loosen the brake line and place it out of the way.
To get to the caliper bolts, you may need to remove the camber arm on the inside. This will allow you to push the arm down and get an impact wrench on the bottom bolt.
Once the bolts are out, remove the caliper and use the same procedures to prep and paint as you did with the front.
Install them once dry. If you push on the pads before you install the brake line they will give you some extra space. Beware of the fluid shooting out of the back.
Bleeding brakes. (2 people)
After you have installed all calipers on the vehicle, you need to bleed the brakes. Make sure your master cylinder reservoir is full. When bleeding brakes, you start from the bleeder furthest from the master cylinder. So start on the rear right. (Each caliper has 2 bleeders on it.) Have someone in the vehicle pump the brake pedal at least 10 times. On the final press, have the person hold the brake pedal all the way in. Now you can loosen the first bleeder. The person in the car will feel the pedal go to the floor, and a stream of fluid will come from your hose. Tighten the bleeder valve while the other person is still holding the brake pedal. Once tightened the other person may release the pedal. Repeat the process at least twice or until there is a straight stream of fluid. Do this on each bleeder starting on the rear right then to the rear left, passenger front, and finally drivers front. Make sure you check your master cylinder to ensure there is still fluid and that it is full once complete.
(From Soundmike)
"The FSM calls for this order when bleeding:
passenger rear > driver front > driver rear > lastly passenger front
And for most calipers with two bleeders, bleed the inside nipple then the outside. (Here's my shameless plug for the one-man bleeding DIY).
And for the paint, since you already had it out, popping them in the oven for 20m at 200F would've cured it fast. I used a different paint, took me 17 days to do, but it's on there good and has been track-tested numerous times.
Also, after testing so many different high-temp vinyl's and various oven temperatures, stay away from light colors as they tend to turn brown after a while (I spray-painted mine using stencils instead of using decals)."<!-- google_ad_section_end -->
****IMPORTANT****
1. You must complete all steps before driving your vehicle. It is very important you bleed the brakes before driving your car otherwise you may have no braking power.
2. Doing this may take a while, so plan accordingly. If you are prepared and have the correct tools removing the calipers is very easy. The hardest part is waiting for the paint to dry.
3. While your vehicle is raised, make sure you have something in front of or behind your wheel to prevent any movement of the car.
Tools needed:
22mm socket/wrench (front caliper bolts)
19mm socket/wrench (rear caliper bolts)
12mm socket/wrench (bracket holding brake lines)
10mm line wrench (brake lines)
1/4 Vacuum hose (bleeding brakes)
Products needed:
600 grit sandpaper.
Paint color of your choice.
Clear coat of your choice.
Decal of your choice.
Brake cleaner.
The proper way to do this would be to remove the brake pads and retainers. I chose not to do this to save some time. You can properly inspect your brake pads with the caliper off. If they need replacing, now would be a good time to do it.
Front.
I started on the front. Remove the bracket that holds the brake line in place. This will allow you to get an impact wrench onto the caliper bolts.
Remove the brake line, and either let it drip onto a towel or container, or attach a plug to stop it dripping.
Loosen the front caliper bolts. Mine were very tight, so I used an impact and they broke loose easily.
Now remove the caliper by wiggling it easily. It should slide right off since the brake line is removed.
Soak both of the calipers in brake clean and clean them thoroughly. Once all of the dirt and grime is removed you may start sanding. (Remove the boots from the bleeder screws to avoid damaging them.)
If you chose to leave all of the bolts and screws in the caliper, cover them in masking tape, so that
Once you have all of your bolts and holes masked, you may start to paint. Apply a generous first coat, and let it dry for at least 30 minutes before applying a second.
Let it sit another 30 minutes and apply your decal of choice.
Once the decal is applied, be sure to peel the masking tape carefully and angle it so the masking tape is very tight. This way the decal should stick easily.
Once the decal is applied. Spray your clear coat. Let it sit for 15-20 minutes and apply another coat.
Once dry. Install the caliper on the car. The brake bleeder should point up if you forgot which goes where. Also if you need more room to get the caliper on the rotor, push on the pads and fluid will squirt out of the back. Try not to get this on your fresh paint as it will eat through quickly.
Rear.
The rear calipers are the tougher of the two because the camber arms and a bracket make it hard to fit an impact wrench in. I removed my camber arm from the vehicle side which allowed me to get a 19mm socket and an impact on. The bracket holding the brake line has 2 12mm bolts.
Now you may loosen the brake line and place it out of the way.
To get to the caliper bolts, you may need to remove the camber arm on the inside. This will allow you to push the arm down and get an impact wrench on the bottom bolt.
Once the bolts are out, remove the caliper and use the same procedures to prep and paint as you did with the front.
Install them once dry. If you push on the pads before you install the brake line they will give you some extra space. Beware of the fluid shooting out of the back.
Bleeding brakes. (2 people)
After you have installed all calipers on the vehicle, you need to bleed the brakes. Make sure your master cylinder reservoir is full. When bleeding brakes, you start from the bleeder furthest from the master cylinder. So start on the rear right. (Each caliper has 2 bleeders on it.) Have someone in the vehicle pump the brake pedal at least 10 times. On the final press, have the person hold the brake pedal all the way in. Now you can loosen the first bleeder. The person in the car will feel the pedal go to the floor, and a stream of fluid will come from your hose. Tighten the bleeder valve while the other person is still holding the brake pedal. Once tightened the other person may release the pedal. Repeat the process at least twice or until there is a straight stream of fluid. Do this on each bleeder starting on the rear right then to the rear left, passenger front, and finally drivers front. Make sure you check your master cylinder to ensure there is still fluid and that it is full once complete.
(From Soundmike)
"The FSM calls for this order when bleeding:
passenger rear > driver front > driver rear > lastly passenger front
And for most calipers with two bleeders, bleed the inside nipple then the outside. (Here's my shameless plug for the one-man bleeding DIY).
And for the paint, since you already had it out, popping them in the oven for 20m at 200F would've cured it fast. I used a different paint, took me 17 days to do, but it's on there good and has been track-tested numerous times.
Also, after testing so many different high-temp vinyl's and various oven temperatures, stay away from light colors as they tend to turn brown after a while (I spray-painted mine using stencils instead of using decals)."<!-- google_ad_section_end -->
Last edited by breftayka; 06-20-2011 at 01:03 PM.


